6Edlund Company TITAN Max-Cut, Models FDW/FDWW-014, -038, -012
CHAPTER 3 - OPERATING YOUR EDLUND TITAN MAX-CUT
This chapter covers the procedures for operating your new Edlund TITAN Max-Cut and discusses basic
operation features. You may find it helpful to review the Features in Figure 2 on page 11.
Using the Edlund TITAN Max-Cut
Mounting the Wall Bracket
The TITAN Max-Cut can be mounted to the wall using the Wall Mount Bracket. Models FDWW-014, FDWW-038,
and FDWW-012 include the Wall Mount Bracket. Additional Wall Mount Brackets can be purchased separately.
To attach the Bracket to the wall, select the preferred location for the Bracket, taking into account the size and
space needed to operate the TITAN Max-Cut (see Figure 1). Orient the Bracket vertically, with the mounting
hooks pointing up. Align the two mounting holes to be centered on a wall stud. Use appropriate sized Lag Screws
capable of holding a minimum of 150 lbs to secure the Wall Mount to the wall. It is very important the Wall Mount
Bracket is securely fastened to a wall before use. If you are unsure of how to fasten the Wall Mount Bracket, please
consult a professional contractor for installation.
1. Your Max-Cut has been configured to one of the following sizes: 1/4" (6.4mm) Dice Grid, 3/8" (10mm)
Dice Grid, 1/2" (13mm) Dice Grid, 6-Slice Wedger or an 8-Slice Wedger. Verify the Blades and Pusher
match by checking the size stamp on both.
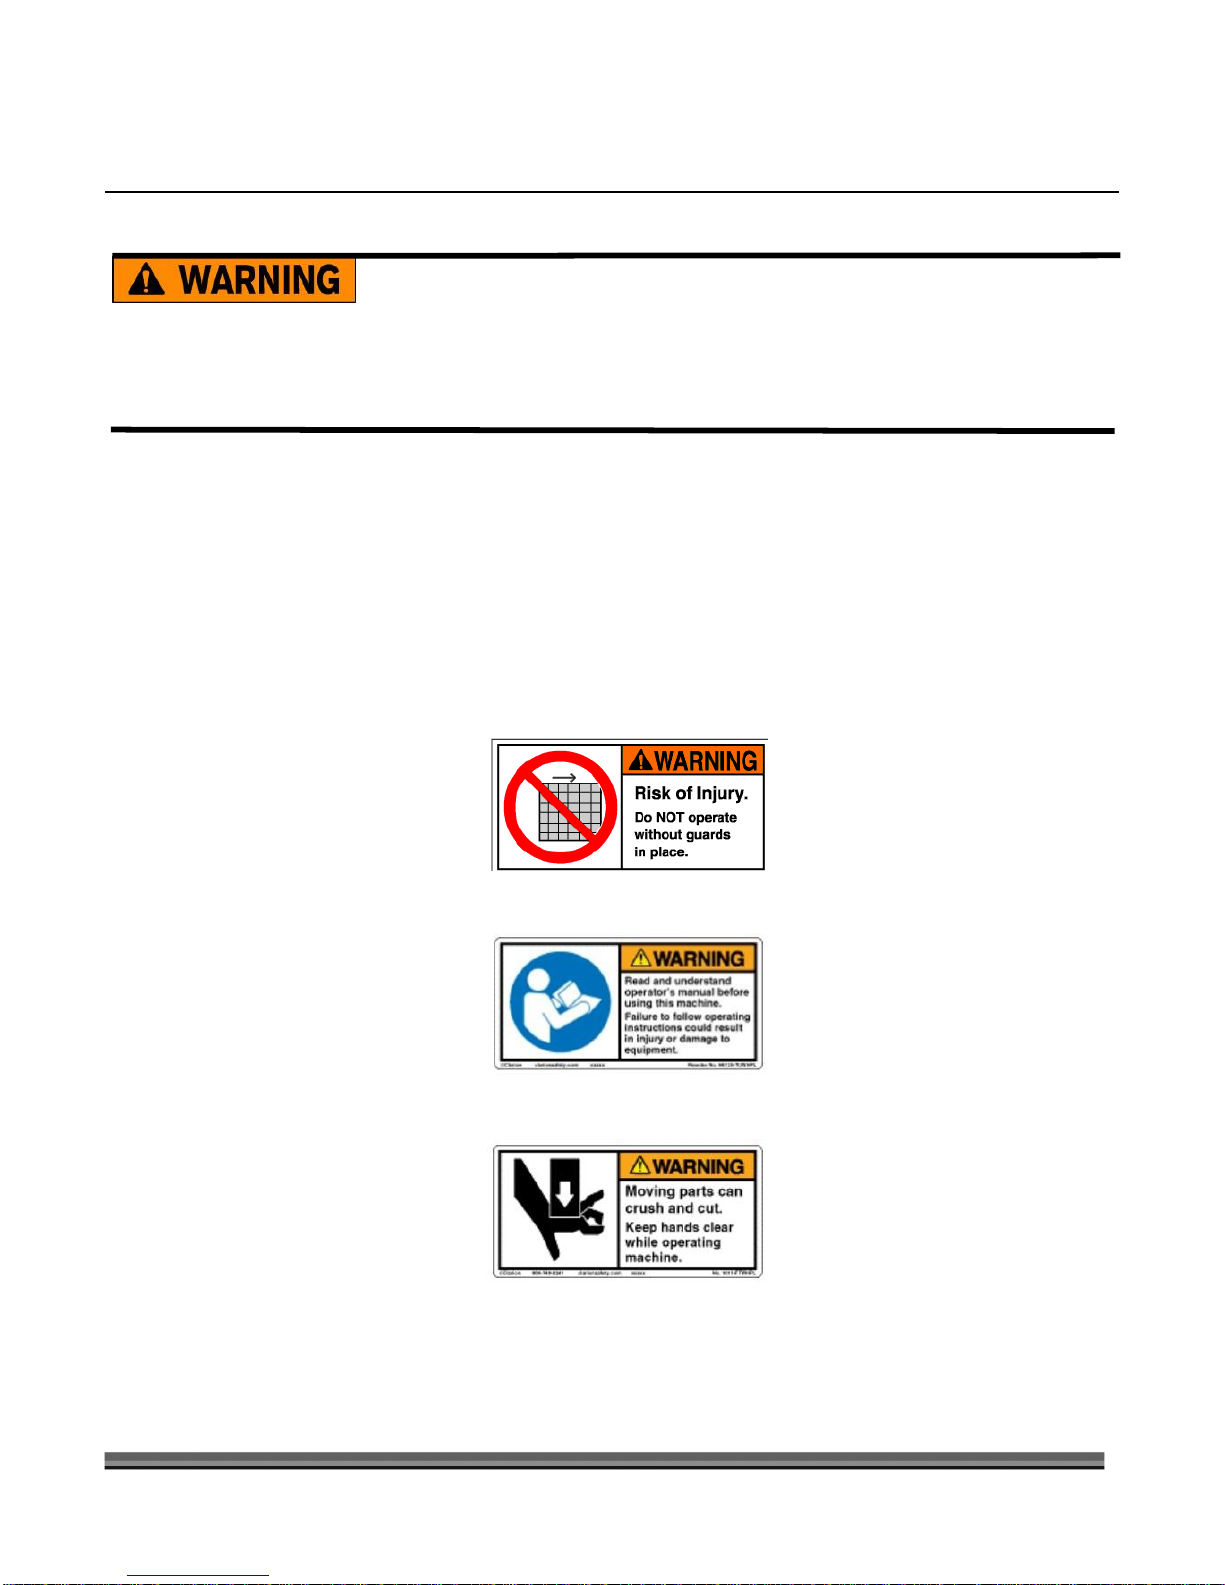
USE CAUTION WHEN HANDLING THE BLADE CARTRIDGE, THE BLADES ARE VERY SHARP. ALWAYS
HAVE THE WASH GUARD ATTACHED TO THE BLADE CARTRIDGE WHEN HANDLING.
2. Lift the Handle Arm to its full upright position.
3. Engage the Handle lock Latch by rotating clockwise (Figure 2 on page 11).
4. Open the Cartridge Retainer (Figure 2 on page 11) by rotating it up. Orient the selected Blade Cartridge
and slide it into the Max-Cut. The Blade Cartridge can only go into the unit in one orientation, with the
Front Flange down and the Cartridge Alignment Holes towards the back of the unit.
5. Make sure the Cartridge Alignment Holes (Figure 2 on page 11) are fully seated on the Alignment Pins
in the Max-Cut unit.
6. Fully close the Cartridge Retainer by rotating it downward until it “snaps” over the Blade Cartridge.