manuals.online logo
Brands
  1. Home
  2. •
  3. Brands
  4. •
  5. Edsal
  6. •
  7. Indoor Furnishing
  8. •
  9. Edsal Super Rack SR100 User manual

Edsal Super Rack SR100 User manual

Safety Instructions
Safety Instructions
Safety Instructions
These units should be placed on a level surface. Failure to do so can result in poor product performance or create a
possible safety hazard. This unit should be securely anchored to a wall or floor with suitable fasteners, which are not
included. Do not use this unit for anything other than the manufactures intended purpose. DO NOT STAND ON ANY
PART OF THE UNIT, OR USE IT AS A LADDER. DO NOT OVERLOAD. Evenly distribute the weight on each level
and always keep the heavier loads on the bottom. Use care when working with metal parts.
Super Rack
Boltless Shelving
MODEL NUMBER
SR100
SR200
D - Wood Shelf
A - Beams
B - Braces
C - Post
E - Post Coupler
SR
SR
SR-
-
-100
100
100 -
-
-5 Shelf
5 Shelf
5 Shelf -
-
-72”h x 18”d x 36”w / SR200
72”h x 18”d x 36”w / SR200
72”h x 18”d x 36”w / SR200 -
-
-5 Shelf
5 Shelf
5 Shelf—
—
—72”h x 24”d x 48”w
72”h x 24”d x 48”w
72”h x 24”d x 48”w
Description
A - Beams
B - Braces
C - Post
D - Wood Shelf
E - Coupler
Qty.
10
10
8
5
8
Part Number
7070
7068
6120
RPB21836
HIPC0200
Part Size
34 7/8”
16 7/8”
36”
18” x 36”
2 1/2”
General Instructions
Assembly is done with the tabs of the beams and braces fitting into the slots of the post. A rubber mallet may be used
on the beams and braces to seat the tabs properly. A hammer can also be used, providing one uses a cloth or a block
of wood between the hammer head and the parts to prevent damage. Tap gently and be sure the tabs are straight and
fully engaged.
Should you have any comments, damage, missing parts, or problems with assembly of this unit please feel
free to contact our manufacturing facility at, (773) 475-3000 and request customer service. We can also
be reached on the internet at the following email address : customerservice@edsal.com.
To obtain replacement parts, please provide the following information :
- Model # - Part #, Description, & Color - Location Purchased - Date Purchased
Consumer Products Division
Edsal Manufacturing Company
4400 South Packers Avenue
Chicago, IL 60609 www.edsal.com
Tools Necessary For Assembly
Rubber Mallet
Note: TAP GENTLY ! A Ham-
mer could be used with a cloth
or a wood block to protect the
SR100
Part Number
7071
7069
6120
RPB212448
HIPC0200
Part Size
46 7/8”
22 7/8”
36”
24” x 48”
2 1/2”
SR200
Assemble two (2) post with one (1) brace (see figure A). The
flat angled edge of the brace be facing up. Skipping one (1)
slot from the bottom, slide the tabs of the brace into the slots of
the post and tap down gently to properly seat (see figure B).
Repeat this process using two (2) post and one (1) brace.
Attach the assembled end units with two (2) beams (see figure
C). Again Skipping one (1) slot from the bottom, slide tabs of
the beams into post slots and tap down gently to properly seat.
Assembly Instructions for SR
Assembly Instructions for SR-
-
-100 & SR200
100 & SR200
100 & SR200
Start by adding a wood shelf to the level previously built, then
continue working by adding the second level using two (2)
beams and two (2) braces in the post slots of your desired
location. Again slide the tabs of the beams and braces into the
post slots and tap gently to properly seat.
IMPORTANT NOTE : Make sure all beams and braces are fully seated into the post slots.
Add a wood shelf to the previously built level, then assemble
the top post to the bottom post by using eight (8) of the post
couplers. Slide the couplers tabs into the top of the bottom
post, tap gently to properly seat. Slide the top post onto the
remaining tabs of the couplers, tap the top post down to prop-
erly seat (see figure D). Install the third level just above the
post couplers, using two (2) beams, and two (2) braces.
Add a wood shelf to the previously built level, then continue by
adding the fourth level to the unit using two (2) beams and two
(2) braces. Tap gently to properly seat and add the wood shelf.
Finally add the fifth level to the unit using two (2) beams and
two (2) braces. Tap gently to properly seat and add the last
wood shelf.
Step
1
Step
2
Step
3
Step
4
Figure A
Figure AFigure A
Figure A
Figure B
Figure BFigure B
Figure B
Figure C
Figure CFigure C
Figure C
Tap Lightly
Post Slot
Brace
Beam
Wood Shelf
Figure D
Figure DFigure D
Figure D
Post Coupler
Top Post
Bottom Post
Wood Shelf
Wood Shelf

This manual suits for next models

1

Other Edsal Indoor Furnishing manuals

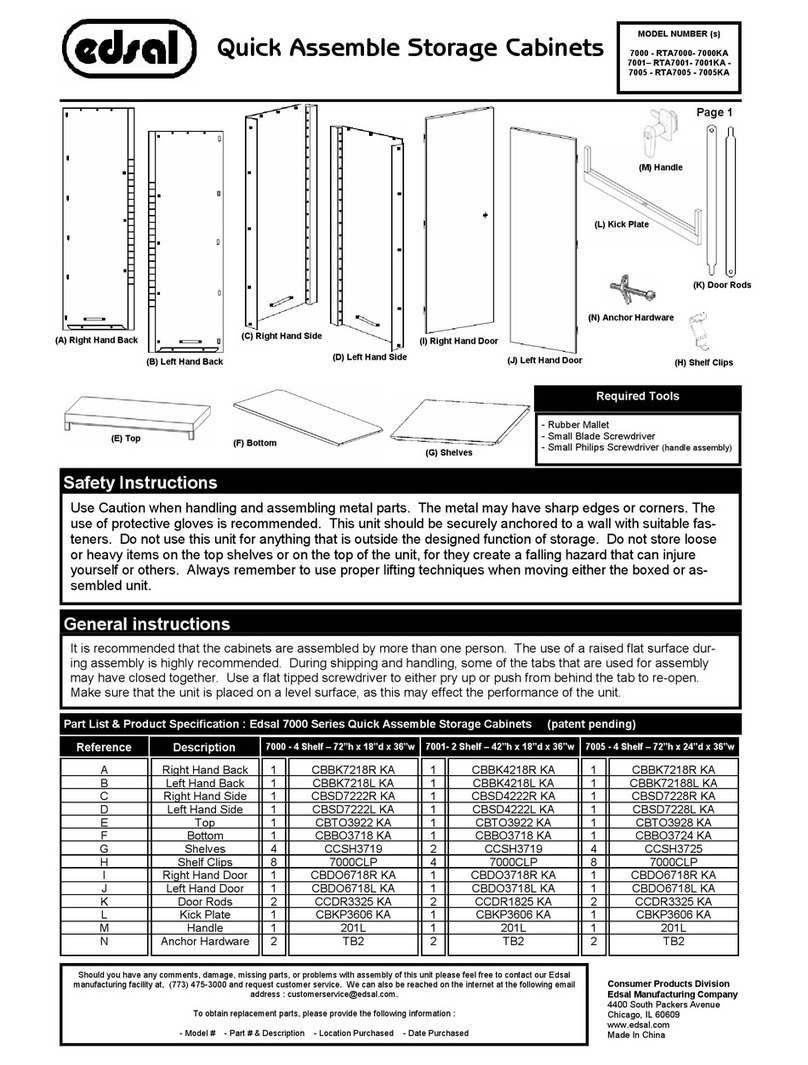
Edsal 7000 User manual

Edsal

Edsal 7000 User manual

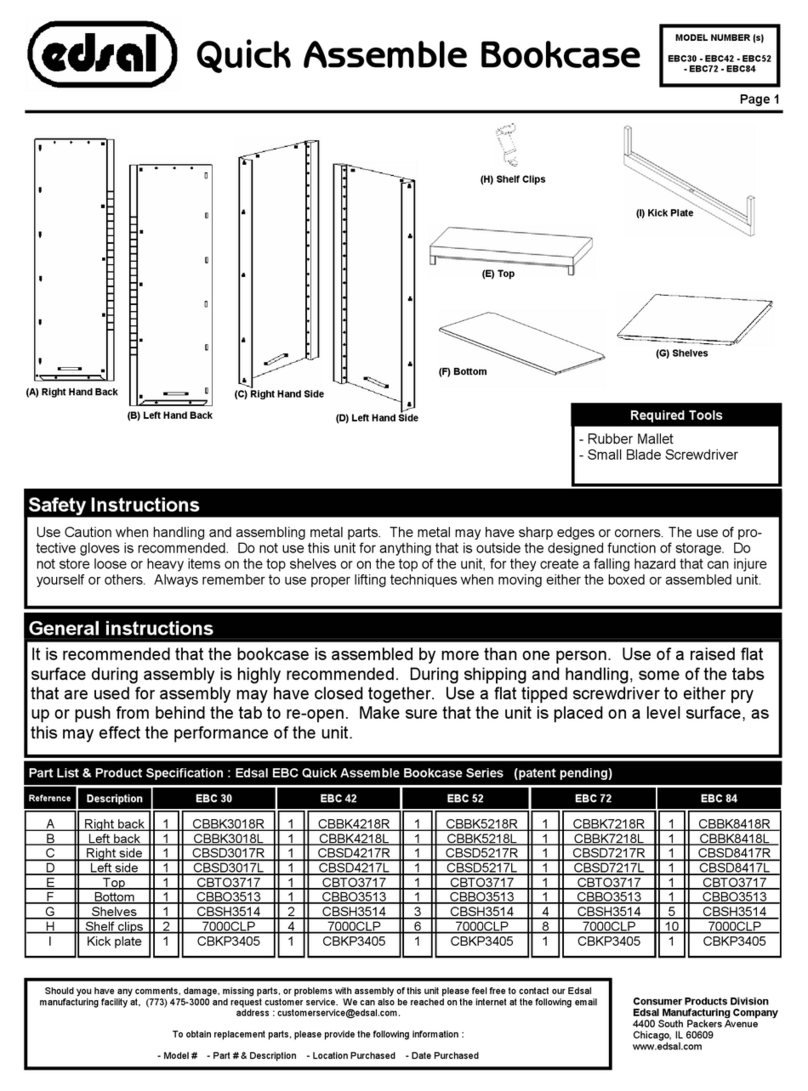
Edsal EBC30 User manual

Edsal

Edsal EBC30 User manual
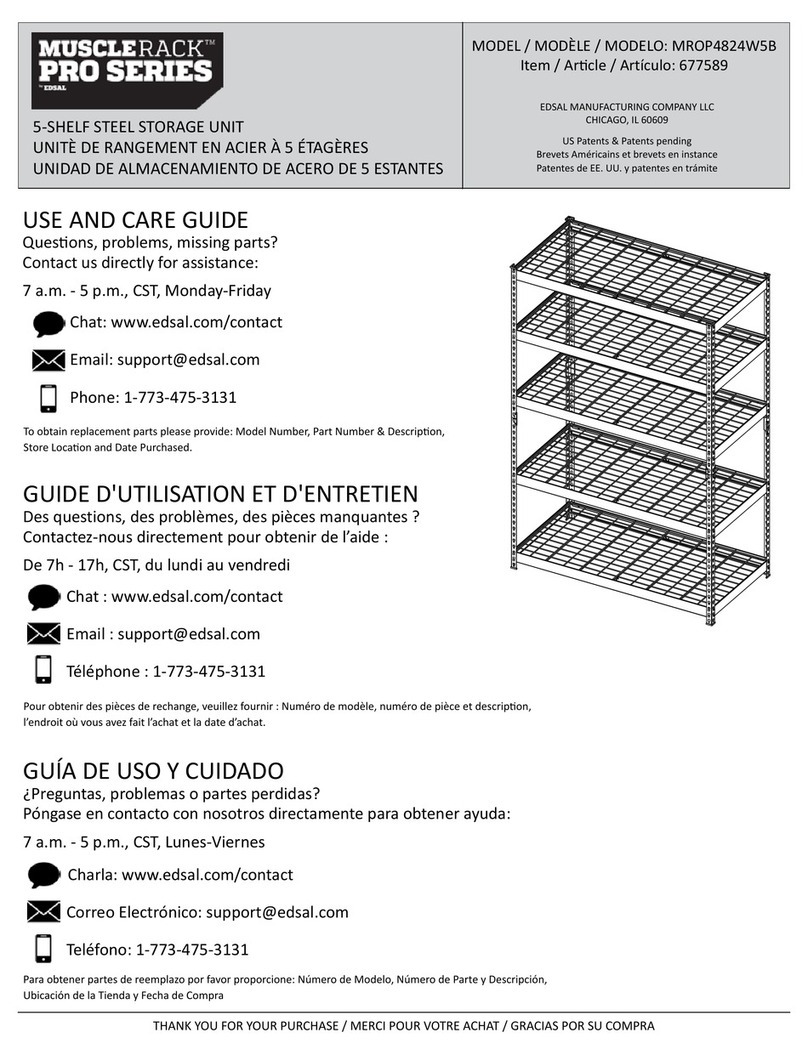
Edsal MuscleRack Pro Series User manual
Edsal

Edsal MuscleRack Pro Series User manual

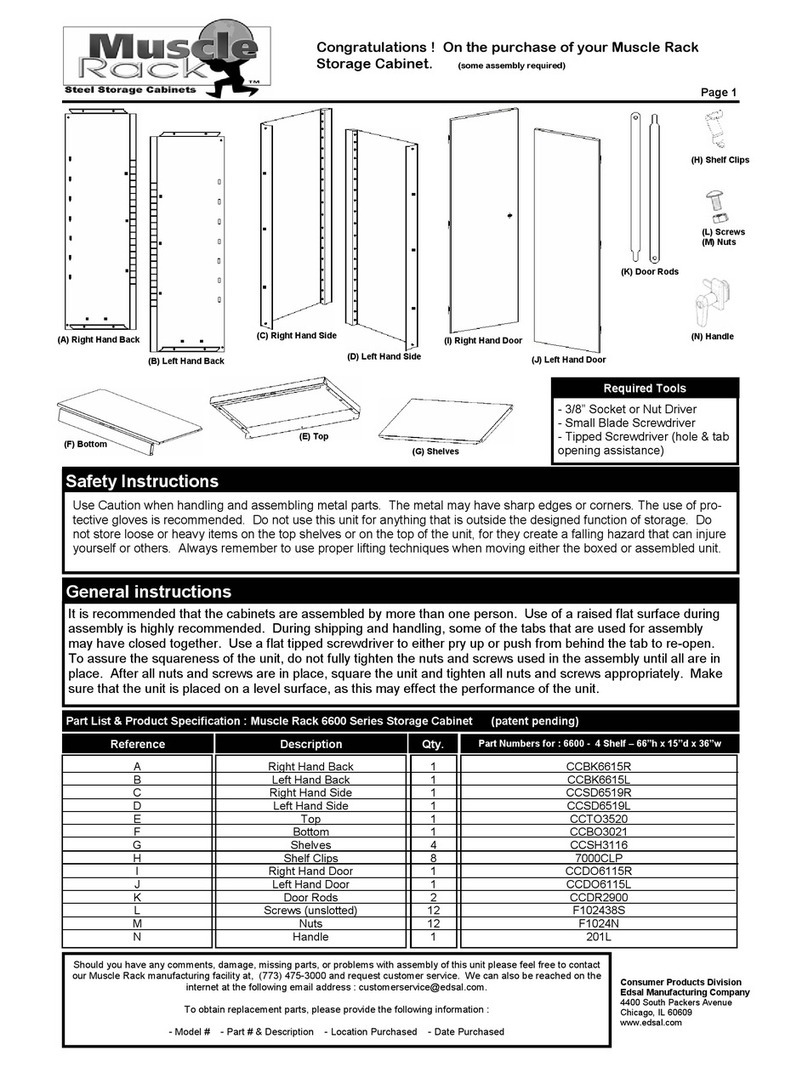
Edsal Muscle Rack 6600 Series User manual
Edsal

Edsal Muscle Rack 6600 Series User manual

Edsal MUSCLERACK UR185P-BLK User manual

Edsal

Edsal MUSCLERACK UR185P-BLK User manual

Edsal RTA361872-BLK User manual

Edsal

Edsal RTA361872-BLK User manual
Edsal MUSCLERACK MROP482472M User manual

Edsal

Edsal MUSCLERACK MROP482472M User manual

Edsal Muscle Rack UR184884WR6 User manual
Edsal

Edsal Muscle Rack UR184884WR6 User manual

Edsal CB Series User manual

Edsal

Edsal CB Series User manual

Popular Indoor Furnishing manuals by other brands

Furniture of America Persephone CM7661M Assembly instructions
Furniture of America

Furniture of America Persephone CM7661M Assembly instructions

Dormakaba TP/TA EASY Safe Mounting instructions
Dormakaba

Dormakaba TP/TA EASY Safe Mounting instructions

PEERLESS Paramount PS200 Installation and assembly
PEERLESS

PEERLESS Paramount PS200 Installation and assembly

Twoey Toys 7120 Product information

Twoey Toys

Twoey Toys 7120 Product information
INTER LINK SAS ARCO 1 13 500 010 Assembling Instruction
INTER LINK SAS

INTER LINK SAS ARCO 1 13 500 010 Assembling Instruction

Kring MKRT131 Assembling Instruction

Kring

Kring MKRT131 Assembling Instruction
Living Spaces 305-P236153 Assembly instructions
Living Spaces

Living Spaces 305-P236153 Assembly instructions

Verco Oblique Visual OVRT 0806 Assembly instructions
Verco

Verco Oblique Visual OVRT 0806 Assembly instructions

RTA FONTAN Assembly instructions

RTA

RTA FONTAN Assembly instructions

Cattelan Italia MONACO CRISTALLO Assembling instructions

Cattelan Italia

Cattelan Italia MONACO CRISTALLO Assembling instructions

KCare Deluxe V2 Maxi user manual

KCare

KCare Deluxe V2 Maxi user manual

IKEA MALSKAR 693.318.75 Assembly instructions
IKEA

IKEA MALSKAR 693.318.75 Assembly instructions

Eagle Group T2460SEB Assembly instructions
Eagle Group

Eagle Group T2460SEB Assembly instructions

Naggura SWOP S301 instruction manual

Naggura

Naggura SWOP S301 instruction manual
Argos 338/7005 Assembly instructions

Argos

Argos 338/7005 Assembly instructions
American Standard Colony FitRight Right Height Elongated 10" Rough-In Toilet... Specification sheet
American Standard

American Standard Colony FitRight Right Height Elongated 10" Rough-In Toilet... Specification sheet

Next BARLOW 824328 Assembly instructions

Next

Next BARLOW 824328 Assembly instructions

Lightolier Lytecaster 1101FIC_3d specification

Lightolier

Lightolier Lytecaster 1101FIC_3d specification

manuals.online logo
manuals.online logoBrands
  • About & Mission
  • Contact us
  • Privacy Policy
  • Terms and Conditions

Copyright 2025 Manuals.Online. All Rights Reserved.