EGAmaster 57511 User manual

ROMPETUERCAS HIDRÁULICO
HYDRAULIC NUT DESTROYER
MANUAL DE INSTRUCCIONES
OPERATING INSTRUCTIONS
ESPAÑOL ............................... 2
ENGLISH................................ 5
GARANTIA / GUARANTEE..... 9
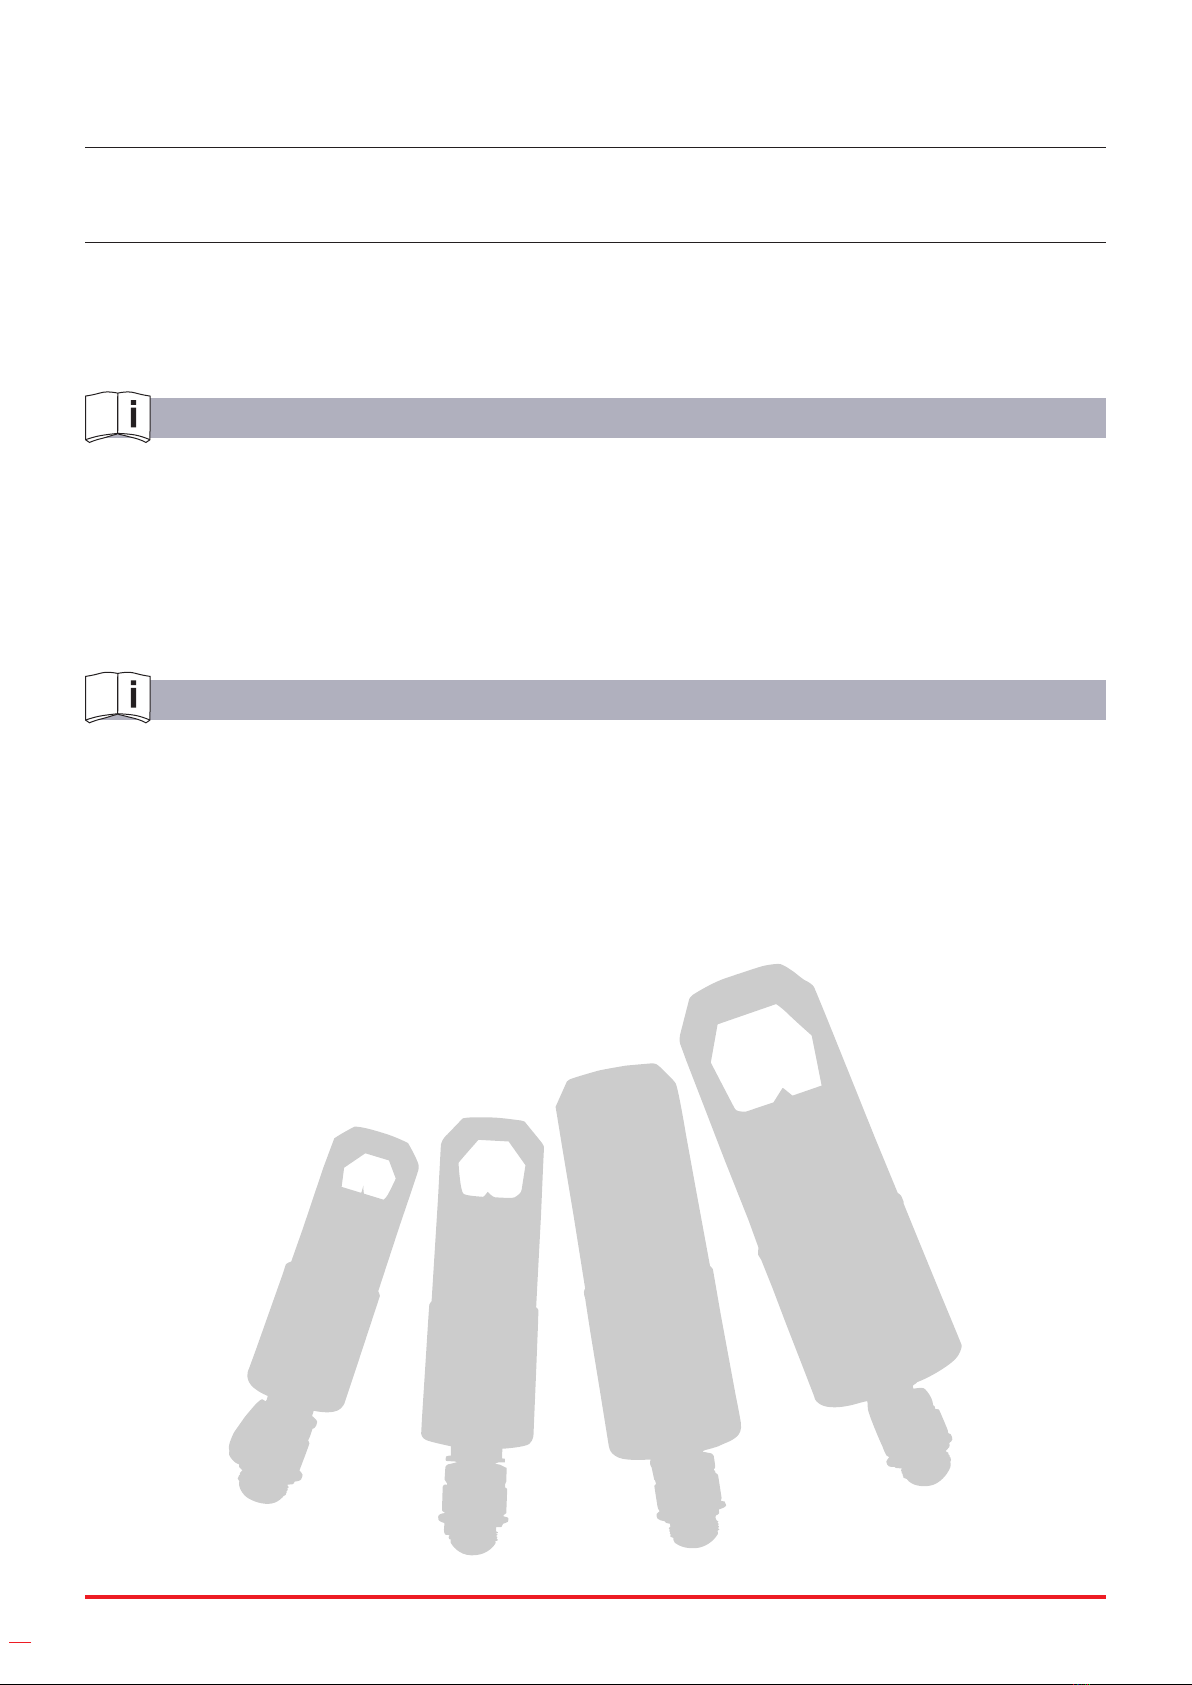
COD.57511
COD.57512
COD.57513
COD.57514

2
ROMPETUERCAS HIDRÁULICO
Las tuercas y pernos son ampliamente utilizados en la industria. Al aire libre, con altas
temperaturas y en ambientes corrosivos, muchas tuercas y pernos se oxidan y sus hilos se
rompen por aplastamiento, por lo que en general es muy difícil extraer las tuercas.
Nuestra empresa ha desarrollado con éxito un rompetuercas rápido, seguro y de alta
eciencia para resolver problemas.
CARACTERÍSTICAS TÉCNICAS
COD. M Ton
57511 M6-M12 10-19 5
57512 M12-M16 19-24 10
57513 M16-M22 24-32 15
57514 M22-M27 32-41 20
NOTA: La dureza máxima de las tuercas a fracturar no debe ser superior a 44HRc.
INSTRUCCIONES DE USO
1. Conecte el rompetuercas a la bomba correspondiente y cierre la válvula de descarga.
2. Coloque la cabeza del rompetuercas en la tuerca con su medida correspondiente según
la tabla anterior.
NOTA: La incorrecta colocación del rompetuercas sobre la tuerca puede provocar un mal
funcionamiento del artículo así como la rotura de la cuchilla.
NOTA: Antes de comenzar, añada aceite para herramientas de corte en el lo de la cuchilla
para evitar su desgaste o rotura.
3. Accione la bomba hasta que la cuchilla rompa la tuerca.
4. Abra la válvula de descarga para que la cuchilla retroceda hasta su posición inicial.
ESPAÑOL

3
5. Retire el rompetuercas y realizar el mismo proceso colocando la cuchilla en el lado
contrario de la tuerca. La tuerca quedará partida en dos.
Paso 3 Paso 5
Giro de 180º del rompetuercas
6. Finalmente retire el rompetuercas y la tuerca rota.
REEMPLAZO DE LA CUCHILLA
1. Desconecte el rompetuercas de la bomba manual.
2. Retire el tornillo que se encuentra en el lateral del rompetuercas.
3. Desenrosque el cabezal de rompetuercas.
4. Retire el resorte y posteriormente el tornillo de jación situado en la parte lateral de la
cuchilla que impide que ésta salga.
5. Extraiga la cuchilla y reemplazarla.
6. Introduzca el tornillo de jación descrito en el paso 4 y posteriormente el resorte.
7. Enrosque el cabezal del rompetuercas.
8. Alinee la cuchilla para que su guía ranurada coincida con el agujero del tornillo lateral de
rompetuercas.
9. Introducir el tornillo lateral del rompetuercas.
ADVERTENCIA: No usar el rompetuercas en tuercas cuadradas.
SOLUCIÓN A POSIBLES ERRORES
a) El pistón no avanza:
- Cierre completamente la válvula de descarga.
- Compruebe el nivel de aceite.
- Compruebe posibles daños en el cilindro.
- Comprueba las dimensiones de la tuerca y su dureza.
4
b) No hay presión en el sistema:
- Compruebe que no existan fugas o que las conexiones estén perfectamente apretadas.
c) El pistón no retrocede o no retrocede completamente:
- Abra la válvula de descarga.
- Compruebe el nivel de aceite. Retire aceite si hay exceso dentro del sistema.
- Muelle de retroceso fracturado o fatigado.
NOTAS
¡IMPORTANTE!
El fabricante no se responsabiliza de los daños o mal funcionamiento de la máquina en
caso de que no se use correctamente o se haya utilizado para trabajos para los que no está
diseñada.
GARANTÍA
El fabricante garantiza al comprador de ésta máquina la garantía total durante 12 meses de
las piezas con defectos de fabricación.
Esta garantía no cubre aquellas piezas que por su uso normal tienen un desgaste.
Nota: para obtener la validez de la garantía, es absolutamente imprescindible que
complete y remita al fabricante el documento de “CERTIFICADO DE GARANTIA”, dentro
de los siete dias a partir de la fecha de compra.

5
ENGLISH
HYDRAULIC NUT DESTROYER
Nuts and bolts are widely used in industrial production. In the open air, high temperature or
corrosive atmosphere, a lot of nuts and bolts oxidize; also some threads are destroyed due to
being smashed. Generally, it’s very dicult remove the nuts.
Presently, the method for cutting the nuts is used welding combustion, however, in the special
working environment, it’s forbidden to use re or electricity, such as petrochimie, oil companies,
that is, potentially explosive environments.
Our company has succesfully developed a hydraulic nut destroyer, fast, safe and with high
eciency to solve problems.
TECHNICAL PARAMETERS
COD. M Ton
57511 M6-M12 10-19 5
57512 M12-M16 19-24 10
57513 M16-M22 24-32 15
57514 M22-M27 32-41 20
NOTE: The maximum hardness of the nuts to be cut should be less than 44HRc.
INSTRUCCIONES DE USOINSTRUCCIONES DE USO
1. Connect the nut destroyer to the pump and close the pump release valve.
2. Place the nut destroyer head over the nut with her corresponding measure. See table
NOTE: The incorrect placement of the nut destroyer over the nut may cause malfunctions of
the item and the breaking of the blade.
NOTE: Before starting, add oil for cutting tools at the cutting edge of the blade to prevent
wear or break.
3. Operate the pump until the cutter blade cuts through the nut.
4. Open the release valve to retract the blade to its initial position.

6
5. Remove the nut destroyer and realize the same process putting the blade on the
opposite place of the nut. Then, nut will break in two parts.
Step 3 Step 5
Rotate the nut destroyer through 180 degrees
6. Finally, remove the nut destroyer and the broken nut.
CUTTING BLADE REPLACEMENT
1. Disconnect the nut destroyer of the manual pump.
2. Remove the screw from the side of the nut destroyer body.
3. Unscrew the head of the nut destroyer.
4. Remove the spring and later the setscrew from the side of the cutting blade that it
prevents the release of the blade.
5. Pull the cutting blade and replace it.
6. Insert the setscrew described in step 4 and later the spring.
7. Screw the head of the nut destroyer.
8. Align the blade to match her guide with the hole of the lateral screw of the nut destroyer.
9. Insert the lateral screw of the nut destroyer.
WARNING: Not to be used on square nuts.
SOLUTION TO POSSIBLE MALFUNCTION
a) The piston does not advance:
- Close the external drain valve completely.
- Check the oil level.
b) There is no pressure in the system:
- Check for leaks or the connections are tight perfectly.

7
c) The piston does not go backwards or it does not go backwards completely.
- Open the external drain valve.
- Check the level oil. Remove oil if there is a lot inside the system.
NOTES
IMPORTANT!
The maker will not take responsibility for damage or malfunction as a result of the product
being incorrectly used or, applied for a purpose for which it was not intended.
GUARANTEE
The maker guarantees to the machine owner 12 months against any manifacture defect.
This guaranteee do not cover the parts wich are consumables.
Note: to apply the guarantee its necesary to send the “GUARANTEE CERTIFICATE” duly
lled within one week after purchased the machine to the maker.

8


This manual suits for next models
3
Table of contents
Languages:


