EICKMEYER EickView 50 Configuration guide
Cleaning and Instruction Manual
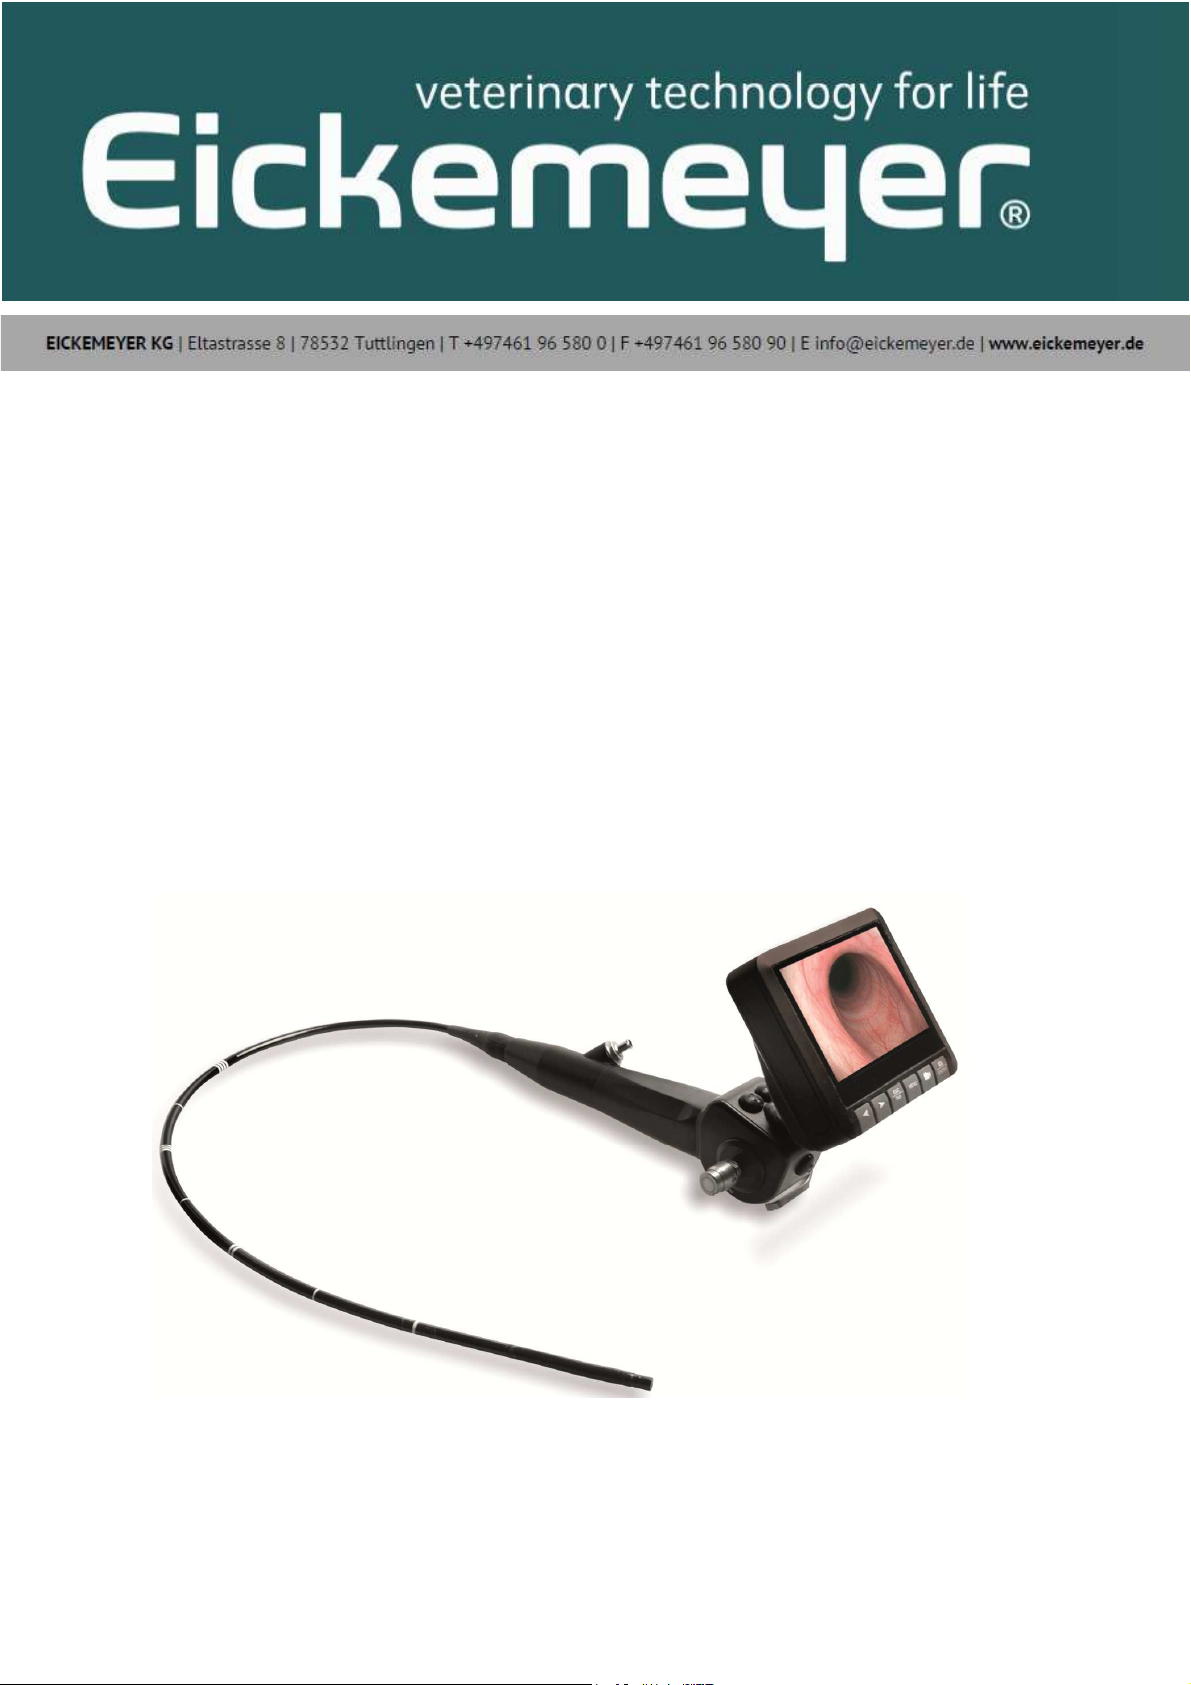
EickView 50/ 60/ 70
Videoendoscope

1
1. Safety 2
2. Applicable Scope 4
3. The notice of use 4
4. Configuration 4
5. Operation 6
6. Cleaning and Sterili ation 10
7. Storage 11
8. Functional Check 12
9. Malfuction and Solution 13
10. Technical Specifications 14
2
In order to use the device well, please read the instruction manual carefully, according to the
specific procedures to operate the device.
1.Safety
1.1 Introduction
All users, operators, and maintainers must be familiar with and pay particular attention to all
Warnings and Cautions incorporated herein.
Before use this product, please read the instruction carefully to ensure you can use it in a safe,
correct and effective way.
Table1: Warning and attention label
Signal Meaning
Warning
Warning
“Warning “ indicates in case of neglect of attention the presence of a
hazard that could result in severe personal injury, death or substantial
property damage.
Note
“Note indicates informs the user in case of neglect of attention to be
improper installation, operation or maintenance, such behavior can
lead to device damage.
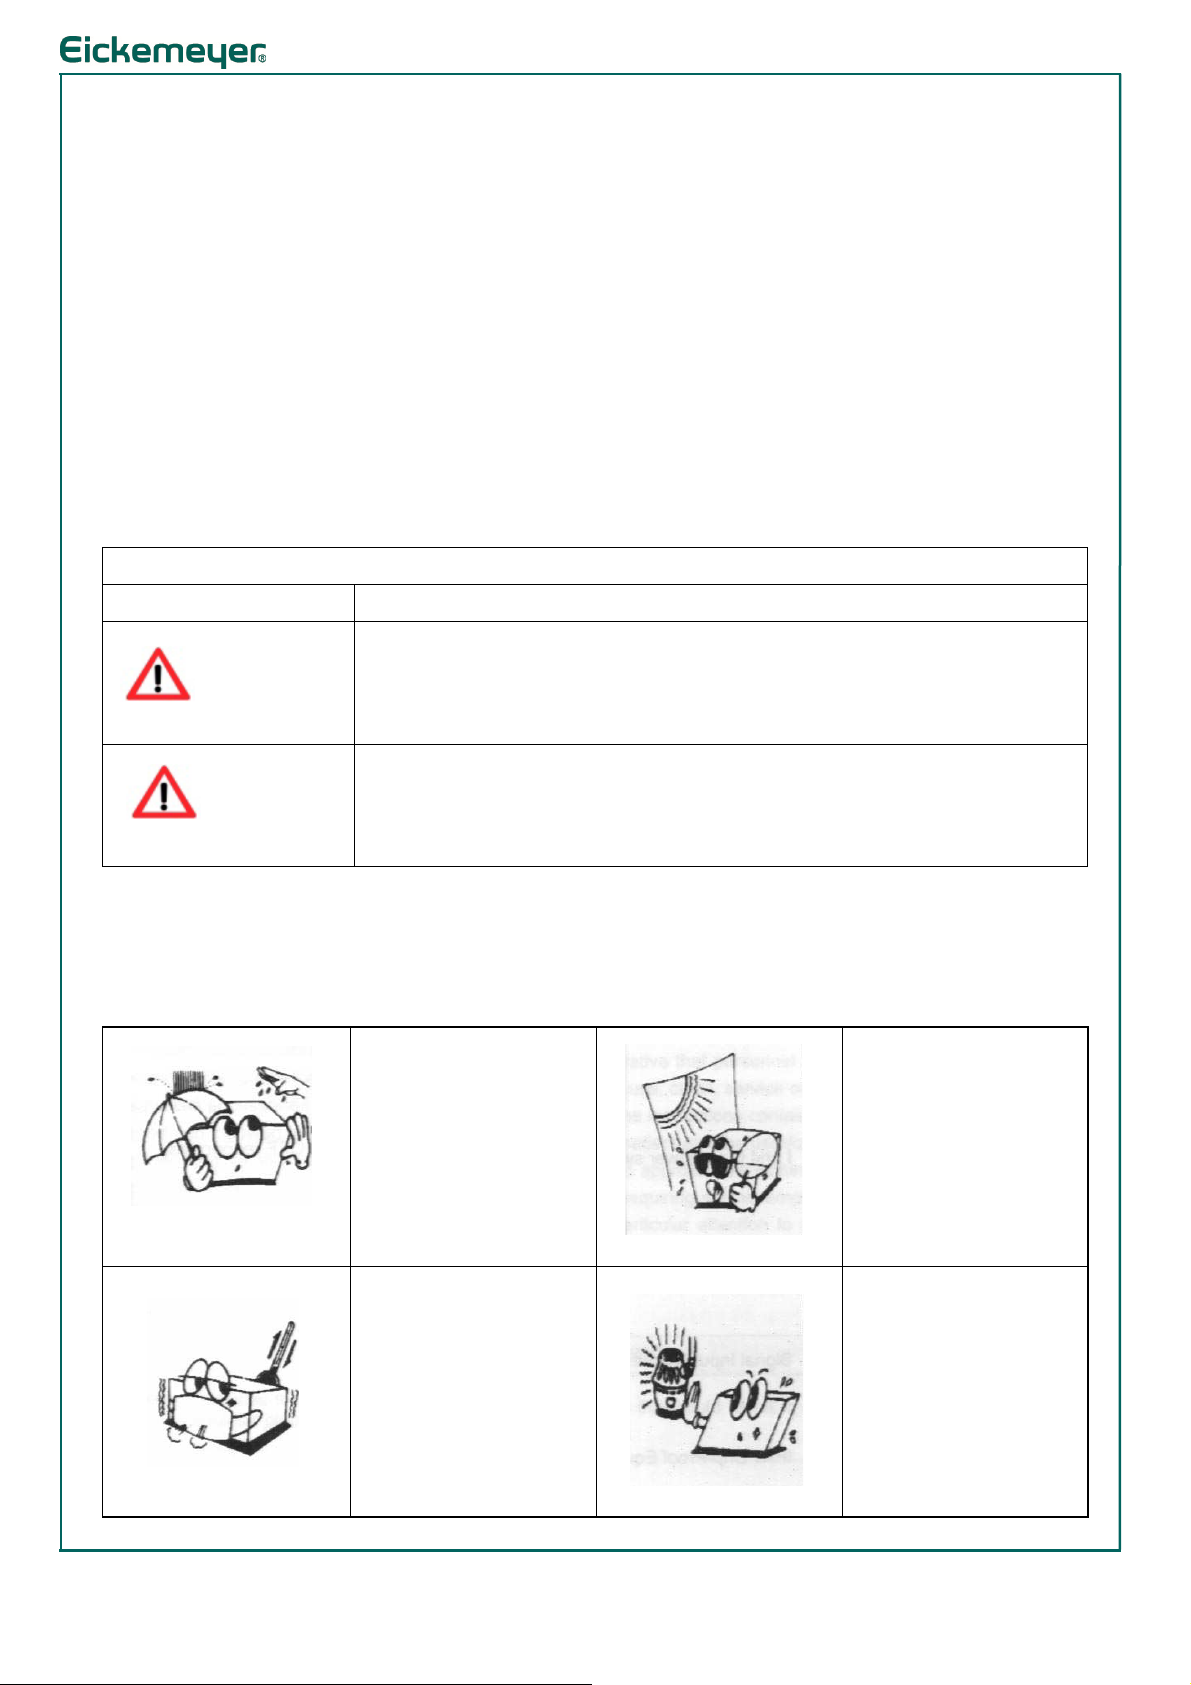
1.2 Environment factors
1.2.1 Avoid the following environments
Where the device is
exposed to water vapor.
Don’t operate a device
with a wet hand.
Where the device is
exposed to direct
sunlight.
Where the temperature
exchanges extremely.
Where it is near the
heat equipment.
3
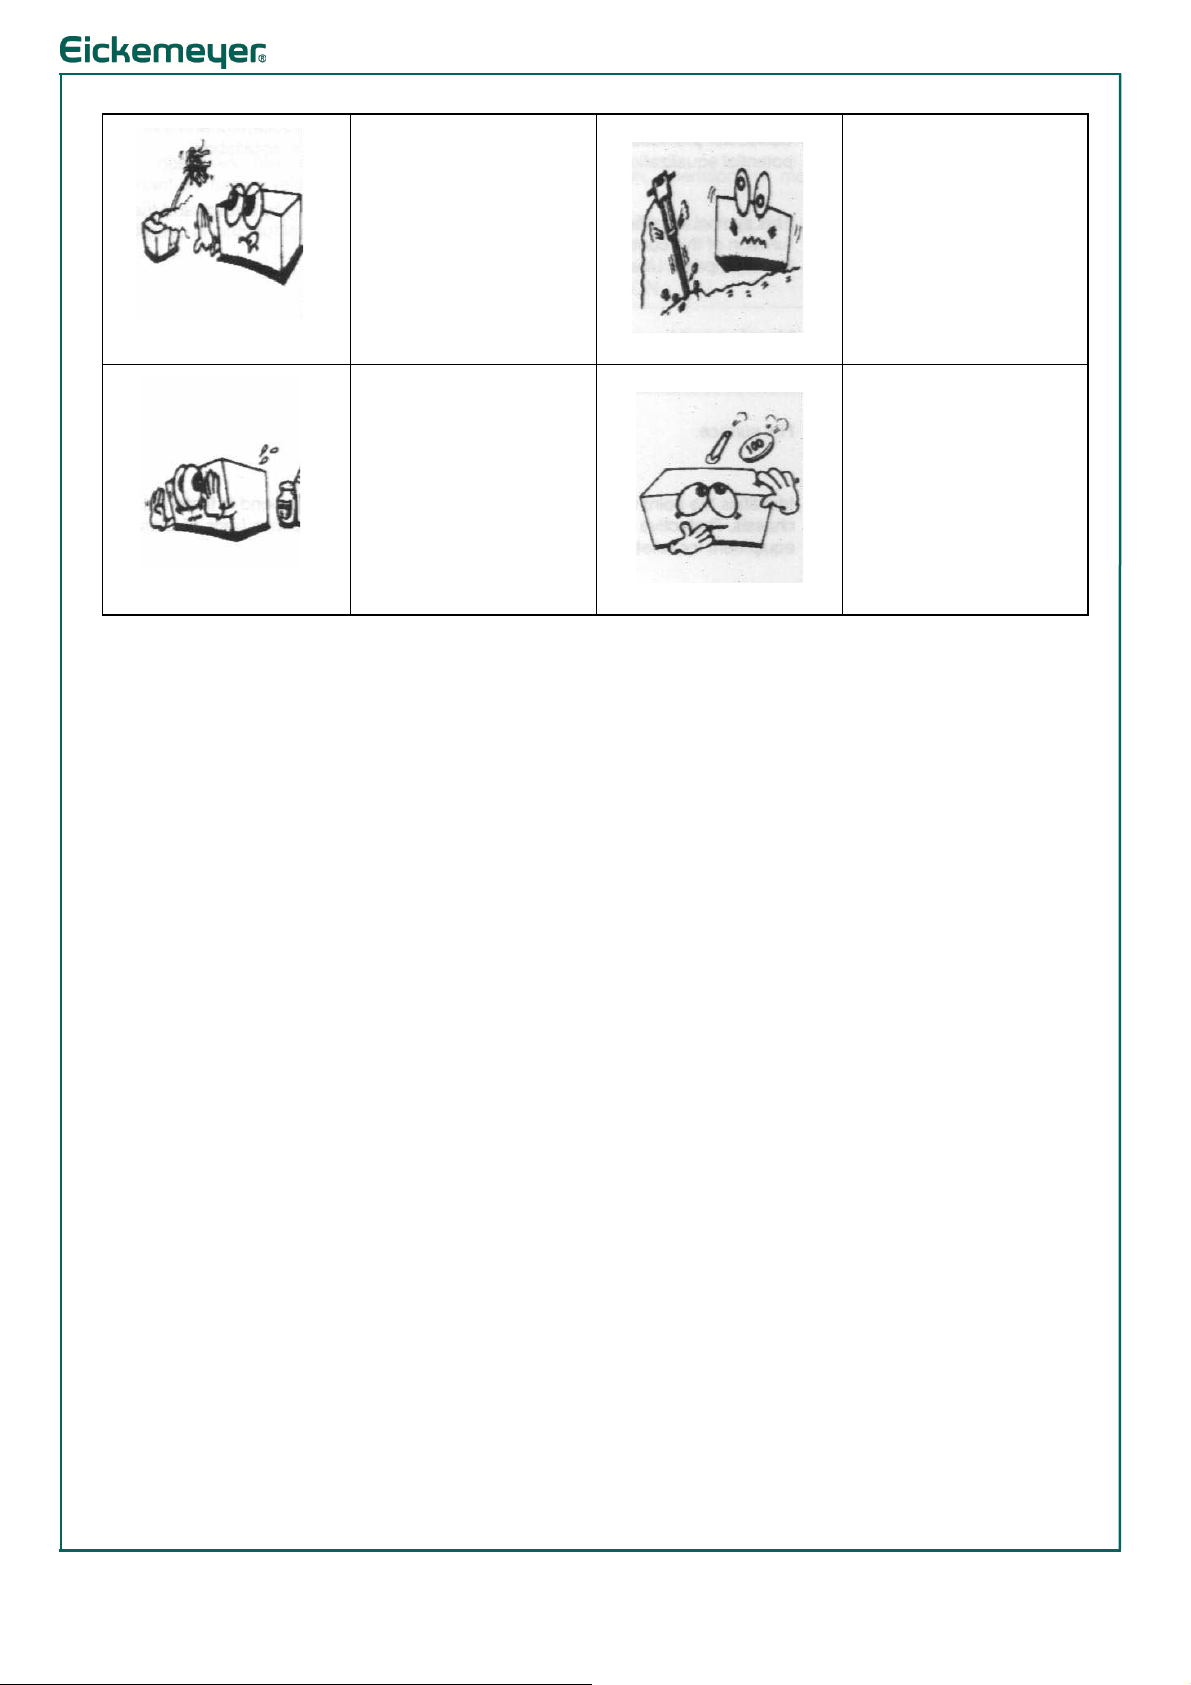
Where the humidity is
extremely high or there
is a ventilation
problem.
Where the device is
subject to excessive
shocks or vibrations.
Where device is
exposed to chemical
material or explosive
gas.
Where the device is
exposed to dust and
corrosive air.
- Never pull out the plug by holding the cable.
- Avoid places where the ambient temperature falls below 10°C or exceeds 40°C.
- Do not dismantle the device except the authorized person.
- Please immediately shut off the power when the device damage, appears abnormal
image or can’t bend after cleaning and disinfection.
- This equipment may only be used together with accessories supplied by
manufacturer.
- Please put the manual at the place where the operator and maintainer can easily
get.
- Before every operation, visually check the equipment for exterior mechanical
damages and for proper function.
- Please make sure you will deliver the electronic rubbish, packaging materials to the
specialized collection place in accordance with the requirements of local laws and
regulations.
4
2. Applicable Scope
Portable VET videoscope can be used as an inspection and diagnosis equipment of upper
respiratory tract (including sinus, throat and trachea), also it can record the procedure as
images or videos on the SD card for observation or printing.
3. The notice of use
- The device must be installed, operated and maintained by trained and qualified
person, or do it under their direct supervision.
- The maintenance of this device should be done in accordance with this user
manual.
- Please immediately clean, disinfect, dry and store the videoscope in a designated
location after using this equipment.
- The package of this device can not be pressed, impacted and knocked so as to
prevent deformation damage.
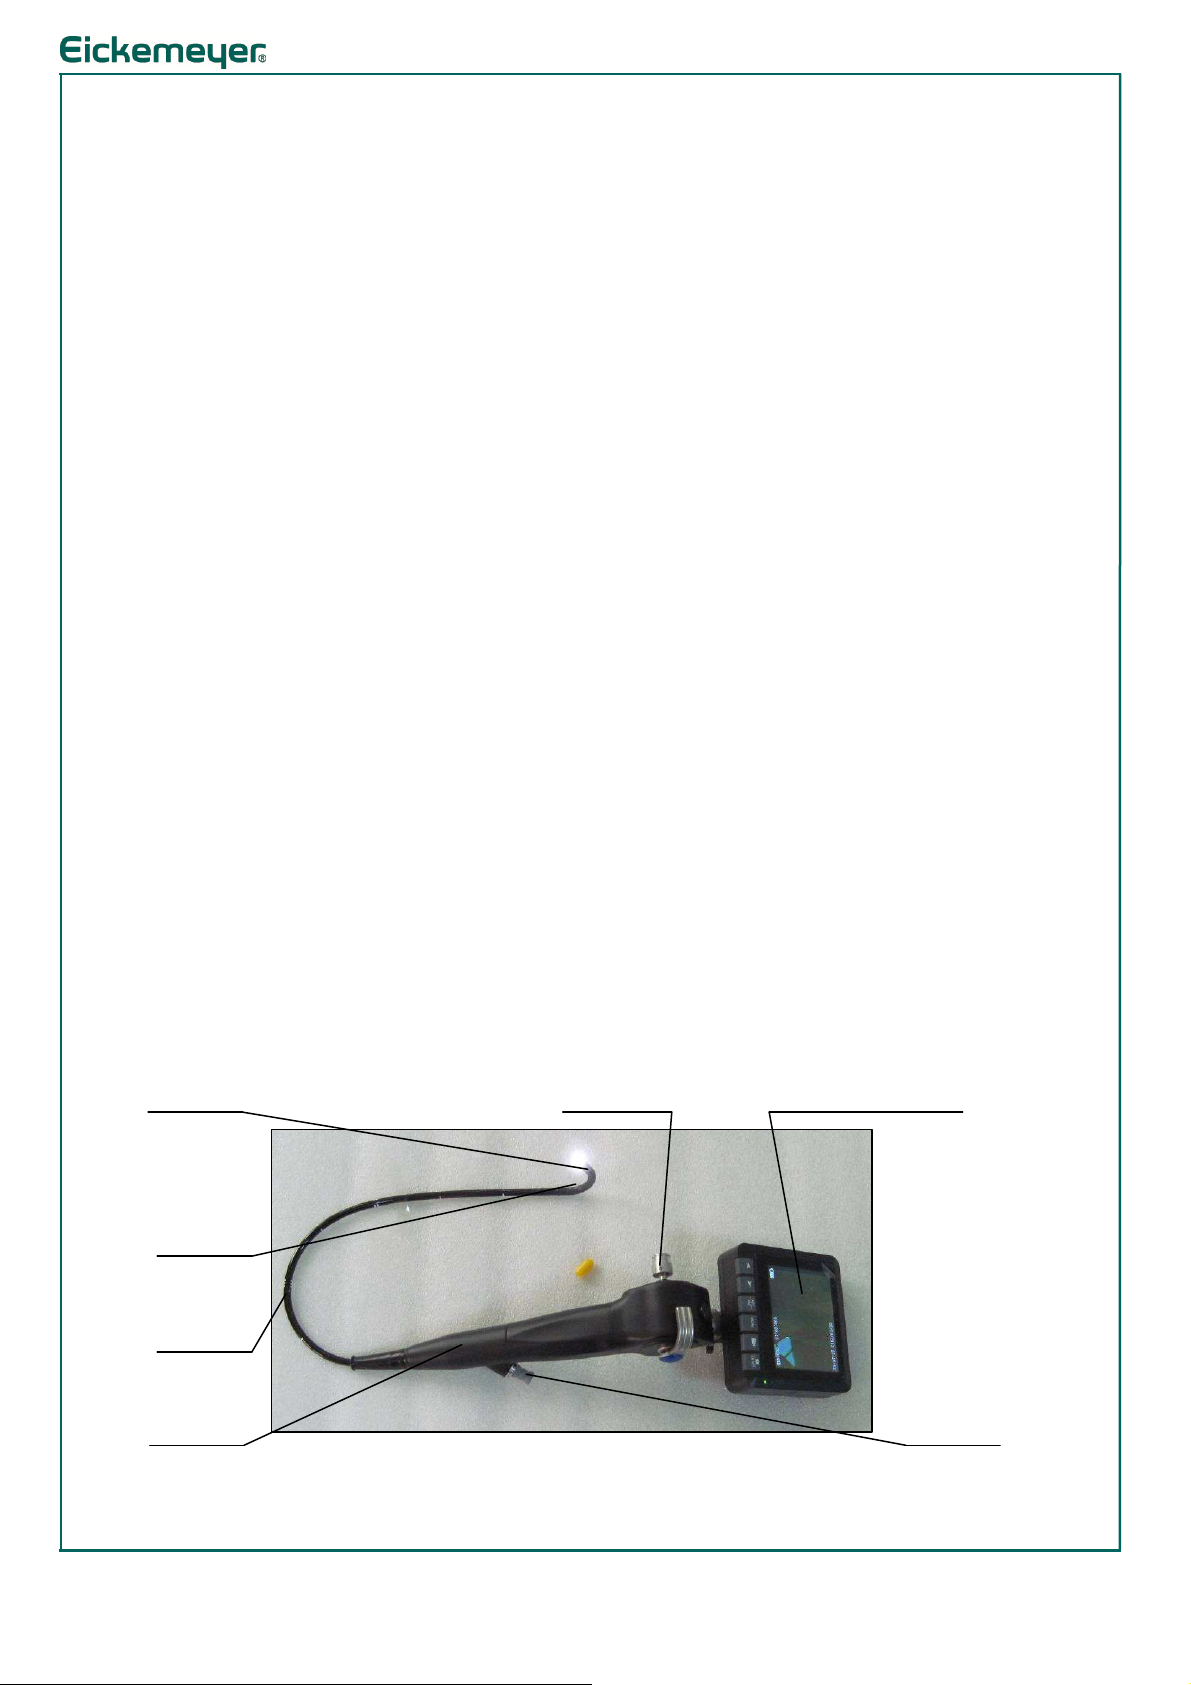
4. Configuration
4.1 This equipment consists of several components: portable VET videoscope, 3.5
LCD display, power adaptor, AV output cable, USB cable, SD card, leakage tester,
vent cover, adaptor for forceps, cleaning brush ,etc.
Portable VET videoscope consists of distal part, bending part, insertion part and
operation part.
Distal Part Adaptor for Leakage Tester 3.5 LCD display
Bending Part
Insertion Part
Operation Part Instrument channel
Portable VET Videoscope

5
Biopsy Forceps Cleaning Brush Leakage Tester
Adaptor for Forceps SD Card Vent Cover
Power Adaptor USB Cable AV Output Cable
4.2 Definition
- Distal part: Image sensor and fibers for illumination.
- Bending part: Bending up and down in two directions.
- Insertion part
- Operation part: It’s the holding and operation part.
- Leakage tester: Connect to the adaptor for leakage tester to check the seal of
videoscope.
- Vent Cover: During gas sterilization, transportation or long-term storage
ventilation cover should be installed on the adaptor for the
leakage tester, while in the cleaning, liquid immersion
disinfection it should be removed.
- 3.5 LCD : Supply the power to videoscope and show the image on the
screen.

6
- SD card: To save the files of pictures and video.
- Power adaptor: To charge the 3.5 LCD.
- USB Cable: To connect computer to read out file
- AV output cable: Output image signal to show in monitor
- Cleaning brush: To clean the instrument channel
- Biopsy forceps: To do biopsy with forceps
5. Operation
5.1 Install 3.5” LCD
Make the red dots on the lock of LCD and the adaptor of videoscope on a same level, connect
the LCD on the adaptor of videoscope and lock clockwise tightly. The LCD can be rotated.
5.2 Insert SD card
Lift the protective cover on the left side of the LCD,
face up SD card into the slot completely, then close
the over. If there is no card inside of LCD, please do
not to take photo or video. If you want to take the SD
card out, please push the card gently.
Note
To install and disassemble the 3.5 LCD should be very careful in case of falling down.

7
5.3 Switch on the power
Turn on the switch on the upper of LCD to the ON position. The portable VET videoscope starts
to work.
5.4. Bending control
Rotate the pole of bending to control the up and down bending.
5.5 Working channel
Open the sealing part, insert the biopsy forceps into instrument channel in the center of the
rubber cover.
Biopsy Forceps Rubber cover of adaptor
of instruments
Note
Do not overexert when bending. If the bending resistance is too much or it can not in place or
cannot bend, it should be returned to service repair.
When the insertion part set up, do not touch the pole of bending, to avoid damage to internal
parts
8
Note
It should be used with the biopsy forceps supplied by Manufacturer. Do not use other brands
and different specification instruments, to avoid any damage.
Inserting instruments: The bending part must be straight.
Insert Instrument first, than move bending part
Note
Do not insert the instruments when the distal part is bending, to avoid damage the inner
parts.
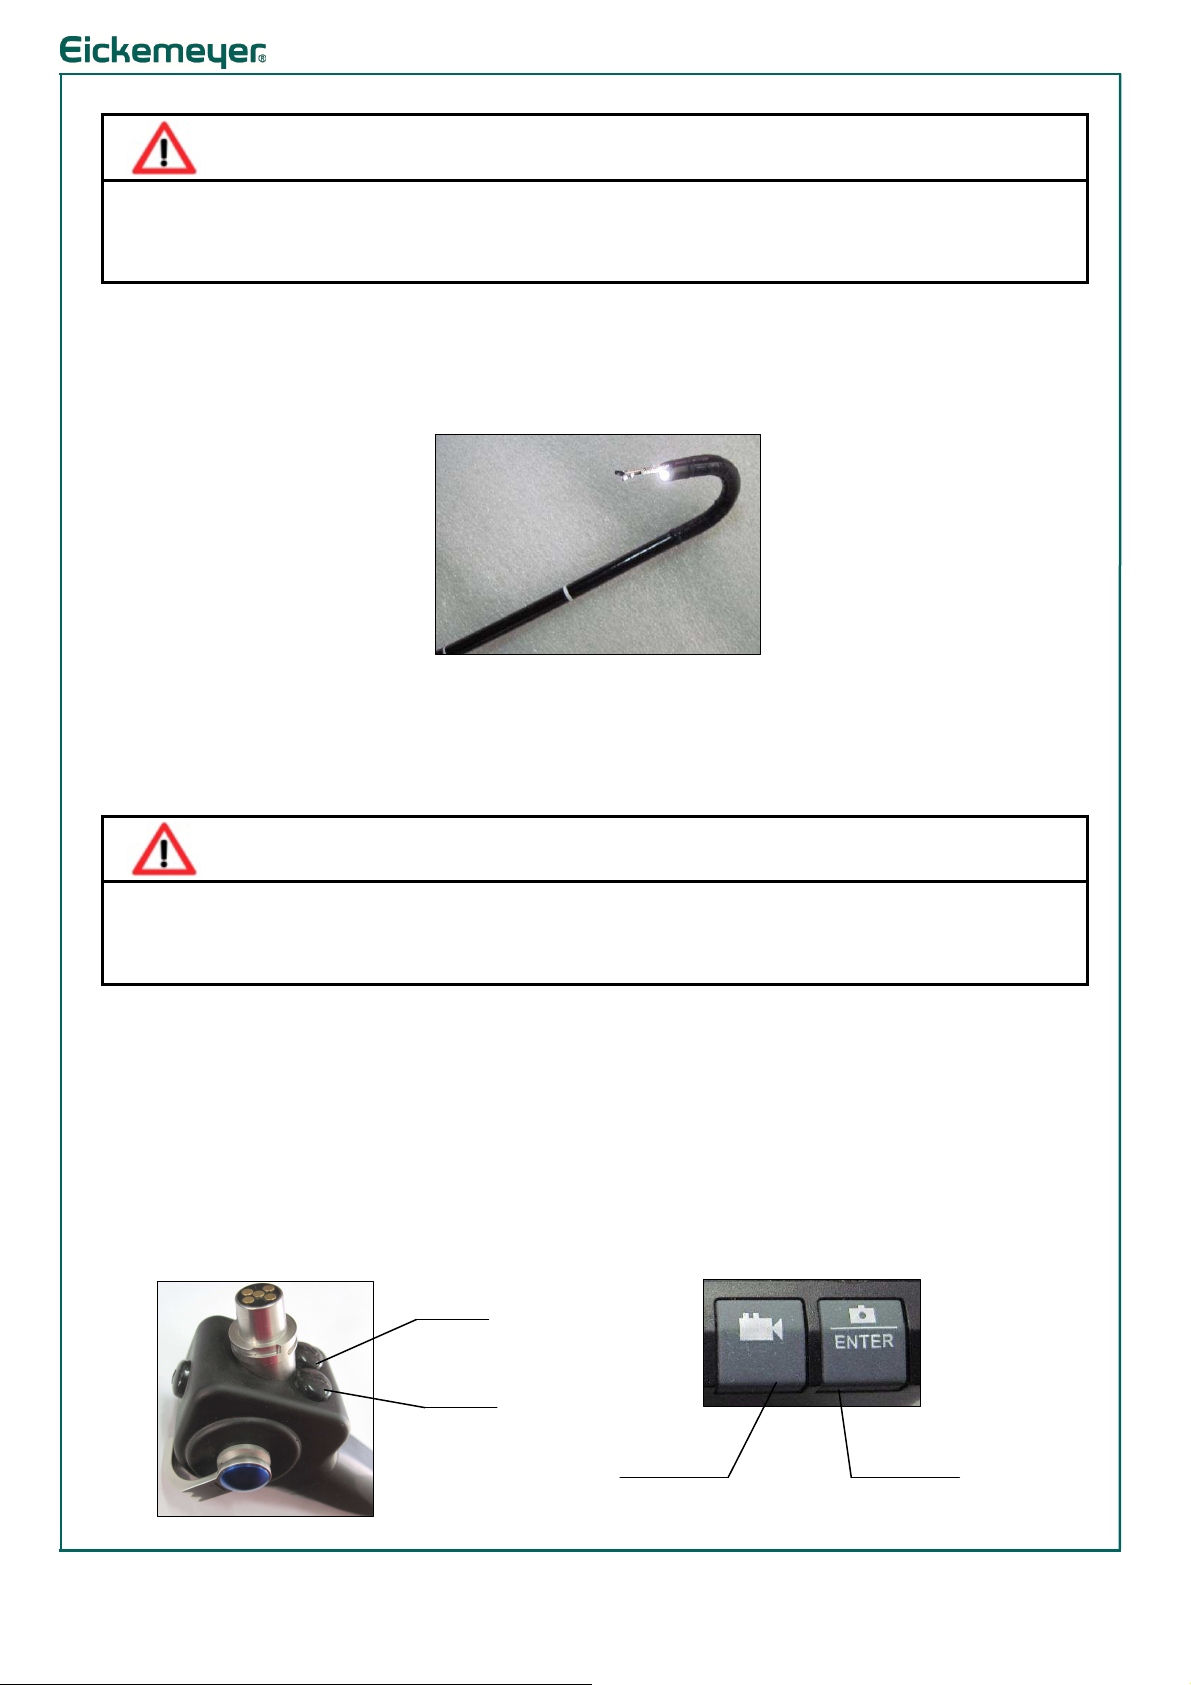
5.6 Recording
Press the camera button on the LCD or button1 on the operation part to take photos. Press the
video button on the LCD or button 2 to take the video. To browse the photos or videos, please
choose menu and check the files. The details of operation of 3.5 inch display, please refers to
Pos 5.1.
Button 2
Button 1
Video Button Camera Button

9
5.7 White balance
If unsatisfied with the color, press button3 to white balance .Keep distance 1~2cm from a
white objective, and immediately release the button.
Button 3
5.8 Disassemble
Turn off the power of 3.5 LCD after using, switch off the adaptor of LCD and take it off from
the videoscope.
5.9 Charge
You need to charge when low battery of the LCD. It takes about 10 hours to make fully charge.
The red light will be off if the charging is finished. Pull out the power plug at this time.

10
6. Cleaning and Sterili ation
- Before and after each use, clean, disinfect and sterilize the videoscope.
- Before the disinfection or sterilization, Portable VET Vbideoscope should be cleaned
carefully.
- When finish using the device, ensure the power is off, take off the 3.5 LCD from the
videoscope. Please use alcohol or neutral detergent to make wipe disinfect for LCD.
- Do not wash SD card. If necessary, clean the SD card with alcohol cotton.
- Disinfected solution must be clearly indicated suitable for endoscopes.
Note
- Before cleaning, ensure the sealing of videoscope. Do not install the vent cover.
- After using the videoscope, please clean it immediately. Do not use any cloth or tools
which can damage any surfaces of the device.
Cleaning Brush
- There are two methods of disinfection for the portable VET videoscope :
1. Gas disinfection
It should be checked carefully if the vent cover is installed well, to ensure the airiness of
internal and external videoscope.
Install Vent Cover

11
2. Liquid disinfection
Recommend to use 2% alkaline glutaraldehyde solution to liquid disinfection.
Before each liquid disinfection it should be checked if the vent cover is removed, to ensure the
sealing of videoscopes. Otherwise the disinfection solution will damage videoscope.
Note
- For gas disinfection: the vent cover must be
installed
. Otherwise it would
damage videoscope due to the different of air pressure.
- For liquid disinfection: the vent cover must be
removed
. Otherwise it would
damage videoscope.
7. Storage
- Storage condition see 1.2 Environment factors.
- During the long-term storage, the vent cover should be covered, and the insertion part
and bending section should be placed straightly. Charge the battery of 3.5 inch display
every three months.
Note
- For long-term storage, the insertion part and bending section of videoscope
should be placed straightly.
- For long-term storage, the battery of LCD should be charged every three months.
- For long-term storage, the vent cover should be covered.
12
8.
Function check
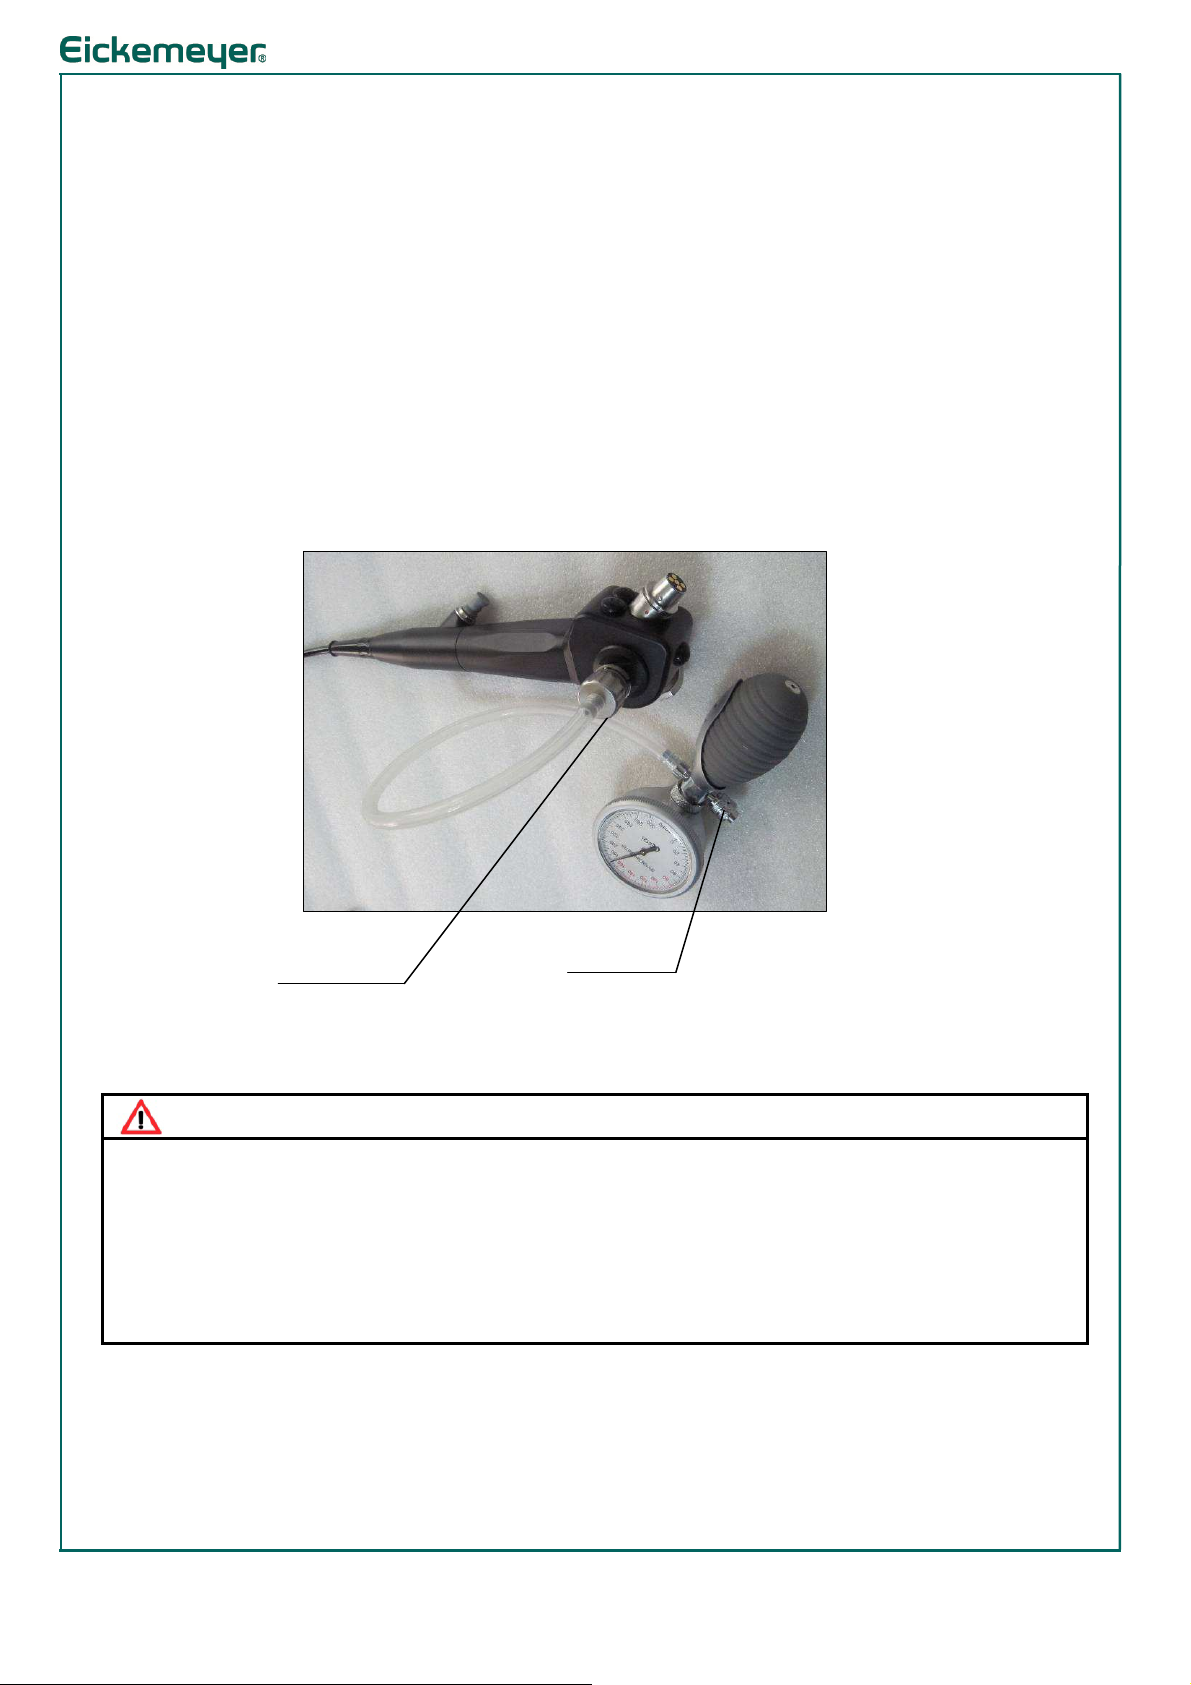
Leakage test
Connect the leakage tester to videoscope and rotate tightly. Screw down the deflated knob and
press the ball. Immerse the videoscope in the asepsis solution, keep the pressure 22 KPa for 30
seconds and observe the bubbles in solution. If there is no bubble and the finger of pressure
meter is changed within 2, it is seal. If it is more than 2, it is leakage somewhere. Do not use
the videoscope again and contact service. After leakage testing, take out the videoscope from
the solution. Screw off the deflated knob to the finger of presser meter to zero. Take off the
leakage tester from videoscpe. It would be damaged without deflation.
The adaptor of leakage tester The deflated knob
Note
- Before each operation please do leakage testing. Please do not use the videoscope if there
is any leakage.
- After each leakage testing, take out the videoscope from the solution, screw off the deflated
knob. After deflating, take off the leakage testing. Otherwise the videoscope would be
damaged.

13
9. Malfunction and Solution
9.1 No image or no illumination
- Check whether the power switch of 3.5 LCD is ON (turn the power switch to ON)
- Check the 3.5 LCD is installed well (re-install again)
- Check if the electricity of 3.5 LCD is low (charge the LCD)
9.2 No recording, no white balance and other operations
- Check if the 3.5 LCD is installed well (re-install)
- Check if the button on the operation handle is in failure or not. (If it does not work
properly, please contact our company for repair)
- Check if the button on the 3.5 LCD is in failure or not. (If it does not work properly, please
contact our company for repair.)
9.3 Bending failure
- The bending angle is not in place (send to the manufacturer or service).
- When bending resistance is too much (Do not use it, and immediately contact service).
- If it can not be bent (Do not use it, and immediately contact service).
9.4 Fro en image
- If the 3.5 LCD is frozen, turn off the power of LCD and after 10 seconds restart it again.
9.5 Air Leakage
- If there is any air leakage, do not use it again, contact service.
If the device doesn’t work after you do above corrective actions, please hand this device in
clean and sterilized condition to service.

14

15
This manual suits for next models
2
Table of contents


