Table of Contents
INTRODUCTION .....................................................................................................................4
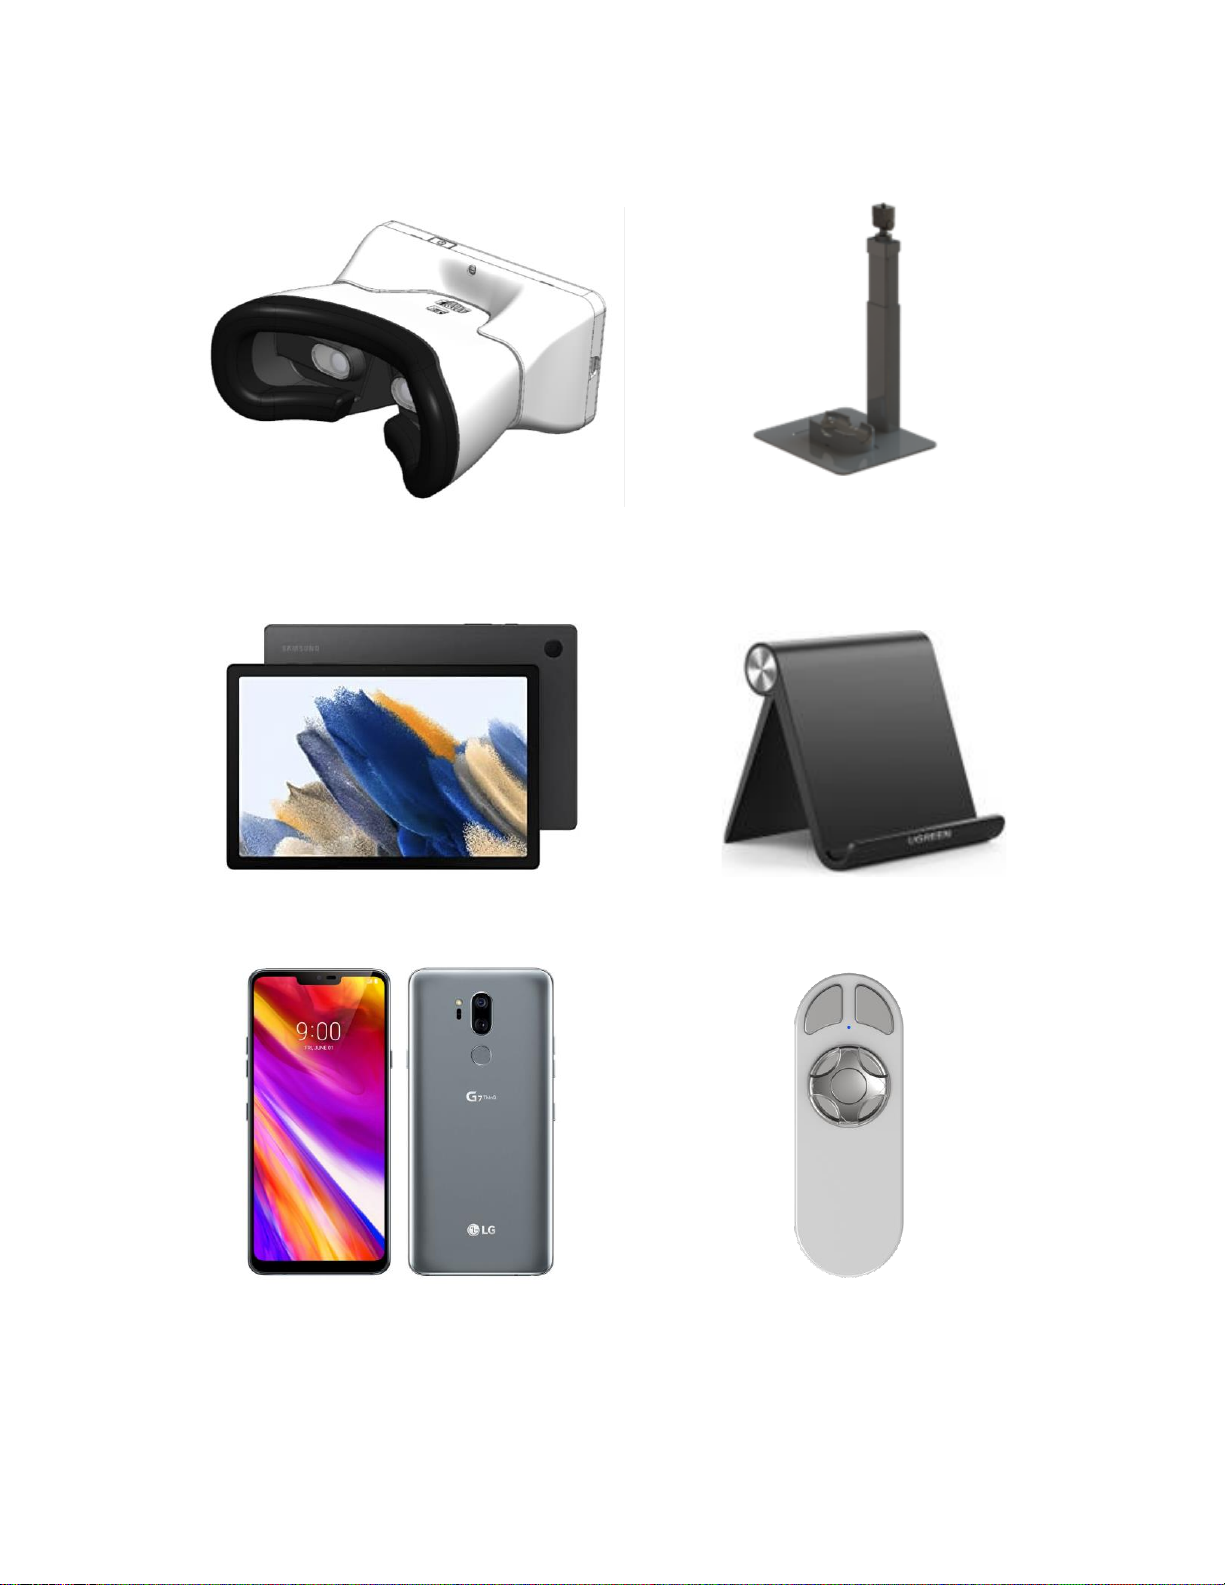
PACKAGE CONTENTS .............................................................................................................5
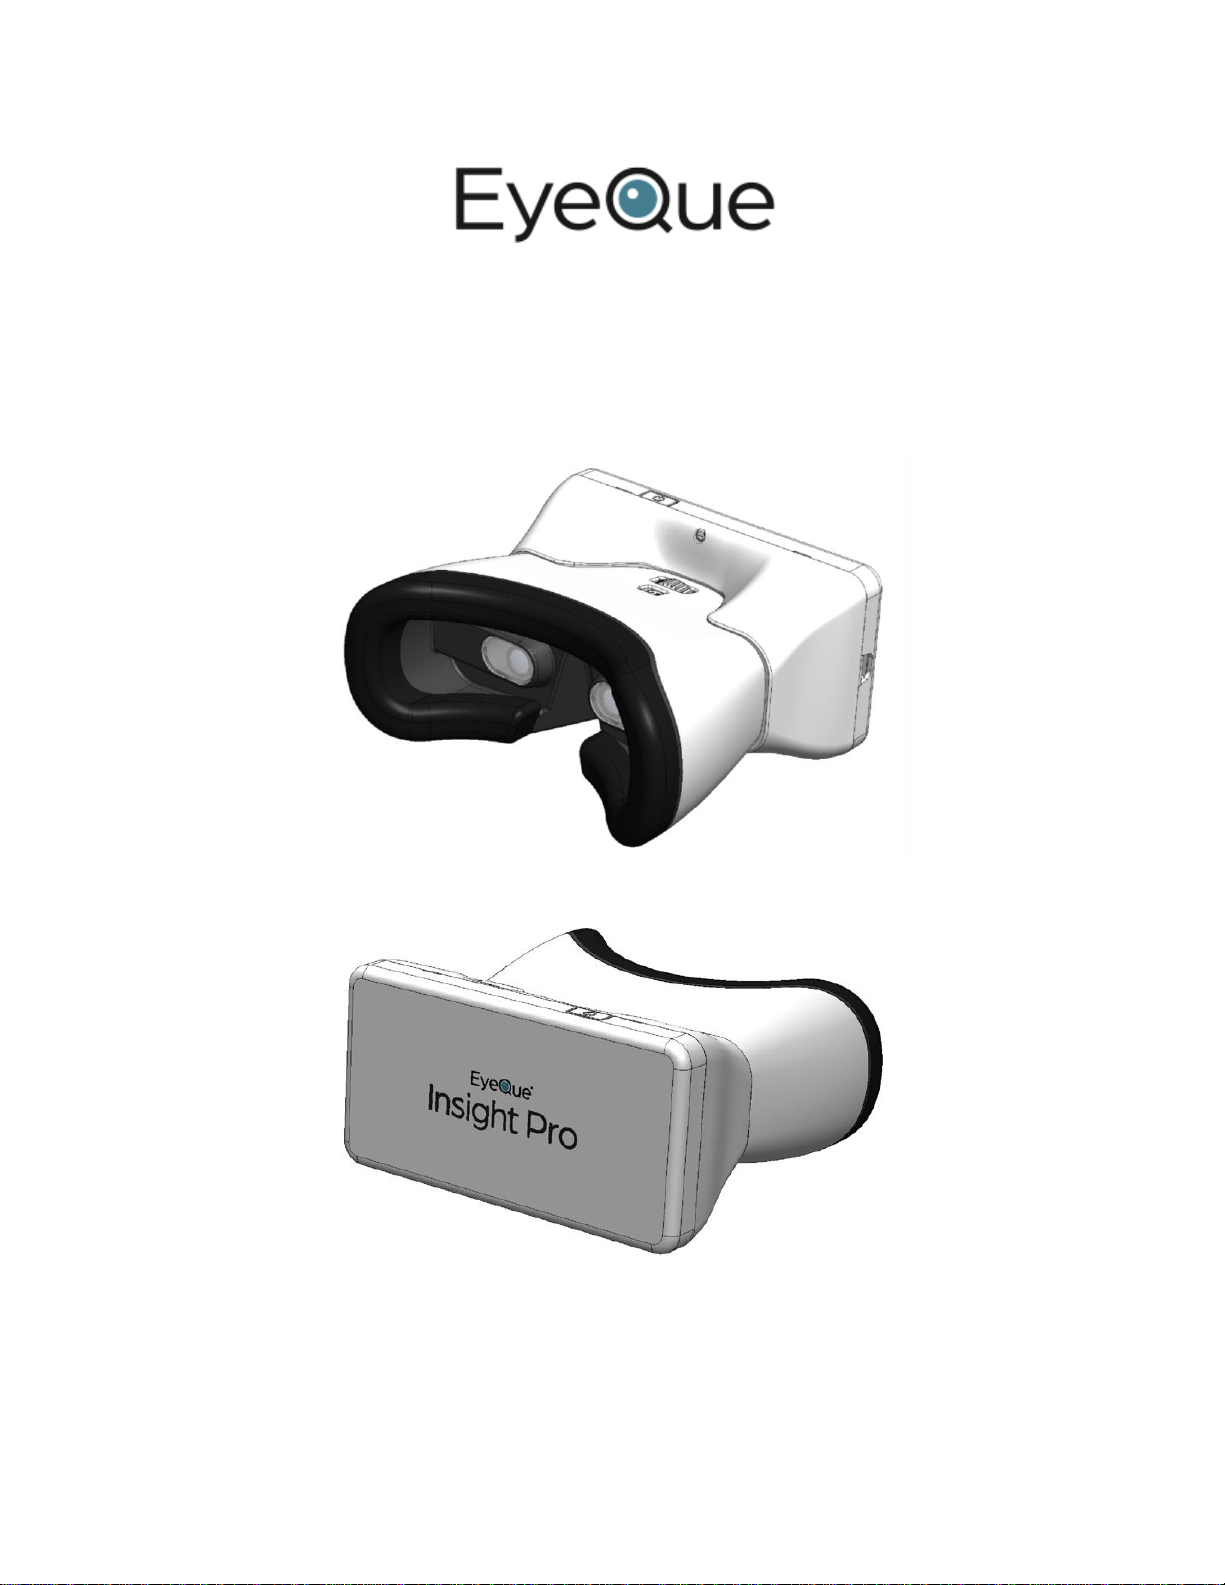
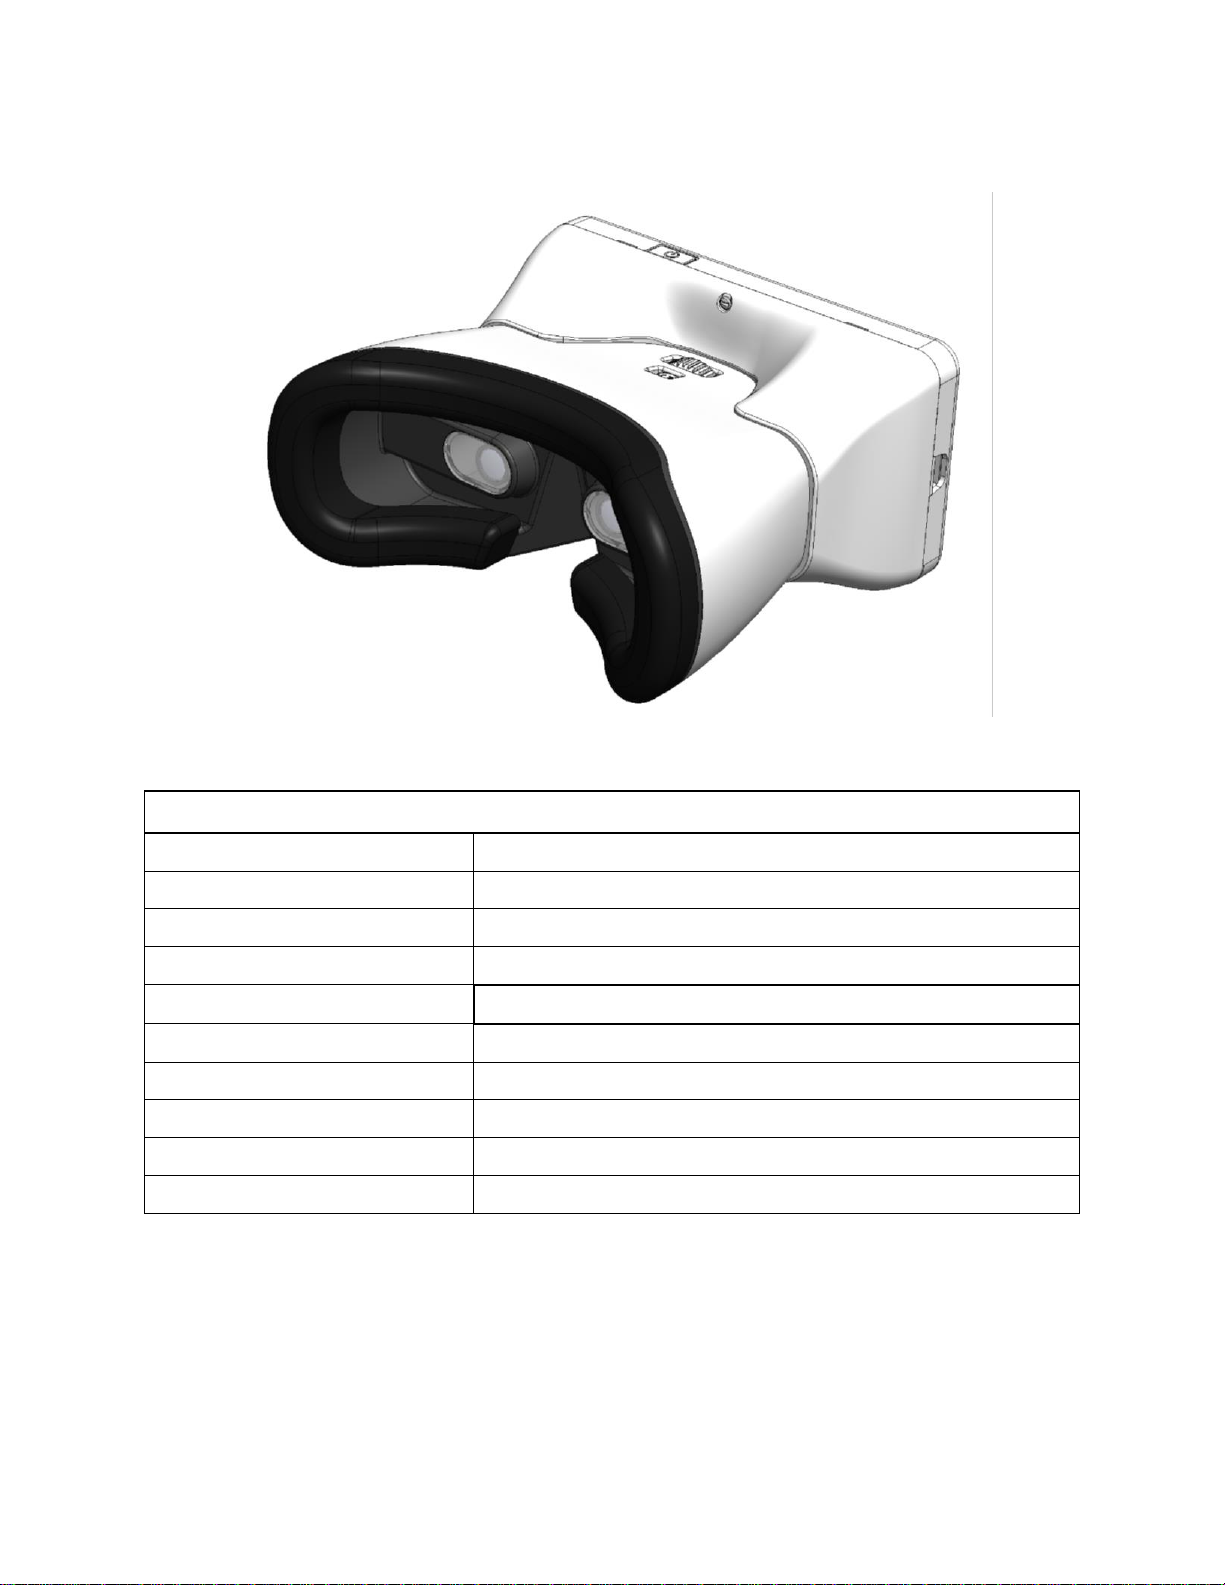
INSIGHT PRO .........................................................................................................................6
TECHNICAL SPECIFICATIONS................................................................................................................ 6
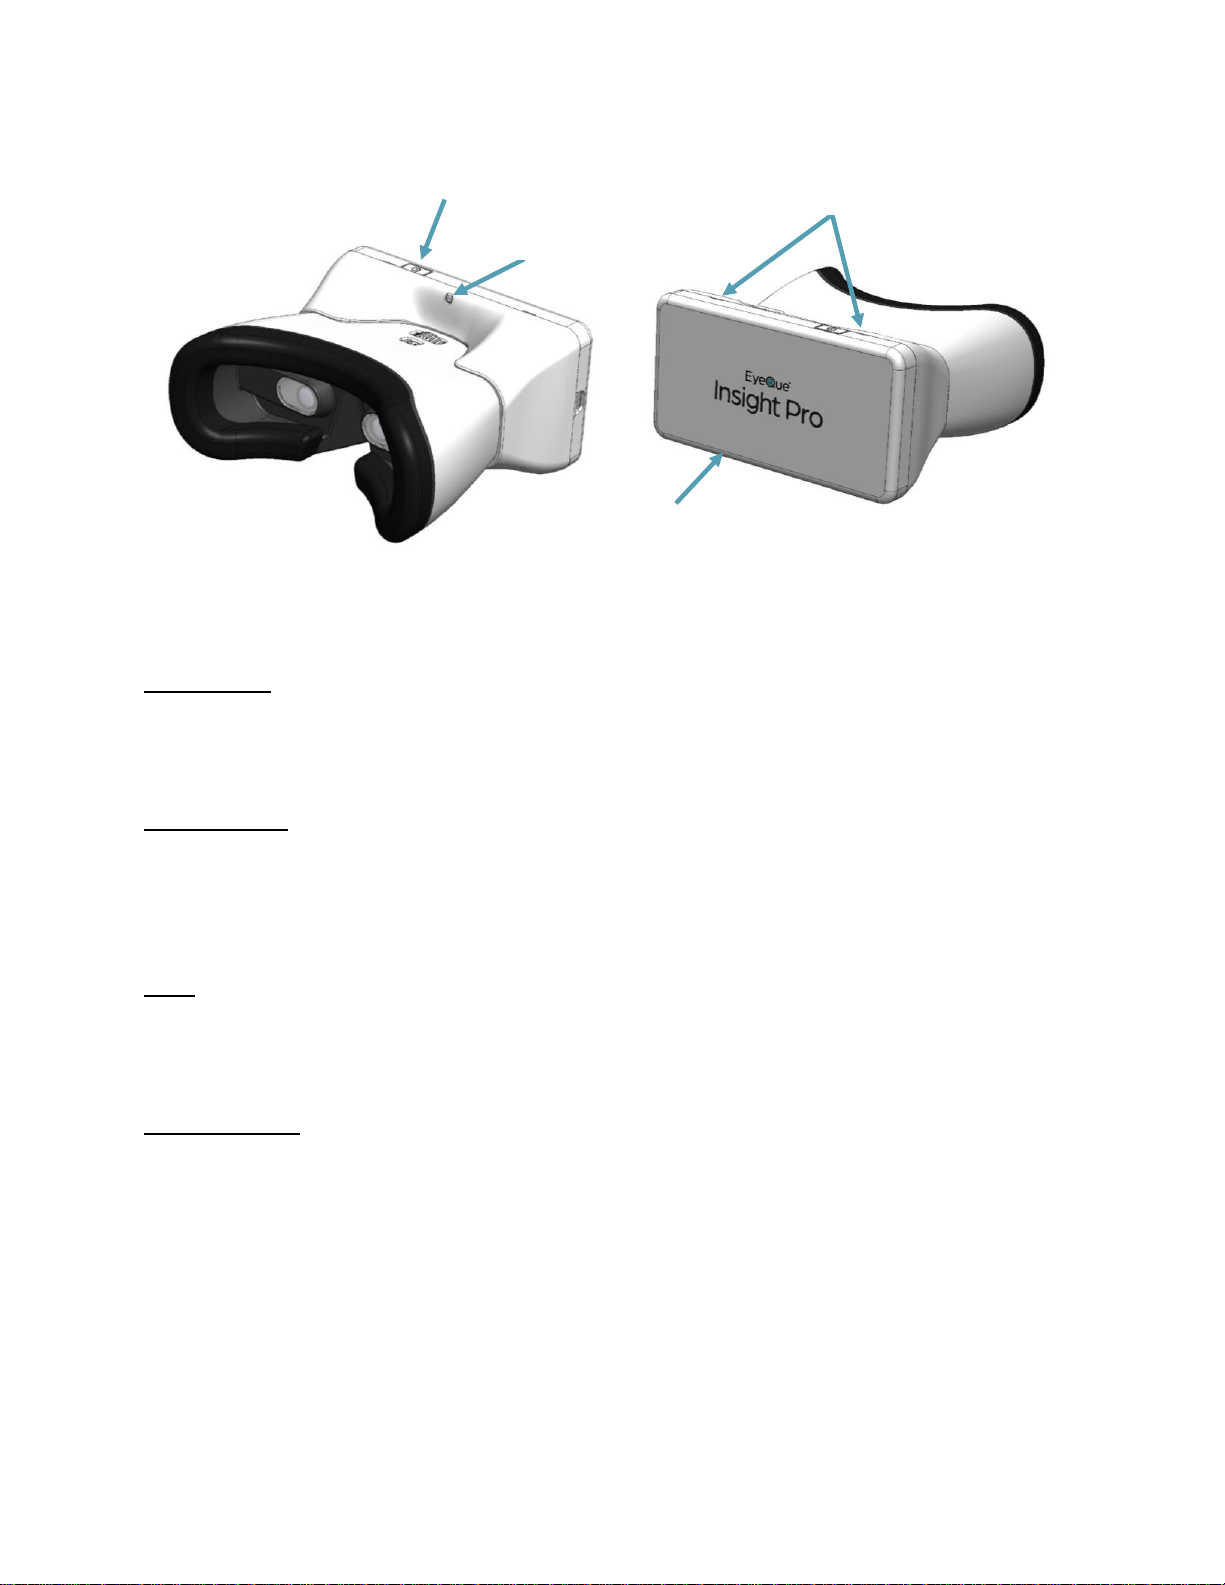
PRODUCT DESCRIPTION..................................................................................................................... 6
INSIGHT PRO CONTROLS.................................................................................................................... 8
CONTRAINDICATIONS ........................................................................................................................ 8
SAFETY INFORMATION....................................................................................................................... 9
WARNING....................................................................................................................................... 9
CLEANING....................................................................................................................................... 9
DISPOSAL ....................................................................................................................................... 9
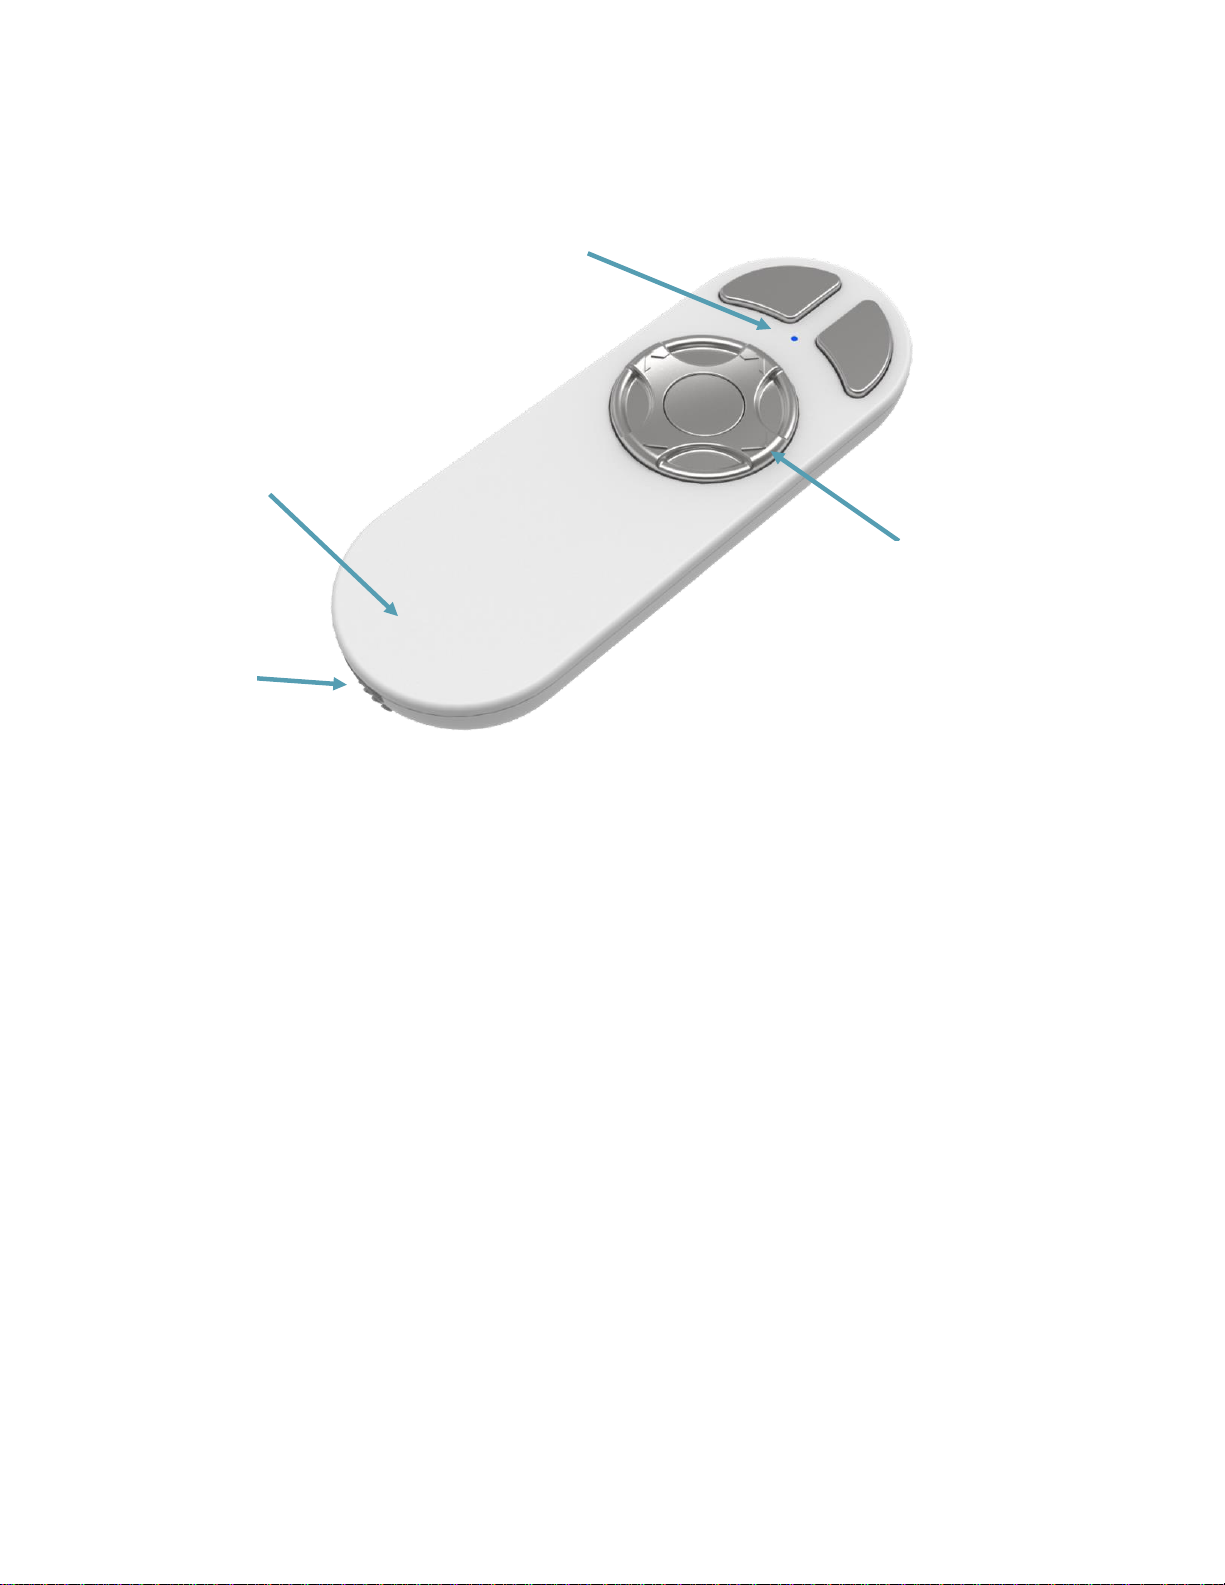
REMOTE CONTROL ..............................................................................................................10
PRODUCT DESCRIPTION................................................................................................................... 10
CHARGING .................................................................................................................................... 10
SAFETY......................................................................................................................................... 10
CLEANING..................................................................................................................................... 10
TABLET ................................................................................................................................11
SMARTPHONE .....................................................................................................................11
TABLE STAND ......................................................................................................................11
TABLET STAND.....................................................................................................................12
ASSEMBLY ...........................................................................................................................12
STAND ASSEMBLY........................................................................................................................... 12
EUC CASE ASSEMBLY ..................................................................................................................... 12
INSIGHT PRO PHONE ASSEMBLY AND REMOVAL ................................................................................... 12
ADMINISTRATOR INSTRUCTIONS FOR USE ...........................................................................13
SMARTPHONE SETUP ...................................................................................................................... 13
PDCHECK AR................................................................................................................................ 13
ADMINISTRATOR TABLET INSTRUCTIONS –GUEST MODE ....................................................................... 14
ADMINISTRATOR TABLET INSTRUCTIONS –LOG IN................................................................................ 18
EYEQUE CONNECT INSTRUCTIONS........................................................................................19
GENERAL TESTING PROCEDURE FOR PATIENTS ..................................................................................... 21
VISUAL ACUITY TEST....................................................................................................................... 21
COLOR DEFICIENCY TEST.................................................................................................................. 21
CONTRAST SENSITIVITY TEST............................................................................................................. 21
AMSLER GRID................................................................................................................................ 21
CHARGING .................................................................................................................................... 22