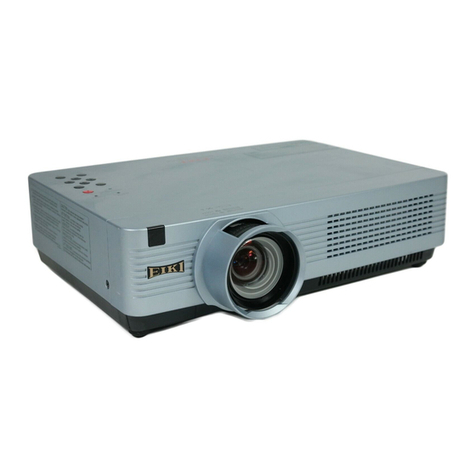
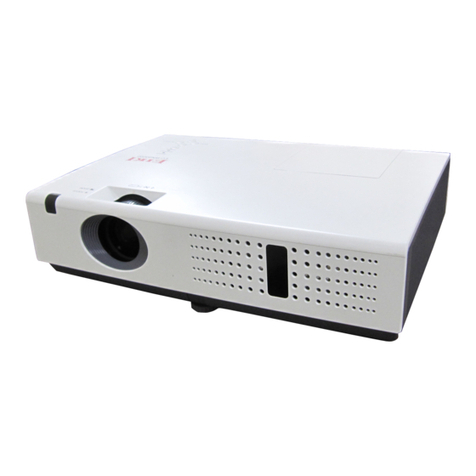
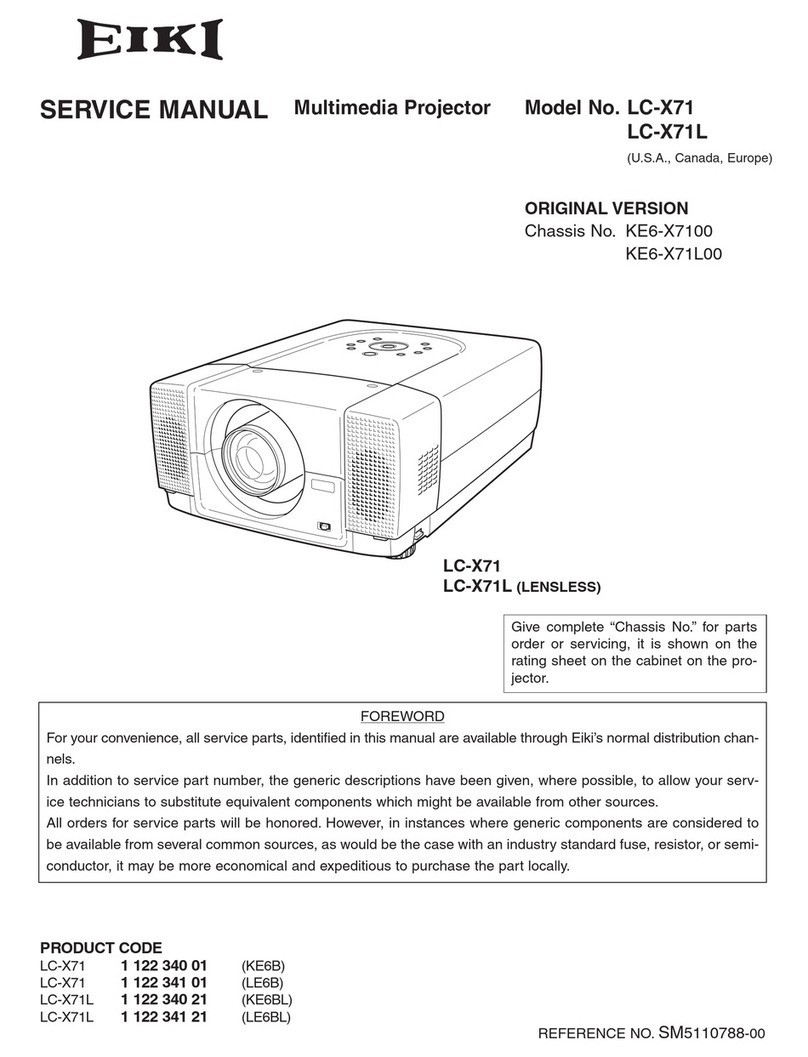
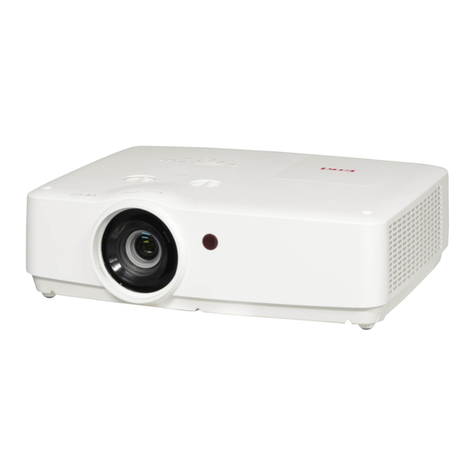
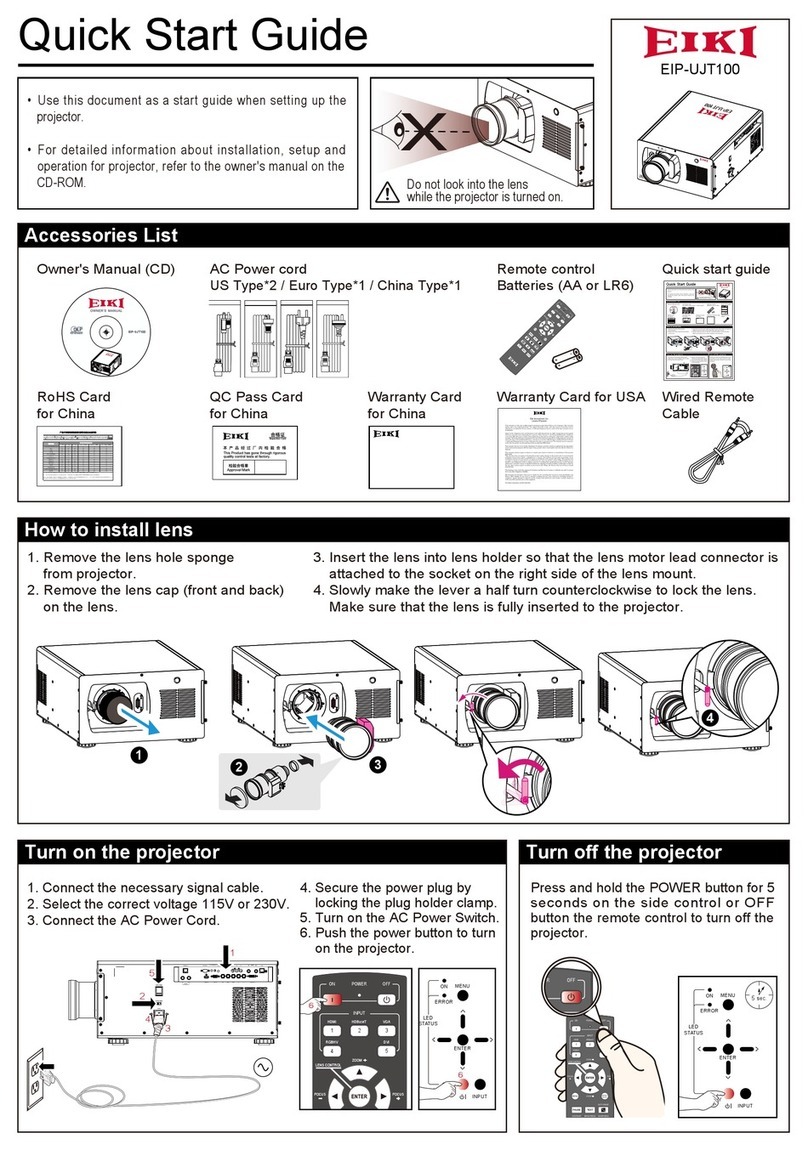
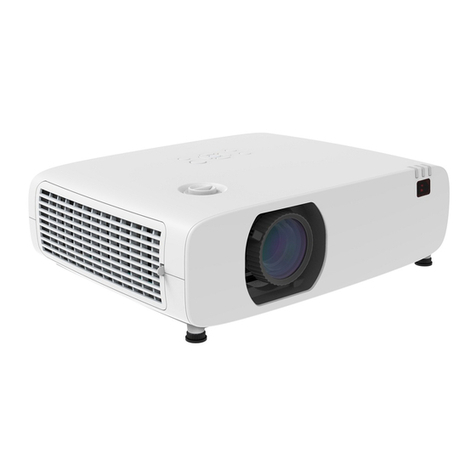
Eiki LC-XN200 User manual

Quick Start Guide
MODEL
Use this book as a start guide when setting up the projector.
For detailed information about installation, setup and operation of projector,
refer to the owner's manual on the CD-ROM.
Read the safety instructions in the Owner's Manual before using projector.
LC-XN200
LC-WXN200
LC-XN200L*
LC-WXN200L*
*Projection lens is optional.

5
Accessories
Unpack and inspect the box contents to ensure all parts listed below are in
the box. If something is missing, please contact your dealer.
Owner's Manual(CD) AC Power cord Remote control with batteries
(AA or LR6)
VGA cable Quick start guide Rubber Cap
WiFi Dongle Zigbee Antenna Zigbee Dongle
Rubber gasket
US Type x1
Euro Type x1

6
Install remote control batteries
Remote Control Operating range
①Open the battery
compartment lid.
②Install new batteries
into the compartment.
③Replace the
compartment lid.
Two AA batteries
For correct polarity
(+ and –), be sure
battery terminals
are in contact
with pins in the
compartment.
To ensure safe operation, please observe the following precautions:
Point the remote control toward the projector
remote receiver (front and back) when pressing
any button.
The maximum operating range for the remote
control is about 5 meters and 60 degrees.
● Use two (2) AA or LR6 type batteries.
● Always replace batteries in sets.
● Do not use a new battery with a used battery.
● Avoid contact with water or liquid matter.
● Do not expose the remote control to moisture or heat.
● Do not drop the remote control.
● If the battery has leaked in the remote control, carefully wipe the case clean and
install new batteries.
● Risk of explosion if two batteries are replaced by an incorrect type.
● Dispose of used batteries according to the instructions on the battery or local
regulations or guides.
5m
5m
Installation

7
Positioning the projector
Note:
● The brightness in a room has a great inuence on image quality. It is recommended to limit the
ambient lighting in order to get the best image.
● All measurements are approximate and may vary from the actual sizes.
Note:
The data in "()" is the project distance for
16:9 aspect ratio.
Note:
The data in "()" is the project distance for
16:9 aspect ratio.
LC-XN200
16:9
16:9
4:3
16:10
LC-WXN200
Screen size
(WxH)mm
4:3 aspect ratio
40" 100" 150" 200" 300"
813x610 2032x1524
3048x2286
4064x3048 6096x4572
Maximum 1.38m 3.45m 5.18m 6.91m 10.36m
Minimum 2.35m 5.87m 8.81m 11.74m 17.62m
Screen size
(WxH)mm
16:9 aspect
ratio
40" 100" 150" 200" 300"
885x498 2213x1245
3320x1867
4427x2490 6641x3735
Maximum 1.50m 3.70m 5.50m 7.60m 11.30m
Minimum 2.50m 6.30m 9.50m 12.70m 19.10m
Screen size
(WxH)mm
16:10 aspect
ratio
40" 100" 150" 200" 300"
861x538 2154x1346
3231x2019
4308x2692 6462x4039
Maximum 1.30m 3.40m 5.10m 6.70m 10.10m
Minimum 2.20m 5.70m 8.50m 11.40m 17.20m
300”
200”
150”
100”
40”
300”
6.91m (7.60m)
3.45m (3.70m)
5.18m (5.50m)
1.38m (1.50m)
17.62m (19.10m)
10.36m (11.30m)
Min.
Max.
(Diagonal:Inch)
(Center)
300”
200”
150”
100”
40”
300”
6.70m (7.50m)
3.40m (3.80m)
5.10m (5.60m)
1.30m (1.50m)
17.20m (19.20m)
10.10m (11.20m)
Min.
Max.
(Diagonal:Inch)
(Center)
Adjustable feet
The projection angle can be adjusted up to 5.0
degrees with the adjustable feet.
Rotate the adjustable feet clockwise to lift the
projector to a certain height.
To lower or retract the adjustable feet, rotate
the two feet counterclockwise.
Keystone distortion of projected images can
be corrected by auto settings, remote control
operation or menu operation.
Adjustable feet
Screen size
(WxH)mm
16:9 aspect
ratio
40" 100" 150" 200" 300"
885x498 2213x1245
3320x1867
4427x2490 6641x3735
Maximum 1.50m 3.80m 5.60m 7.50m 11.20m
Minimum 2.60m 6.40m 9.60m 12.80m 19.20m
Installation
8
Installation
Lens shift adjustment
Projection lens can be moved from side to side and up to down.
This function makes the positioning of images easy on the screen.
The display position can be shifted upward up
to 50% elevation of the display.
The display position can be shifted to the left
up to 10% width of the display.
The display position can be shifted to the right
up to 10% width of the display.
When the lens is shifted to top.
When the lens is shifted to leftmost. When the lens is shifted to rightmost.
When the lens is shifted to bottom.
The display position can be shifted downward
up to 50% elevation of the display.
When the lens is
shifted to the center. Shifting range
a
b
50% elevation of the display and 10% width of
the display.

9
Installation
Connecting to computer(Digital and analog RGB)
Cables used for connection:
● VGA cable ● Serial crossover cable*
● DVI cable* ● BNC cable*
● HDMI cable*
(*=Cables not supplied with the projector)
Connecting the cables rst, then plug the power cords of both the projector and external
equipment from the AC outlet.
VGA input/output
VGA output/input
RS232 output VGA output
DVI input HDMI input
HDMI output
BNC
cable
Serial
crossover
cable
DVI
digital
cable
HDMI
cable VGA
cable
VGA
cable
VGA input
RS232 input
RGBHV signal
RGBHV input
DVI output

10
Installation
Connecting to video equipment (Video, S-Video)
Cables used for connection
● Video cable * ● RCA cable * ● BNC cable *
(*=Cables not supplied with the projector)
Connecting the cables rst, then plug the power cords of both the projector and external
equipment from the AC outlet.
Component video output
Component video input
S-Video
cable
S-video output
S-Video input
Composite video output
Composite video input
BNC
cable RCA
cable

11
Installation
Connecting to USB device (USB-A, USB-B)
Connect the wireless network adapter to USB –A port
Cables used for connection
● USB-A cable * ● USB-B cable *
(*=Cables not supplied with the projector)
Connecting the cables rst, then plug the power cords of both the projector and external
equipment from the AC outlet.
USB-B
cable
USB-A
output
USB-B
input
USB-A device or
wireless network adapter

12
Installation
Connecting the AC power cord
This projector uses nominal input voltages of
100-240V AC and it automatically applies to
different input voltages. It is designed to work
with a single-phase power system having a
grounded neutral conductor.
To reduce the risk of electrical shock, do not
plug into any other type of power system. If
you are not sure of the type of power being
supplied, consult your authorized dealer or
service station. Connect the projector with all
peripheral equipment before turning it on.
The AC outlet should be near this equipment
and must be easily accessible.
Note:
Note:
For safety, unplug the AC power cord when the projector is not in use. When the projector is
connected to an outlet with AC power cord, it is in stand-by mode and consumes a little electric
power.
Connect the AC power cord
(supplied) to the projector.
Turn on the projector
1.Complete peripheral connections (with a
computer, DVD, Blu-ray, etc.) before turning
on the projector.
2. Connect the projector’s AC power cord into
AC outlet. The POWER indicator turns red.
3. Press the POWER button on side control or
on the remote control. The POWER indicator
becomes green and the cooling fans start to
work. The preparation display appears on
the screen and the countdown starts.
4. If the projector is locked with a PIN code, a
PIN code input dialog box appears. Enter
the PIN code as instructed below.
Note:
● When the logo select is set to be "Off" the
logo will not be displayed on the screen.
● When the Display function is set to be "Off" ,
the logo and countdown will not be displayed
on the screen.
● During the countdown period, all operations
are invalid except shutdown.
16
Start-up display

13
Basic operation
Turn off the projector
1. Press the POWER button on side control
or on the remote control, and “Power off?”
appears on the screen.
2. Then, press the POWER button again within
4 seconds. The POWER indicator starts to
ash red, and the cooling fans keep running
(You can select the level of fans’ quietness
and running speed.). Now you can unplug
the AC power cord after the fans stop
running, otherwise, the service life of the
projector will be affected or the projector will
can not be turned on or turn on abnormal.
3 When the projector has cooled down enough
to be turned on again, the POWER indicator
stops ashing.
Note:
● When the On start function is “On” , this
projector is turned on automatically by
connecting the AC power cord to an AC outlet .
● The running speed of cooling fans is changed
according to the temperature inside the
projector.
● Do not put the projector in a case before it is
cooled enough.
● If the WARNING TEMP indicator flashes, see
“Warning Temp”.
● While the POWER indicator is flashing, the
lamp is being cooled down and the projector
cannot be turned on. Wait until the POWER
indicator turns red to turn on the projector
again.
● The fan rotation will terminate directly if the
AC power cord is unplugged immediately after
the projector is turned off.
● The projector can be turned on after the
POWER indicator turns red. The waiting time
to restart may be longer if unplug the AC cord
to turn off the projector.
Power off ?
“Power off ? ” disappears after 4 seconds.
To maintain the lamp life, once you turn
the projector on, wait at least 5 minutes
before turning it off.
Do not operate the projector
continuously without reset.
Continuous use may result in shortening
the lamp life. Turn off the projector and
let it standby for about an hour in every
24 hours.

LC-XN200
LC-WXN200
LC-XN200L*
LC-WXN200L*
*Das Projektionsobjektiv ist optional.

15
Entpacken und prüfen Sie den Inhalt des Kartons, um sicherzustellen, dass
sich sämtliche unten aufgelisteten Artikel darin benden. Wenden Sie sich
bitte an unseren Kundendienst, wenn etwas fehlen sollte.
Lieferumfang
Zubehör
Bedienungsanweisung (CD) AC Netzkabel Fernbedienung mit Batterien
(AA oder LR6)
VGA Kabel Kurzanleitung Gummikappe
WiFi Dongle Zigbee Antenne Zigbee Dongle
Gummidichtung
US Type x1
Euro Type x1

16
Installieren
Einbau der Batterien der Fernbedienung
Funktionsbereich der Fernbedienung
①Öffnen Sie den Deckel
des Batteriefachs.
②
Installieren Sie die neuen
Batterien im Fach.
③Legen Sie den Deckel für
den Fach wieder auf.
Zwei AA Batterien
Für eine korrekte
Polarität (+ und –),
vergewissern Sie sich,
dass die Batterien gut
mit den Pins im Fach
in Kontakt kommen.
Um eine sichere Bedienung zu gewährleisten, befolgen sie folgende Vorsichtsmaßnahmen:
Richten Sie die die Fernbedienung nach oben
in Richtung des Empfängers (vorne und hinten)
wenn Sie ein Knopf drücken.
Der maximale Arbeitsbereich der Fernbedienung
ist ungefähr 5 Meter und 60 Grad.
● Benutzen Sie zwei (2) AA oder LR6 Typ Alkali-Batterien oder mit Zink-Magnesium.
● Ersetzen Sie die Batterien immer als Set.
● Benutzen Sie keine neue Batterie mit einer alten gemeinsam.
● Vermeiden Sie den Kontakt mit Flüssigkeiten oder Feuchtigkeit.
● Bitte setzen Sie die Fernbedienung nicht übermäßiger Hitze oder Kälte aus.
● Lassen Sie die Fernbedienung nicht fallen.
● Falls eine Batterie auf der Fernbedienung ausgelaufen ist, wischen Sie das Gehäuse
vorsichtig ab und installieren Sie neue Batterien.
● Es besteht Explosionsrisiko, falls nicht der richtige Batterietyp eingebaut wurde.
● Entsorgen Sie die Batterien entsprechend den Vorgaben auf der Batterie, oder den
örtlichen Richtlinien und Regelungen.
5m
5m

17
Installieren
Positionierung des Projektors
Hinweis:
● Die Helligkeit des Raums hat einen großen Einuss auf die Bildqualität. Es wird empfohlen das
Umgebungslicht zu reduzieren, um das bestmögliche Bild zu haben.
● Alle Abmessungen sind ungefähr und können von der eigentlichen Größe abweichen.
Hinweis:
Die Angaben in „()“ beziehen sich auf die
Projektion im 16:9 Bildseitenverhältnis.
Hinweis:
Die Angaben in „()“ beziehen sich auf die
Projektion im 16:9 Bildseitenverhältnis.
LC-XN200
16:9
16:9
4:3
16:10
LC-WXN200
Bildschirmgröße
(LxH)mm
4:3
Bildseitenverhältnis
40SDSq 100SDSq 150SDSq 200SDSq 300SDSq
813x610 2032x1524
3048x2286
4064x3048 6096x4572
Maximum 1,38m 3,45m 5,18m 6,91m 10,36m
Minimum 2,35m 5,87m 8,81m 11,74m 17,62m
Bildschirmgröße
(LxH)mm
16:9
Bildseitenverhältnis
40SDSq 100SDSq 150SDSq 200SDSq 300SDSq
885x498 2213x1245
3320x1867
4427x2490 6641x3735
Maximum 1,50m 3,70m 5,50m 7,60m 11,30m
Minimum 2,50m 6,30m 9,50m 12,70m 19,10m
Bildschirmgröße
(LxH)mm
16:10
Bildseitenverhältnis
40SDSq 100SDSq 150SDSq 200SDSq 300SDSq
861x538 2154x1346
3231x2019
4308x2692 6462x4039
Maximum 1,30m 3,40m 5,10m 6,70m 10,10m
Minimum 2,20m 5,70m 8,50m 11,40m 17,20m
300”
200”
150”
100”
40”
300”
6,91m (7,60m)
3,45m (3,70m)
5,18m (5,50m)
1,38m (1,50m)
17,62m (19,10m)
10,36m (11,30m)
Min.
Max.
(Diagonale:Inch)
(Zentrum)
300”
200”
150”
100”
40”
300”
6,70m (7,50m)
3,40m (3,80m)
5,10m (5,60m)
1,30m (1,50m)
17,20m (19,20m)
10,10m (11,20m)
Min.
Max.
(Diagonale:Inch)
(Zentrum)
Einstellbare Füße
Der Projektionwinkel kann mit Hilfe der Füße
um bis zu 5,0 Grad eingestellt werden.
Drehen Sie die einstellbaren Füße im
Uhrzeigesinn, um den Projektor zu einer
bestimmten Höhe zu bewegen.
Um die Füße herunterzusetzen, drehen Sie sie
gegen den Uhrzeigersinn.
Die Trapezkorrektur der projizierten Bilder kann
sowohl automatisch, durch die Betätigung der
Fernbedienung oder der Bedienung des Menüs
gemacht werden.
Einstellbare Füße
Bildschirmgröße
(LxH)mm
16:9
Bildseitenverhältnis
40SDSq 100SDSq 150SDSq 200SDSq 300SDSq
885x498 2213x1245
3320x1867
4427x2490 6641x3735
Maximum 1,50m 3,80m 5,60m 7,50m 11,20m
Minimum 2,60m 6,40m 9,60m 12,80m 19,20m

18
Installieren
Anpassung der Objektivverschiebung
Das Objektiv kann von links, nach rechts, oben und unten bewegt werden.
Diese Funktion erlaubt eine leichte Positionierung der Bilder auf den Bildschirm.
Die Position des Bildschirms kann nach oben um
50% bewegt werden.
Die Position des Bildschirms kann nach links
um 10% bewegt werden.
Die Position des Bildschirms kann nach rechts
um 10% bewegt werden.
Wenn das Objektiv nach oben bewegt wird.
Wenn das Objektiv maximal nach links
bewegt wird.
Wenn das Objektiv maximal nach
rechts bewegt wird.
Wenn das Objektiv maximal nach unten
bewegt wird.
Die Position des Bildschirms kann nach unten
um 50% bewegt werden.
Wenn das Objektiv
zum Zentrum bewegt
wird.
Bewegungsbereich
a
b

19
Installieren
Computeranschluss (Digital und analog RGB)
Kabel, die für den Anschluss benutzt werden:
● VGA Kabel ● Serielle Crossover Kabel*
● DVI Kabel* ● BNC Kabel*
● HDMI Kabel*
(*=die Kabel sind nicht im Lieferumfang des Projektors enthalten)
Trennen Sie die Netzkabel des Projektors und der externen Geräte von den Steckdosen,
bevor Sie die Kabel anschließen.
Monitor EingangSerieller Ausgang Computer Ausgang
Digitaler Ausgang HDMI
G B R H V
HDMI Ausgang
Analoger Ausgang
BNC
Kabel
Serieller
Crossover
Kabel
DVI
Digital-
Kabel
HDMI
Kabel VGA
Kabel
VGA
Kabel
Analoger Eingang
Kontrollport
Monitorausgang Monitorausgang

20
Installieren
Anschluss des Videoanlage (Video, S-Video)
Kabel, die für den Anschluss benutzt werden
● Videokabel * ● RCA Kabel * ● BNC Kabel*
(*=die Kabel sind nicht im Lieferumfang des Projektors enthalten)
Trennen Sie die Netzkabel des Projektors und der externen Geräte von den Steckdosen,
bevor Sie die Kabel anschließen.
Component Video
Ausgang
S-Videokabel
S-Video Ausgang
S-VIDEO in
Kompositvideo Ausgang
Video Y Cb/Pb Cr/Pr
BNC
Kabel RCA
Kabel
Other manuals for LC-XN200
1
This manual suits for next models
3
Table of contents
Languages:
Other Eiki Projector manuals