1
Important Safety Instructions
Before installing the unit, please read and follow the instructions provided in the Installation Manual included
in this kit.
Before operating the unit, please read and follow the instuctions provided in this User´s Manual thoroughly
and save it for future use
WARNING - To reduce the risk of fire or electric shock:
install in accordance with the manufacturer’s instructions
do not expose this apparatus to dripping and splashing
do not use this product near water
do not attempt to dissamble this unit
do not block any ventilation openings
do not install near any heat sources such as radiators, stoves or other equipments that produce
heat.
You are cautioned that any changes or modifications not expressly mentioned in this manual could void your
authority to operate this equipment.
This product has been designed and tested to provide reasonable protection against harmful interference in
residential installation. However there is no guarantee that interference will not have an affect in a particular
installation. In these cases, reorient the receiving antenna, try to increase the separation between the
equipment and the source of interference and/or connect the equipment into an outlet on a circuit different
from that to which the source of interference is connected.
The entire risk of the installation, use, results and performance are borne by you.
When used as a mechanism to disconnect from the current network, a socket plug, or a device connector;
the disconnecting mechanism must be easily accessible at all times. Protect the power cord from being
walked on or pinched particularly at plugs, convenience receptacles, and the point where they exit from the
apparatus.
Only use attachments/accessories specified by the manufacturer.
as power-supply cord or plug is damaged, liquid has been spilled or objects have fallen into the
apparatus, the apparatus has been exposed to dripping and splashing, does not operate normally, or has
been dropped.
Use a certified technician for installation, repair and/or maintenance of this equipment and comply with all
the regulations in force in each country. Servicing is required when the apparatus has been damaged in any
way, such
To change the batteries remove the cover pressing on the tab while lifting the cover. Use
batteries type AAA 1,5V. Do not discard used batteries with household waste
2
10
3
4
5
6
9
10
1. Introduction
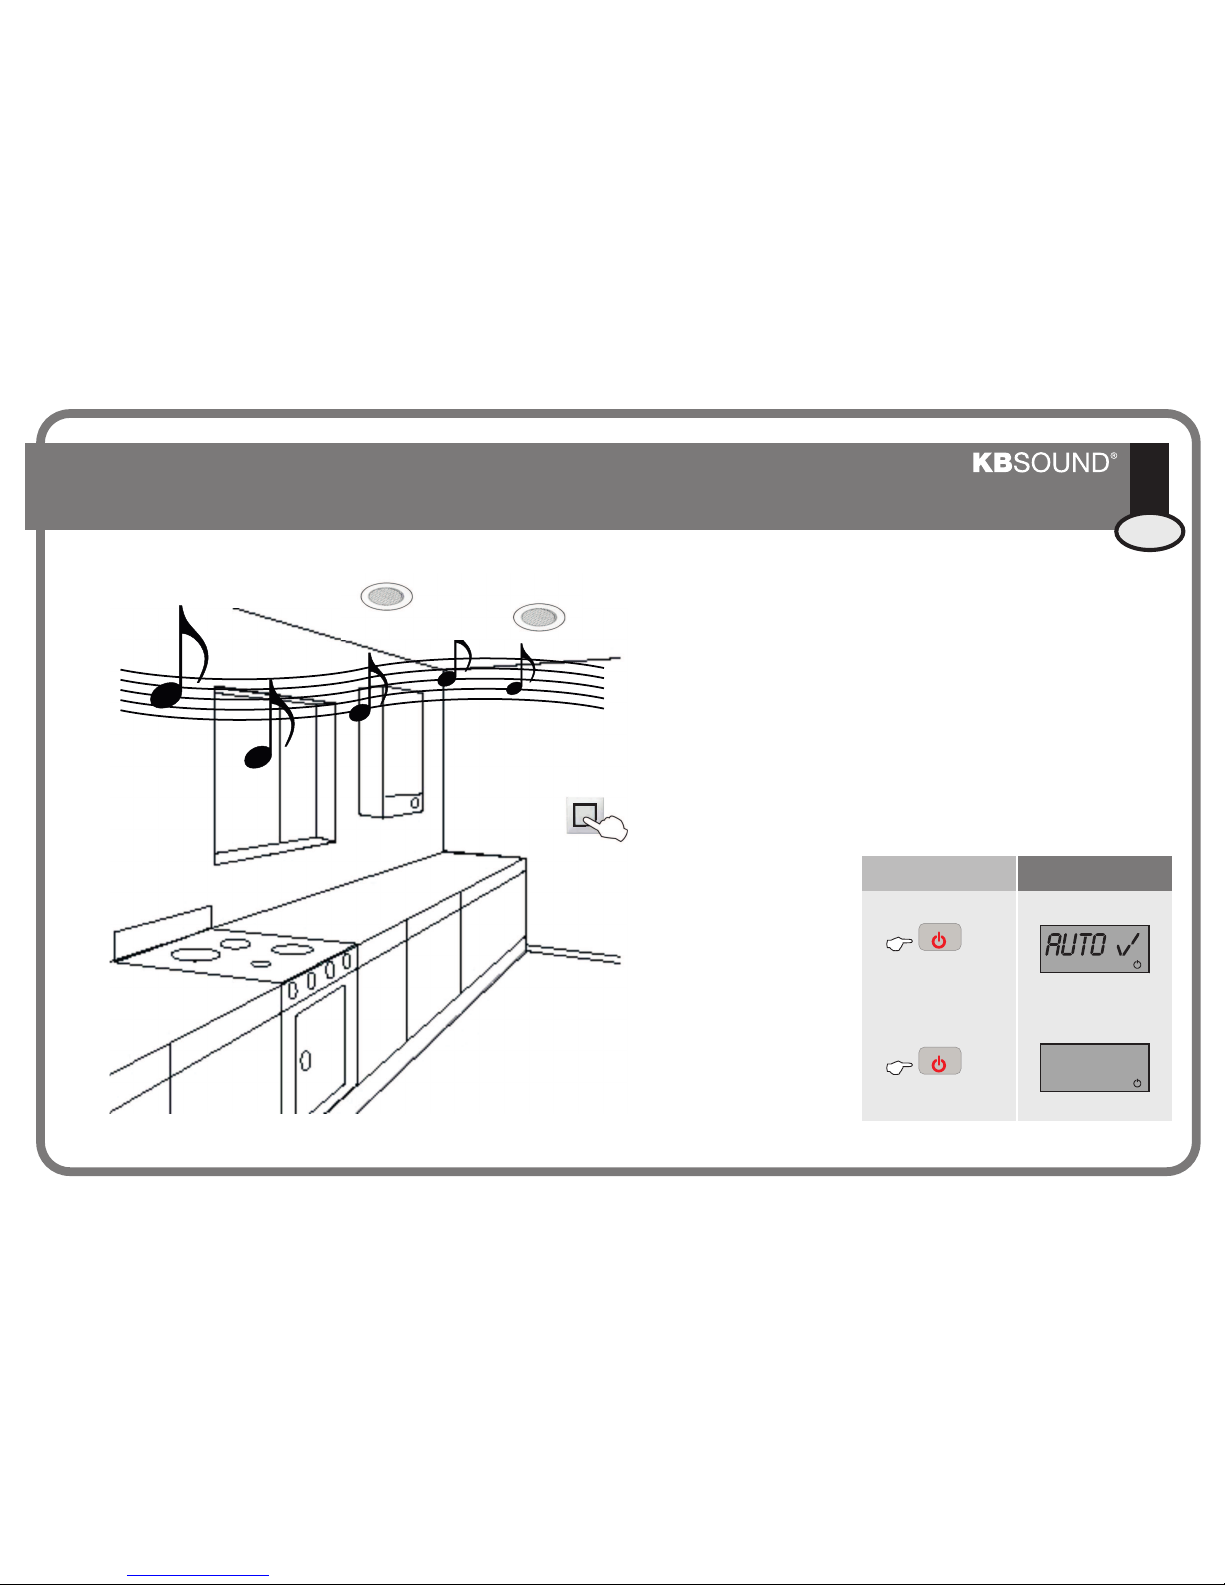
2. General Operating Notes
3. Operating Audio Functions
5. Selecting Turn-On Mode
4. Operating the FM Tuner
6. “Ideal” mode
Quick Reference Guide
4.1 Station Search
4.2 Directly Keying Station Frequency
4.3 Tuning to FM Memory Pre-Sets
4.4 Storing and Clearing Station Frequencies Manually
4.5 Storing and Clearing Station Frequencies Automatically
4.6 Adjusting StationSearch Sensitivity
Table of Contents
CAUTION
DO NOT OPEN
RISK OF ELECTRIC SHOCK
!
ENG
7. Play your iPod through®®KBSOUND
Technical Specifications
42697,42697U MIN NORMAL MAX COMMENTS
Measurements 181x50x52 mm
Voltage 120 Vac 60Hz
Consumption demand 10 W terminals L,N
Output signal (16 ohms) 1,5 W terminals D,I
Passband 20 15.000 Hz
Distortion 0,1 0,4 %
Frequency range 87,5 108 MHz
Antenna impedance 75 ohms terminals A,M
Antenna sensitivity 3,5 5 uV
Tuner distortion 2 %
Number of station pre-sets 30