EKO ASI-16 User manual

INSTRUCTION MANUAL ASI-16
All Sky Imager
Find Clouds Software

Table of Contens
1 User Information ................................................................................................................ 1
1.1 Warranty .................................................................................................................. 1
1.2 Contact Information ................................................................................................. 1
2 Findclouds Software .......................................................................................................... 2
2.1 System Requirements ............................................................................................. 3
2.2 Software Installation ................................................................................................ 6
2.3 Main Window of Findclouds Software ...................................................................... 8
2.4 Overview of menu items ........................................................................................ 10
2.5 Show Curves – Display of Cloudiness ................................................................... 11
2.6 Configuration Userinterface ................................................................................... 12
2.7 Configuration Cloudcam ........................................................................................ 14
2.8 Configuration of Evaluation .................................................................................... 21
2.9 Clear Sky Library ................................................................................................... 25
2.10 Sunpixel Evaluation ............................................................................................... 27
3 Appendix ......................................................................................................................... 29
3.1 Geometry of fisheye projection .............................................................................. 29
3.2 Limits of useful graphical representation ............................................................... 31
3.3 References!........................................................................................................................!32!
!

Findclouds!Manual!!!1!
1 User Information
!
Thank you for purchasing the Cloud Base Height Software. Make sure to read this instruction
manual thoroughly and to understand the contents before starting to operate the instrument. Keep
this manual at safe and handy place for whenever it is needed.
For any questions, please contact us at the CMS office given below.
CMS reserve the right to make changes to specifications without prior notice.
!
1.1 Warranty
!
For warranty terms and conditions, contact CMS or your distributor for further details.
CMS guarantees that the product delivered to customer has been verified, checked and tested to
ensure that the product meets the appropriate specifications. The product warranty is valid only if
the product has been installed and used according to the directives provided in this instruction
manual.
CMS shall in no event be liable for incidental or consequential damages arising from the faulty and
incorrect use of the product.
In case of any manufacturing defect, the product will be repaired or replaced under warranty.
However, the warranty does not apply if:
Any modification or repair was done by any person or organization other than CMS service
personnel.
The damage or defect is caused by not respecting the instructions of use as given on the product
brochure or the instruction manual.
!
1.2 Contact Information
EKO Europe, Middle East, Africa,South America
Lulofsstraat 55, Unit 32
2521 Al, Den Haag
The Netherlands
P. + 3 1 ( 0 ) 7 0 3 05 0 11 7
F. + 3 1 (0 ) 7 0 38 4 06 0 7
info@eko-eu.com
www.eko-eu.com
!
!

Findclouds!Manual!!!2!
2 Findclouds Software
!
The Findclouds software evaluates images of the sky and calculates the cloudiness. Especially it
was designed for the Total Sky Camera J1006 using a fisheye lens for whole-sky images.
Evaluations of the total sky images by the analysis software may be done online on automatic
mode or afterwards for campaign based data sets. This new software allows classifying the clear
sky, the total hemispheric cloud cover, optically thick and thin clouds, the cloud cover of the free
horizon or the cloud cover above an artificial horizon. In addition the presence of the direct sun is
detected. If the natural horizon is not yet known, the software calculates it by drag-and-drop. All
analysed data are stored as ASCII data including pictures for additional investigations.
The cloudiness tells, how much the sky is covered with clouds, using a number from 0.00 for
cloudless sky to 1.00 for completely clouded sky. Normally the cloudiness is estimated by a
meteorologist - the Findclouds software reduces the necessary individual manpower for analysis of
the cloudiness.
The camera can operate in a high dynamic intensity range to be able to analyse the sky area near
the sun.
Using a high dynamic intensity range out of the combination from a normal exposed and an
underexposed image, the software is able to analyse the area near the sun and to tell, whether
there was the sun visible or not. Nevertheless also when analysing a single image the software
provides algorithms to tell about cloudiness and sun visibility.
In example these are pictures of normal and underexposed sky. The final evaluation with equalised
range shows thin clouds, thick clouds and red marker on sun position.

Findclouds!Manual!!!3!
!
!
2.1 System Requirements
2.1.1 Hardware Requirements
The software uses less than 10 MB hard disk space.
2.1.1.1 Operating-System-Requirements
MS-Windows-Version: Windows 2000, Windows XP, Windows Vista, Win7, Win8.
Linux-Version tested for current distributions of CentOS, Fedora, Debian, Ubuntu. Using other
distributions, it might be necessary, to install missing libraries, or to start software using distributed
libraries. There is no source code delivered, just the binary files.
Also there is no Linux installation software, only a Linux directory on install CD, including required
Linux files and a "readme" file.
!
2.1.1.2 General Requirements
For view of PDF manual there must be a pdf-viewer installed and the file extension ".pdf" should
be assigned to this viewer.
!
2.1.1.3 Program Files
"Program files" are permanent files, that won't be changed after
installation, except of an update. So these files can be installed by the
administrator in a protected read only directory.
The recommended name of the installation directory is "findclouds"
and inside of this directory there is a subdirectory "prg" for program
core files. This is a standard structure for CMS software and often beside from "prg" there are
other directories.
!
Program core files are:
clouddir.sys - link file to the associated data directory, it contains simply the path
findclouds.exe - the executable software
Manual_findclouds.pdf - the manual
That's all, the software doesn't need additional dll-files and doesn't use the registry, all installation
is done inside of "findclouds" directory and no windows system is affected.

Findclouds!Manual!!!4!
!
2.1.1.4 Data Files
The program utilizes the images of the Total Sky Camera
and managed by Cloudcam Control software.
The format of filenames is defined
"YYYYMMDDHHMMSS_ext.jpg". "YYYYMMDD" means
date of photo (Year, Month, Day) and "HHMMSS" means
time of photo (Hour, Minute, Second) specified in UTC
time. "ext" is additional information about image type and
the software only recognises and evaluates JPEG files
with extension ".jpg".
The software works with a predefined directory structure:
The screenshot on right side shows a typical Cloudcam
data directory. It contains directories for the Cloudcams,
like "ccam_01051, ccam_01183,..." and the directory
"system" for Cloudcam Control configuration, which now
is also in use for Findclouds configuration
"findclouds.cfg".
Every Cloudcam directory contains directories for the
days and again a "system" directory, containing log files
of the Cloudcam and the Cloudcam configuration file
(e.g. ccam_01000.cfg") created by software Findclouds.
Inside of the "days" directories the Findclouds software
creates an additional directory "evaluations" for the processed images and the text file of evaluated
cloudiness. The processed images take filename of original file, but there are additional extensions
to specify kind of evaluation:
_BRBG is an evaluation using the blue/red and blue/green ratio of the image
_CDOC is an evaluation using the cloud detection and opacity classification algorithm
_NE is the projection of the normal exposed image, first step of evaluations
_UE is the projection of the underexposed image
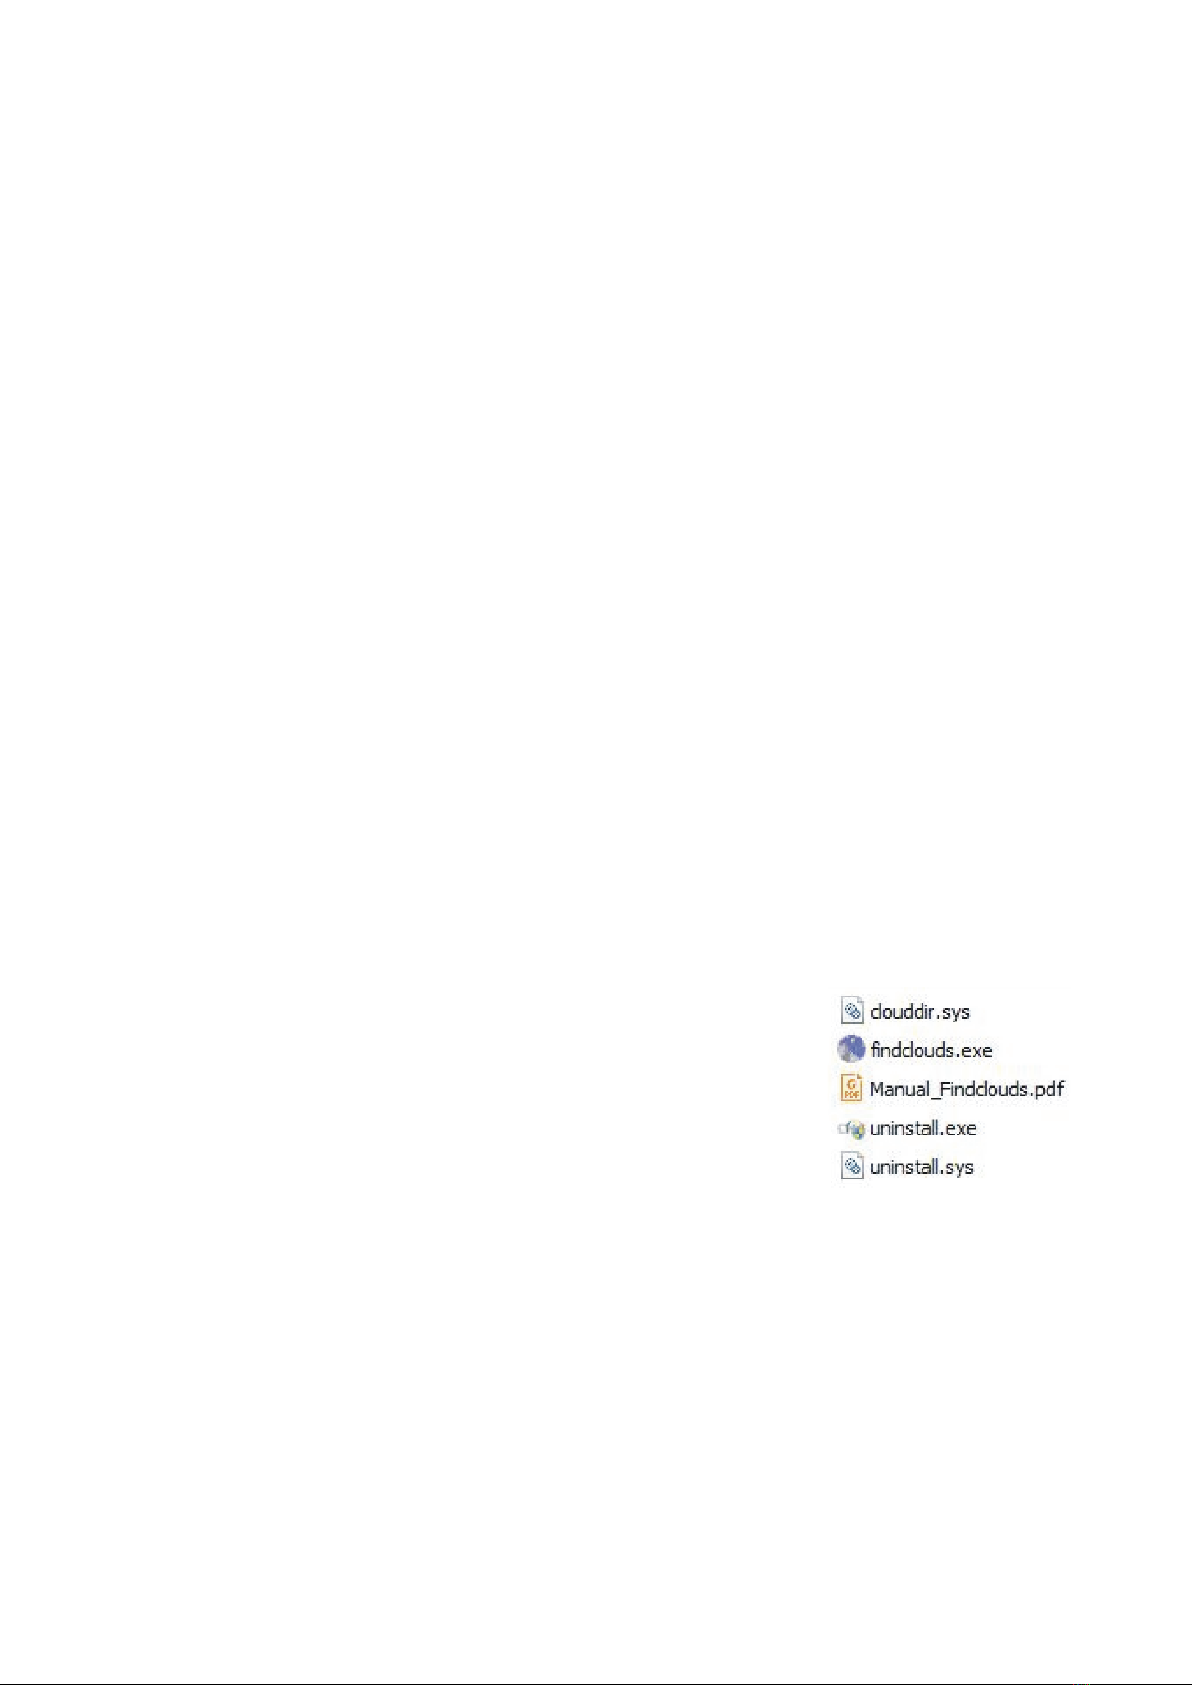
The path to the root directory "cloudcam" is defined by file "clouddir.sys" inside of the Findclouds
program directory "findclouds/prg".
When there is no such directory structure provided, the software is able to use custom defined
directories: When the software doesn't find "ccam" directories by using the "clouddir" root directory,
it tries to find "days" directories and shows them. So when there is a customer specific named
directory containing sky images, it is possible to start the software with this directory by entering it
to "clouddir.sys". Anyway, when there is not a know directory structure, the configuration file won't
be saved in an additional "system" directory, but inside of the given "days" root and it will be

Findclouds!Manual!!!5!
named just "ccam.cfg", because there is no camera number known.
In addition to add several custom defined directories by use of main menu "Add Custom Image
Folder". These directories won't be saved to "clouddir.sys", but the software saves them inside of
the user-interface configuration "findclouds.cfg". The number of the custom directories is restricted
by lowest number of Cloudcam, so normally it is possible to define up to 1000 custom directories.
2.1.1.5 Evaluation files
!
The table of evaluations, shown by the main window, also can be written as evaluation file. The
title of these files is "cloudiness_" and the date of evaluation, e.g. "cloudiness_20150911.txt". The
title doesn't contain the Cloudcam number, because it already is assigned to a Cloudcam by
directory.
The columns are:
!
date!the!date!of!the!evaluation.!!This!column!is!not!necessary,!but!results!from!the!possibility,!to!show!
evaluations!of!several!days!in!the!main!window!table.!
time!the!time!the!evaluated!photos!were!shot.!
Ext!the!merged!extensions!of!the!evaluated!photos.!When!the!evaluation!results!from!one!photo!with!
extension!"0"!this!results!to!"0",!when!the!evaluation!results!from!two!photos!with!extension!"0"!and!"02",!
this!results!to!"002".!
BRBG!the!total!cloudiness!evaluated!with!BRBG!algorithm.!
CDOC!the!total!cloudiness!evaluated!with!CDOC!algorithm.!
thick!the!cloudiness!caused!by!thick!clouds!evaluated!with!CDOC!algorithm.!
thin!the!cloudiness!caused!by!thin!clouds!evaluated!with!CDOC!algorithm.!
sun!is!a!number!that!shows!visibility!of!the!sun.!!These!numbers!are!listed!at!the!end!of!chapter!"sunpixel!
evaluation"!
!
%[yyyymmdd]![HHMMSS]! !Relative!Cloudiness!
%date! ! time! ! Ext!BRBG!CDOC!thick!thin!sun!
20150911!085000!002! 0.27!0.67!0.30!0.37! 0!
20150911!090000!002!0.48!0.71!0.58!0.13! 0!
20150911!091000!002!0.46!0.77!0.69!0.08! 0!
20150911!092000!002!0.75!0.92!0.92!0.00! 0!
20150911!093000!002!0.89!0.93!0.93!0.00! 0!
20150911!094000!002!0.73!0.82!0.77!0.05! 0!
20150911!095000!002!0.33!0.67!0.32!0.35! 0!
20150911!100000!002!0.10!0.62!0.03!0.59! 0!

Findclouds!Manual!!!6!
20150911 101000 002 0.07 0.53 0.01 0.52 1
20150911 102000 002 0.08 0.79 0.00 0.79 0
20150911 103000 002 0.08 0.68 0.00 0.68 0
20150911 104000 002 0.07 0.69 0.00 0.69 1
20150911 105000 002 0.09 0.70 0.00 0.70 0
!
!
2.2 Software Installation
!
Installation software for installing the Findclouds Software to MS-Windows. This window appears,
when you insert the install CD to your computer and press [Install].
"Program Directory" shows the target of installation and "Data Directory" shows the directory,
that will be used for configuration files and where existing Cloudcam images are saved.
"Info" list shows progress of installation and when it is finished, you can close this window and
start Findclouds software by desktop link or start menu.
!
2.2.1 Install schemes
For customized installations, there are three basic installations schemes "Install Scheme":

Findclouds!Manual!!!7!
2.2.1.1 Install scheme standard
The program directory will be created in the standard program directory and the data directory will
be created in the standard data directory. It is possible to choose between user specific installation
and common installation, which provides the software for all users. You can choose this also on
right-hand side by "User scope".
The program directory and the data directory are placed in different locations and the
administration of access rights is considered automatically. The user doesn't need to be
administrator, because all of the files and directories, that will be changed or created new, are in
scope of users access rights.
2.2.1.2 Install scheme all in one
The program directory and the data directories will be in a common installation directory
"Findclouds". This is the most easy way to handle software and data e.g. for backups, but it is
necessary to set user privileges for access of data directory or login as administrator. It is possible
to choose another target directory than suggested, but the final installation directory is hard coded
for "Findclouds". So it's a choice of basic directory, e.g. "c:\" for installation of "c:\Findclouds" or
"d:\CMS" for installation of "d:\CMS\Findclouds".
2.2.1.3 Install scheme custom
The program directory and the data directory can be chosen before installation. The user must be
administrator or access rights for users must be set by the administrator.
2.2.1.4 Links
Before installation it is possible to configure the links to be created:
Default is to use the Start menu to create a new entry [Start] -> [Programme] -> [Findclouds]
which contains links to the software and documentation.
Also there is a Desktop link default, for quick start of software by double click on Desktop icon.
The Autostart link can be activated to start the software automatically when the operation system
starts.
The install software will appear like this, when there was an existing version of the software found.
By using the buttons it is possible to [Update] the existing software, or to uninstall it. Also it is
possible to set the Install Scheme from "Uninstall" to an installation scheme for installing the new
version besides the existing version. But this is not recommended, because it can cause problems
regarding to double links and uninstall information.

Findclouds!Manual!!!8!
!
!
!
2.2.2 General functions
[Install] starts the installation to the shown target directories.
[Uninstall] uninstalls the software.
[Update/Repair] overwrites the existing installation by the current version.
[Close] terminates the installation software without processing anything else.

Findclouds!Manual!!!9!
2.3 Main Window of Findclouds Software
!
Through the main window images can be selected for evaluation. Additionally it shows the results
of evaluation in a table of values and the converted images.
In the top left, the browser "Cloudcams" is used to select a camera (it is possible to choose more
than one). The software automatically reads in the list of "Days", provided inside of the camera
directory. The selected camera also defines, which configuration file will be used. This file is
named by the number of the camera, e.g. "ccam_01000.cfg" and will be saved into the "system"
directory of the concerning camera.
This is meant for the standard directory structure used by camera control software "CMS
Cloudcam Control". When there is a different structure by customer, the software will use basic
data directory for "custom" directory and show Days out of the basic data directory. Be aware that
software only reads in directories in default format "YYYYMMDD" and will ignore other names.
The menu entry "File -> Add Custom Image Folder" is used to add more custom directories to
"Cloudcams" browser. For evaluation of these directories, there is a configuration file necessary
and the software doesn't use a default file, but saves the configuration to the current custom
directory (no "system" directory is used!). This way the configuration file will be named "ccam.cfg"
without a camera number - different custom configurations only differ in directory path.
Inside of the "Days" browser it is possible to select one or more days and the software will read
out these directories and insert all ".jpg" files to browser "Images". You can select one directory by

Findclouds!Manual!!!10!
clicking on its entry and add one or more directories by holding the "Ctrl" key. It is possible to add a
block of directories by clicking to the first entry, holding the "Shift" key and clicking to the last entry.
To ad d se ve ra l di ff e r e n t b lo ck s, y ou m u s t cl ic k t o th e fir st e nt r y, h ol d t h e " Sh if t" ke y an d c l ic k th e
last entry of first block, then release "Shift" key, hold "Ctrl" key and click to first entry of the second
block, release the "Ctrl" key and hold the "Shift" key to click to last entry of second block, and so
on.
The "Images" browser shows all ".jpg" files found in selected directories of days. The file names
are splitted into date, time and level of exposure and the filename format of
"YYYYMMDDHHMMSS_Ext.jpg" is mandatory given. When a pair of exposure levels is defined in
configuration (e.g. "0" and "02") the software groups these files and shows them as one, but with
grouped extensions. For evaluation the files can be selected the same way told above for "Days"
browser, but additionally they all will be evaluated, when none is selected. The software doesn't
care if a file was evaluated before, but evaluates all selected files.
!
When evaluation is started by button [Evaluate] the browsers and some buttons will be
deactivated to prevent software from crashing by removing files being in evaluation. Anyway
change of day/ Cloudcam will remove current evaluations from the image browser.
While evaluating, the numeric results will appear in columns of "Images" browser.
The processed images will be shown on right side of the window - first the projected normal
exposed and underexposed image, second the simplified images the cloudiness was calculated
from.
It is also possible to save evaluations to hard disk and when there is a save option activated (see

Findclouds!Manual!!!11!
"User Interface") the software will create a new directory "evaluations" inside of each selected
"days" directory.
[Animation] starts animation by going through all images preset by [Memorise Image], [Show
Preview] or [Show Images] (see "User interface"). When active there appears a slider to control
rate of animation. When using [Show Preview] or [Show Images], each image will be loaded just in
time and will cause a lot of hard disk usage. It is not recommended to keep the software running in
these modes for a long time.
[Eval. Undone] checks all cloudcam and days directories for images, that are not listed in the files
of evaluated cloudiness and evaluates them. When there are a lot of directories, this function may
last for some time.
[Imagesize] overwrites configuration value of desired image size for current evaluation. When this
entry is empty, the value of the configuration will be used.
2.4 Overview of menu items
"File"
"Show Curves" opens graphical display of cloudiness evaluations for selected Cloudcam.
"Hide Curves" closes all graphical displays of cloudiness.
"Clear Evaluations" deletes the evaluation files of selected days.
"Clear Evaluation Images" deletes the evaluation images of selected days.
"Clear GUI Sizes" resets position and size of the windows to original values.
"Add Custom Image Folder" adds a directory that doesn't match to the Cloudcam directory
scheme.
"Remove Custom Image Folder" removes the selected custom image folder from the list but not
from the hard disk.
"Quit" closes all open Findclouds windows and quits the software.

Findclouds!Manual!!!12!
"Edit"
"Configuration Userinterface" opens a dialogue to change user-interface settings.
"Configuration Cloudcam" opens a dialogue to change basic settings for selected Cloudcam.
"Configuration Evaluation" opens a dialogue to change evaluation settings for selected Cloudcam.
"Sky Library" opens a dialogue to administrate Clear Sky Images for selected Cloudcam.
"Basic Image Folder" makes it possible to change the basic path to image folders.
"Info"
"Info" shows informations about the software.
"Help" calls this manual.
2.5 Show Curves – Display of Cloudiness
!
This dialog shows the daily evaluation files (e.g. "cloudiness_20140113.txt") as graphical line plot,
to provide a better overview of cloudiness changes. This is much more demonstrative than viewing
the table of cloudiness values.
As a matter of principle the display only shows selected days. Showing all days normally would
take too much drawing time. When at least one display is opened ("Show Curves"), the software
knows that selected days are desired to be shown and opens more displays, when days of another
Cloudcam will be selected. Because this can cause a lot of open displays, in menu of main window
there is an option to close them all at once ("Hide Curves").
As shown above each day gets an own drawing area and it is possible to scroll to the left or to the
right for viewing single days. The example above doesn't show the original size of the window, but
an enlargement to show more than one day at a time. Every display can be resized and positioned
to match better to screen area and chosen range and will store its position and size.
On right-hand side of the display there are some options for configuration. They are the same for
displays of different Cloudcams.

Findclouds!Manual!!!13!
At first it is possible to activate or deactivate the plot of different types of cloudiness evaluation
(BRBG, CDOC, Thick, Thin) and to set their colours. The "Sunflag" option shows or hides the white
band on top of the drawing area, which shows visible sun in colour of sunpixel. This is the colour
out of the user-interface configuration, to make the colours more consistent.
''Start / End'' Next comes the input of the time range to show. It is possible to enter times in format
"HH:MM" and to take them over by [enter] key or by pushing the button beside the input. When
there is no time given, the software will take the time range out of the evaluation data. Also it is
possible to enter just begin or end and the software will calculate the missing value of time range.
The "Ratio" input sets the aspect ratio of the drawing area the way, that width will be ratio * height.
The example value of "1.414" is the DIN ratio of paper, larger values will stretch the drawing area,
e.g. to show lots of values better.
"Section" deals with a special problem: When repeating evaluations the results will be appended
at the end of the list (won't overwrite former evaluations). The software recognises these sections,
because normally a time jump back shows beginning of a new line plot. When there are several
plots inside of a daily evaluation, the "Section" offers a simple way of selection, by showing just the
first, the last or all plots.
"Jump New" makes the plot follow an ongoing evaluation, when activated.
2.6 Configuration Userinterface
!
"Evaluation"
[Save Cloudiness] activates saving of numeric
values to a text file. The text file will be named by the
correspondent directory/date, e.g.
"cloudiness_20070810.txt" and will be saved into
correspondent evaluations directory. It's an ACSII file
and the columns are separated by tab character '\t'.
When opening the file using a spreadsheet program
this will cause accurate tabulated columns. The
software appends new evaluations to the existing file,
so it is possible to add evaluations without loosing
existing values.
[Save Images] saves the processed images to the evaluations directory of correspondent date

Findclouds!Manual!!!14!
when activated. The software will overwrite existing images when repeating the evaluation. The
images will be named by date, time and the following extensions:
"NE" ... extension for normal exposed origin image.
YYMMDDhhmmss … Year Month Day hour min sec
"UE" ... extension for underexposed origin image.
"BRBG" ... extension for simplified cloudiness evaluation using BRBG algorithm.
"CDOC" ... extension for simplified cloudiness evaluation using CDOC algorithm.
!
[Memorise Images] When activated the software keeps the images shown on top right side of the
window in memory. This way you can click to evaluated lines and the correspondent images will be
shown. When this option is not activated, the images will only be shown once and will vanish,
when a new image was computed, or the line of evaluation was changed.
This option is meant to prevent the memory from being flooded by images, when a lot of files is
evaluated. There is no relation to option [Save Images]. Be aware, that view options (see below)
can override showing of memorised images.
[Load Evaluations] loads existing evaluations to the image list of main dialogue when activated.
Otherwise this list will show only current evaluations.
[Exclude By Ratio] activates an analysis of the Blue/Red ratio before evaluation. When the
minimal red blue ratio is equal to 1.0, probably it is not possible to evaluate this image and the
software ignores it. Exclusion by colour ratio is shown as ''-2'' in the results of the evaluation of
cloudiness.
"Append To Evaluation"
allows to append additional evaluation data to the line of cloudiness evaluation.
[HCF, BR Ratio] adds HCF value and the Ratios Blue/Redmin, Blue/Redmid and Blue/Redmax to the
line. A minimal BR ratio of 1.0 often is evidence that it is not possible to evaluate the image.
[Configuration] adds the current values of evaluation settings to the line. This is helpful to control
the effect of altered settings.
"Scheme''
changes style of the software into another look. Changes of scheme need a restart of the software
to take effect.
"Automatic Evaluation''
[Evaluate new files] causes the software to control the Cloudcam directories for newly created
images and evaluate them.
[Days Back] With "days back" of zero it controls the directories of the current date. With a higher

Findclouds!Manual!!!15!
number controls directories back for days of the specified number. E.g. if date is 04. and number of
days back is "2" the software will recognise new images for dates 02., 03., 04.
!
!
"Load Images"
[Preview] if activated, the main dialog shows original images of selected image entries.
[Evaluated] will load processed images, when there are some. Otherwise also the original images
will be shown.
"Cloudheight Export''
[BRBG Intensity] causes the software. to export the BRBG evaluation as a grayscaled intensity
picture, where the sky parts are set to zero.
YYYYMMDDhhmmss_brbg_intens.png
[BRBG Mask] causes the software to export the mask that was used, to mask out the sky parts of
the BRBG intensity picture.
YYYYMMDDhhmmss_brbg_mask.png
[CDOC Intensity] causes the software to export both CDOC evaluations (Thick, Thin) as a
grayscaled intensity picture, where the sky parts are set to zero.
YYYYMMDDhhmmss_thik_intens.png
YYYYMMDDhhmmss_thin_intens.png
[CDOC Mask] causes the software to export the masks that were used, to mask out the sky parts
of the CDOC intensity pictures.
YYYYMMDDhhmmss_thik_mask.png
YYYYMMDDhhmmss_thin_mask.png
!

Findclouds!Manual!!!16!
2.7 Configuration Cloudcam
!
This is the start window of Cloudcam configuration dialog. For each Cloudcam in use there must
be a configuration file for definition of the Cloudcam characteristics. There are some basic options,
that can be changed at once by filling in values. Some options, that belong to the images made,
are deactivated and for better control these options can only be changed, when a Cloudcam image
was load. This way provides a direct verification of specified values, because they are applied to a
real example.
Square Resolution
The Cloudcam uses a fisheye lens ("whole-sky lens") which takes a circular image near the middle
of the rectangular photo. Because of that, both sides of the image are unused black areas, which
can be cut off, resulting in a square image with same width as height. But also this image contains
a lot of unused black areas. So configuration allows to define a "zero circle" that covers just the
fisheye area and allows software to cut image into best detail.
''Original'', ''Masked'' When there was an example image loaded, the "Original" resolution
(original height) and the "Masked" resolution ( the image is cut to) is shown.
''Desired'' To sp ee d up e va lu a t io n it is p os si ble t o re du ce r es ol ut io n o n e t im e m or e by s et t in g a

Findclouds!Manual!!!17!
"Desired" resolution. When the masked resolution exceeds the desired resolution, the software will
scale the image down to desired resolution. Also when there are images with different resolutions
this can be useful to get normalised images with the same size. When there is no desired size
given (by empty input) the masked size will be used.
Normal Exposed/ Underexposed
The!extensions!to!identify!images!that!belong!together!for!high!dynamic!evaluation!by!normal!exposed!and!
underexposed!image.!This!way!of!evaluation!causes!a!better!evaluation!of!the!area!near!the!sun.!Please!be!
aware!not!to!fill!in!the!separative!underscores!-!they!don't!belong!to!the!extension.!
!
Latitude6/6Longitude6/6Altitude6
These!values!specify!the!position!of!the!Sky!Imager!They!are!necessary!to!calculate!the!position!of!the!sun,!
when!evaluating!the!"near!sun!area"!by!underexposed!images.!When!the!position!is!not!known,!e.g.!
"Google!Maps"!could!be!used!to!find!out,!where!the!Cloudcam!is!placed.!
!
[Mirror],!when!activated,!the!software!mirrors!the!image!when!loading!it.!This!changes!the!"upward!
looking"!image!to!a!"ground!based!image",!as!if!the!point!of!view!is!changed!from!ground!to!above!the!
clouds.!The!new!CMS!All!Sky!Imager!provides!images,!that!are!already!mirrored,!so!this!option!must!be!
deactivated,!when!"ground!based!images"!are!desired!and!ASI!is!in!use.!
!
[ASI]!activates!a!non-linearity!equalisation!for!the!new!CMS!All!Sky!Imager.!While!the!fisheye!Images!of!the!
Cloudcam!follow!a!strict!linear!ratio!of!angle!to!distance!on!image,!there!is!a!distortion!on!ASI!images,!that!
needs!to!be!equalised.!
!
[Choose6Photo]!loads!an!image!made!by!the!current!Cloudcam.!This!image!must!be!used!for!further!
adjustments!and!will!activate!buttons![Center]!and![Zenith]!when!it!was!loaded!successful.!
!
[Angle]!will!switch!to!adjustment!of!the!Cloudcams!offset!angle.!
!
[Center]!will!switch!back!to!adjustment!of!centering!and!calibration!of!fisheye!area!and!deactivate!
accentuated!contrast.!It!allows!to!centre!up!the!image!and!adjust!size!of!fisheye!area.!
!
[Zenith]!will!switch!back!to!adjustment!of!offset!angle!and!show!not!equalised!image!without!field!of!view!
circle.!
!
[Horizon]!window!for!input!of!horizon.!
!

Findclouds!Manual!!!18!
[OK]!saves!changes!and!closes!the!window.!
!
[Cancel]!closes!the!window!without!saving!changes,!but!asks!for!saving,!when!there!are!unsaved!changes.!
!
[?]!calls!the!predefined!internet!browser!to!open!this!help!file.!
!
2.7.1 Centring and calibration of fisheye area
This screenshot shows
mode for centring and
adjusting size of fisheye
area.
The image is shown with
accentuated contrast,
because normally the
border of the fisheye area is
dark and not easy to
differentiate from unused
black area. This way it is
easy to see, where the real
photo ends and a corona
begins, which doesn't belong to the image.
roller "Center":
The fisheye area is not centred. Using the vertical and horizontal "Center" roller, the image can be
moved until exactly fitting to the center.
roller "Zero": The roller "Zero" allows adjustment of the border by changing size of white and red
"zero circle". The white area of the circle is only meant to make it better visible. The inner red circle
shows position of the border finally being used.
!
!
Other manuals for ASI-16
1
Table of contents
Other EKO Laboratory Equipment manuals