1110
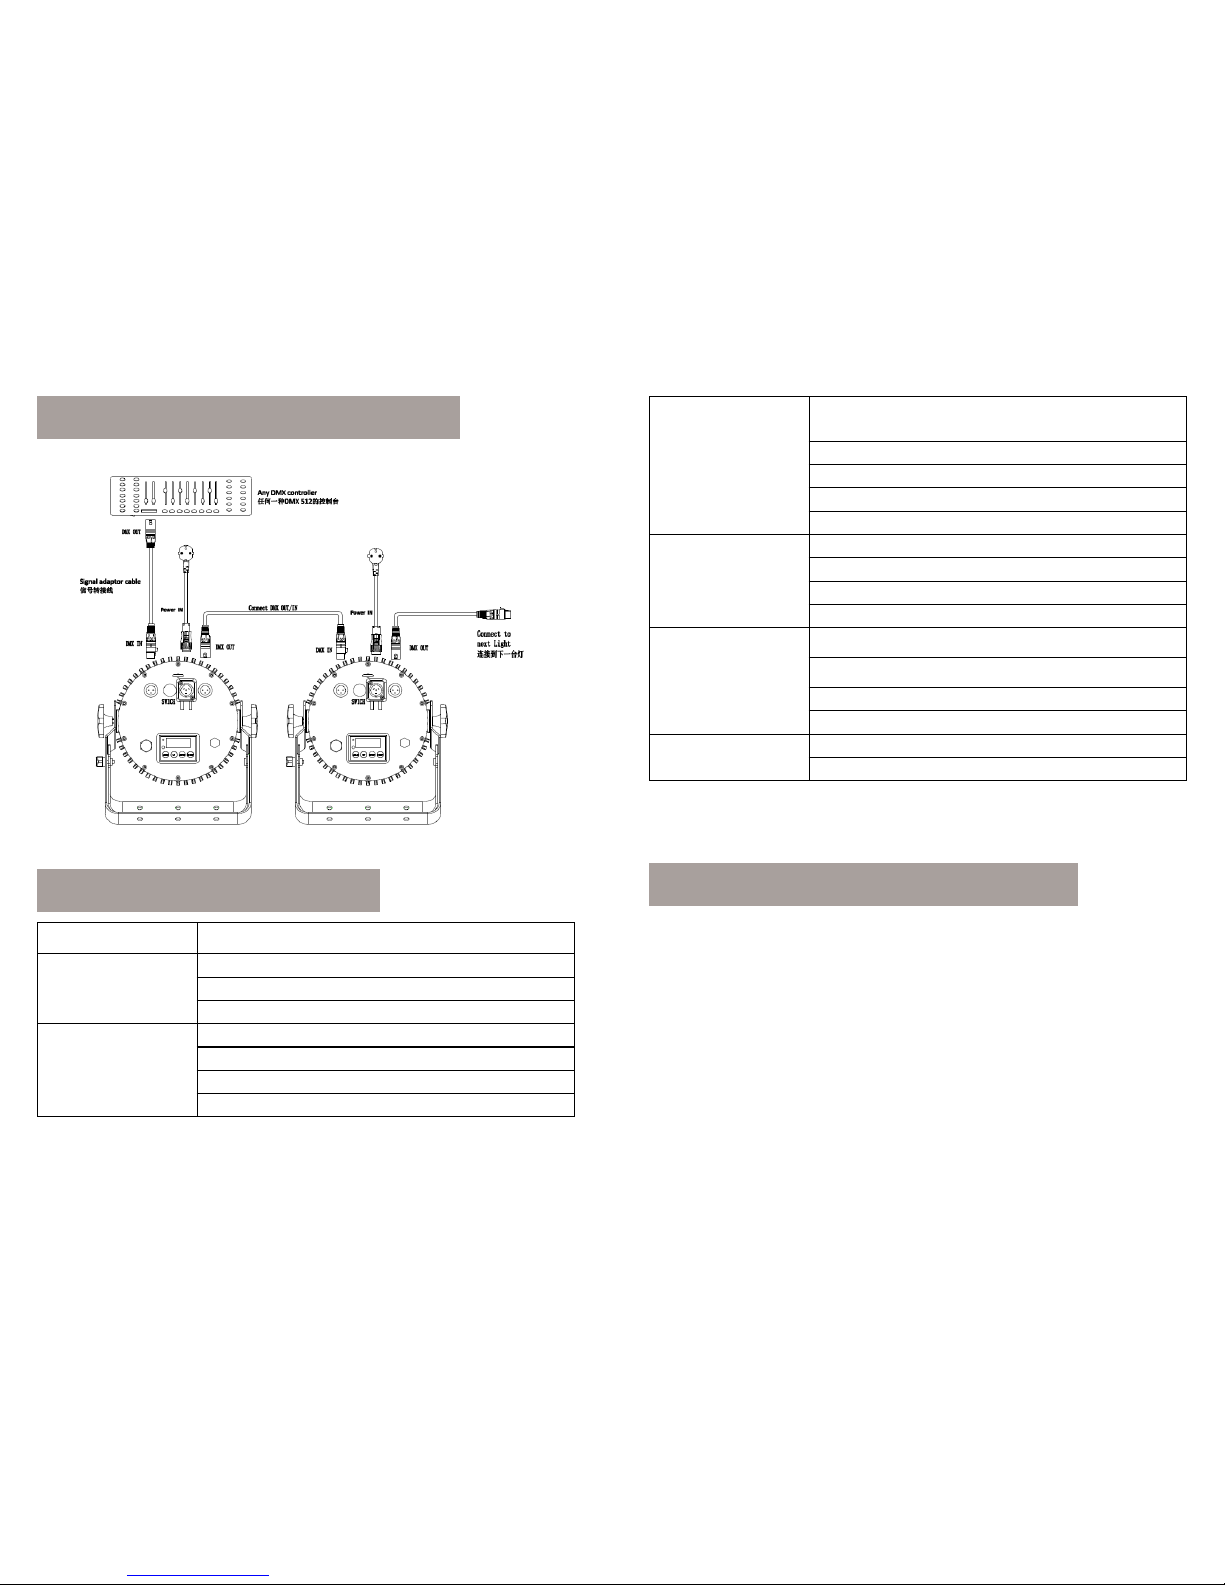
FAdE –> FA00-FA15 –> Gradual changing mode
FLAS –> FL00-FL15 –> White strobe speed
rL-- –> r000-r255 –> Red dimming
GL-- –> G000-G255 –> Green dimming
bL-- –> b000-b255 –> Blue dimming
AL-- –> A000-A255 –> Amber dimming
UL-- –> U000-U255 –> White dimming
uL-- –> u000-u255 –> UV dimming
WDMX –> SET –> Reset WDMX Wireless
OUT –> H, M, S –> Power Output
LED –> ON / OFF
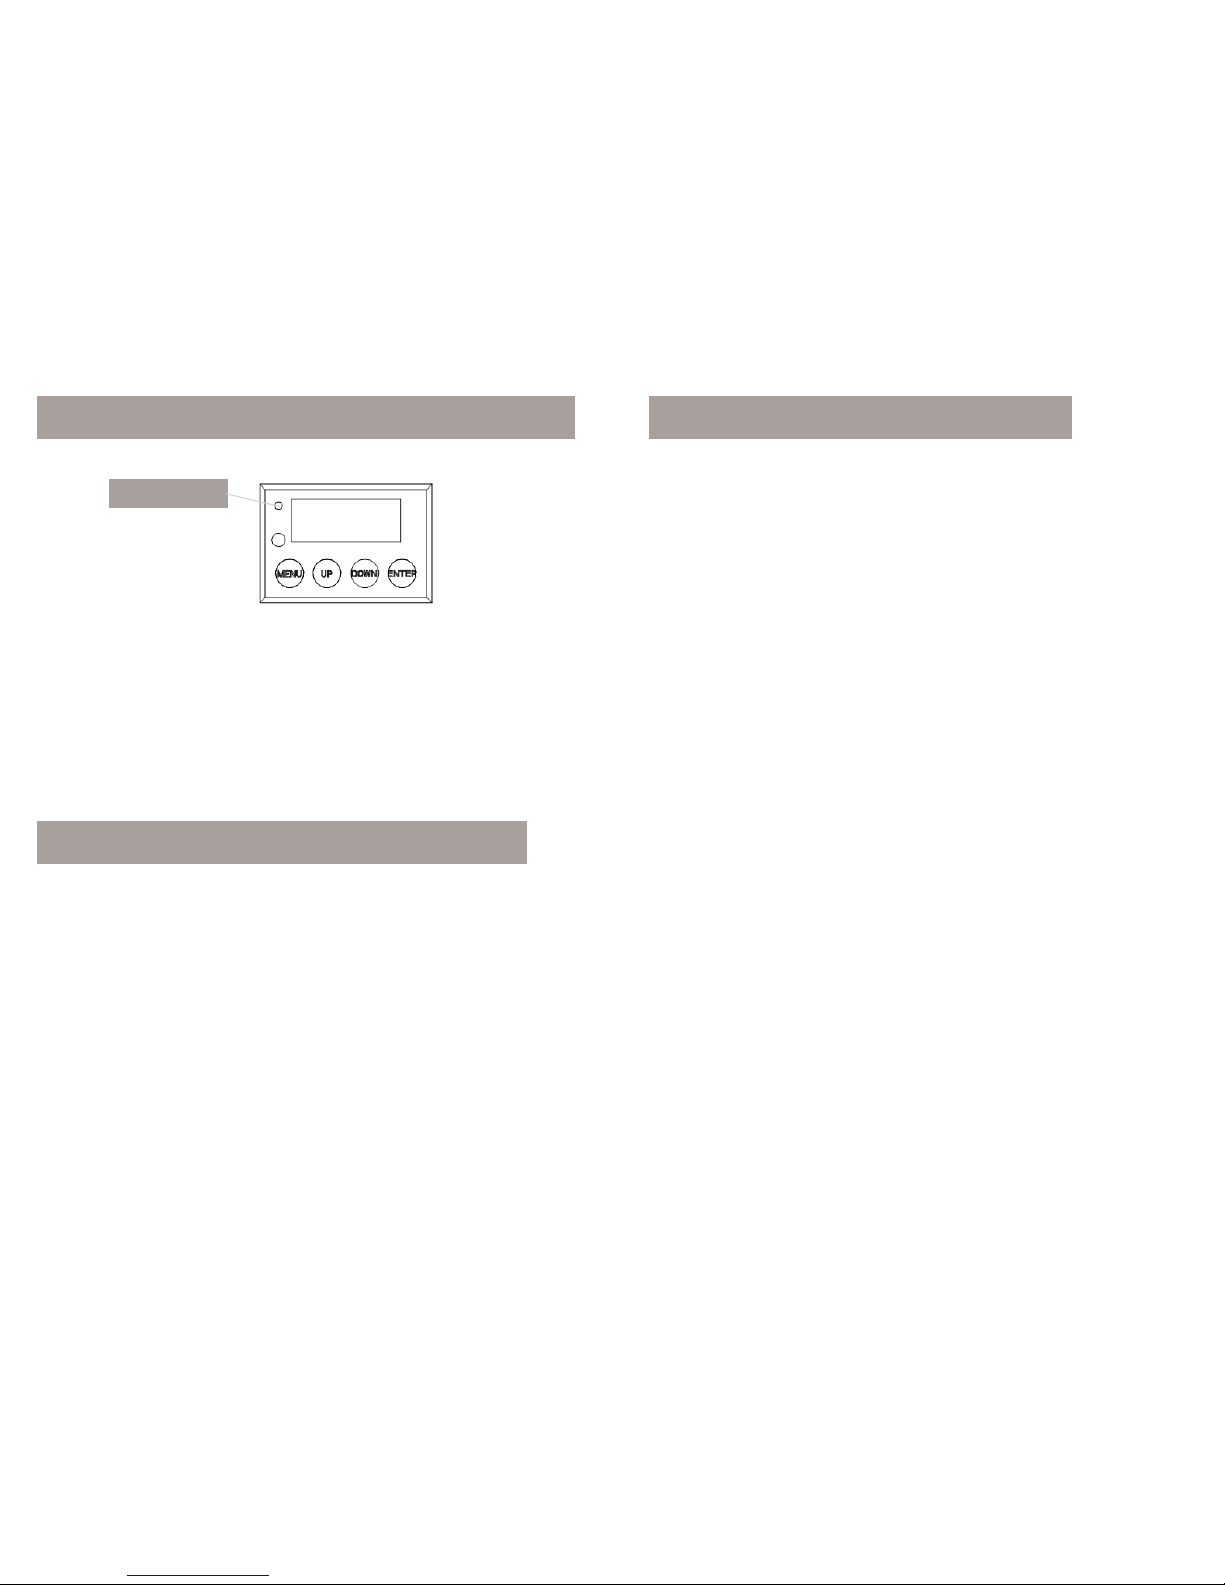
MENU
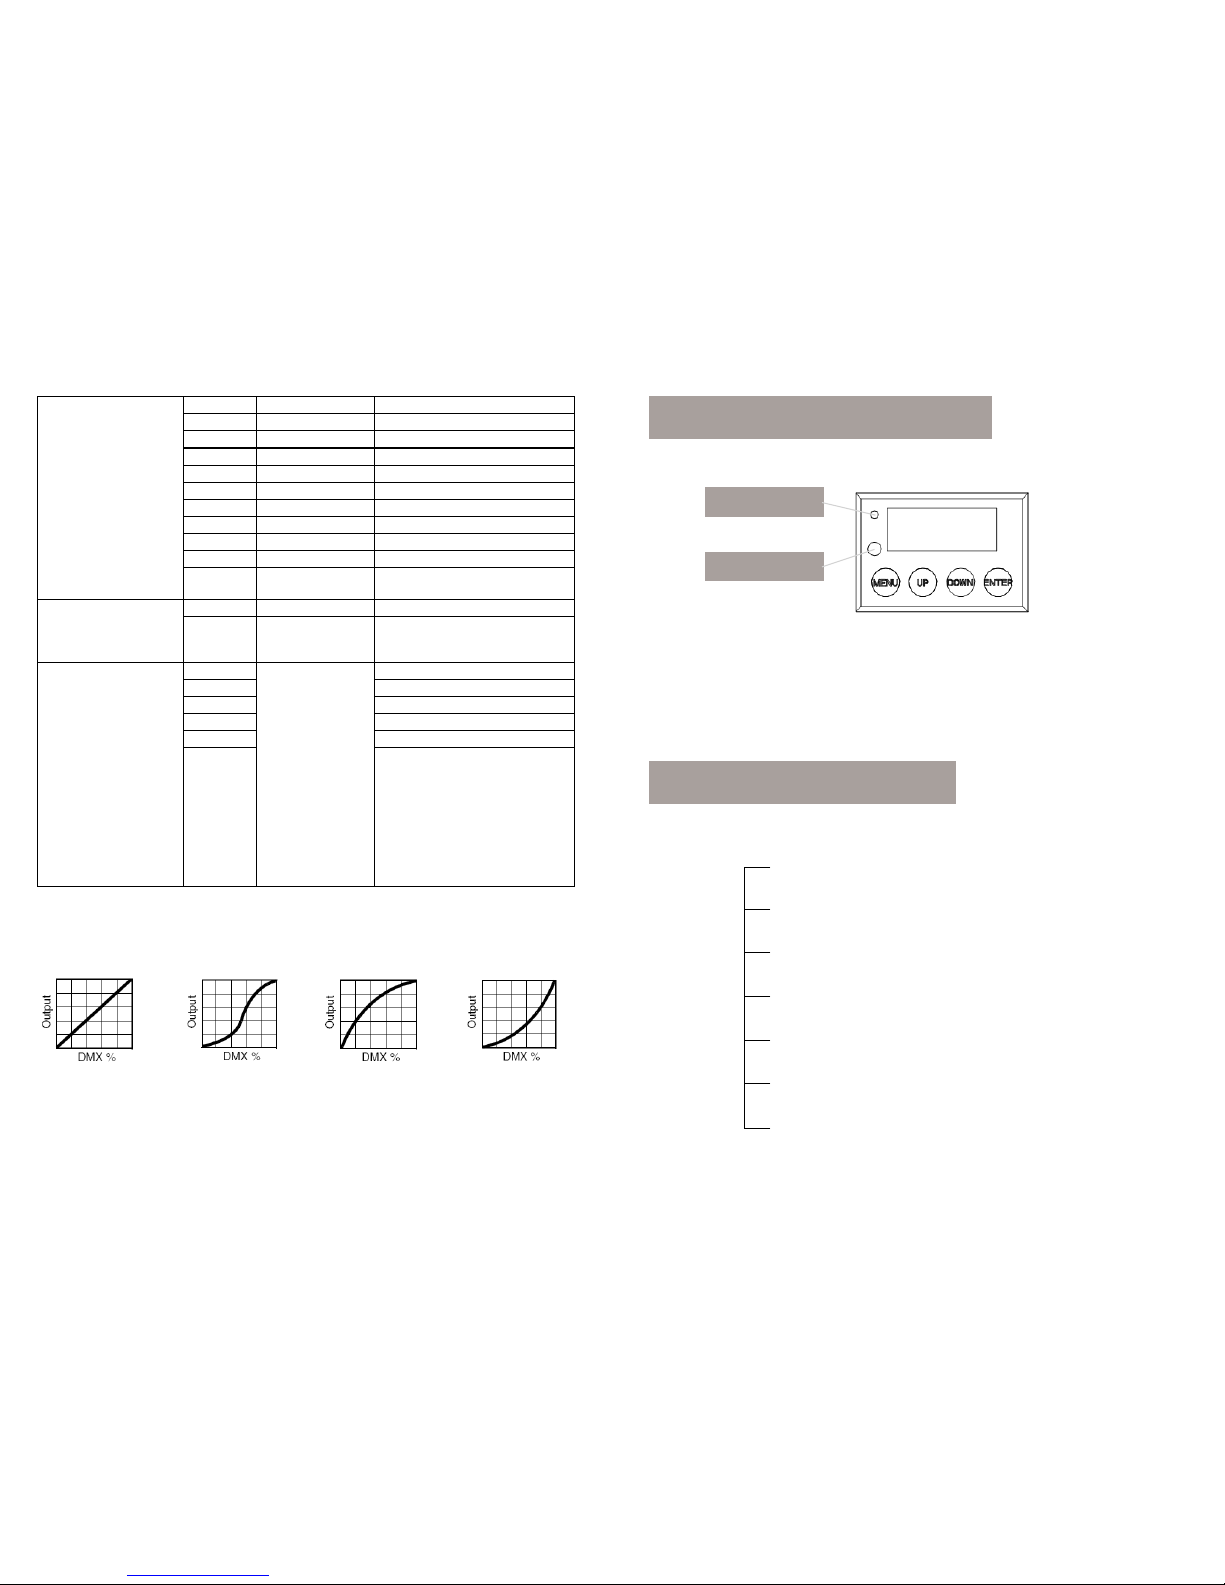
1. Operating instruction:
2. Details of program built inside
3. Reset WDMX Wireless
MENU (UP/DOWN) + ENTER + (UP/DOWN) + ENTER
Remark: Exp: Select the DMX mode, Here are the operation details:
• Press the MENU, go back to the initial setting
• Press UP/DOWN, display “Addr”
• Press ENTER to change the content, the display will glinting at this moment
• Press UP/DOWN to change the DMX address code to select d001
• Press ENTER to select and store the current menu options. DMX mode will be stored automati-
cally and the screen will stop glinting.
Remark: Pr00--- Pr62 R,G,B.W single color or multi-colors lighting
Pr63: Multi colors jumping.
Pr63 can modify the content of SP--,modify the jumping speed.SP00 is the fastest. SP15 is the
slowest
Remark: AUTO63 to adjust Speed. Speed 00 is fastest. Speed 15 is slowest
AUTO LOCK KEY SETTING
1) Press the [ENTER] button in [LED] menu, then enter auto lock key setting.
2) Press the [UP/DOWN] button to select [ON], [OFF]
3) Press the [ENTER] button to escape and save.
Instructions:
When set to [OFF], it will lock automatically after two minutes to prevent accidental triggering flood
flushing. When in the order press MENU->UP->DOWN->ENTER three times to unlock, and the
time between two keys be press down must within 2 seconds.
The Menu on the “WDMX” mode to press ENTER button, display “SET”, keep pressing “ENTER”
over 3 seconds, wireless reset
Exp: Select DMX Channels optional mode, the operation is as below:
• Press MENU, go back to the initial setting
• Press UP/DOWN, display ”CHnd”
• Press ENTER to change the content, the display will glinting at this moment
• Press UP/DOWN to select the DMX channels that you need, 6CH, 7CH, 8CH, 11CH
• Press ENTER select and store the current menu options. DMX mode will be
• stored automatically and the screen will stop glinting.
Exp: Close the display, the operation is as below:
• Press MENU, go back to the initial setting
• Press UP/DOWN, display “LED”
• Press ENTER to change the content, the display will glinting at this moment
• Press UP/DOWN to select “OFF”
• Press ENTER to confirm, the select the working mode that you need. When stop pressing, the
display will display electric quantity after 20 seconds. When display electirc quantity, press any
button 5 seconds to activate the display.