Electric Mirror Sales Demo Kit User manual
Sales Demo Kit
Assembly and Operating InstructionsELECTRIC MIRROR®
ELECTRIC MIRROR® 425.776.4946 | electricmirror.com |sales@electricmirror.com | © 2020 Electric Mirror. All rights reserved.
1.0320.MC
NOTE: To view a video of these Assembly and Operating Instructions, scan this QR code or
go to www.electricmirror.com/sales-demo-kit.
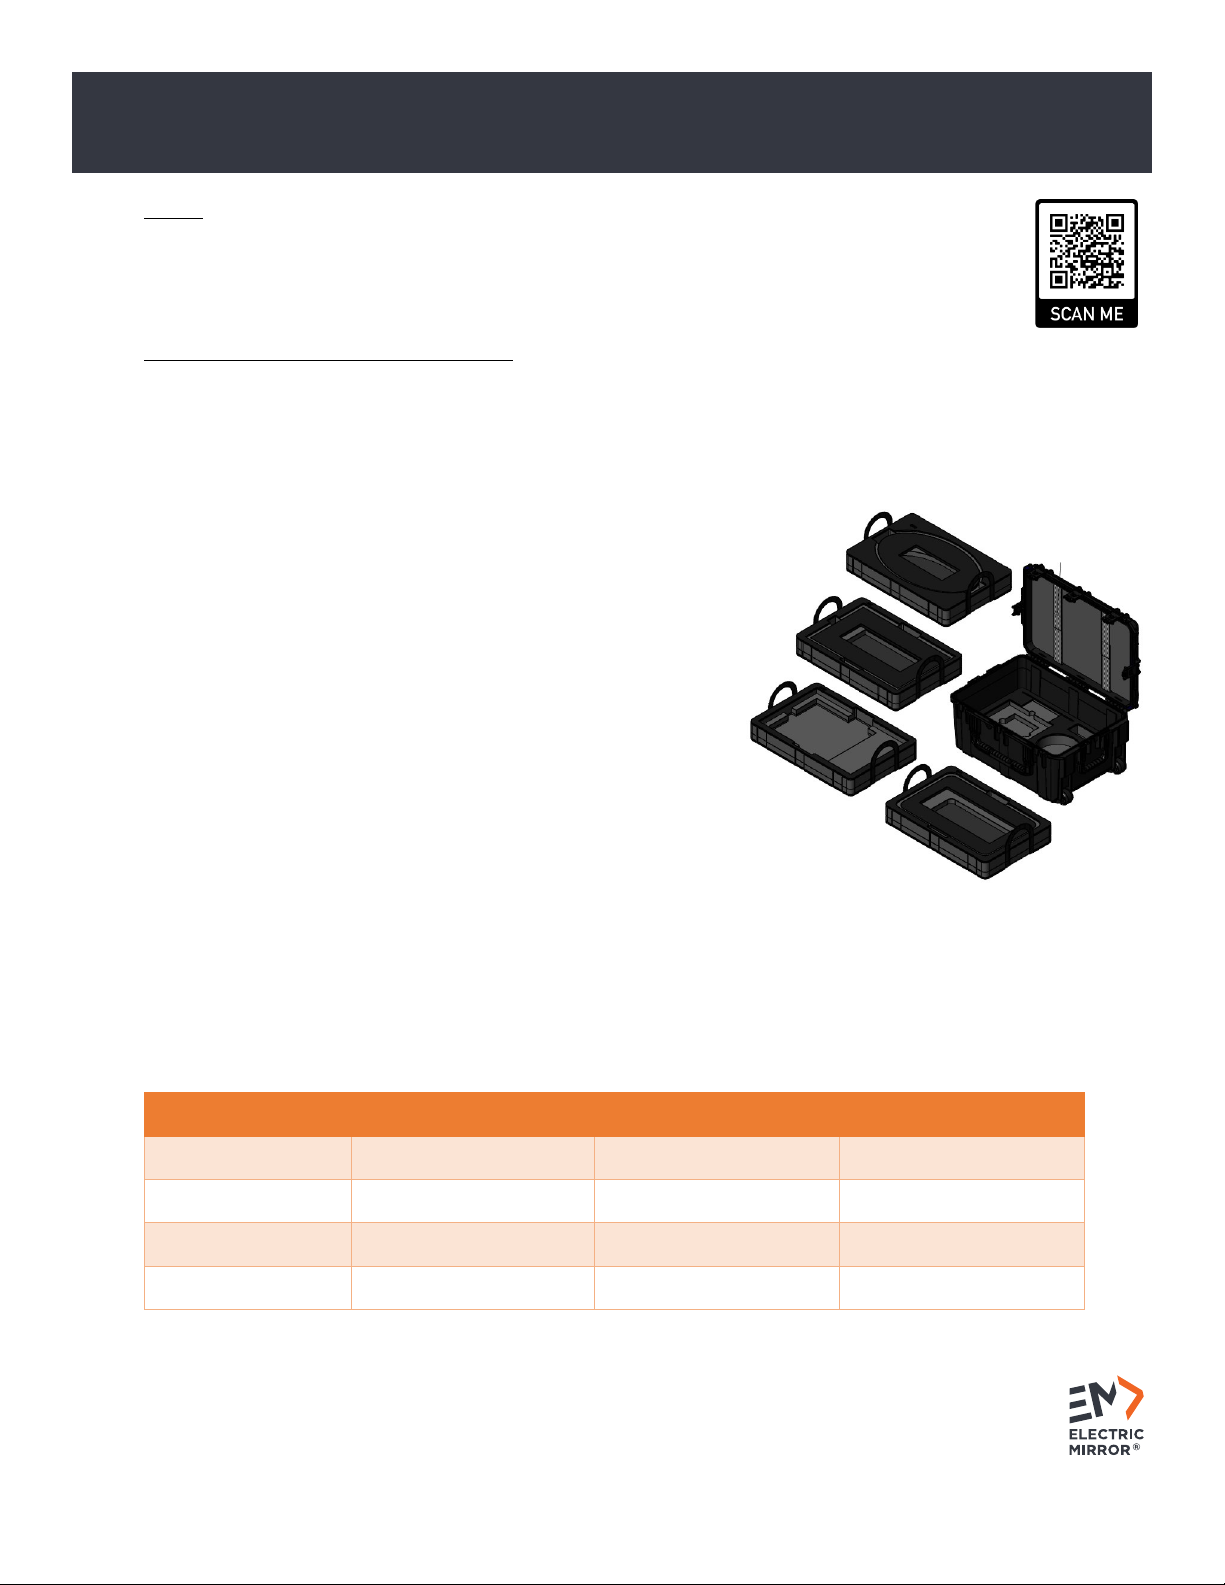
OPENING YOUR SALES DEMO KIT CASE
1. Lay the case on the floor so the latches are facing toward you and the hinges are facing away from
you.
2. Find the release lever underneath each latch. Release all five latches, then raise the case lid.
3. Remove the fabric from the case and cover your presentation table to protect the table surface
4. Lift out the first tray using the fabric handles at each end. Set the tray next to the case and repeat
for the second tray. The third, lowest tray (not removable)
contains all your accessories, including:
•One 8’ extension cord
•Four stands to display the mirrors
•Two Nickel Metal Hydride (NiMH) batteries for the
Polaris nightlight*
•One remote for the Seamless Clock*
•In addition, there are compartments to hold your
business cards, marketing literature, and miscellaneous
items like mirror wipes that you may want to keep in
your case.
5. Each mirror will use two stands. Note how the stands are
nested together in the tray for the purpose of returning
them to this compartment after use. Remove the stands
from the tray.
6. Remove the extension cord from the tray and plug it into
the wall.
* When shipped from Electric Mirror, each case will contain specific mirrors (see below), each in their
own custom-designed tray, engraved with the three-letter acronym of that mirror. Mirror trays are
interchangeable between trays, but note if you move the Integrity from Case B to Case A, you’ll need
to move the Polaris batteries and Seamless remote as well.
Case
Product
Technology
Tray Acronym
A
Eternity
none
ETE
A
Radiance
Keen
RAD
B
Eyla
Vive
EYL
B
Integrity
Seamless and Polaris
INT

Sales Demo Kit
Assembly and Operating InstructionsELECTRIC MIRROR®
ELECTRIC MIRROR® 425.776.4946 | electricmirror.com |sales@electricmirror.com | © 2020 Electric Mirror. All rights reserved.
1.0320.MC
GENERAL ASSEMBLY INSTRUCTIONS (ALL MODELS)
1. Remove the mirror assembly (mirror)
from the tray; carefully place the mirror
aside, face down, on the table. Take care
not to touch the frost areas of the mirror
to prevent fingerprints and smudges.
2. Lift the foam divider to access and
remove the chassis assembly (chassis).
Note that the foam divider is
permanently attached to the case and is
not intended for removal.
3. Set the chassis face down on the table
with the power cord exposed on top.
Identify the bottom edge of the chassis
by looking at the direction of the label
on the chassis. The bottom edge is below the label (see drawing).
4. Orient the chassis so the bottom edge, which contains the stand bracket opening (receiving slot for
the stands), is hanging slightly over the edge of the table. This will make it easier to insert the stands.
5. Slide the first stand into the bracket opening, feet facing downward. Slide the second stand into the
same bracket opening with the feet facing upward so the stands are back to back (see image
below).
6. To stand the chassis up, place one hand
under the stands to keep them securely in
place. Place the other hand along the top of
the chassis. Lift the chassis, with the stands
in place, and set upright on the table. Ensure
the bottom of the chassis is level with the
table.
7. Position the chassis on the table in the
location in which you wish to demonstrate it.
If you need to move it, lift the chassis and
stands off the table, and set them where
you’d like—do not slide them across the
table. Ensure the mirror’s power cord
reaches the extension cord.
8. Lift the mirror off the table, and orient it so
the hanger is on top, and the magnets are on
the bottom (see drawing). This is the
orientation in which the mirror will be
connected to the chassis.
9. If the mirror includes technology (e.g. Keen, Vive, Seamless), connect the wires from the chassis and
the mirror (see detailed instructions below). To do so, rest the bottom edge of the mirror on the
table, and lean the mirror towards you, freeing up your hands to connect the wires.
10. Facing the chassis, first connect the mirror to the chassis by latching the top hanger. Once secure,
lower the bottom edge of the mirror to engage the mirror magnets to the chassis.
11. Plug the mirror’s power cord into the extension cord.
12. Turn the mirror on using the black on/off switch on the back of the chassis. For stability, it’s best to
use one hand to steady the top of the unit while using the other hand to activate the power switch.

Sales Demo Kit
Assembly and Operating InstructionsELECTRIC MIRROR®
ELECTRIC MIRROR® 425.776.4946 | electricmirror.com |sales@electricmirror.com | © 2020 Electric Mirror. All rights reserved.
1.0320.MC
ADDITIONAL ASSEMBLY INSTRUCTIONS FOR THE RADIANCE MIRROR
Please note the Radiance is a one-piece mirror, as opposed to the other three which have a
separate
mirror and chassis.
1. Lift Radiance out of the tray and lay it upside down on the table.
2. The bottom edge of the Radiance is identifiable by the electronic component housing being located
at the bottom. Let the lower end hang slightly over the edge of the table.
3. Follow steps 5, 6, 7, 11 and 12 above to complete setup.
ADDITIONAL INSTRUCTIONS FOR CONNECTING TECHNOLOGY WIRING
When assembling mirrors that include technology, follow steps 1-8 above. Then,
lift the mirror and set it on the table close to and in front of the chassis, resting
the mirror against yourself. Reach around the mirror with both hands to connect
the harness cable connection from the chassis to the harness cable connection on
the back of the mirror. These connectors can only be fastened in
one
direction.
When connected correctly, the colored wires will align from one harness to the
other, and you’ll hear them click into place.
VIVE BLUETOOTH TECHNOLOGY OPERATING INSTRUCTIONS
Vive® Bluetooth Technology allows you to play music through your mirror.
1. To demonstrate Vive, beginning by tapping (one tap should be sufficient) the Vive capacitive touch
button on the face of the mirror. It will immediately start blinking and broadcasting a signal, making
it detectable to Bluetooth devices.
2. Next, on the Bluetooth-enabled phone or tablet you’re using for the demonstration, go to
Settings
,
then to
Bluetooth
. Under
My Devices
, you should see “Electric Mirror” pop up in the list of devices.
Once it appears, tap on Electric Mirror to pair or connect the mirror with the Bluetooth-enabled
device. You’ll know you’ve successfully paired your device to the mirror when the Vive button is lit
and stops blinking, and your device says “connected”.
3. Once paired, simply play any music from your device. Control the volume with your device. It’s a
good idea to know what song you’ll be playing prior to your presentation. Fully-instrumental
selections like Vivaldi’s Four Seasons sound great through the speakers.
KEEN DIMMING TECHNOLOGY OPERATING INSTRUCTIONS
Keen™ Dimming Technology adjusts the light level of the mirror, and automatically dims the lights when
the mirror isn’t in use. There are three ways of adjusting the light: 1) tap; 2) touch-hold; 3) 60 minutes of
non-use.
First, demo using the “tap” method.
1. When the mirror lights are turned on using the switch on the back of the chassis, they initiate at 66%
of full brightness.
2. Tap the Keen capacitive touch button on the face of the mirror once. The first tap increases the light
level to 100%.
3. The next tap decreases the light level to Night Glow mode at 1.5% (ideal for nighttime use as a
nightlight).
Sales Demo Kit
Assembly and Operating InstructionsELECTRIC MIRROR®
ELECTRIC MIRROR® 425.776.4946 | electricmirror.com |sales@electricmirror.com | © 2020 Electric Mirror. All rights reserved.
1.0320.MC
4. The next tap increases the light level to 25%.
5. The next tap returns the light level to 66%.
6. Continued tapping will repeat this cycle from 66% to 100% to 1.5% to 25% to 66%, etc.
Next, demo the “touch-hold” method.
1. Start with the light at 66%.
2. Touch-hold the button to gradually increase the light to 100%.
3. Once the light reaches 100%, release your touch-hold.
4. Touch-hold again and the lights will gradually decrease from 100% to 25%.
5. Lights must be increased to 100% before they can start dimming; they need to reduce to 25% (a full
cycle) before they begin increasing again.
Finally, demo the automatic dimming.
1. In normal operations, Keen automatically dims after one hour of non-use. If the lights are at any level
above 25%, they will automatically dim to 25% after one hour.
2. For this demo mirror, however, the automatic dimming has been shortened and set at 20 seconds.
3. When you first turn Radiance on, the lights will initiate at 66%. At any time during your demo, if you
aren’t using Keen to adjust the lights, they will automatically dim to 25% after 20 seconds.
4. To best demo automatic dimming, set the light level to 100%, then leave it. After 20 seconds lights
will dim to 25%.
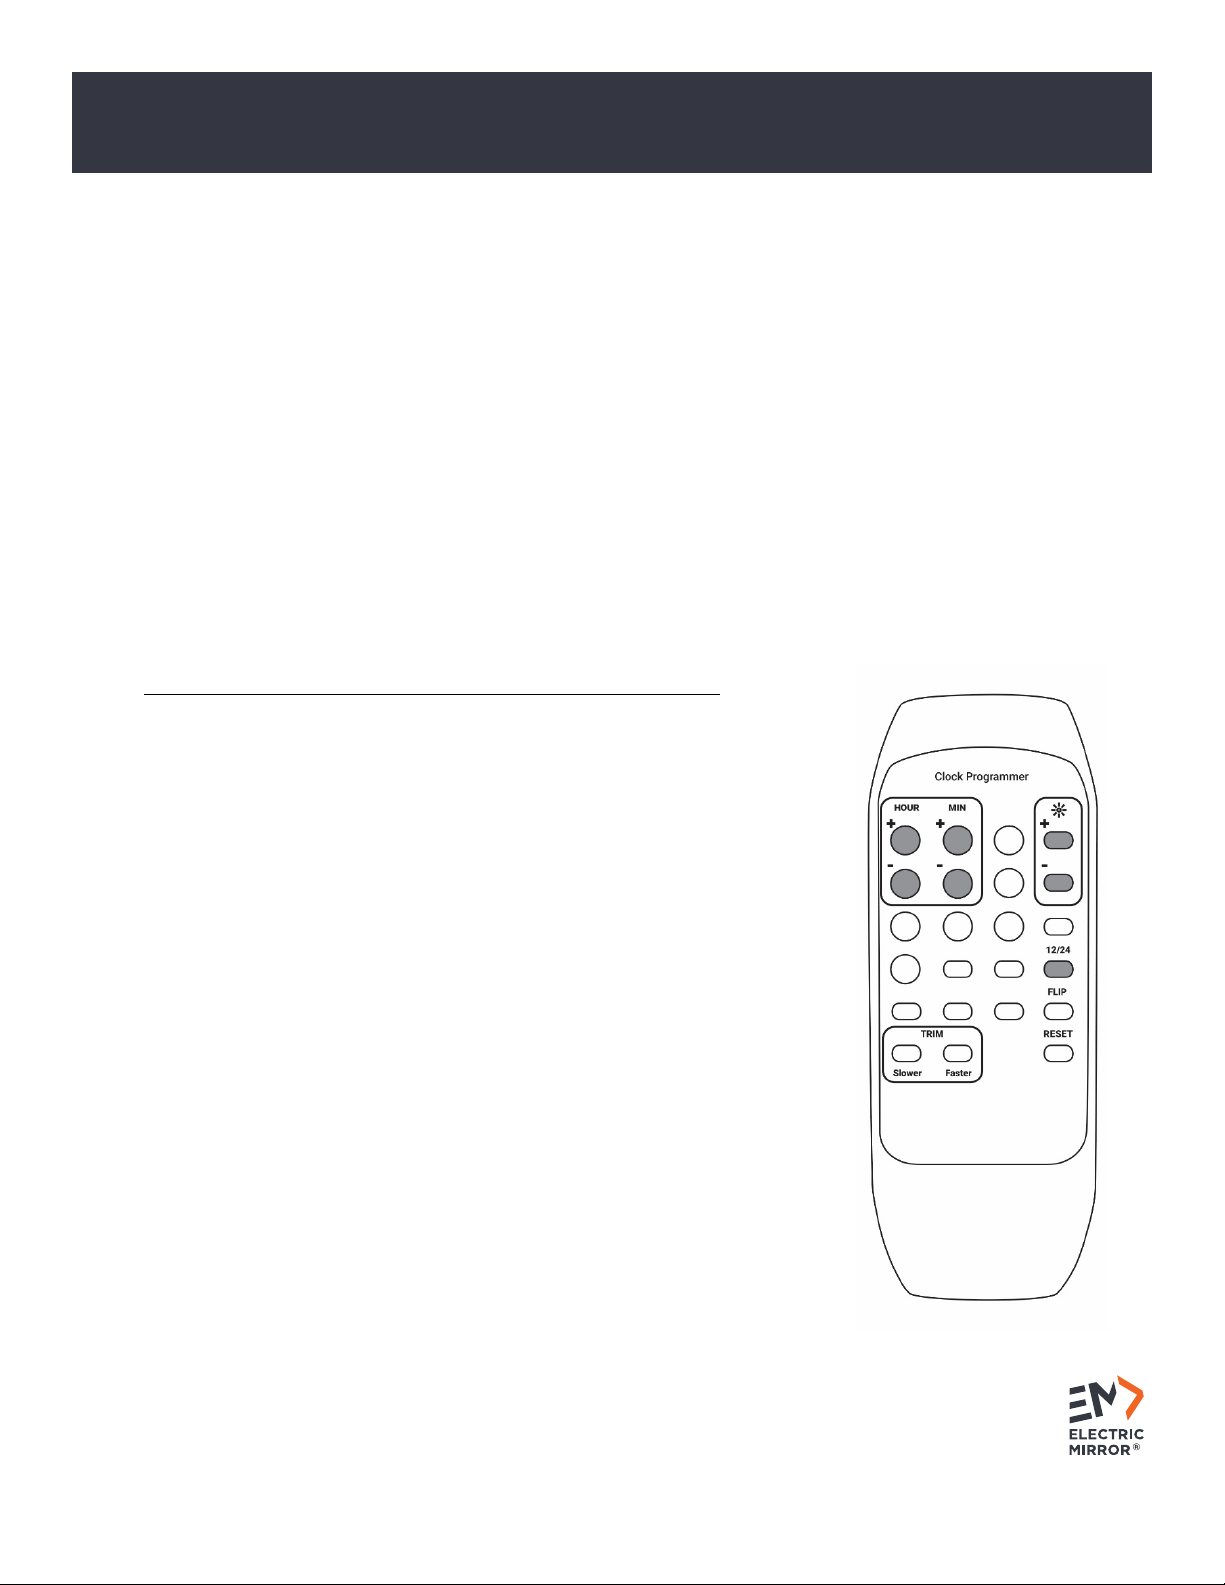
SEAMLESS CLOCK TECHNOLOGY OPERATING INSTRUCTIONS
The Seamless™ LED Clock is an inexpensive, elegant way to keep track of
time. Using the provided remote, you can demonstrate how to change the
hours and minutes, how to change from a 12 to 24-hour clock, and how to
brighten or dim the LED clock display.
First, demo changing the time.
1. Point the remote at the clock. Using the HOUR button, increase, then
decrease the hours.
2. Using the MIN button, increase, then decrease the minutes.
Next, demo changing from a 12 to 24-hour clock.
1. Tap the 12/24 button.
2. Then tap the HOUR button to increase hours past 12 to 13, 14, etc.
Finally, demo changing the brightness level of the LED display
3. Using the + and – buttons under the Sun icon, change the brightness
levels.
4. With each tap of either the + or – button, a number will flash indicating
the brightness level:
5. 1:00 = 100% brightness
6. :75 = 75% brightness
7. :50 = 50% brightness
8. :25 = 25% brightness
9. :00 = dimmest light level available

Sales Demo Kit
Assembly and Operating InstructionsELECTRIC MIRROR®
ELECTRIC MIRROR® 425.776.4946 | electricmirror.com |sales@electricmirror.com | © 2020 Electric Mirror. All rights reserved.
1.0320.MC
POLARIS NIGHTLIGHT TECHNOLOGY OPERATING INSTRUCTIONS
The Polaris™ Nightlight helps guide the way when the room is dark. The integrated sensor detects both
light and motion, and automatically turns the nightlight on when the room is somewhat dark, and
motion is detected.
1. To demonstrate Polaris, turn the mirror lights off using the switch on the back of the chassis. Note
that when the lights are off (simulating a somewhat dark room), Polaris turns on. When the mirror
lights are turned back on (simulating a brighter room), Polaris turns off.
2. Because Polaris detects movement, it stays illuminated continually if someone is in the room.
3. Polaris automatically turns off approximately three minutes after motion is no longer detected, or
when the room is no longer dark.
GENERAL DISASSEMBLY INSTRUCTIONS (ALL MODELS)
1. Steady the mirror with one hand, and turn the power switch off with the other.
2. Unplug the mirror’s power cord from the extension cord.
3. Separate and remove the mirror from the chassis, taking care to disconnect any technology wires
before completely separating the mirror from the chassis. Note that the magnets are strong, and
you may need to apply pressure to the front of the stand, between the bottom of the chassis and
the surface of the table to create leverage to disengage the lower magnets. The top hand simply
steadies the mirror during this step. When the bottom magnets release, lift the top of the mirror
completely off the chassis and carefully lay the mirror aside.
4. To separate the chassis from the stands, either reverse assembly steps 2-5 above, or holding the
stands with one hand, lift the chassis up, sliding it off the stands.
5. Return the chassis to the appropriate foam tray, ensuring the chassis’ power cord is coiled and fits
in the tray. If the chassis does not sit level, the cord may need to be adjusted.
6. Place the foam divider piece back into place. Return the mirror to the tray. The mirror surface
should be flush with the top of the foam when sitting in the case, indicating it is properly situated.
7. Return the stands to the lower tray by nesting them, placing legs down into the respective slot in
the case. Note that the stands will only fit one way; placing the stands into the respective slot in the
opposite orientation will cause foam tray damage.
CUSTOMER SERVICE
For questions about these assembly and operating instructions, contact your Electric Mirror account
executive.
Table of contents
Other Electric Mirror Personal Care Product manuals


