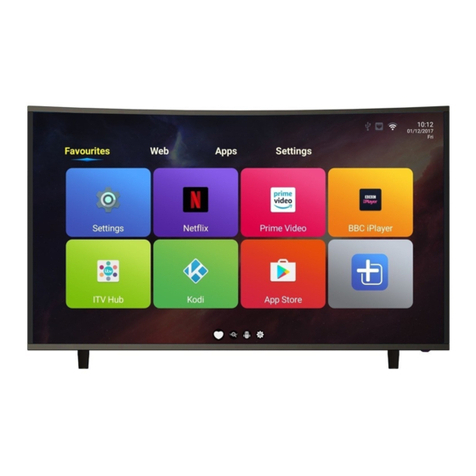
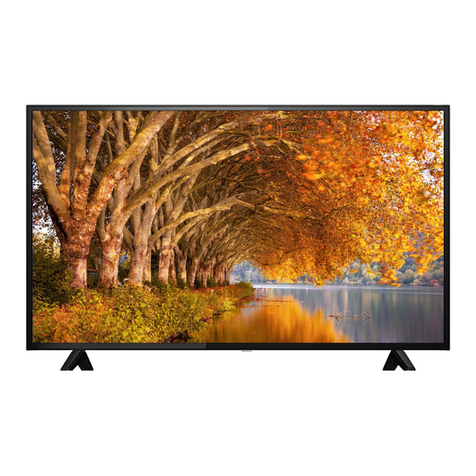
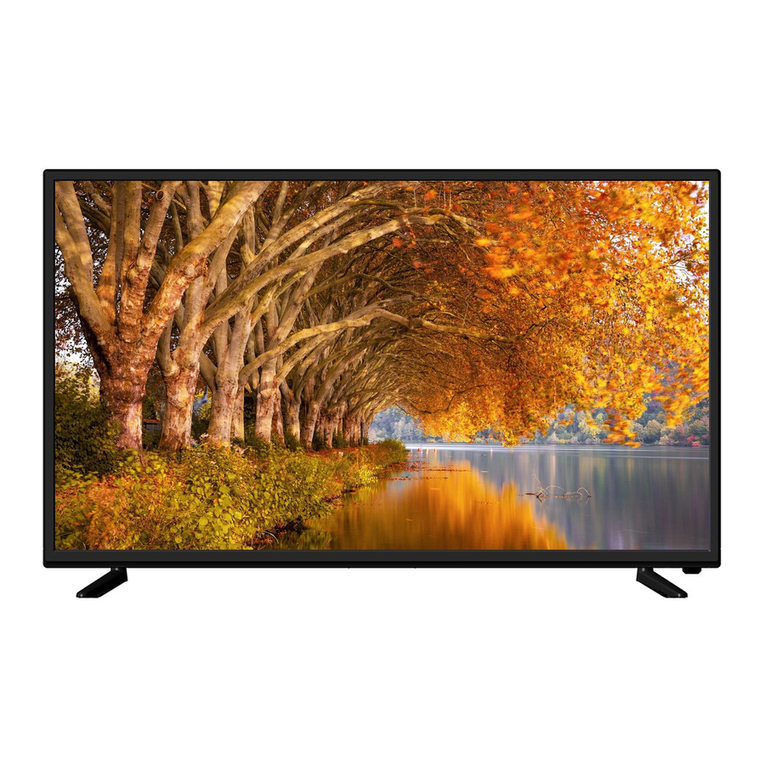
ElectrIQ EIQ-55UHDT2 User manual

55/65 inch UHD LED TV
EIQ-55UHDT2 / EIQ-65UHDT2

1 of 25
CONTENTS
Safety Information……………………………………………………………… 2
What’ included…………………………………………………………………. 4
TV Stand In tallation/Removal……………………………………………. 5
Getting Started…………………………………………………………………… 6
Connecting to External Device …………………………………………… 8
Remote Control………………………………………………………………….. 9
Setting ………………………………………………………………………………11
Specification ……………………………………………………………………..23
Support & Di po al…………………………………………………………….24

2 of 25
SAFETY INFORMATION
•Read the e in truction – All the afety and operating in truction hould be read
before thi product i operated.
•Keep the e in truction – The afety and operating in truction hould be
retained for future reference.
•Heed all warning – All warning on the appliance and in the operating
in truction hould be adhered to.
•Follow all in truction – All operating and u age in truction hould be followed.
•Do not u e thi equipment near water – The appliance hould not be u ed near
water or moi ture e.g. in a wet ba ement or near a wimming pool.
•Clean only with a dry cloth. Do not u e olvent or petroleum ba ed fluid .
•Do not block any ventilation opening .
•Do not in tall near any heat ource uch a radiator , tove or other apparatu
(including amplifier ) that produce heat.
•Do not tamper with the upplied plug. Thi plug i a BS1363 tandard plug.
•Protect the power cord from being walked on or pinched, particularly at the plug
and at the point where they exit from the appliance.
•Only u e attachment /acce orie pecified by the manufacturer.
•U e only with a cart, tand, tripod, bracket or table pecified by the
manufacturer or old with the apparatu . When a cart or tand i u ed, u e
caution when moving it to avoid any injurie or damage from it tipping over.
•Unplug the apparatu during lightning torm or when unu ed for long period of
time.
•Refer all ervicing to qualified per onnel. Servicing i required when the
apparatu ha been damaged in any way, uch a power upply cord or plug i
damaged, liquid ha been pilled or object have fallen into the apparatu or it
ha been expo ed to rain or moi ture, it doe not operate normally or ha been
dropped.
•Plea e keep the unit in a well-ventilated environment.
•The TV et hould only be connected to a main power upply a rated on the
back of the equipment.
•To prevent overload, do not hare the ame power upply ocket with too many
other electronic component .
•Do not place any connecting wire where they may be tepped on or tripped
over.
•Do not place heavy item on the cable a thi may cau e damage.
•Hold the main plug, not the wire , when removing from a ocket.
3 of 25
•Pull the plug out immediately and eek profe ional help if the main plug or cable
i damaged, liquid ha pilt onto the et, if accidentally expo ed to water or
moi ture, if anything accidentally penetrate the ventilation lot or if the et
doe not work normally.
•Do not remove the afety cover . There are no u er erviceable part in ide.
Trying to ervice the unit your elf i dangerou and may invalidate the product’
warranty. Only qualified per onnel hould ervice thi apparatu .
•To avoid battery leakage, remove exhau ted batterie from the remote control
when not in u e for a long period.
•Do not block ventilation lot on the back cover. The TV can be placed in a
cabinet but en ure at lea t 5cm (2”) clearance all around.
•Do not tap or hake the TV creen, thi may damage internal component .
•WARNING: To reduce the ri k of fire or electric hock, do not expo e thi
apparatu to rain or moi ture. The apparatu hall not be expo ed to dripping or
pla hing and object filled with liquid , uch a va e , hall not be placed on the
apparatu .
•WARNING: The wall plug ocket i u ed a a di connection device and hould
remain readily acce ible.
•
WARNING: The batterie hall not be expo ed to exce ive heat uch a direct
unlight or fire.
Thi warning ign i to
warn of dangerou voltage
in ide the product.
CAUTION: To reduce the ri k of
electric hock, DO NOT remove the
cover (or back). No u er erviceable
part in ide. Refer ervicing to
qualified ervice per onnel.
Thi warning ign i to alert
you of important
in truction accompanying
the product.
Thi equipment i a Cla II or double in ulated electrical appliance.
It doe not require a grounded connection.
AT FULL VOLUME, PROLONGED LISTENING MAY DAMAGE THE
USER’S HEARING.

4 of 25
WHAT’S INCLUDED
TV Set Remote Control (2xAAA batterie )

5 of 25
TV STAND INSTALLATION/REMOVAL
WALL MOUNTING
•The TV i provided with mounting hole for a VESA approved wall mounting
bracket (not upplied)
•The VESA mounting pattern i :
o55” 200x200mm and the ize of the crew i 4 x M6 x 10 (not
upplied)
o65” 400x400mm and the ize of the crew i 4 x M6 x 20 (not
uppled)
•Do not u e crew longer than pecified or damage will occur to the
internal component .
NOTE: A the TV et i con idered heavy, plea e con ult with a profe ional
wall mount in taller to perform the in tallation.

of 25
GETTING STARTED
BUTTON FUNCTIONS
1. POWER BUTON: To turn ON/OFF the TV
2. SOURCE Button: To elect the input ource.
3. MENU Button: To enter menu etting page.
4. VOL-: To decrea e the volume level.
5. VOL+: To increa e the volume level
6. CH-: To elect previou channel
7. CH+: To elect next channel
8. Remote Control Sen or
9. Power Indicator: In tandby mode the indicator light will di play red,
when witching on the unit the indicator light will di play green.

7 of 25
INPUT / OUTPUT TERMINALS
1. USB input lot – for multimedia file playback
2. HDMI input X3
3. AV input terminal
4. YPbPr
5. Headphone output terminal
6. Coaxial output terminal
7. RF input terminal
8. Scart input terminal
9. RJ45 input terminal

8 of 25
CONNECTING TO EXTERNAL DEVICES

9 of 25
REMOTE CONTROL
1. POWER: Turn on the TV/Standby
2. MUTE: Mute or re tore the ound
3. SOURCE: Pre to change the ignal ource
4. S. MODE: Setting audio option
5. P. MODE: Output image mode election
6. AUDIO: Switch the audio channel when DVD or
multimedia playing. I/II: In the TV mode, pre thi button
to elect the tereo ize
7. P. SIZE: Pre to elect the different picture ize.
8. NUMBER KEYS: Change the channel
9. FAV. CH: Show the li t of favourite channel
10. SLEEP: Auto Power Off Timer
11. JUMP: Return to the previou elected channel
12. MENU: Show etting menu
13. EXIT: Exit the menu
14. INFO: Show information about the current program
15. NAVIGATION KEYS (Up, Down, Left, Right and OK): To
move in the menu and confirm etting .
16. V+ / V-: Increa e / decrea e volume
17. P+ / P-: Next / previou channel
18. REPEAT: Repeat mode
19. Menu
20. Mou e (di abled for non mart model )
21.
Pre the appropriate colour to direct acce
function in TELETEXT or EPG OSD mode
Menu/Back/Mou e/Search may be di abled on non mart model
22. TIME SHIFT: In DTV mode, pre TIME SHIFT button to tart the delay
function, pre the button to tart playing delay program, pre the
button to terminate the delay function. Time hift function require USB
fla h drive or externally powered USB hardrive connected

10 of 25
Reveal hidden information uch a the an wer to a quiz in TELETEXT
Mode
23. PVR LIST: IN DTV mode, di play the executed PVR LIST.
Di play the main index in TELETEXT mode.
24. USB: Pre to witch to USB ignal ource directly.
Di play the top, bottom or all of the page.
25. DTV/RADIO: In DTV mode, pre DTV/RADIO button to enter DTV or RADIO
mode.
Freeze a multi-page election on TELETEXT mode.
26. Stop Playback
27. REC: In DTV mode, pre REC button to tart recording, pre button
top recording.
28. Eject di c (di abled for non DVD combo model )
29. Play/Pau e.
30. Fa t Forward playback
31. Rewind playback
32. Previou file or chapter
33. Next file or chapter
34. TEXT: Turn on and off the Teletext function
35. Home: Pre to open the Home Page
36. SUBTITLE: Select ubtitle of media video file (require the upport of di k or
file)
37. GUIDE: Show the Electronic Program Guide (EPG)

11 of 25
BATTERY INSTALLATION
1. Open the battery cover.
2. In ert 2 AAA batterie in the battery compartment, matching the polaritie
correctly.
3. Replace the battery cover.
SETTINGS
INITIAL SETUP
1. Connect the TV et to a power outlet.
2. Pre the POWER button on the remote or on the TV et to turn on the TV
(the indicator will be lit green)
NOTE: Pre ing the power button on the remote or TV et will place the TV
into tandby mode only. If the TV et i expected to be not in u e for a long
period of time, plea e di connect it from the power ource.

12 of 25
3. Pre the to choo e the preferred
item and pre OK button to confirm the
etting .
SELECT INPUT SOURCE
Available option : DTV, ATV, AV, SCART, YPbPr, HDMI
1, HDMI 2, HDMI 3, PC, MEDIA
-
Pre SOURCE button to di play the input ource
li t.
-
Pre
▲ ▼
/ or SOURCE button to elect the
preferred input ource.
-
Pre OK button to confirm.
-
Pre EXIT button to exit.
BASIC OPERATIONS
1. Pre the MENU button on the remote
control or on the TV to enter the
menu page.
2. U e ◄ / ◄ button to elect the main
menu option .
3. U e
▲ ▼
/ button to navigate up and
down within the menu.

13 of 25
4. U e the ◄ / ◄ button to alter the required etting then pre the MENU
button to confirm and return to the previou menu page or pre EXIT
button to exit the menu.
PICTURE MENU
Pre MENU button to enter the main menu.
After the preferred etting are done, pre MENU button
to confirm and return to the previou menu page or pre
EXIT button to exit the menu.
SOUND MENU
Pre MENU button to enter the main menu
After the preferred etting are done, pre MENU button to confirm and
return to the previou menu page or pre EXIT button to exit the menu.
CHANNEL MENU
Pre MENU button to enter the main menu.

14 of 25
Pre ◄ / ◄ button to elect Channel in the main menu and pre OK then
▼
to
enter.
1. Pre
▲ ▼
/ button to elect the option that you want to elect the
preferred item.
2. Pre OK button to enter ub-menu
3. Pre MENU button to return back to previou menu or pre EXIT button
to exit the menu
TUNER TYPE
Select the DVB Antenna Type
Pre
▲ ▼
/ button to elect DVB Antenna, then pre ◄ / ◄ button to elect
the type of antenna, either Antenna or Cable.

15 of 25
AUTO TUNING
Pre
▲ ▼
/ to elect Auto Tuning then pre OK to enter ub-menu.
Country
Pre ◄ / ◄ button to elect country.
Operator
Pre ◄ / ◄ button to elect the operator.
Auto Tuning
Pre OK / ◄ button to tart the auto earching. It will earch digital channel
fir t, then analogue channel .
Before executing auto channel earch plea e make ure the preferred tuner
type i cho en. Wrongly etting the tuner type may cau e failure to find
channel .
Signal Information
View the ignal information.
Pre
▲ ▼
/ button to elect ignal information, then pre the OK button to
view the detailed information about the ignal.
ELECTRONIC PROGRAM GUIDE (EPG)
Pre the GUIDE button to enter the EPG menu.

1 of 25
Pre the GREEN button to di play the previou day
Pre the YELLOW button to di play next day
Pre the RED button to record the elected program
Pre the BLUE button to et a reminder for the elected program
LOCK SYSTEM MENU
Pre MENU button to enter the main menu and elect “Lock”.
The default pa word i “0000”.
TIME MENU
Pre MENU button to enter the main menu and elect “Time”

17 of 25
Off Time: Set the time for the TV to turn off automatically.
On Time: Set the time for the TV to turn on automatically.
Sleep timer: Set the time after which the TV will witch off. Either: Off, 10min.,
20min., 30min., 60min., 90min., 120min., 180min.
OSD Timer: Set the time at which the on creen di play (OSD) turn off. Either:
Off, 5 ec ., 15 ec ., 30 ec ., 60 ec .
Auto Sleep: Set the time at which the TV goe off after being idle. Either: Off, 3
hour , 4 hour , 5 hour .
NETWORK MENU
Pre MENU button to di play the main menu.
Pre ◄ / ◄ button to elect Network in the main menu.
Pre
▲ ▼
/ button to elect the option that you want to adju t
in the Network menu.
Pre Enter button to adju t.
After fini hing your adju tment, pre the Enter button to ave
and return to the previou menu.
IP CONFIGURATION
Pre
▲ ▼
/ button to elect IP Config.
Pre Enter button to et the IP Configuration.

18 of 25
NETWORK INFO
Pre
▲ ▼
/ button to elect Network Info.
Pre the Enter button to view the WiFi network information.
NETWORK TEST
Pre
▲ ▼
/ button to elect Network Te t.
Pre enter button to te t the WiFi Network.
NOTE:
For non mart model network function i not in u e and re erved
for ervice centre or OTA firmware upgrade .

19 of 25
SETTINGS
Pre MENU button to enter the main menu and elect “Setting ”.
Change the etting a required u ing the ◄ / ◄ button .
Pre the MENU button to confirm the change and return to the previou
menu page or pre EXIT button to exit the menu.
USB OPERATION
Before the external USB device i connected to the TV plea e fir t pre
SOURCE button and et the input ource to MEDIA.
In ert USB device.
Pre ◄ / ◄ button to elect the item you
require and pre OK to enter.
Photo
Pre
▲ ▼
/ button to elect the file you wi h to di play then pre OK button
to enter.
This manual suits for next models
1
Table of contents
Other ElectrIQ LED TV manuals

ElectrIQ
ElectrIQ EIQ-49FHDT2SM User manual

ElectrIQ
ElectrIQ eiq-CV49UHDT2SM User manual

ElectrIQ
ElectrIQ eiQ-CV65UHDT2SMH User manual

ElectrIQ
ElectrIQ eiQ-32HDT2SM User manual

ElectrIQ
ElectrIQ eiq-49UHDT2SM User manual

ElectrIQ
ElectrIQ eiQ-43UHDT2SMH-V3 User manual

ElectrIQ
ElectrIQ EIQ-32HDT2 User manual

ElectrIQ
ElectrIQ EIQ-40FHDT2SM User manual

ElectrIQ
ElectrIQ eiQ-CV49UHDT2SMH User manual

ElectrIQ
ElectrIQ eiQ-50UHDT2SMH User manual