37
How to use the hood
Correct ventilation
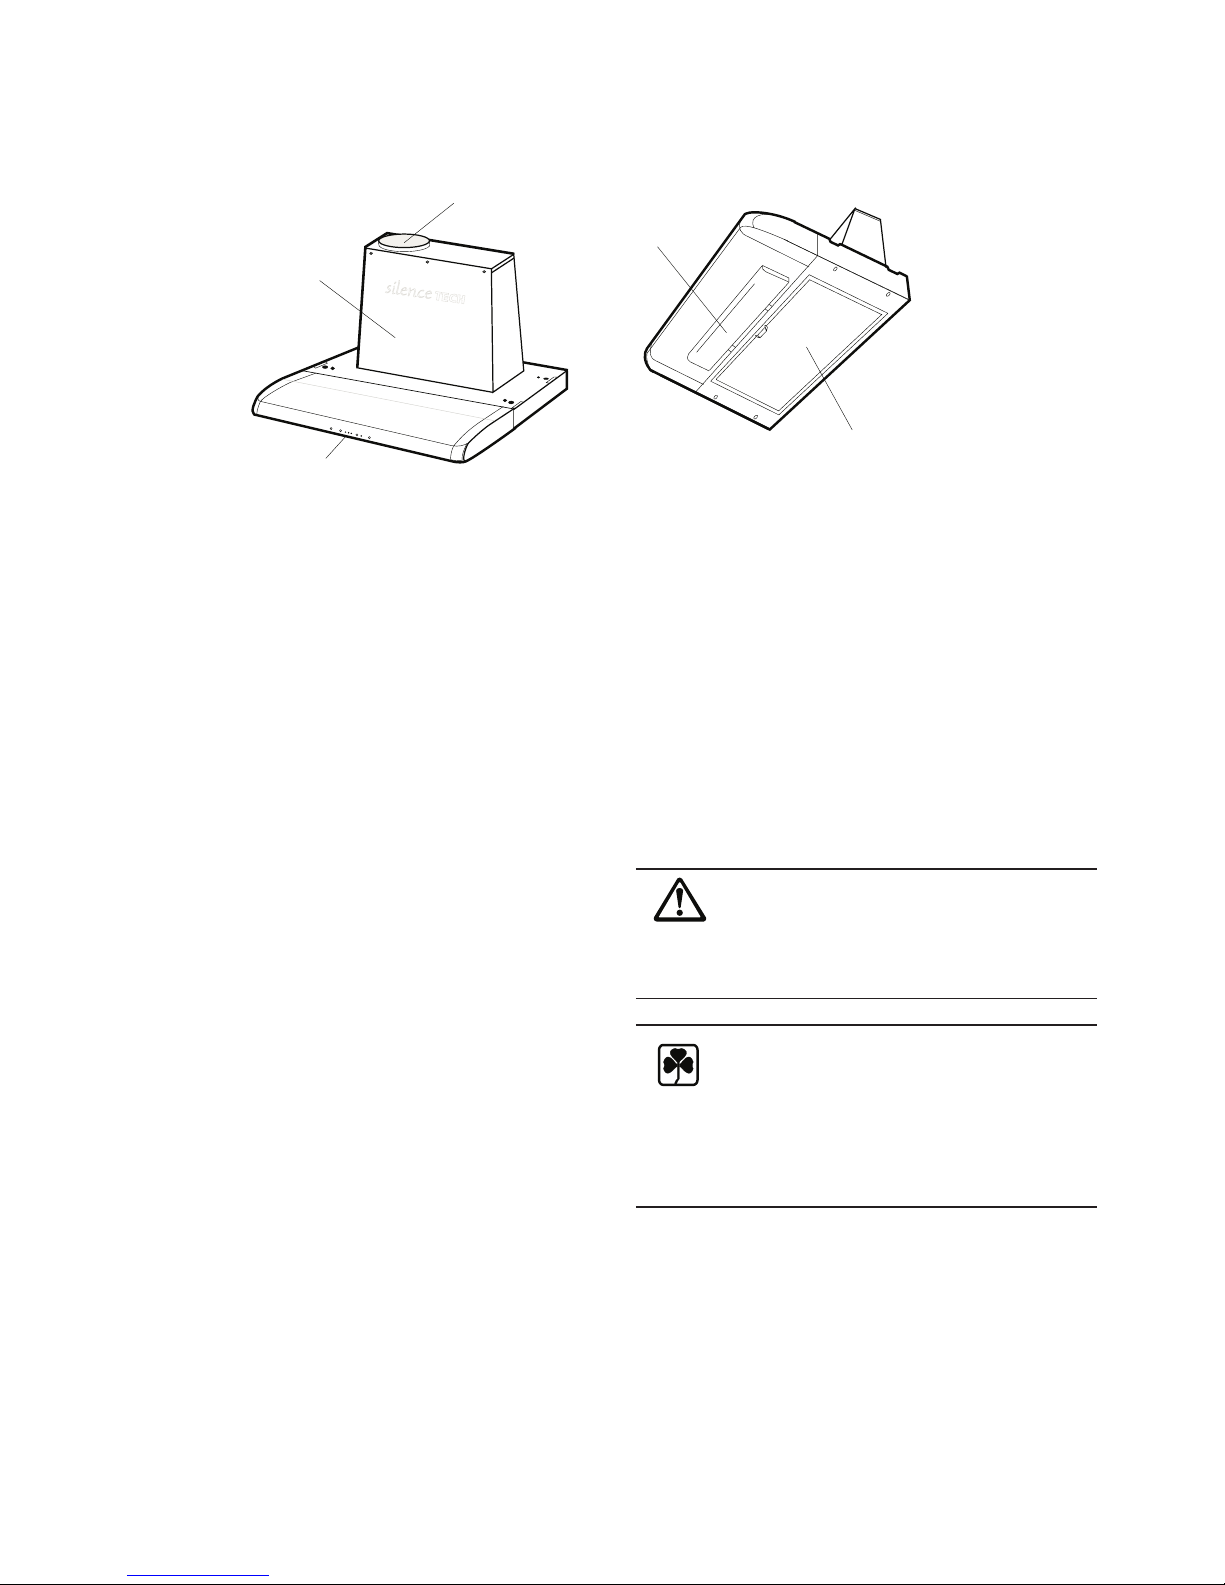
The control panel
The speed control is on the front of the hood.
(see figure)
Best results are obtained using a low speed
in normal conditions and a high speed when odours
are more concentrated.
ON/OFF key.
Speed control key.
Intensive speed key.
Intensive speed lasts for 5 minutes. The time may vary
slightly and cannot be modified. Press the intensive
speed key again if you want to interrupt the intensive
speed before the established time limit. If the hood is
functioning when intensive speed is started, it will return
to the previously set speed once the time limit has
passed, or intensive speed has been interrupted.
If the hood is off when intensive speed is started, it will
automatically witch itself off at the time limit. It is,
for example, opportune to use intensive speed for the
evacuation of odours after having finished cooking.
Illumination key.
We advise switching the hood on a few minutes
before starting to cook so as to obtain the vacuum
in the kitchen and to leave it working at the end of
cooking for another 15 minutes until all fumes and
odours have disappeared.
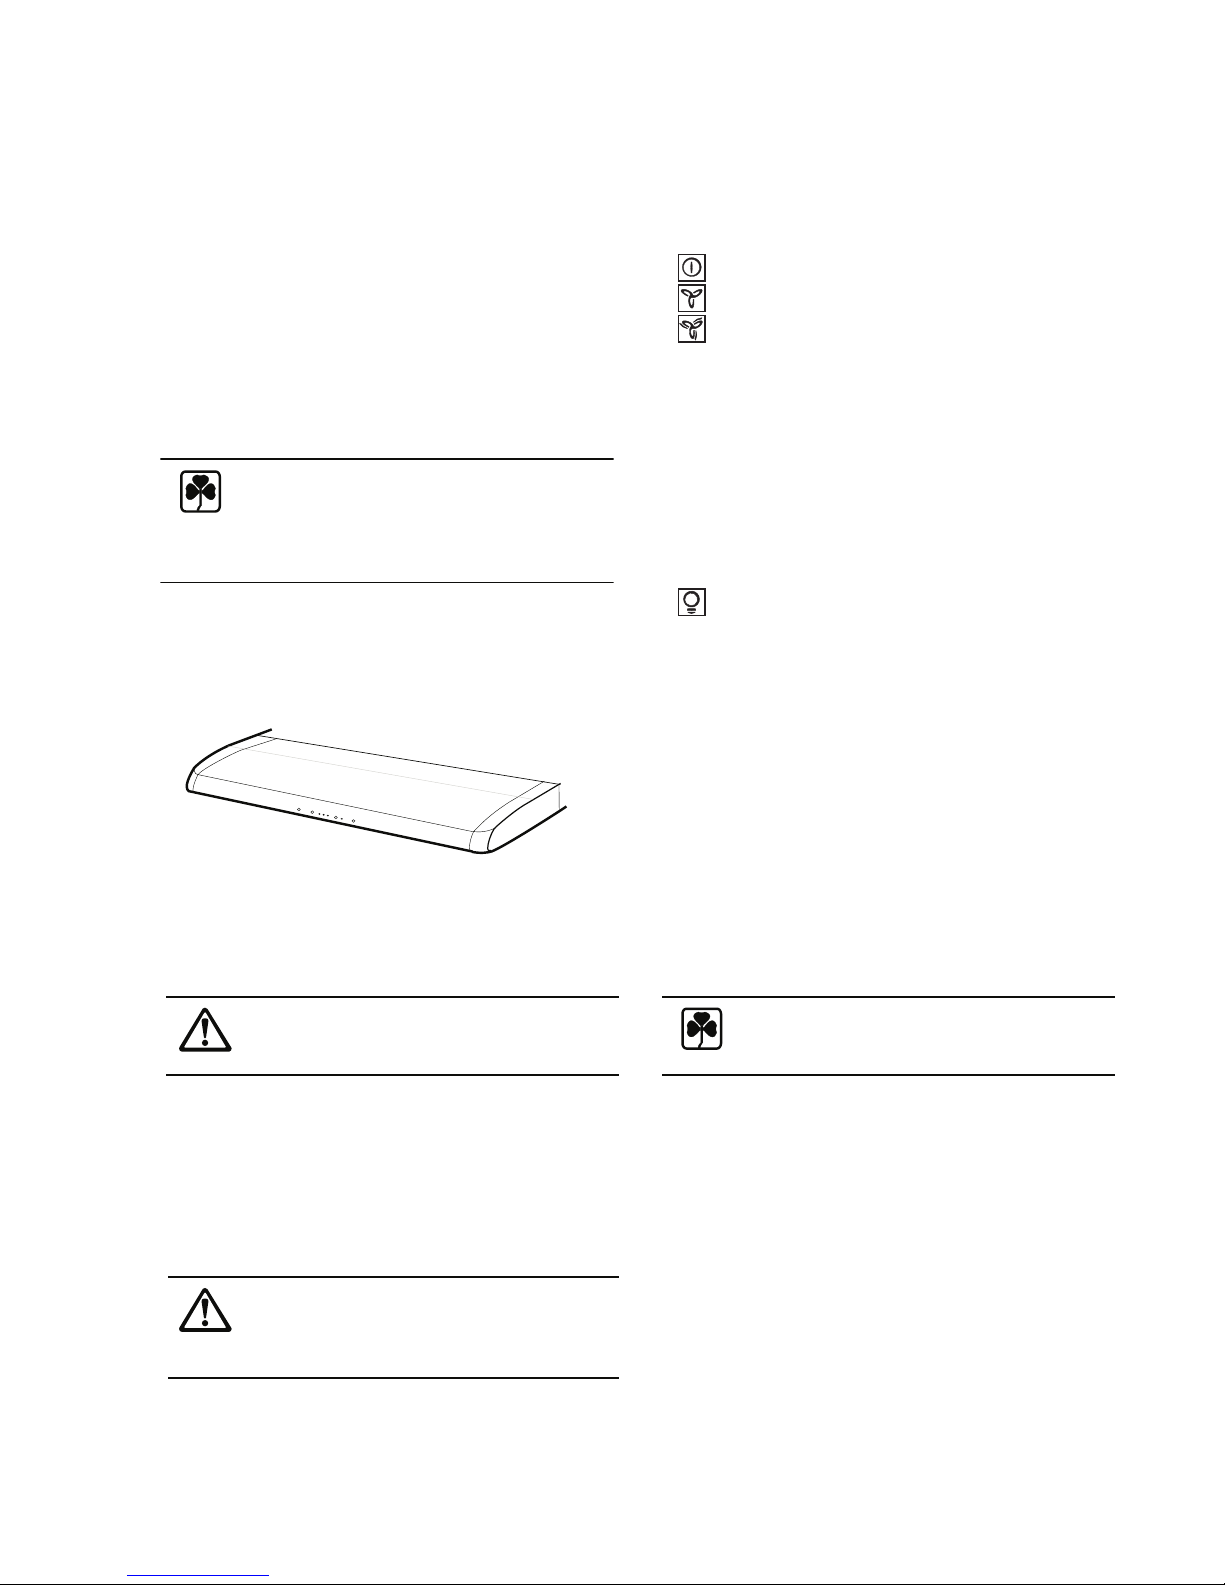
Maintenance and cleaning
Disconnect the hood from the power before
any maintenance work, removing the plug
or the fuse.
Cleaning the hood
Clean the exterior of the hood with a wet cloth
and a neutral detergent. Never use cleaning
products that contain corrosive or abrasive agents
or inflammable substances. Check that eventual
residues of the cloth or other particles are not
deposited upon the hood.
Clean the filter often. Deposits of fat on the filter
and the walls of the evacuation tube are a fire
danger if, for example, a ring is left inadvertently
lit (or in the case of other kinds of overheating).
Frequently cleaning the filter reduces the load
on the motor and increases the aspiration
capacity of the hood.
Cleaning/changing the active carbon filter
Unlike other active carbon filters, this type of
active carbon filter can be cleaned and regenerated.
In normal conditions, the filter should be cleaned
every two months. The best way to clean the filter
is to put it into the dishwasher.
Use a normal detergent and select the highest
temperature. Wash the filter separately to avoid
residues of food remaining imprisoned in it and
cause successive bad smells. The filter must be
dried in the oven for 10 minutes to
reactivate the carbons. Also see the instruction
supplied with the filter. After about three years
use the filter should be substituted with a new
one because its capacity to absorb odours
has been reduced.
A vacuum is necessary in the kitchen for the
correct functioning of the hood.
It is important to keep the kitchen windows
closed and have a window open in an adjacent
room.
Important
If the hood is used together with an open
fireplace that takes air from inside the house,
a draught might occur that could bring fumes
into the room. Air the room by opening a window.
This does not concern the active carbon filter
version.
Do not use the hood at an excessive speed. The lower
speeds are sufficient for normal cooking.
The higher speeds must only be used if food has
been burnt or there is a particular concentration of
fumes.