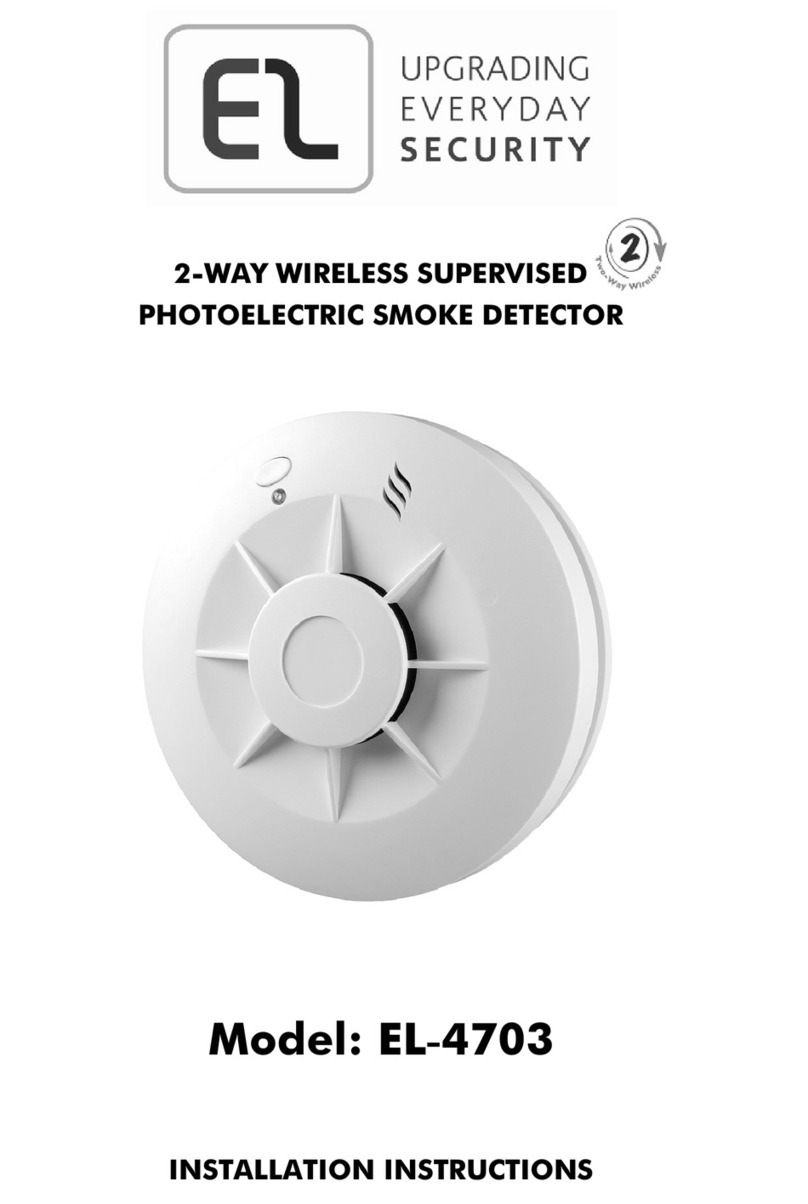
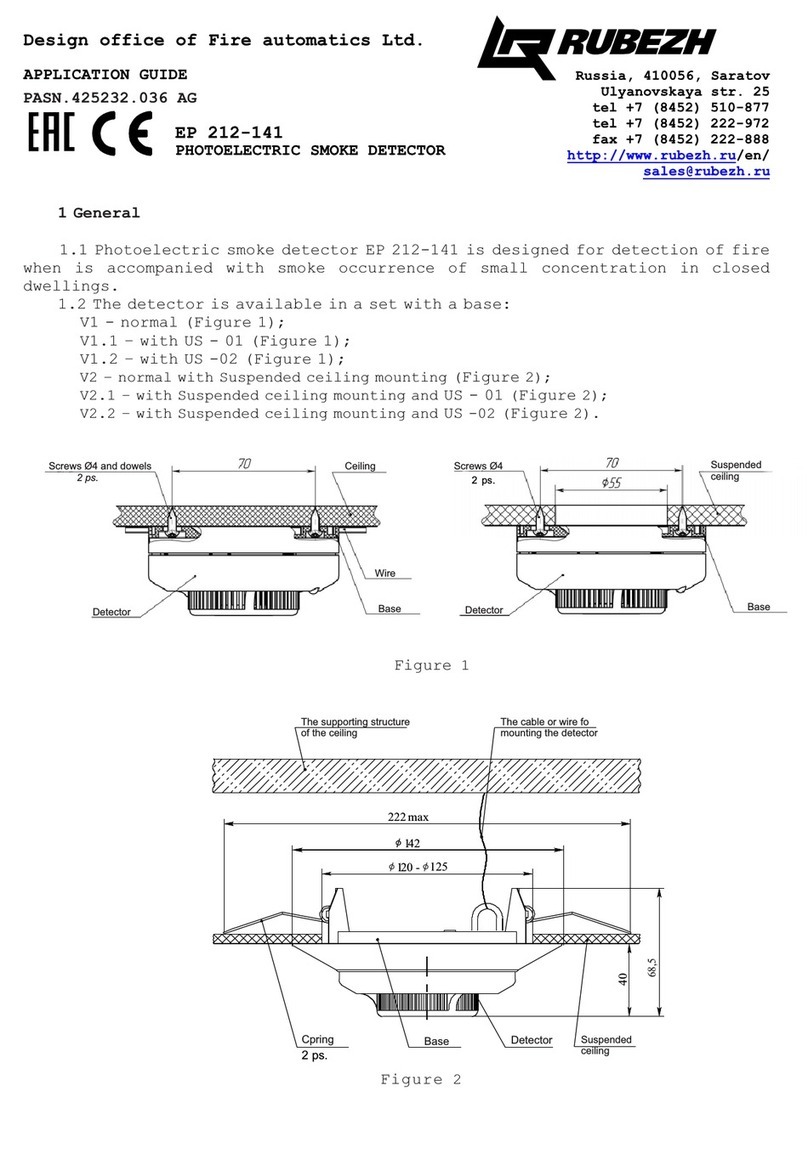
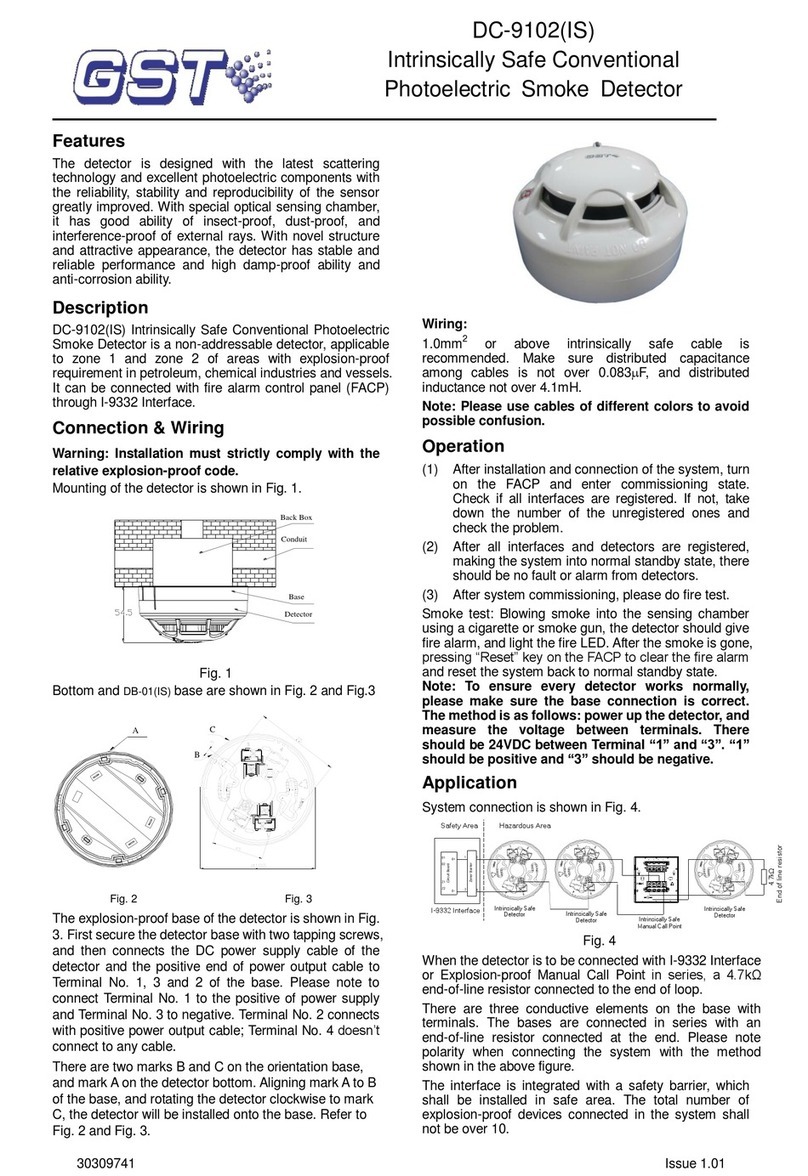
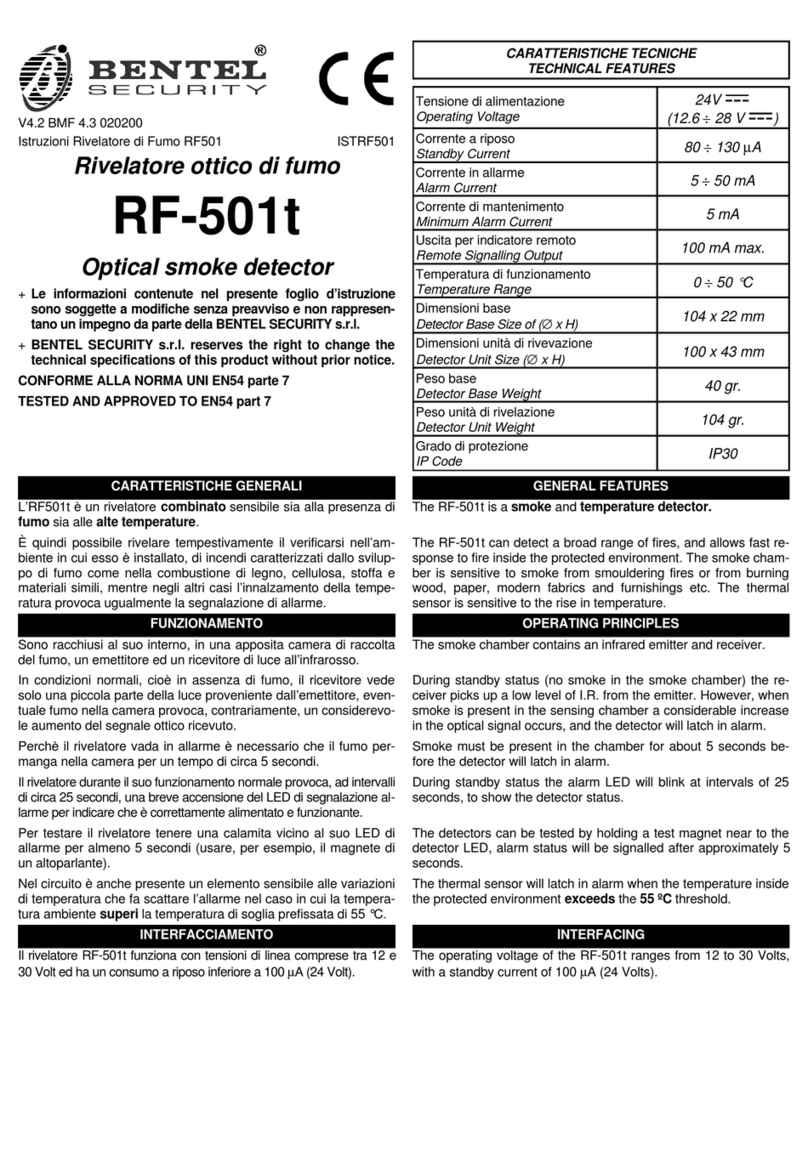
Electronics Line EL-2603 User manual

EL-2603
English
The EL-2603 is a brand-name smoke detector and transmitter designed for use with Electronics Line
3000’s supervised wireless range of receivers. The EL-2603 sends a status transmission to the
receiver every hour to indicate that the transmitter is functional.
Installation Instructions
The following procedure explains the
installation of the EL-2603 wireless smoke
detector and its registration to the receiver.
For further information regarding the smoke
detector’s location, test procedures,
maintenance and specifications, refer to the
manufacturer’s installation instructions
provided with this product.
1. Open the cover by lifting the opening tab
while firmly holding the base with your
other hand.
2. Push the cover backwards to separate
the cover from the base.
3. Install a 9V battery into the detector’s
battery snap.
4. Insert the Test jumper; the EL-2603
enters Test mode and the LED flashes
every few seconds
5. While the EL-2603 is in Test mode, set
the receiver to Registration mode and
make sure that the EL-2603’s LED lights
up at least twice. The receiver allocates
a transmitter number to each registered
unit. Write this number and the number
of the zone on the sticker provided. Affix
the sticker inside the front cover for
future reference. Note: Alternatively, the
EL-2603 can be registered to the
receiver by manually entering the
transmitter's serial number.
6. After registration, remove the Test jumper
and place it over one pin for storage
7. Before permanently mounting the unit,
test the transmitter from the exact
mounting position. If necessary, relocate
the EL-2603 to a better position.
8. Attach the mounting base to the ceiling using the screws provided.
9. Replace the cover onto its hinges and close the cover until it snaps together with the base.
Technical Specifications
Antenna: Built-in Internal Whip
Frequency: 868.35, 433.92 or 418MHz FM
Current Consumption: 30mA (transmission)
20μA (standby)
Power: 9V Alkaline Battery
RFI Immunity: 40V/m
Operating Temperature: 0-60°C
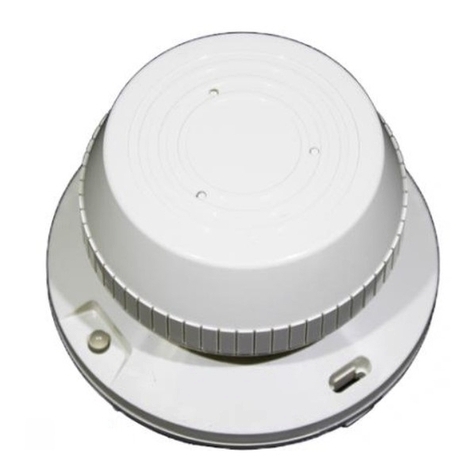
Figure 1: EL-2603 (cover open)/
Figure 1: EL-2603 (couvercle ouvert)/Figura 1: EL-2603 (tapa abierta)
1. Opening Tab/Lanière
d’ouverture/ Lengüeta de
apertura
2. LED Indicator/Indicateur de
LED/
Indicador LED
3. Test Jumper/Cavalier
Test/Jumper de Test

Electronics Line 3000 Ltd.: 2 Granit Street, Kiryat Arieh, POB 3253, Petah Tikvah 49130 Israel. Tel: (972-3) 918-1333, Fax: (972-3) 922-0831
USA: 5637 Arapahoe Avenue, Boulder, Colorado 80303. Tel: (800) 683-6835, Fax: (303) 938-8062
UK: Unit 7, Leviss Trading Estate, Station Road, Stechford, Birmingham B33 9AE. Tel: (44-121) 789-8111, Fax: (44-121) 789-8055
France: ZI-61, rue du Marché Rollay, 94500 Champigny-Sur-Marne. Tel: (33-1) 45.16.19.20, Fax: (33-1) 45.16.19.29
ZI0242C (10/03)
All data is subject to change without prior notice. In no event shall Electronics Line 3000 Ltd. (EL3K) be liable for an amount in excess of EL3K.’s
original selling price of this product, for any loss or damage whether direct, indirect, incidental, consequential or otherwise arising out of any failure of
the product. Hereby, Electronics Line 3000 Ltd. declares that this transmitter is in compliance with the essential requirements and other relevant
provisions ofDirective 1999/5/EC. 868.35MHz frequency transmitters are not intended for use in Bulgaria, Greece, Poland and Slovenia.
Français
Le EL-2603 est un détecteur de fumé et un transmetteur de
marque, conçu pour être utilisé avec la gamme des
récepteurs de radio supervisés d’Electronics Line 3000. Le
EL-2603 envoie une transmission de statut au récepteur à
chaque heure, afin d’indiquer que le transmetteur est en
état de fonctionnement.
Processus d’Installation
La procédure suivante explique l’installation du détecteur
de fumée radio EL-2603 et son enregistration dans le
recepteur. Pour de plus amples détails concernant
l’emplacement du détecteur de fumée, les processus de
tests, la maintenance et les spécifications, reférez-vous
aux instructions d’installation du fabricant fournit avec ce
produit.
1. Ouvrez la couverture en soulevant la lanière
d’ouverture en gardant fermement la base de votre
autre main.
2. Poussez la couverture en arrière pour séparer la
couverture de la base
3. Installez une batterie de 9V dans l’emplacement de la
batterie du détecteur.
4. Insérez le cavalier Test ; le EL-2603 entre en mode
Test et la LED clignote toutes les quelques secondes.
5. Pendant que le EL-2603 est en mode Test, réglez le
récepteur en mode Enregistrer et vérifiez à ce que
l’indicateur LED de l’émetteur s’allume au moins deux
fois. Après l’enregistrement, fermez momentanément le
contact d’autoprotection pour terminer le mode de Test.
Notez le numéro de la zone et le numéro de l’émetteur
(si approprié) sur l’autocollant fourni. Apposez
l’autocollant à l’intérieur du couvercle avant pour une
référence future. Note: En tant qu’alternative, le EL-2603
peut être enregistré dans le récepteur en manuellement
insérant le numéro de série de l’émetteur.
6. Après l’enregistrement, enlevez le cavalier Test et
placez le sur une seule broche pour le conserver.
7. Avant fixer l’unité de façon permanente, testez
l’émetteur à partir de la position exacte de fixation. Si
nécessaire, localisez à nouveau l’émetteur vers une
meilleure position et répétez le test.
8. Attachez la base de fixation au plafond en utilisant les
vis fournies.
Spécifications Techniques
Antenne: Fouet interne intégré
Fréquences: 868.35, 433.92 ou 418MHz FM
Consommation courante: 30mA (en transmission)
20μA (au repos)
Alimentation: 9V Batterie d’Alcaline
Immunité IRF: 40V/m
Température de fonctionnement: 0-60°C
Español
El EL-2603 es un detector de humo de marca
reconocida con un transmisor diseñado para su uso con
la línea de receptores inalámbricos de Electronics Line
3000. El EL-2603 envía una señal de supervisión al
receptor cada hora para indicar que el transmisor
funciona correctamente.
Proceso de Instalación
El siguiente procedimiento explicara la instalación del
detector y la registración en el receptor. Para mayor
información sobre la localización del detector de humo,
procedimientos de test, mantenimiento y especificaciones,
referirse a las instrucciones de instalación del fabricante
provistas con este producto.
1. Abra la tapa apretando la traba firmemente contra
la base.
2. Levante la tapa para separarla de la base.
3. Instale una batería de 9V en el alojamiento del
detector.
4. Inserte el Jumper de test; el EL-2603 ingresara en
modo Test y el LED destellara durante algunos
segundos.
5. Mientras el EL-2603 esta en modo de Test, coloque el
receptor en modo registración y asegúrese de que el
LED indicador del transmisor destelle al menos dos
veces. Luego de la registración, momentáneamente
cierre el contacto del Tamper para finalizar el modo
Test. Escriba el numero de la zona y el numero del
transmisor (en caso de ser necesario) en el adhesivo
provisto. Pegue la etiqueta dentro de la tapa frontal
para una referencia futura. Nota: Alternativamente, el
EL-2603 podrá ser registrado manualmente ingresando
el numero de serie del transmisor.
6. Luego de la registración, remueva el jumper de
Test y almacénelo sobre uno de los pines.
7. Antes de fijar permanentemente la unidad, testee el
transmisor desde la posición exacta de montaje. De
ser necesario, reposicione el transmisor y repita el
test.
8. Fije la base al techo utilizando los tornillos provistos.
9. Cierre la tapa hasta que esta trabe sobre la base.
Especificaciones Técnicas
Antena: Incorporada Lazo Interna
Frecuencia: 868.35, 433.92 o 418MHz FM
Consumo de Corriente: 30mA (transmisión)
20μA (en reposo)
Alimentación: 9V Batería Alcalina
Inmunidad a la RF: 40V/m
Temperatura de operación: 0-60°C
Other Electronics Line Smoke Alarm manuals
Popular Smoke Alarm manuals by other brands
TRADEFORCE
TRADEFORCE TRFSD240PE Installation and user manual

DELTA DORE
DELTA DORE TYXAL Installation and user guide

Teknim
Teknim TFD-3230 Installation & operating guide
Heiman
Heiman HM-620PHW-AC user manual
Siemens
Siemens AD2-C11 Quick Guide for Commissioning
Mini Gadgets
Mini Gadgets BB4KWiFiOperativeSmoke user manual
