Auto Leveling
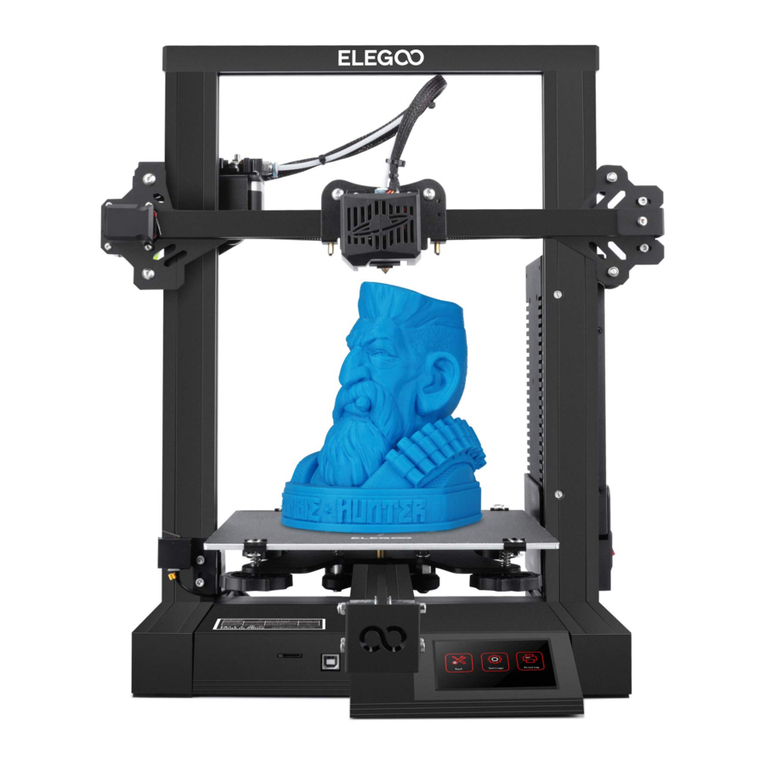
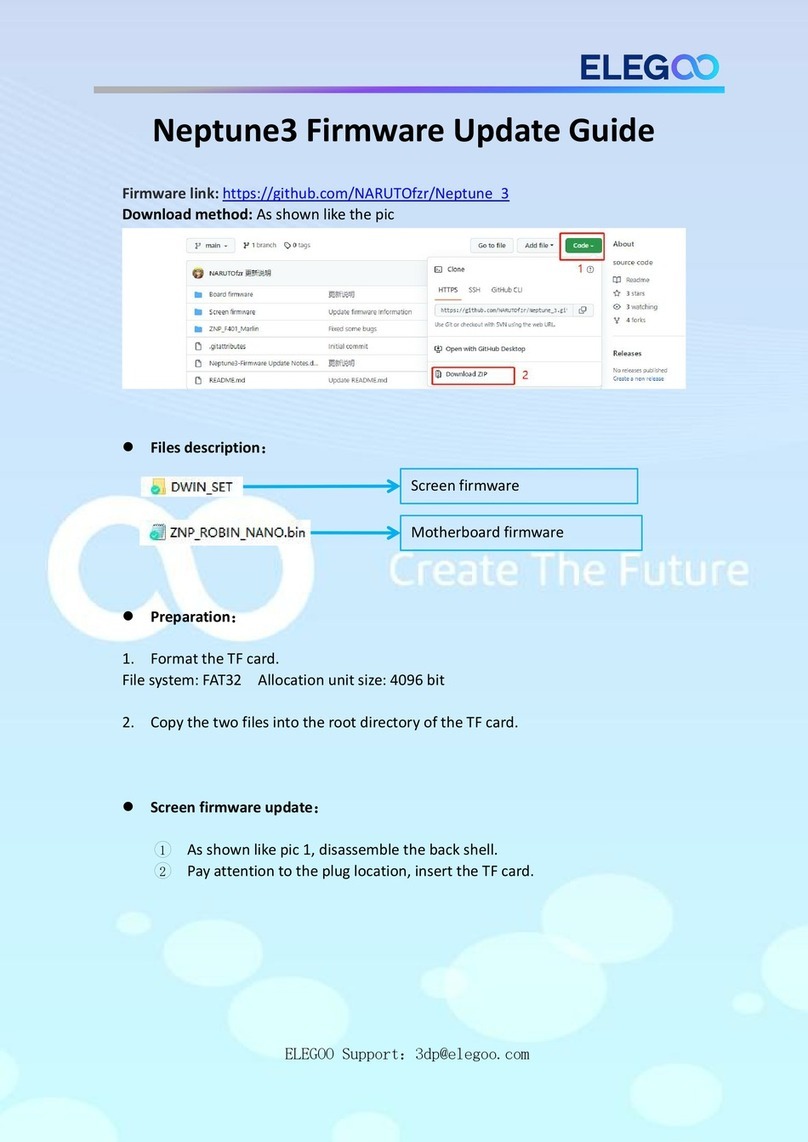
When first running the machine, the distance between the platform and the nozzle needs to be
calibrated in the leveling mode, which is about the thickness of a piece of A4 paper .
Note that the leveling sensor only
detects the metal platform plate, for
example, replacing the glass platform
for leveling will not produce detection
effect, which will cause the nozzle to
squeeze the platform.
lWhen the printer is powered on, select 【Level 】.
lEach axis of the printer automatically returns to the home position, after entering the leveling page, place a piece of A4 paper between the
nozzle and the platform, and click the compensation value to adjust the distance between the nozzle and the platform (See Picture 2), and
push and pull the A4 paper, when there is friction generated, the center point calibration can be completed. Click on the auxiliary leveling
【 】, calibrate the 6 points of the platform with the A4 paper by hand-twisting nuts, and push and pull the A4 paper, when the paper
can be pulled out but not pushed in, the auxiliary leveling can be completed.
lAfter completing the auxiliary leveling, enter the automatic leveling【 】for automatic calibration.
lThe machine will enter the heating state:the nozzle is heated to 140°C, the hot bed is 60°C.(Please preset the hot bed temperature according
to the temperature of the consumables to achieve a more accurate leveling value.)
lAfter reaching the preset temperature: start the 121-point automatic calibration.
lAfter the leveling is completed, set the Z-axis compensation: place a piece of A4 paper between the nozzle and the printing platform.
Click the compensation value and push and pull the A4 paper to complete the compensation and leveling when friction is generated.
A4 paper
lClick the save icon to save.【 】
P1 P2 P3 P4
12


