LJNED10_2AQ
PAGE 5 1000002311 (Rev. D - 05/16)
1. Familiarize yourself with the mounting frame which should already be in place in the wall. If not, refer to the mounting frame installation
instructions on page 2 before proceeding.
2. Determine location of rough plumbing. At this point, you should decide which style trap you plan to use. For easier installation, we
recommend the use of a swivel trap.
3. Install the basin (See Figure 10). Hold the basin ush against the wall, positioning the top edge just above the upper edge of the wall
frame. Then slide the basin down slowly until it engages the hanger bracket. Be sure the basin is rmly engaged before releasing it.
4. Finish securing the basin in place. Align the brackets (item 15) at the bottom of the basin with the bracket on the frame. Fasten the
brackets together using screws and speed nuts (provided, items 8, 28).
5. Install tailpiece assembly. Slide the slip nut and gasket from the trap onto the tailpiece. Insert the tailpiece assembly into the trap and
align its other end with the drain hole in the basin. Place rubber gasket between the tailpiece assembly and the basin, then screw in the
drain plug from above. Tighten the drain plug. Tighten slip nut and swivel joint. Snap the strainer plate into the drain plug.
6. Install a service stop (not provided) on the supply water inlet line. Turn on supply water and ush thoroughly.
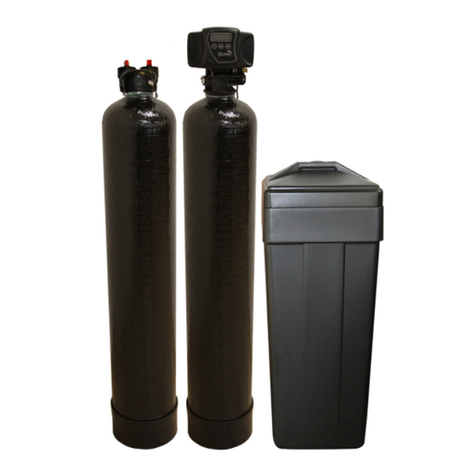
7. Install remote chiller. Verify that lter has been installed inside chiller. Slide chiller onto shelf and center it within the shelf guides.
NOTE: Building construction must allow for adequate air ow on both sides, top, and back of chiller. See chiller instructions for additional
information.
8. Make connection between chiller inlet and building supply line (3/8” O.D. copper tube). DO NOT SOLDER TUBES
INSERTED INTO THE UNIONS AS DAMAGE TO THE O-RINGS MAY RESULT. (See Figure ).
9. Make connections between remote chiller and fountain. Outlet port is marked on the chiller (3/8” O.D. copper tube).
Install a 3/8” x 1/4” x 1/4” T-joint (provided, item 3) on the marked chiller outlet port. Insert 1/4” Poly in the T-joint and run
line to regulator.
10. Insert 1/4” elbow stem (item 31) into other end of T-joint (item 3). Insert 1/4” elbow stem (item 31) into cup ller (see
gure 13. Run 1/4” poly tubing (provided, 30”) between the two elbow stems. Turn on water supply, check for leaks, and
purge air from lines. DO NOT SOLDER TUBES INSERTED INTO THE UNIONS AS DAMAGE TO THE O-RINGS MAY
RESULT. (See Figure 11).
11. These products are designed to operate on 20-105 PSIG (0.14-0.72 MPa) supply line pressure. If inlet pressure is
above 105 PSIG (0.72 MPa), a pressure regulator must be installed in the supply line. Any damage caused by reason of
connecting these products to supply line pressures lower than 20 PSIG (0.14 MPa) or higher than 105 PSIG (0.72 MPa)
is not covered by warranty.
12. Make electrical connections to the chiller. See chiller instructions.
13. Check stream height from bubbler. Stream height is factory set at 35 PSI. If supply pressure varies greatly from
this, remove items 14 & 16 and adjust screw on regulator (item 27) (See Figure 16). Clockwise adjustment will raise
stream height and counter-clockwise adjustment will lower stream height. For best adjustment, stream should hit basin
approximately 6-1/2” from bubbler.
14. Install pushbutton to grill. See Figure 16. Hold grill and engage angle on top edge of grill with lower edge of basin. Swing
bottom of grill into place against the wall and secure grill with mounting screws (provided).
FOUNTAIN INSTALLATION INSTRUCTIONS
BASIN INSTALLATION
FIG. 10
