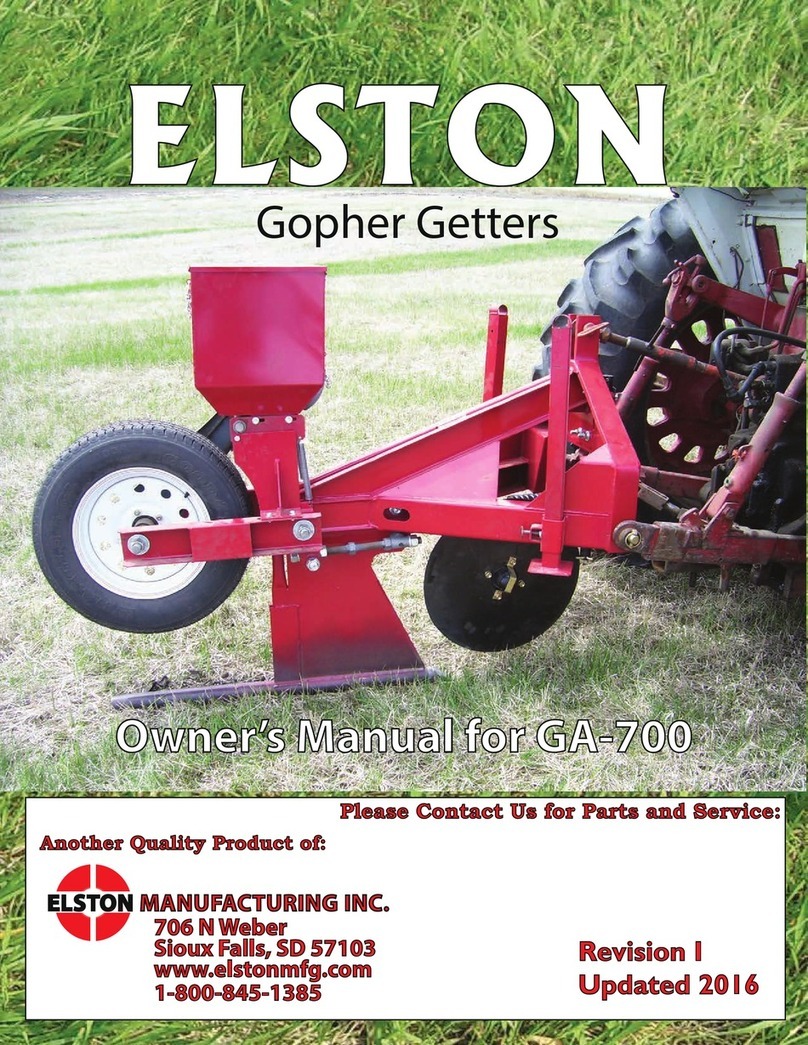
Elston Manufacturing GA-500 User manual

ELSTON
Gopher Getters
Owners Manual for GA-500
Another Quality Product of:
Revision D
Updated 2013
ELSTON MANUFACTURING INC.
706 N Weber
Sioux Falls, SD 57103
1-800-845-1385
www.elstonmfg.com
Please Contact Us for Parts and Service:


i
Table of Contents
1Safety Information............................................................................................................................... 1
2General Information ........................................................................................................................... 2
3Assembly Instructions ......................................................................................................................... 3
4Using Your Gopher Getter .................................................................................................................. 9
Initial Setup............................................................................................................................................. 9
1) Setup of Bait Box ..................................................................................................................... 9
2) Depth of Torpedo Tube:............................................................................................................ 9
3) Depth of Coulter Blade........................................................................................................... 10
4) Position of the Hitch Clevis on the Frame...............................................................................11
5) Height of Transport Tire ......................................................................................................... 12
Operating Instructions........................................................................................................................... 13
Operating Tips................................................................................................................................... 15
5Maintenance...................................................................................................................................... 16
Every use............................................................................................................................................... 16
Every season or 200 lbs. of bait ............................................................................................................ 16
GA-500 Grease Points .......................................................................................................................... 16
6Application Rates for Gopher Getter................................................................................................ 18
Standard Machine Setup ................................................................................................................... 18
Rolled Oats Machine Setup .............................................................................................................. 18
7Parts List………………………………………………………………………………………………………1-1

Safety Information
1
1 Safety Information
The baits used in this machine are highly toxic and can cause serious injury or
death if used improperly. Always follow all precautions on the label for the bait
you use. Store bait as recommended between applications. Do not store bait in the
bait box.
Improper operation of a tractor with an implement can cause serious injury or
death. If you are the least bit unsure of your ability to safely operate a tractor with
an implement, find someone you respect with experience to show you how to
operate a tractor safely.
Please read this manual and all safety stickers on the gopher getter before operating it.
Before continuing, there are several safety ideas that are always worth repeating.
Working for years without an accident is not the same as working safely. - It is possible to do
something unsafe for years and not be hurt. This does not mean it is alright to continue this unsafe
behavior; it just means you have been lucky. For example, a farmer who never had a serious accident
wasn't wearing his safety belt. He rolled his tractor while moving round bales out of a ditch and he
ended up underneath the tractor. Thankfully, in this case, he was only hurt, not killed, thanks to the good
hearing of a neighbor who heard his calls for help. We can agree that is not operating safely. There are
numerous stories of farm injuries with a similar theme. Please take the time to consider all those little
things you do before your luck runs out.
Don't take short cuts with safety when you are in a hurry. - It is tempting to think that just because it
will not take long nothing will go wrong. You might get lucky but then again you might end up as a sad
story in the newspaper. DO NOT take shortcuts.

General Information
2
2 General Information
Thank you for purchasing a Gopher Getter from Elston Manufacturing. We are confident this product
will provide you with years of service.
This gopher getter works by creating an artificial tunnel. The poison is dropped into the tunnel where the
gophers find it and die underground out of reach of other animals. The depth of the tunnel is adjustable
to better match the depth that the gophers are digging in your area.
The gopher getter will apply approximately one pound per acre of Elston gopher getter bait when the
burrows are spaced 25 feet apart. When used with rolled oats and the seeder slide with the larger 7/8”
opening, the application rate will also be slightly less than one pound per acre. These application rates
are an average for the whole field and will be higher for severe infestations.
We always welcome feedback on our products. If you have
comments, suggestions, or problems with the unit please
contact us at 1-800-845-1385 or email at

Assembly Instructions
3
3 Assembly Instructions
Before beginning assembly, verify that all parts were shipped with the gopher getter. The Gopher Getter
is shipped from the factory in a crate with the six pieces shown in Figure 2. Three of the pieces weigh
more than 100 lbs so please plan accordingly when removing the parts from the crate and assembling the
unit.
Attention
A hydraulic cylinder is required to raise and lower the transport wheels and is not included.
A variety of sizes work but a 2”x8” ASAE or a standard 2”x10” cylinder is recommend as
these sizes are easy to find and inexpensive. If you use a different size cylinder, it must
have a retracted length between 19 and 22” and an extended length between 28 ¼” and 31”.
See Figure 1 below.
Figure 1: Typical 2” X 8” ASAE Standard Hydraulic Cylinder

Assembly Instructions
5
Label
Description
A
G4-208A Seeder Slide 7/8” Hole
B
G4-286 Lower Poison Guide Plate
Table 1: Contents of Parts Kit
If after reading the assembly steps below, you have any questions please refer to the parts list in the back
of this manual. It presents much of the information below in a more visual way you may find easier to
understand.
1) Remove the parts from the crate.
2) Attach the seeder/knife assembly to the frame assembly using the two bolts already attached to
the frame. Do not over tighten these bolts as that will prevent the bolts from working as
designed. The smaller bolt is designed to shear when the knife hits an underground obstruction
before damage occurs to the gopher getter. When this bolt shears, the large bolt must be loose
enough to allow the knife and the parts attached to it to pivot. Once assembled it will look like
Figure 4. If the front of the frame is supported the unit will be stable.
Figure 4: Frame and Seeder/Knife Assembly Mounted Together
4) Attach the wheels to the axle assembly using the lug bolts threaded onto the wheel hubs on the
axle assembly.

Assembly Instructions
7
6) Roll the axle assembly (w/ wheels) into position and place it inside the axle bearing assembly
being careful not to install the axle on backward. Reattach the axle bearing assembly to the frame
using the bolts removed in step 5. When finished it should appear as shown below in Figure 7.
Figure 7: Image of Axle Assembly as Installed
7) Next attach the coulter assembly to the frame. The coulter shank is already attached to the frame
and should be positioned so the shaft on the shank is closer to the front of the frame for a 22”
coulter and closer to the knife for a 18” coulter (see Figure 8) After the coulter shank is in place,
the coulter assembly can be slid onto the coulter shank and clamped into place with the coulter
clamp attached to the coulter assembly.

Using Your Gopher Getter
9
4 Using Your Gopher Getter
Initial Setup
You have 5 primary adjustments with this machine: the position of the hitch clevis on the frame, the
depth of cut of the coulter, the height of the transport tire, the depth of the torpedo tube and the setup of
the bait box.
Figure 9: Location of Initial Adjustments
1) Setup of Bait Box
Your gopher getter is already setup for use with Elston gopher bait (milo w/0.5% strychnine). If you are
using other types of poison such as oats or cracked corn or products with a lower amount of effective
ingredients, you will need to replace the factory seeder slide with a seeder slide with a larger (7/8”)
opening (Part # G4-208A). One of these can be found in the parts package.
The application rate can also be varied by changing the number of guide plates (see G4-286 in Figure 3).
The number of plates can be varied between 0 and 4 with more plates giving a higher application rate as
shown in Application Rates for Gopher Getter (page 18).
2) Depth of Torpedo Tube:
The depth of the torpedo tube should be set so the gopher getter makes a tunnel at the depth that gophers
tunnel in your area. Since gophers dig at a range of depths even in the same area, aim to set the gopher
getter to the average depth. It is not necessary to be exact.

Using Your Gopher Getter
10
To set the depth of the torpedo tube:
1) Loosen and remove the bolts attaching the rear (packer) wheels to the gopher getter knife
assembly.
2) Move the packer wheels up or down to achieve the desired depth and remove the bolt. Using the
top bolt will set the torpedo tube to a depth of approximately 10” and the bottom bolt to
approximately 6”. The exact depth will depend on the angle of the torpedo tube.
3) Depth of Coulter Blade
The best depth is just deep enough to do the job. If it is too deep, it will be more difficult to get the
gopher getter into the ground. If it is too shallow, roots will catch on the knife and tear up the ground as
shown in Figure 10.
Figure 10: Roots catching on knife due to coulter blade set too shallow
When operating in sod or pasture:
Set the coulter just deep enough to cut the upper layer of roots, approximately 4 inches.
When operating in alfalfa:
Set the coulter deeper so that the bottom of the 22” coulter blade is ¼” or more below the bottom
of the torpedo tube as shown in Figure 11.

Using Your Gopher Getter
11
Figure 11: Coulter placement for application in alfalfa
The depth of the coulter can be set by loosening the set screw on the coulter clamp and moving the
coulter up or down as necessary. Make sure the coulter will not hit the frame as it runs though the soil
and the hub of the coulter will not run though the dirt.
4) Position of the Hitch Clevis on the Frame
Moving the hitch clevis to a different mounting hole, as shown in Figure 12, will control the angle of the
torpedo tube. The torpedo tube should be sloping slightly downward at the operating depth. The exact
angle will depend on your soil type and moisture levels but a downward slope of a couple of degrees is
typically best. If the angle is too steep, the gopher getter will disturb more soil. In addition, at larger
angles, the gopher getter fails to effectively get to depth so the packer wheel will turn and bait will drop.
If the torpedo tube gets level or starts to slope upward, soil may plug up the torpedo tube and prevent
any poison from dropping.

Using Your Gopher Getter
12
Figure 12: Changing Hitch Clevis on the Frame
5) Height of Transport Tire
Changing the length of the hydraulic cylinder allows you to control the height of the transport tire while
allowing a slight variation in height. When transporting the GA-500 on the road, the wheels should be in
the position shown in Figure 13. When the unit is all the way in the ground, the wheels should set on the
ground but can still be lifted a couple inches above the ground, as shown in Figure 14. This allows the
unit to tilt controllably on uneven ground while preventing excessive tilt on side slopes.
Figure 13: Transport Tire Height for Transportation

Using Your Gopher Getter
13
Figure 14: Transport Tire Height for Bait Application
Operating Instructions
The bait used in this machine is highly toxic and can cause serious injury or death
if used improperly. Always follow all precautions on the label for the bait you
use. Store bait as recommended between applications. Do not store bait in the bait
box.
To prevent accidents involving injury or death, do not allow anyone near the
tractor or Gopher Getter while the tractor is in motion. Always follow all safety
instructions provided with the tractor.
Risk of expensive damage and possible injury. Always check for and avoid
underground pipe or other lines in the area you will be working.
To avoid extensive damage to your machine,
•Never backup or turn while the machine is in the ground
•Always replace the shear bolt with an identical grade 2 bolt.
•Never over tighten the one inch bolt attaching the knife to the frame or the shear
bolt. They should loosely clamp the knife and allow it to pivot when the shear bolt
fails.
•Always limit your speed to 5 mph or less.
•Avoid large rocks, tree roots, concrete, and culverts whenever possible. Limit
your speed further in areas with these hazards.
•Stop quickly when the shear bolt fails.
•Never add more than 500 lbs. combined of weight and down pressure to the
machine.
Space your treatments 20 to 30 feet apart in straight, parallel lines in areas active with gophers or
bordering areas with high population of gophers that are not treatable (like a neighbors CRP).The

Using Your Gopher Getter
14
gopher getter will apply approximately one pound per acre of Elston gopher getter bait when the
burrows are spaced 20 to 25 feet apart, as shown in Figure 15. When used with rolled oats and the
seeder slide with the larger 7/8” opening, the application rate will also be approximately 1 lb/acre. These
application rates are the average over a whole field and assume an average infestation that requires
approximately one third of the field to be treated. If the infestation is more severe the application can be
as high as 3 lbs/acre with the factory setup. See page 18 for a table of application rates. The bait will be
most effective if applied when gophers are active but high quality food is scarce. Spring and fall are the
most effective times - especially spring. When you use any type of gopher bait during the summer,
expect reduced control results.
Figure 15: Application distance between application passes
As you start and end a pass, smoothly raise and lower the machine with the hydraulic cylinder to
minimize damage to the surface of the soil. In an emergency, the gopher getter can be quickly raised but
may disturb a significant amount of soil. To limit damage from erosion, avoid making burrows straight
down the slope of the hill.
This machine works best in moist soil. It is rarely a problem, but if the soil is too wet, it will stick to the
knife and the packer wheels and interfere with the depth setting of the gopher getter. A more common
problem is soil that is too dry. When it is, the machine will be very hard to get into the ground and it will
refill the tunnel (reducing the effectiveness of the bait). Depending on your soil type, you may find the
gopher getter works in a huge range of soil moisture conditions or that it works well in a fairly narrow
range of conditions.
If you have certain types of soil or low soil moisture, the gopher getter may have trouble getting to full
depth (where the packer wheel will turn consistently). First try adjusting the angle of the frame by
changing the position of the hitch clevis on the front of the frame as shown in Figure 12. Typically, it

Using Your Gopher Getter
15
works best when the torpedo tube is sloping slightly downward into the soil (a few degrees). Next,
reduce the depth of the coulter to reduce the force required to get the machine into the ground. If this
doesn't fix the problem, you may add weight from 300 to 500 pounds, maximum.
The advice and tips above and below are generalized ones for gopher getter users throughout the
country. For information specific to your area, please speak with the dealer that you purchased the unit
from, your local extension agent, or area farmers that use gopher getters.
Operating Tips
●Never turn or back up with the machine in the ground. This will damage the unit.
●Never over tighten the one inch bolt attaching the knife to the frame. The large bolt must be
loose enough to allow the knife and the parts attached to it to pivot when the shear bolt fails.
●Never over grease the seeder slide. Too much grease will cause bait to build up on the interior
surfaces of the unit when it contacts the bait traveling through the opening in the seeder slide and
cause it to plug.
●Always replace the shear bolt with an identical grade 2 bolt. A higher grade bolt like a grade 5
this greatly increase the risk of expensive damage to the frame when you hit a large obstruction.
●Always check that there are no underground pipes or other lines in the area you will be working.
There is nothing worse to hit with your gopher getter. (Yes, it’s happened.)
●Always start slow especially if you’re new to the gopher getter or operating in an unfamiliar
field. At no point should you go faster than 5 mph. In some conditions, especially hard or rocky
ground, it will be necessary to limit your speed further.
●Always stop quickly when the shear bolt fails. If you are moving quickly and/or the obstruction
that you hit is especially tenacious like a tree root or an oddly shaped rock, the tip can catch long
enough for the bait box to pivot around and damage itself on the frame.

Maintenance
16
5 Maintenance
Every use
Inspect torpedo tube/point for excessive wear or damage
Inspect shear bolt for damage, replace if necessary
Every season or 200 lbs. of bait
Check if the unit needs to be greased. If so, lightly grease the unit at the grease points packer wheel axle,
see Figure 16, on the seeder casting, see Figure 17, and on the coulter hub, see Figure 18. Be careful not
to over grease the seeder casting.
Replace any safety decals that are no longer readable.
GA-500 Grease Points
Figure 16: Packer Wheel Axle Grease Points
Table of contents
Other Elston Manufacturing Farm Equipment manuals
Popular Farm Equipment manuals by other brands

Schaffert
Schaffert Rebounder Mounting instructions

Stocks AG
Stocks AG Fan Jet Pro Plus 65 Original Operating Manual and parts list

Cumberland
Cumberland Integra Feed-Link Installation and operation manual

BROWN
BROWN BDHP-1250 Owner's/operator's manual

Molon
Molon BCS operating instructions

Vaderstad
Vaderstad Rapid Series instructions


