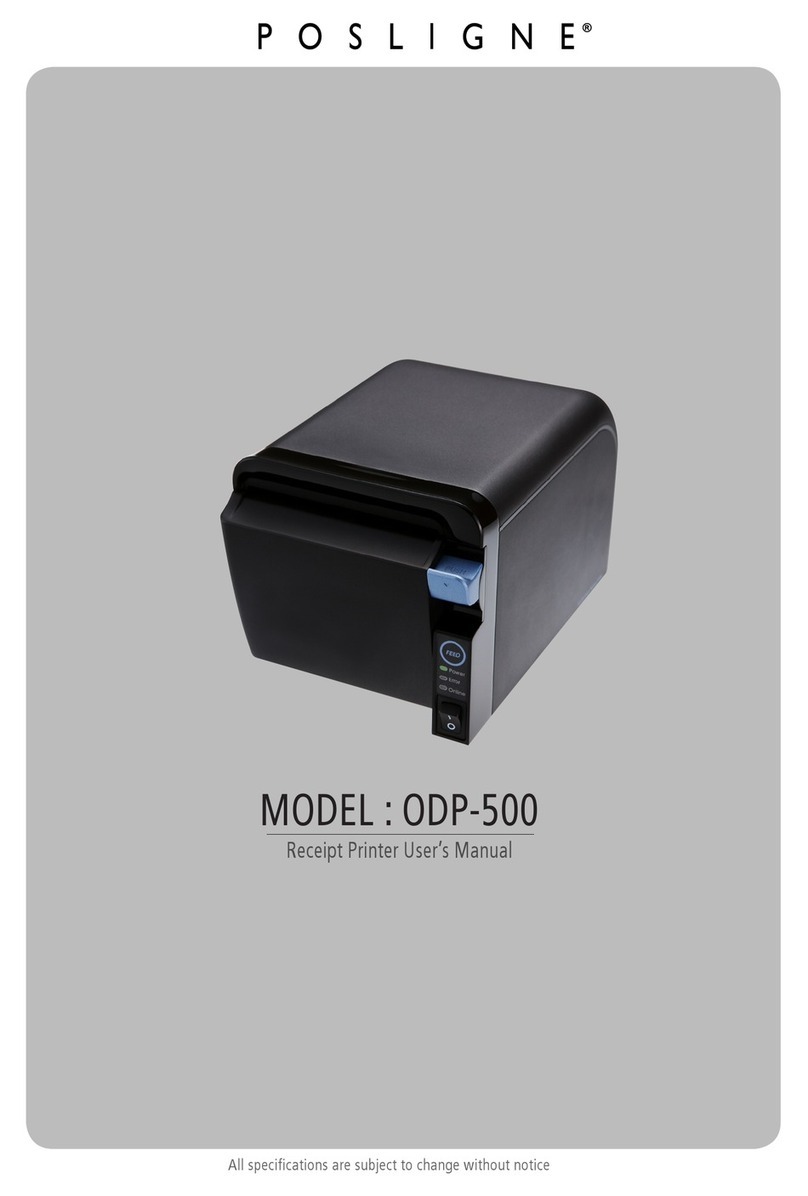
Eltron LP2642 User manual

User’s Manual No. 980101-001 Rev. A
2642/3642 Series
Thermal Printers
User’s Manual
Models: LP2642 and TLP2642
LP3642 and TLP3642

FOREWORD
This manual provides installation and operation information for the LP2642, TLP2642, LP3642
and TLP3642 series printers, manufactured by Eltron International Incorporated, Simi Valley,
California.
RETURN MATERIALS AUTHORIZATION
Before returning any equipment to Eltron for in warranty or out of warranty repair, contact Repair
Administration for a Return Materials Authorization (RMA) number. Repack the equipment in the
original packing material and mark the RMA number clearly on the outside. Ship the equipment,
freight prepaid, to the address listed below:
Eltron Repair Administration, USA
41 Moreland Road
Simi Valley, CA. 93065
Phone: +1 (805) 579-1800
FAX: +1 (805) 579-1808
Label Printers: Card Printers:
Eltron International, Northern Europe Eltron International, Southern Europe
Unit 2, Rose Kiln Lane Zone Indutrielle, Rue d'Amsterdam
Reading, Berkshire, RG2 OHP England 44370 Varades, France
Phone: +44 (0) 118 975 2024 Phone: +33 (0) 240 097 070
FAX: +44 (0) 118 975 2005 FAX: +33 (0) 240 834 745
COPYRIGHT NOTICE
This document contains information proprietary to Eltron International Incorporated. This docu-
ment and the information contained within is copyrighted by Eltron International Incorporated and
may not be duplicated in full or in part by any person without written approval from Eltron. While
every effort has been made to keep the information contained within current and accurate as of the
date of publication, no guarantee is given or implied that the document is error-free or that it is ac-
curate with regard to any specification. Eltron reserves the right to make changes, for the purpose of
product improvement, at any time.
TRADEMARKS
LP2642, TLP2642, LP3642 and TLP3642 are service marks and Eltron is a trademark of Eltron In-
ternational Incorporated. Windows and MS-DOS are registered trademarks of Microsoft Corp. All
other marks are trademarks or registered trademarks of their respective holders.
980101-001 Rev. A iii

WARRANTY INFORMATION
We Need To Hear From You!
To Establish Your Warranty Period And Provide Access To Technical Support,
Send Us Your Product Registration Card Today!
Eltron warrants the mechanism, control electronics and power supply, under normal use and serv-
ice, to be free from defects in material and workmanship for a period of twelve (12) months from the
date of purchase by the end user. Eltron warrants the print head, under normal use and service, to
be free from defects in material and workmanship for a period of ninety (90) days or 30KM of print-
ing (whichever occurs first) from the date of purchase by the end user. Proof of purchase or product
registration is required. If proof of purchase or product registration cannot be established, shipment
date to the original buyer (dealer or distributor) will be used to establish the warranty period.
Failure to exercise caution to protect the equipment from electrostatic discharge damage, adverse
temperature and humidity conditions or physical abuse may void the warranty. Failure to use only
Eltron approved media may void the warranty. Eltron will, at it’s option, repair or replace the
equipment or any parts which are determined to be defective within this warranty period, and
which are returned to Eltron F.O.B. factory of origin.
The warranty set forth above is exclusive and no other warranty, whether written or oral, is ex-
pressed or implied. Eltron specifically disclaims the implied warranties of merchantability and fit-
ness for a particular purpose.
iv 980101-001 Rev. A

FCC NOTICE:
This equipment has been tested and found to comply with the limits of a Class B digital device, pur-
suant to Part 15 of the FCC Rules. These limits are designed to provide reasonable protection
against harmful interference when the equipment is operated in a commercial environment. This
equipment generates, uses and can radiate radio frequency energy and, if not installed and used in
accordance with the instructions, may cause harmful interference to radio communications. How-
ever, there is no guarantee that interference will not occur in a particular installation. Operation of
this equipment in a residential area is likely to cause harmful interference in which case the user will
be required to correct the interference at his own expense.
INDUSTRY CANADA NOTICE:
This device complies with Industry Canada ICS-003 class B requirements.
Cet equipement est conforme a l’ICS-003 classe B de la norm Industrielle Canadian
The printer and power supply should never be operated in a
location where either one can get wet. Personal injury could
result.
Always use high quality Eltron approved labels, tags and
transfer ribbons. If adhesive backed labels are used that DO
NOT lay flat on the backing liner, the exposed edges may stick
to the label guides and rollers inside the printer, causing the
label to peel off from the liner and jam the printer. Eltron
approved supplies can be ordered from your ELTRON dealer.
For the name of a dealer in your area, call 1(800) 344-4003.
If you should run out of labels or ribbon while printing, DO NOT
turn the power switch OFF (0) while reloading or data loss may
result. The printer will automatically resume printing when a
new label roll is loaded.
There is danger of explosion if the battery is incorrectly
replaced. Replace batteries with the types listed here only.
Discard used batteries according to the instructions supplied
by the battery manufacturer. Do Not dispose of the battery in
fire. The battery may explode causing damage or injury.
980101-001 Rev. A v
WARNING
CAUTION
HINT
WARNING

980101-001 Rev. A vii
TABLE OF CONTENTS
Installation
Installation ...........................3
Operation
Power Switch .........................11
The FEED Control .......................12
The POWER Indicator .....................13
Loading Labels or Tags ....................14
Top Of Form Sensing .....................18
AutoSense Gap Sensor Adjustment ..............19
Threading The Optional Label Dispenser ...........20
Cleaning The Print Head ...................21
Loading Transfer Ribbons ...................22
Removing A Partially Used Transfer Ribbon ..........28
Replacing the Printer Memory Backup Battery .........29
Appendix A
Troubleshooting ........................31
Appendix B
Accessories ..........................33
Appendix C
Using The Windows Printer Driver ...............35

1
Installation
This section provides information on the
installation of the printer and software.
The LP2642 and LP3642 are low cost, desktop
direct thermal printers. The TLP2642 and
TLP3642 are low cost, desktop thermal
transfer and direct thermal printers. This family
of printers is specifically designed for printing
labels, tags or continuous receipts (with or
without bar codes) from any DOS™, Win-
dows™or ASCII based compatible computer.
980101-001 Rev. A 1

Unpacking Your Printer
2980101-001 Rev. A
Installation
Printer
User's Manual,
Sample Roll, Spool
and Cleaning Pen.
Power Supply
Software

Installation The following steps will guide you through the
installation of the printer and software.
Step ➊- Attach Power Supply
980101-001 Rev. A 3
Installation
OFF (0) Power
Connect To Suitable Supply
Check Voltage
See Warning on Page v.
WARNING

Step ➋Attach Interface Cable
Parallel Interface
Serial Interface
For additional information on serial cable wir-
ing, refer to Appendix A.
4980101-001 Rev. A
Installation

Step ➌Memory Cartridge (Optional on 2642)
Remove Cover
Install Cartridge
Press To Seat
980101-001 Rev. A 5
Installation

Step ➍Apply Power
If the indicator fails to light, refer to
Appendix A - Trouble Shooting.
6980101-001 Rev. A
Installation
ON (1)
ON

Step ➍Install Software
Start your computer. Follow the installation in-
structions on the diskette label to install the
software.
Refer to Section 2 - Operation, for information
on loading labels and using your printer.
980101-001 Rev. A 7
Installation

2
Operation
This section provides information on the op-
eration of the LP2642, TLP2642, LP3642 and
TLP3642 printers.
980101-001 Rev. A 9

Using Your Printer
10 980101-001 Rev. A
Operation
LP
TLP
A. Roll Holder
B. Feed Switch
C. Power Indicator
D. Print Head
E. Label Guide Adjust
F. Cover Release
G. Carriage Release
H. Gap Sensor
I. Black Line Sensor
(optional)
J. Dispenser Bar
(optional)
K. Dispenser Feed Slot
L. Label Guides
M. Ribbon Drive
(TLP only)

Power Switch The printer’s power switch is located on the
right side of the printer near the back. Placing
this switch in the ON (1) position will apply
power to the printer.
980101-001 Rev. A 11
Operation
ON(1)

The FEED Control The FEED Control can be used in two ways,
tapping or holding. When power is first ap-
plied with labels loaded, tapping the FEED
Control will cause the paper to advance to the
top of the next label. This action is referred to as
a Form Feed.
When power is first applied without labels
loaded, holding the FEED Control will cause
the printer to continuously Line Feed until the
control is released. This mode is useful when
loading labels in the printer. After the labels
have been threaded through the printer, tap-
ping the FEED Control 3 more times (for a to-
tal of 4 taps) will cause a Form Feed.
12 980101-001 Rev. A
Operation
FEED Switch

The POWER
Indicator
When the printer power is first switched ON (1)
with labels loaded, the POWER indicator will
glow GREEN, indicating that the printer is
ready for operation. If labels are not loaded,
the indicator will glow RED, indicating an out
of labels or ribbon condition.
Indicator
Color Meaning
GREEN Power ON, labels loaded, ready for use.
RED Power ON, out of labels or ribbon.
ORANGE Error condition, refer to Appendix A.
DARK Power OFF.
If the POWER indicator should fail to light or
glows RED even when labels are loaded, refer
to Appendix A.
980101-001 Rev. A 13
Operation
POWER
Indicator

Loading Labels
or Tags
Your printer can print on adhesive backed la-
bels, non-adhesive tags or continuous non-
adhesive paper. Loading either labels or tags is
easy, however the feed direction of each roll is
different.
Step ➊Open the printer top cover and place the spin-
dle inside the roll of labels or tags.
See Caution on Page v.
14 980101-001 Rev. A
Operation
Labels
Tags
CAUTION

Step ➋Open the Print Carriage. Insert the end of the
roll into the feed slot and through the Label
Guides.
980101-001 Rev. A 15
Operation

Step ➌Turn the green wheel to adjust the Label
Guides to match the width of the roll.
16 980101-001 Rev. A
Operation
Turn
Other manuals for LP2642
1
This manual suits for next models
3
Table of contents
Other Eltron Printer manuals
Eltron
Eltron TLP2046 User manual
Eltron
Eltron P2242 Series User manual
Eltron
Eltron LP2642 User manual

Eltron
Eltron P210 Guide User manual
Eltron
Eltron Strata Series User manual
Eltron
Eltron PRIVILEGE P500 User manual
Eltron
Eltron Eclipse LP2344 User manual

Eltron
Eltron LP2022 User manual
Eltron
Eltron TLP2046 User manual
