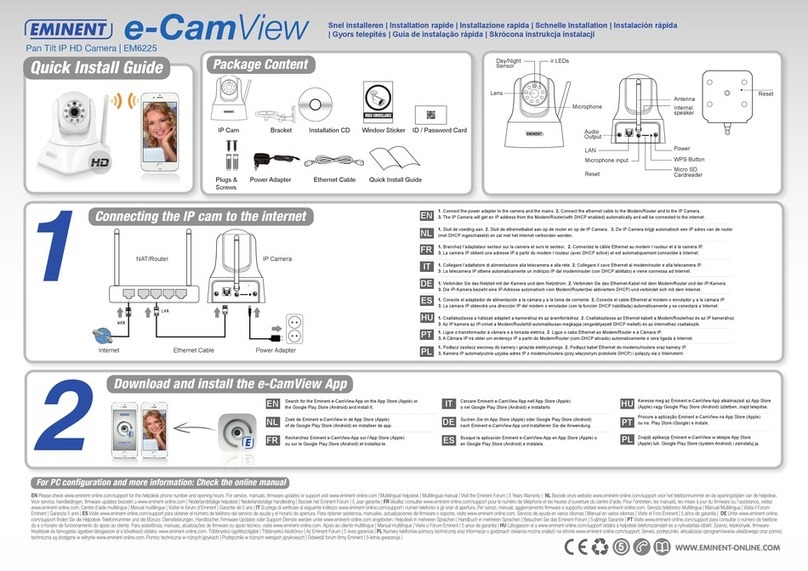
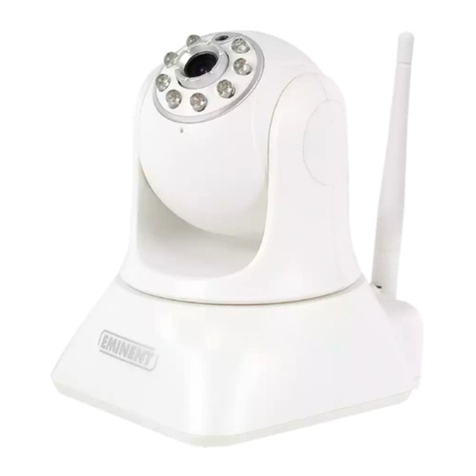
Eminent E-SmartLife Series User manual

EM6400/EM6410/EM6420
E-SmartLife IP camera

2|ENGLISH
EM6400/EM6410/EM6420 E-SmartLife IP
camera
Table of contents
1.0 Introduction ...........................................................................................................2
2.0 Download and install the app.................................................................................3
2.1 Create account:.................................................................................................3
2.2 Add device (QR-Code configuration).................................................................3
2.3 Add device (WiFi Smart configuration)...............................................................4
3.0 App interface:........................................................................................................4
3.1 Main screen.......................................................................................................4
3.2 Scenes and Automations...................................................................................6
Scenes................................................................................................................ 7
Automations........................................................................................................ 7
4.0 Profile....................................................................................................................9
5.0 Product page.........................................................................................................9
5.1 Product menu....................................................................................................9
Cameras only:..................................................................................................... 9
6.0 Connecting E-SmartLife to Google home / assistant............................................10
6.1 Requirements..................................................................................................10
6.2 Connecting to Google Home / Google Assistant..............................................10
7.0 Connecting E-SmartLife to Amazon Alexa...........................................................11
7.1 Requirements..................................................................................................11
7.2 Connecting to Amazon Alexa...........................................................................11
8.0 Frequently Asked Questions and other related information..................................12
9.0 Service and support.............................................................................................12
10.0 Warning and points of attention.........................................................................12
11.0 Warranty conditions...........................................................................................14
1.0 Introduction
Congratulations with the purchase of this high-quality Eminent product! This product
has undergone extensive testing by Eminent’s technical experts. Should you
experience any problems with this product, you are covered by Eminent
warranty. Please keep this manual and the receipt in a safe place.
Register your product now on www.eminent-online.com and receive product updates!
3|ENGLISH
2.0 Download and install the app
Download the app: E-SmartLife from Apple App store or Google Play Store.
2.1 Create account:
1. Tap “Register”(or if you already registered “Log in with existing account”).
2. Tap “Agree”
3. Select country code and enter full national phone number or email address and
tap “Get authentication code”.
4. Check your email or text messages for your authentication code.
5. Enter received authentication code and pick your own password.
6. Tap “Create location”
7. Enter location name.
8. Set geographic location by pressing “>”
9. Tap “Completed”
10. Tap “Completed”
2.2 Add device (QR-Code configuration)
1. Tap on "Add device" or "+" (top right corner). A list of potential products appears.
2. Select the device type you want to add from the list
3. Activate the device to be added by plugging it in.
4. Make sure a tone is heard (as shown in example in the application) and tap the
button to confirm. If a tone is not heard hold the reset button.
5. Confirm your phone is connected to the Wi-Fi network to which the device will be
added, (NOTE !!! The device can only be connected to 2.4 GHz WiFi networks),
enter the Wi-Fi password and press “Confirm”.
6. Read the instructions in the app and tap “Continue”
7. Hold the QR code in front of the camera and wait for a confirmation tone to be
heard and confirm in the App by tapping the button “Heard the Beep”when you
have heard the confirmation tone.
8. Now the device will be searched, make sure your phone and the device are close
to the router to optimize reception.
9. After the product is found and added, rename it so you can easily recognize it.
If above method fails (this can be due to unstable network or specific network
protection) add the device using WiFi Smart configuration by following the steps
below.

4|ENGLISH
2.3 Add device (WiFi Smart configuration)
1. Tap on "Add device" or "+" (top right corner). A list of potential products appears.
2. Select the device type you want to add from the list.
3. Tap “Otherwise”(upper right corner)
4. Select “Wi-Fi Smart Configuration”
5. Make sure a tone is heard (as shown in example in the application) and tap the
button to confirm. If a tone is not heard hold the reset button.
6. Confirm your phone is connected to the Wi-Fi network to which the device will be
added, (NOTE !!! The device can only be connected to 2.4 GHz WiFi networks),
enter the Wi-Fi password and press “Confirm”.
7. Now the device will be searched, make sure your phone and the device are close
to the router to optimize reception.
8. After the product is found and added, rename it so you can easily recognize it.
3.0 App interface:
3.1 Main screen

5|ENGLISH
1. My Home Tap this to select or manage your different locations (e.g. my
home, office, etc.) Here you can change
•Name
•Rooms
•Location
•Device sharing (with other E-SmartLife users)
•Add location members (to share the devices in a location with
other E-SmartLife users)
2. “+” Tap this to add new products (in the selected location), see
instructions.
3. Weather information: estimated weather information is shown, based
on your set location.
4. Scenes: when creating a scene, it can be selected whether or not to
shown on first page. If they are set to be shown, this is where they will
be shown.
5. Rooms: select a room to only show the products that have been
assigned to this room. This too quickly find the products relevant for
that room.
6. Room management: tap the cog on the right to add or edit rooms
Choose a predefined room or enter any custom name and confirm. Tap
the newly created room to assign or unassign products to this room.
When unassigning, the products are not being removed, but are still
available under “All devices”.
7. All installed devices are displayed here. Tap the device to access the
device and its settings and options.
8. Main navigation between different displays
•My location = Device list (main page as mentioned above)
•Scene = Scenes and Automations
•Profile = Personal profile and general app settings

6|ENGLISH
3.2 Scenes and Automations
This is where scenes and automations are shown and can be created.

7|ENGLISH
1. Tap “ ” to move or remove current scenes or automations.
•Changing the order is simply done by sliding vertically
•Deleting is done by sliding a specific scene or automation to the
left and tap “Delete”
2. Tap “+”on the upper right corner to add a new scene or automation,
the options for each are described below.
3. Scenes: scenes are created and shown here and can be activated by
simply tapping them.
4. Automations: automations are created and shown here
Scenes
A scene is a shortcut to do multiple preset things at once, you can set:
•Name of the scene (also used on main screen as well as by voice
assistants commands)
•Image (choose any of the preset images)
•Unlimited number of actions (including enabling or disabling an
automation)
•Whether or not to show on first page
On the bottom right of each tile is a small button to edit this specific scene
Automations
Automation is to set one or more actions triggered by one or more events.
Here you can set the following:
•Name (used on main screen as well as by voice assistants commands)
•Image (choose any of the preset images)
•Type of conditions (only applicable when combining multiple conditions
as trigger)
- When ALL set conditions are met
- When ANY of the set conditions are met
The following conditions can be selected:
oAny notification from a sensor, detector or camera
oAny state of a product which is set manually or automatically
oA specific time of day (which can be repeated on selected days)

8|ENGLISH
oThe sunrise or sunset
oWeather conditions (these are approximates based on your set
location)
Each condition can simple be removed by sliding it to the left and tapping
“Delete”
Actions to be executed can be:
o Activating a scene
o Activating another automation (to enable or disable an existing
automation)
o Switching a product on/off
o Set a lighting product to a certain mode, brightness or temperature
Example: You can set a scene for the IP camera to turn on a Plug-in power
switch when motion is detected and turn off again after 10 seconds

9|ENGLISH
4.0 Profile
Here you can set and check the basic information of your profile.
1. Home management (Add or edit set locations)
2. Message center (showing all notifications of cameras with a
corresponding picture, sensors or detectors)
3. Scan QR code (only required in case of emergency)
4. Feedback (please send us your feedback, both positive and negative)
5. Settings
a. Enable/disable sound of notifications while in the app
b. Enable/disable App message notifications
c. Integration (here you can find instructions on how to connect your
products to either Amazon Alexa or Google Home
d. About (here you can give us your rating, find version information
and manually check for updates)
e. Empty cache memory to free up disk space (this will however result
in a temporary slower interaction as interfaces need to be reloaded)
5.0 Product page
5.1 Product menu
Tap the button on the upper right corner on the product page. Through
this menu you can do the following (depends on the type of product)
a. Change the product name (also used by Amazon Alexa and Google
Home)
b. Set device sharing to give other people access to this product, for this
location members need to be added
c. Create a product group to control multiple similar products at once.
Cameras only:
d. Basic feature setting where you can switch status indicator, watermark,
audio mode or flip the image for ceiling mounted camera.
e. Sound detection can be switched on/off and the sensitivity can be set
f. Motion detection can be switched on/off and the sensitivity can be set
g. Storage can be monitored or formatted

10 |ENGLISH
6.0 Connecting E-SmartLife to Google home /
assistant
6.1 Requirements
Before you can setup the Google Home skills for your EM64XX product you will first
need to add the EM64XX product to the E-SmartLife APP on Android or iOS device.
Further the Google Home APP needs to be installed on your Android or iOS device
and your Google Home device needs to be configured.
This instruction will only explain how to connect your E-SmartLife account to your
Google Home account as a Skill.
6.2 Connecting to Google Home / Google Assistant
You only need to setup the connection between E-SmartLife and Google Home once
for all your E-SmartLife devices.
1. Open the Google Home APP
2. Now tap the account icon in the upper right corner and select “Settings”
3. Select “Home”and tap “+”.
4. Now Select “Set up device”.
5. Select “Works with Google”.
6. Tap the “Magnifying glass”to start searching for Skill.
7. Search for “Smart Life”.
8. Select the skill “Smart Life”from the list of search results.
9. Select your country and enter your E-SmartLife account and password and tap
“Link Now”.
10. From the list of available APPs select “E-SmartLife”and tap “Link Now”.
11. Authorize Google to use your profile and connect with your products by tapping
“Authorize”.
12. Any installed products as well as created scenes or automations are automatically
being linked, you can assign a room to each product.
13. After you have installed new products or created new scenes or automations in
the E-SmartLife APP, ask “Hey Google, Sync devices” so they can be controlled
or activated using Google Home.

11 |ENGLISH
7.0 Connecting E-SmartLife to Amazon Alexa
7.1 Requirements
Before you can setup the Amazon Alexa skills for your EM64XX product you will first
need to add the EM64XX product to the E-SmartLife APP on Android or iOS device.
Further the Amazon Alexa APP needs to be installed on your Android or iOS device
and your Amazon Alexa device needs to be configured.
This instruction will only explain how to connect your E-SmartLife account to your
Amazon Alexa account as a Skill. It will not explain how to setup your Amazon Alexa
device for first use.
7.2 Connecting to Amazon Alexa
You only need to setup the connection between E-SmartLife and Amazon Alexa once
for all your E-SmartLife devices.
1. Open the Amazon Alexa APP on your Smartphone/Tablet
2. Press the menu button in the upper left corner.
3. Select “Skills & Games”.
4. Tap the “Magnifying glass”to start searching for Skill.
5. Search for “Smart Life”.
6. Select the skill “Smart Life”from the list of search results.
7. Tap “Enable to use”
8. Select your country and enter your E-SmartLife account and password and tap
“Link Now”.
9. From the list of available APPs select “E-SmartLife”and tap “Link Now”.
10. Authorize Amazon Alexa to use your profile and connect with your products by
tapping “Authorize”.
11. Any installed products as well as created scenes or automations are automatically
being linked, you can assign a room to each product.
12. After you have installed new products or created new scenes or automations in
the E-SmartLife APP, ask “Alexa, discover devices” in about 20 seconds, the
products will automatically be added to the Alexa product list and can be
controlled or activated using Amazon Alexa.

12 |ENGLISH
8.0 Frequently Asked Questions and other
related information
The latest Frequently asked questions for your product can be found on the support
page of your product. Eminent will update these pages frequently to assure you have
the most recent information. Visit www.eminent-online.com for more information about
your product.
9.0 Service and support
This user manual has been carefully written by Eminent’s technical experts. If you
have problems installing or using the product, please fill out the support form at the
website www.eminent-online.com/support.
You can also contact us by phone. Please check www.eminent-online.com/support for
the helpdesk phone number and opening hours.
10.0 Warning and points of attention
Due to laws, directives and regulations set out by the European parliament, some
(wireless) devices could be subject to limitations concerning its use in certain
European member states. In certain European member states the use of such devices
could be prohibited. Contact your (local) government for more information about this
limitations.
Always follow up the instructions in the manual*, especially where it concerns devices
which need to be assembled.
Warning: In most cases this concerns an electronic device. Wrong/improper use may
lead to (severe) injuries!
When you connect the device to the mains, make sure it will not be damaged or
subject to (high) pressure.
A power socket is needed which should be close and easy accessible from the device.
Repairing of the device should be done by qualified Eminent staff. Never try to repair
the device yourself. The warranty immediately voids when products have undergone
self-repair and/or by misuse. For extended warranty conditions, please visit our
website at www.eminent-online.com/warranty.
Dispose of the device appropriately. Please follow your countries regulation for the
disposal of electronic goods.
Please check below safety points carefully:

13 |ENGLISH
- Do not apply external force on the cables
- Do not unplug the device by pulling the power cable
- Do not place the device near heating elements
- Do not let the device come in contact with water of other liquids
- If there is any strange sound, smoke or odor, remove the device immediately from
the power outlet.
- Do not put any sharp objects into the venting hole of a product
- Do not use any damaged cables (risk of electric shock)
- Keep the product out of reach of children
- Wipe off the product with soft fabric, not water mop.
- Keep the power plug and outlet clean
- Do not unplug the device form the power outlet with wet hands
- Unplug the device when you don’t use it for a long time
- Use the device at a well ventilated place
*Tip: Eminent manuals are written with great care. However, due to new technological
developments it can happen that a printed manual does not longer contain the most
recent information. If you are experiencing any problems with the printed manual or
you cannot find what you are looking for, please always check our website
www.eminent-online.com first for the newest updated manual.
Also, you will find frequently asked questions in the FAQ section. It is highly
recommended to consult the FAQ section. Very often the answer to your questions will
be found here.

14 |ENGLISH
11.0 Warranty conditions
The Eminent warranty applies to all Eminent products. After buying a second-hand
Eminent product the remaining period of warranty is measured from the moment of
purchase by the product’s initial owner. Eminent warranty applies to all Eminent
products and parts, indissolubly connected or mounted to the product it concerns.
Power supply adapters, batteries, antennas and all other products not directly
integrated in or connected to the main product or products of which, without
reasonable doubt, can be assumed that wear and tear during use will show a different
pattern than the main product, are not covered by the Eminent warranty. Products are
not covered by the Eminent warranty when exposed to incorrect/improper use,
external influences or when opening the service parts of the product by parties other
than Eminent. Eminent may use refurbished materials for repair or replacement of
your defective product. Eminent cannot be held responsible for changes in network
settings by internet providers. We cannot guarantee that the Eminent networking
product will keep working when settings are changed by the internet providers.
Eminent cannot guarantee the working of web services, apps and other third party
content that is available through Eminent products
When my product gets defective
Should you encounter a product rendered defective for reasons other than described
above: Please contact your point of purchase for taking care of your defective product.
EM6400/EM6410/EM6420 E-SmartLife-EN | 09-2019
This manual suits for next models
3
Table of contents
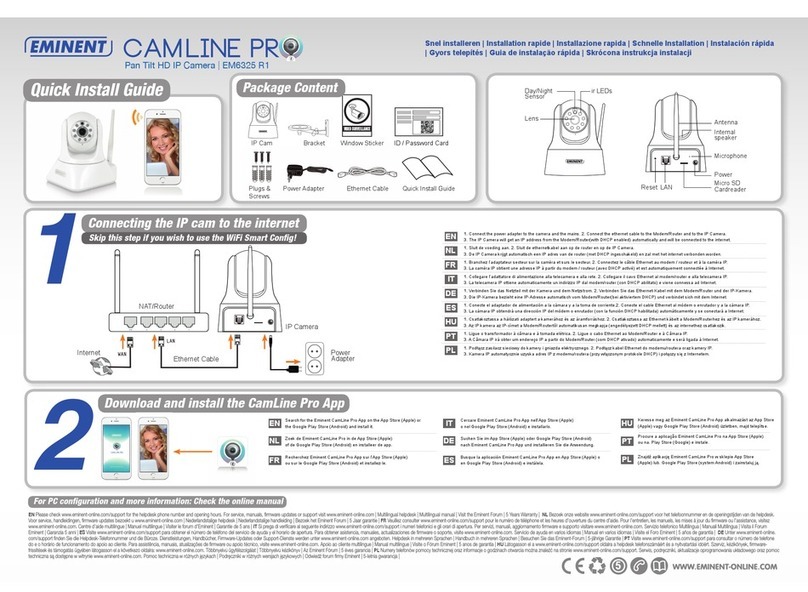
Other Eminent IP Camera manuals

Eminent
Eminent EM6250HD User manual

Eminent
Eminent CamLine Pro Use and care manual

Eminent
Eminent EM6225 User manual

Eminent
Eminent EM6250 Easy Pro View User manual

Eminent
Eminent EM4483 User manual

Eminent
Eminent EM6230 User manual

Eminent
Eminent EM6330 User manual

Eminent
Eminent Easy Pro View EM6260 User manual

Eminent
Eminent EM6350 User manual

Eminent
Eminent EM6220 User manual