UVX-300G-C Operating Instructions 5
Document no. 10010404 Rev 1.6
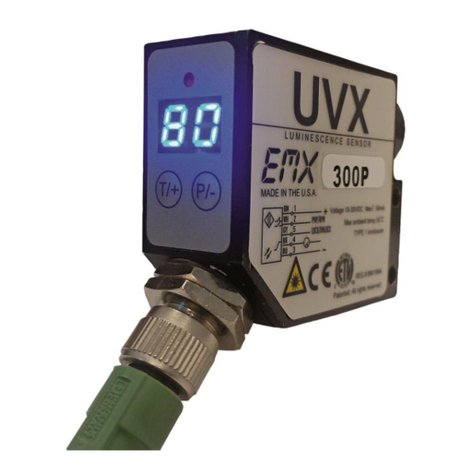
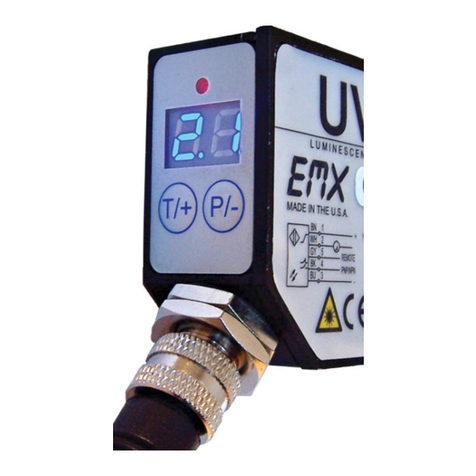
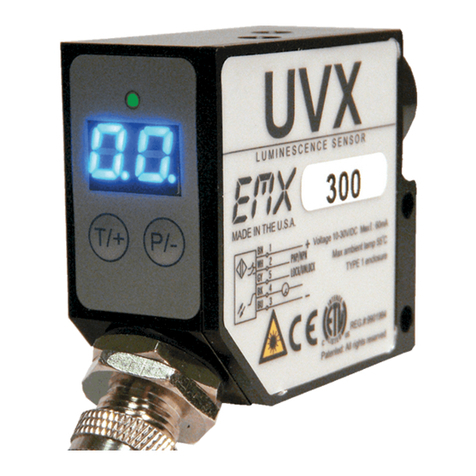
All adjustments made to these parameters are stored in memory and are retained when power is removed. To
enter programming mode press and hold the P/- key for several seconds, the current threshold setting will be
displayed. Press and release the P/- key to scroll through the various settings. Press and release the T/+ key to
change a particular setting. Press and hold the P/- for several seconds to return to the normal intensity display
mode. The user programmable items are described below.
Threshold
When the relative intensity level exceeds the threshold setting the red status LED will turn on and the
discrete output will activate, indicating detection of the target. When the relative intensity level drops below
the threshold (as determined by the hysteresis setting), the red LED will extinguish and the discrete output
will de-activate. The threshold setting allows the user to select the detection level. The default setting is
15.
To adjust the threshold, enter programming mode, press and hold the P/- key for several seconds, the
current threshold setting will be displayed. Press and release the T/+ key to increase the threshold level,
to decrease the threshold level, continue to hold the T/+ key until the value approaches 99 then wraps
around to 00.
LED Intensity Level (U)
The LED intensity is indicated on the display as U1, U2 and U3 for low, medium and high intensity. Press
and release the T/+ key to toggle through the 3 intensity levels. The default setting is U2, medium intensity.
Hysteresis Level (H)
The hysteresis setting is indicated by H0 through H9. The hysteresis level is how far below the threshold
the signal must fall to de-activate or un-detect. The hysteresis can be set from 0 to 9. For example, if the
threshold is set at 25 and the intensity exceeds 25, the sensor will detect and activate its output. With the
hysteresis set to 5, the signal must drop to 20 to un-detect. This feature is useful in cases where there may
be variation within a target that might cause the intensity to drop below the threshold slightly; the hysteresis
allows the output to remain activated until the level drops significantly. Press and release the T/+ key to
change the hysteresis setting. The default setting is 2.
Discrete Output Configuration
This setting allows the user to select either normal open (no) or normally closed (nc) configuration. The
normally open configuration de-activates the output during normal un-detect operation, and activates the
output upon detect. The normally closed configuration activates the output during normal un-detect
operation, and de-activates the output upon detect. Press and release the T/+ key to toggle through the
selections. Default is normally open.
Extend Output Pulse (P)
This feature allows extending the minimum length of time that the discrete output remains active following
target detection. The sensor response can be in the 100uS (microsecond) range, i.e. a target can move
through the sensing range in 100uS and the discrete output would active for only that duration. A slower
acquisition system (PLC) may not sample its inputs at a fast enough rate to capture the signal. The discrete
output pulse can be extended from 0 to 90mS (milliseconds) in 10 mS increments as indicated by P0 though
P9 on the display. Press and release the T/+ key to toggle through the selections.
Null Offset (nu)
NOTE: Always perform the null function when installing or removing optional lens or changing LED
intensities.
The null feature allows the sensor to be “zeroed”. For example, when the target is not in view and there is
a background that causes a reading above zero, the null feature allows this level to be subtracted out,
allowing the display to indicate 00. Press and hold the T/+ key to null the sensor. The display will flash the
value that is being subtracted. To set the sensor back to a true zero, aim the sensor away from any target
and repeat the null process.
