Engl mfx User manual

ENGL-MFX - This device has a serial number located on the rear panel.
Please record it and retain it for your records. erial number:
Portable
mp3
Player

Engl mfx page 2
1-Introduction ................................................................................................................. 4
Main functions ......................................................................................................... 4
upplied accessories ............................................................................................ 4
Recycling the rechargeable battery ................................................................ 5
Trademarks ............................................................................................................... 5
Notes about this manual ..................................................................................... 5
2-Preparation ................................................................................................................. 6
About D cards......................................................................................................... 6
Inserting the D card ............................................................................................ 6
Removing the D card .......................................................................................... 7
Powering the unit .................................................................................................. 8
Charging the battery ............................................................................................. 8
Charging with a computer........................................................................... 8
Charging with an AC adapter ..................................................................... 8
Turning the power on and off .......................................................................... 9
Resetting the unit ................................................................................................... 9
3-Part Names and Functions ................................................................................ 10
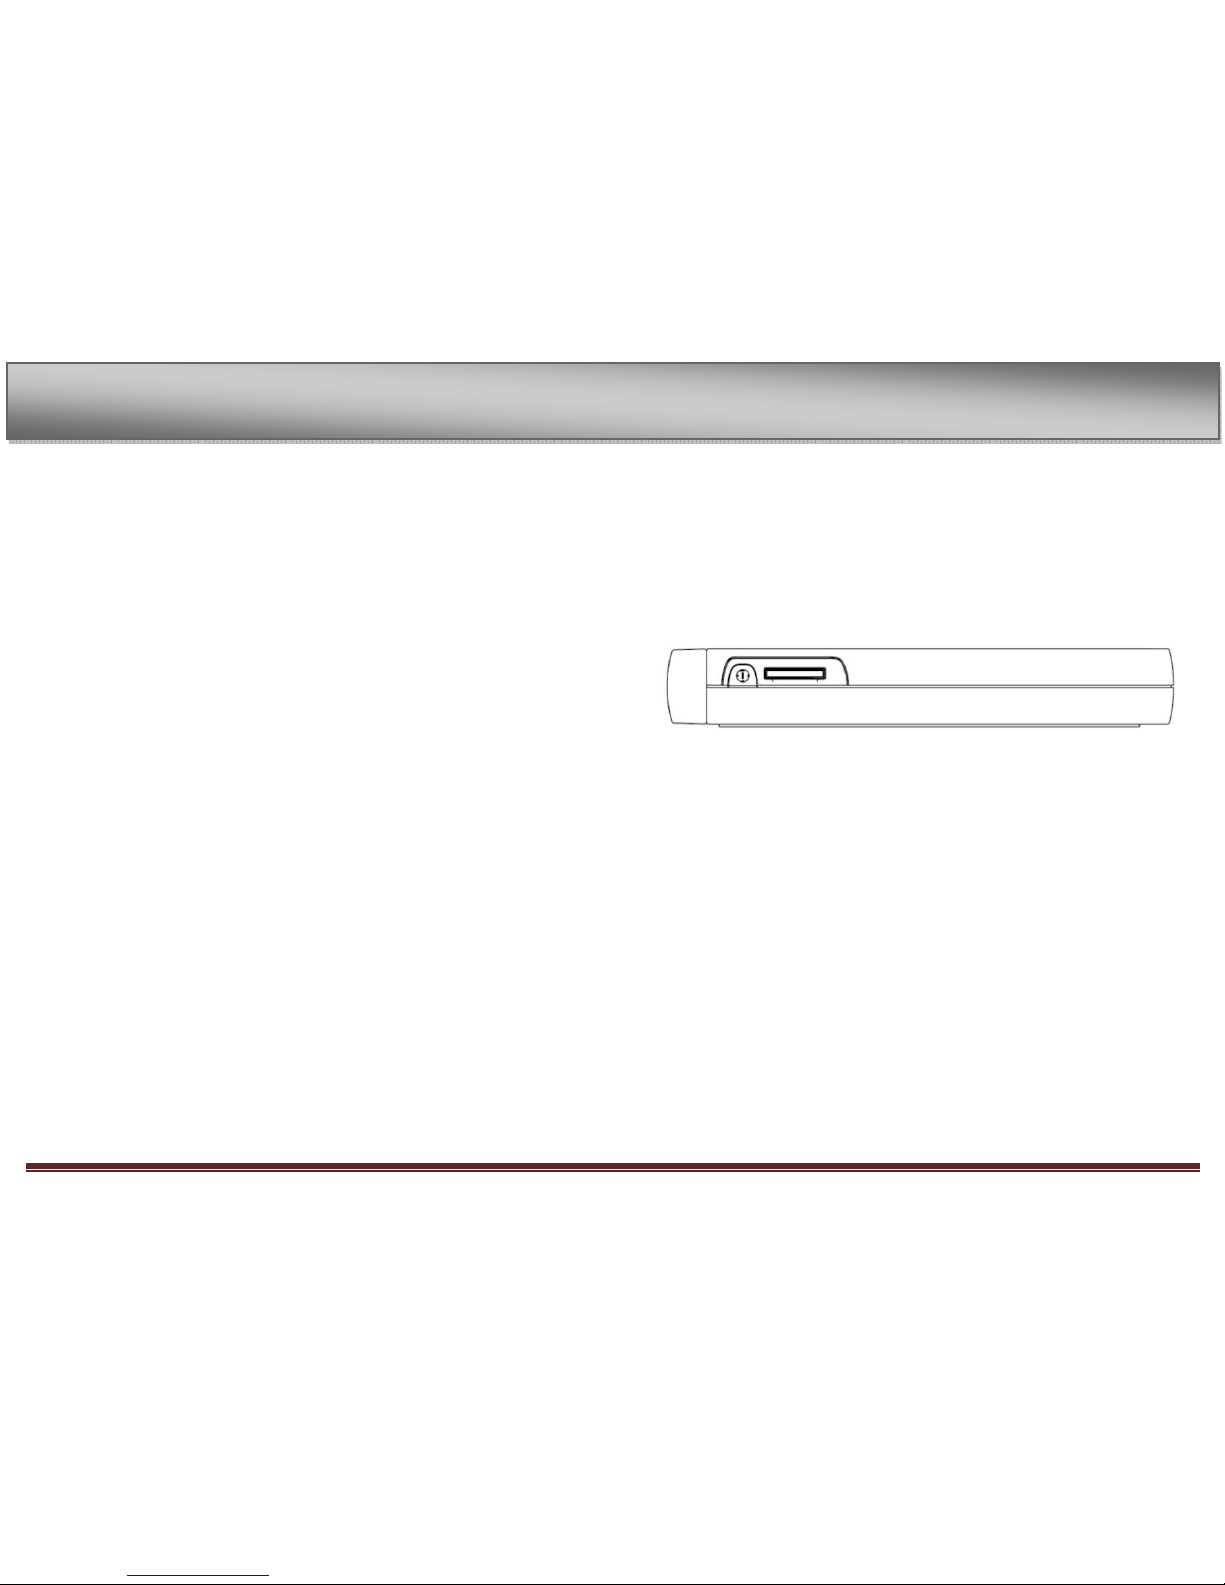
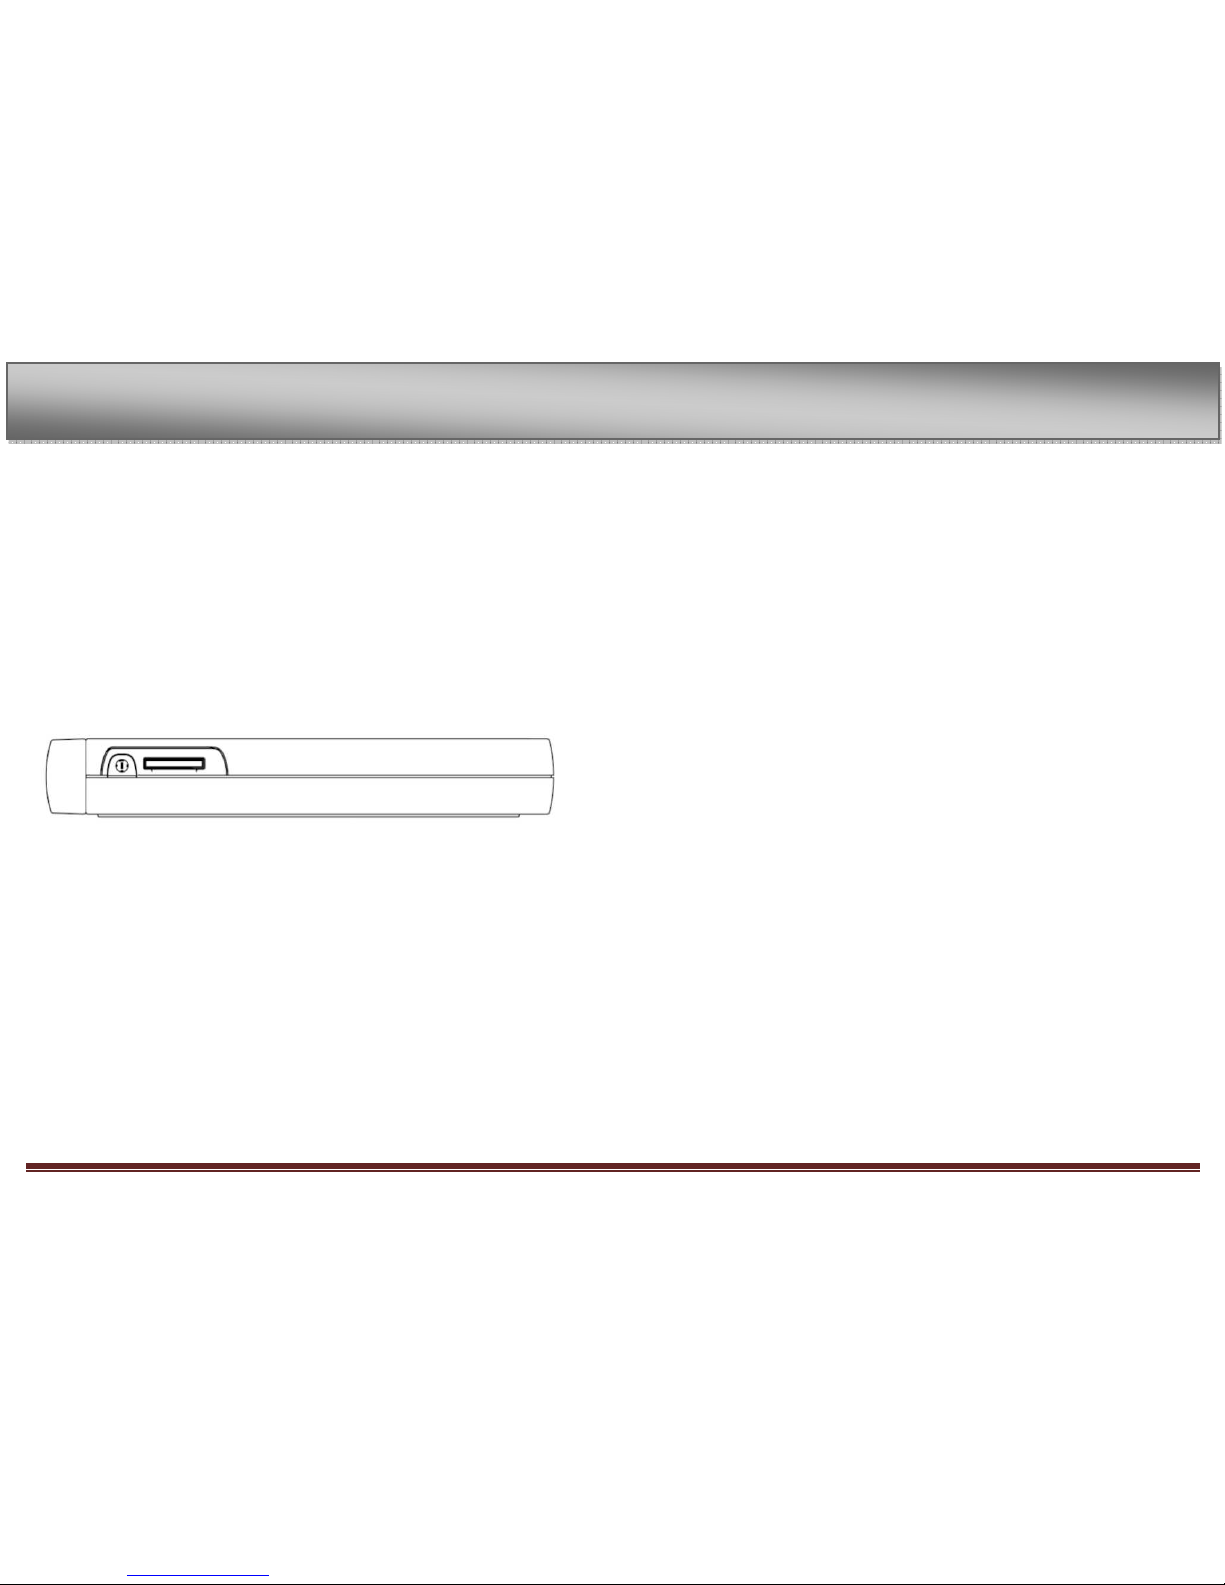
Top panel ................................................................................................................. 10
POWER key ...................................................................................................... 10
D card slot ...................................................................................................... 10
Right side panel .................................................................................................... 11
U B port ............................................................................................................ 11
Left side panel ....................................................................................................... 12
GUITAR IN jack .............................................................................................. 12
HEADPHONE OUT jack .............................................................................. 12
Front panel ............................................................................................................. 13
Display................................................................................................................ 13
Wheel ................................................................................................................. 13
Rear panel ............................................................................................................... 14
Built-in stereo microphone ...................................................................... 14
Bottom panel ......................................................................................................... 15
Dock-Connector ............................................................................................. 15
4- creen Overview ..................................................................................................... 16
Home creen .......................................................................................................... 16
tatus Bar: ................................................................................................................ 16
Back Button ...................................................................................................... 16
Level meter ............................................................................................................. 17
Elapsed time .................................................................................................... 17
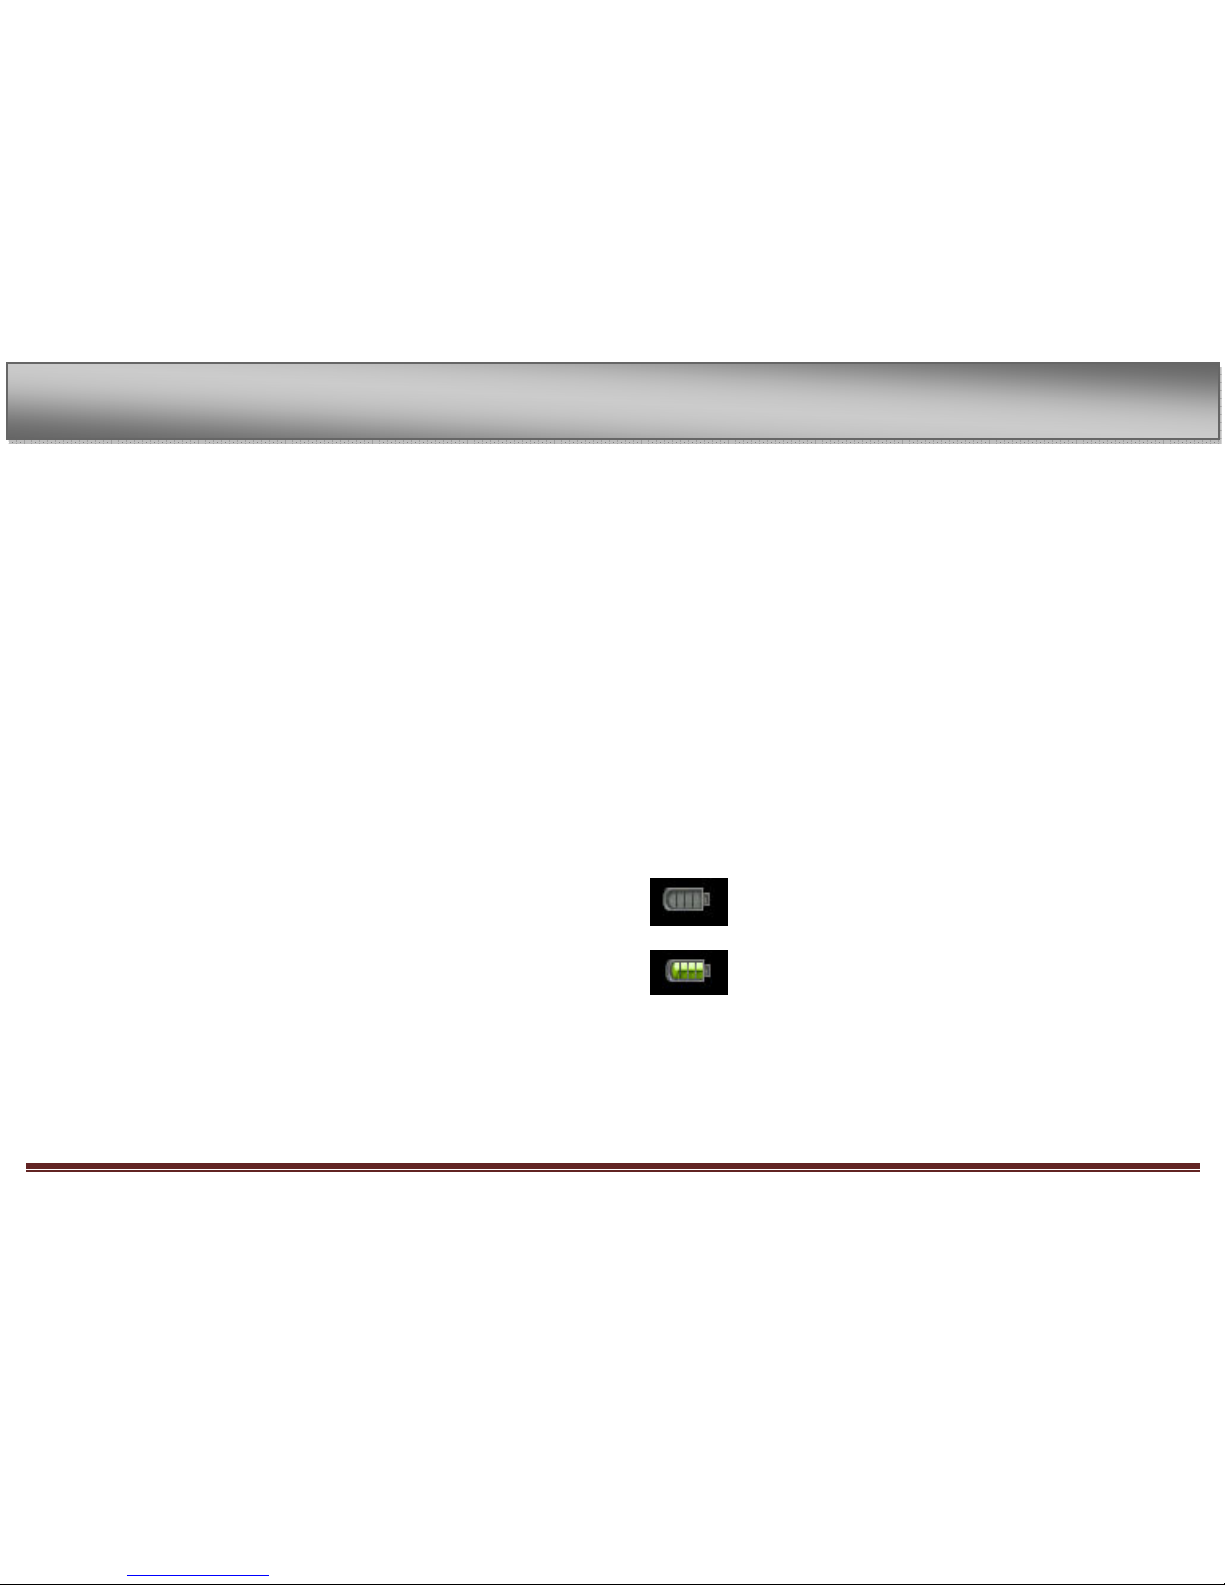
Power indicator .................................................................................................... 17
Main Menu .............................................................................................................. 18
5-Making Connections ............................................................................................. 20
Connecting monitors .......................................................................................... 20
Connecting with a computer .......................................................................... 20
Disconnecting from a computer ................................................................... 20
Connecting a guitar ............................................................................................. 20
6-Playback ...................................................................................................................... 21
electing tracks ...................................................................................................... 21
tarting and stopping playback ..................................................................... 22
Play a track .............................................................................................................. 23
top playback ......................................................................................................... 23
earch forward and backward ...................................................................... 23
Adjusting the volume ......................................................................................... 23
Loop/repeat setting status ............................................................................... 23
7– pecifications .......................................................................................................... 24
Audio Input and Output .................................................................................... 24
GUITAR IN input ............................................................................................ 24
LINE In input ................................................................................................... 24
LINE OUT output ........................................................................................... 24
Audio performance ............................................................................................. 24
Audio file compatibility ..................................................................................... 24
Physical..................................................................................................................... 25
Computer requirements ................................................................................... 25
Windows ............................................................................................................ 25
Table of contents

Engl mfx page 3
Macintosh ......................................................................................................... 25
Recomended U B host controller ................................................................. 26
upported O ........................................................................................................ 26
Accessories available for purchase .............................................................. 26
8-FCC Compliance tatement ............................................................................... 27

Engl mfx page 4
1-Introduction
Thank you very much for purchasing the ENGL MFX Portable Player.
Please read this owner’s manual carefully in order to maximize your
use of all the unit’s features. We hope that you will enjoy using this
player for many years to come. Please make copies of this manual and
keep them in safe places for future reference.
Main functions
• Portable player designed for guitar players
• Uses an D card as the playing media
• Choose MP3 (32 kbps–320 kbps, 44.1 kHz or 48 kHz) or WAV
(16-bit or 24-bit, 44.1 kHz or 48 kHz) audio file types
• Mix the input signal with the playing audio track
(overdubbing)
• pecial playback functions include decreasing playback speed
without changing pitch and reducing the sound of a recorded
guitar during playback
• Built-in effects can be applied to the input signal, rhythm
machine or playback signal
• Copy audio files from a computer to this unit’s D card by U B
connection
Supplied accessories
oft case 1
D card (in unit; contains copy of manual) 1
U B cable 1
Quick tart Guide 1
Warranty card 1
Guitar cable 25 inch length 1
Guitar cable 1
Dock connector cable 1
Please contact the store where you purchased this unit if any of these
accessories are missing or have been damaged during transportation.
1
-
Introduction

Engl mfx page 5
Recycling the rechargeable battery
This device uses a lithium ion battery. Please do not throw away the
battery when it is no longer necessary.
If you have any questions, please contact us (see the last page of this
manual for contact information).
Trademarks
Windows, Vista, Windows XP and Windows 2000 are trademarks of
Microsoft Corporation.
Macintosh, Mac O , and Mac O X are Trademarks of Apple Inc.
The D Logo is a trademark.
Notes about this manual
Font use conventions
• Controls, keys and other parts on the ENGL-MFX are written like
this: MENU.
• Messages shown on the display are written like this: Are you sure?
• We use the term “buttons” and “sliders” to describe the various
icons on the ENGL-MFX.
Tracks and files are the same
Tracks are files, and files are tracks.
In this manual, we usually use the word “track” when we are
describing the playback of a song, for example, just as we would if
talking about songs on a CD or a portable music player. However,
when we talk about their data properties, such as sampling
frequencies and ID3 tags, we often refer to the same “tracks” as “files”
because they can be manipulated in ways similar to files on a
computer.
1
-
Introduction

Engl mfx page 6
2-Preparation
About SD cards
ince this unit uses a D card for recording and playback, you must
insert a D card into the unit before use. You can use 64 MB–2 GB D
cards and 4 GB–32 GB D HC cards with this unit.
Please see the ENGL web site (www.engl-amps.com) for information
about cards that have been tested with the ENGL-MFX.
NOT
When new, this unit comes with a 1GB D card inserted. This card
can be used for recording and playback as is. There is no need to
reinsert or format it.
Inserting the SD card
The D card slot is on the top side of the unit.
Insert the included D card in the D card slot and push it until it
clicks fully into place.
2
-
Preparation

Engl mfx page 7
Removing the SD card
Press the inserted D card in gently and it will disengage from the
unit so that you can pull it out completely.
CAUTION
Do not remove the D card during recording or playback, or when the
unit is connected to the computer by U B.
2
-
Preparations

Engl mfx page 8
Po ering the unit
The ENGL-MFX can be operated using an AC adapter (E 1041).
Additional AC adapters are available for purchase separately. You can
charge the battery by connecting the unit to a computer by U B or
using an AC adapter. When shipped new, the built in battery is not
sufficiently charged, so it must be charged before using the unit.
Charge the battery or connect the AC adapter before using the unit.
Charging the battery
There is several methods to charge the device.
Charging with a computer
Use the U B port on the right side panel, and use the included U B
cable to connect the unit’s U B port to a U B port on a computer.
Please connect this unit directly to a computer. Proper charging and
operation cannot be assured when using a U B hub.
When connecting via U B, the device starts. To save energy and to
fasten charging, turn it off by pressing the power switch on the top.
Even if the power for the unit is off, the battery charges when
connected to a computer by U B. The computer needs to be ON to
charge the battery.
Complete charging by U B takes about 2 hours (when the unit’s
power is OFF).
Charging with an AC adapter
Use the U B port on the right side panel, plug in the included U B
cable, connect the AC adapter to the U B cable and plug the adapter
into an electrical socket to charge the unit.
Complete charging with the adapter takes about 2 hours.
You can use this unit as usual as it is charged by the connected AC
adapter.
NOT
The charging indicator to the top right of the display shows four
green bars when fully loaded. During charging one green bar after the
other is added.
Charging indicator:
Empty battery
Fully loaded battery
2
-
Preparation

Engl mfx page 9
Turning the po er on and off
To turn the power ON, press the POWER key on the top panel. After
booting “ENGL-MFX” appears on the display.
To turn the power OFF, press and the POWER key, the display turns
black.
Resetting the unit
If the unit is operating abnormally, push the POWER key for a
minimum of 5 seconds. This turns the power OFF and resets the
ENGL-MFX’s system.
2
-
Preparations

Engl mfx page 10
3-Part Names and Functions
Top panel
POW R key
Press this key to turn the unit’s power ON and OFF.
SD card slot
Insert an D card into this slot. ( ee “About D cards” on page 7.)
3
-
Part Names and Functions

Engl mfx page 11
Right side panel
USB port
Use the included U B cable to connect with a computer U B port.
( ee “Connecting with a computer” on page 36.). Or connect an
ENGL AC adapter to this jack.
3
-
Part Names and Functions

Engl mfx page 12
Left side panel
GUITAR IN jack
Use this jack to connect a guitar.
H ADPHON OUT jack
Use this jack to connect with a headphone.
3
-
Part Names and Functions

Engl mfx page 13
Front panel
Display
The display consists of a capacitive touch screen. In addition to the
home screen, the display shows all other screens, various setting
screens, controls and other operation information by tapping icons
or the surface and moving the fingers on the screen.
Wheel
The touch wheel is also capacitive. When a screen is open, use the
touch wheel to move up and down or left and right, or to change
the setting of the selected item. To confirm a command, tap the
inner circle of the wheel.
Use the wheel to change the value of selected items.
3
-
Part Nam
es and Functions

Engl mfx page 14
Rear panel
Built-in stereo microphone
To use this stereo electret condenser microphone as the input source,
select “INT/ MIC” on the input setting screen. If you connect an
external microphone to the MIC IN jack on the left side, the built-in
microphone becomes inactive.
3
-
Part Names and Functions

Engl mfx page 15
Bottom panel
Plug in the adapter cable to be able to use two lines in and two lines
out.
Dock-Connector
The dock connectors have different colours. Use the following dock
connectors for the following functions:
BLUE -> external –out (L/R)
WHITE -> external-in (L/R)
RED -> internal-out (L/R)
BLACK -> internal-in (L/R)
3
-
Part Names and Functions

Engl mfx page 16
4-Screen Overview
Various screens appear on the display.
• The Home creen is shown during ordinary playback and when
playback is stopped.
• The Record creen is shown when recording and in record
standby.
• Appropriate setting screens are shown when making various
settings.
This section explains the display and operation of the home screen
and the recording screen, as well as the appearance and operation of
the various setting screens.
Home Screen
Status Bar:
The status bar on the top of the screen is always visible and performs
the following tasks:
Back Button
Tap the back button to return to the previous level. To return to the
home screen, tap several times until you arrive at the main screen.
4
-
Screen Overview

Engl mfx page 17
Level meter
This bar shows the the current average recording level of the audio
streams. Tap on the bar to arrive at the setting screen of volume
control.
lapsed time
The digits show the elapsed time - in minutes and seconds - of the
currently playing track.
Po er indicator
The battery icon on the top right screen shows the current level of
remaining battery power. Four green bars show a fully charged
battery.
Battery requires charging as soon as no green bar is visible
anymore
or as soon as a screen with a big battery symbol is shown. A big
battery symbol appears, should the mfx have not enough battery
power when starting. Then you need to charge the battery as a
start. ee chapter 2 - Preparation – to learn how to charge the
battery.
4
-
Screen Overview

Engl mfx page 18
Main Menu
croll up and down to view the full main menu. Tap to choose one of
the menu items:
Info / Player / Trainer / Amps / Effects / Tuner / Replicator / Time
Pitch / Preset / Remote / ystem
Player Screen
elect Player to arrive at the player menu:
Tap on Track to get to the Choose File menu.
4
-
Screen Overview

Engl mfx page 19
Choose the track you want to play.
The selected file turns blue.
Confirm with OK. To return to the player menu without choosing a
file, press Cancel.
4
-
Screen Overview

Engl mfx page 20
5-Making Connections
Connecting monitors
Connect headphones, speakers with built-in amplifiers, an amp and
speaker system or other monitoring system to the ENGL-MFX
/HEADPHONE OUT jack or to the dock connector cable.
Connecting ith a computer
By connecting this unit with a computer, you can copy WAV, MP3,
PCM or Ogg music files from the computer to this unit. From the
computer you can also erase files on this unit and manipulate folders.
To connect to a computer, use the included U B cable to connect the
U B ports of the ENGL-MFX and the computer.
When connected, “USB – do you wan o connec – yes or no” appears
on the ENGL-MFX screen. Choose Yes to connect to your computer.
The device appears on the computer screen as an external drive
named “ENGL-MFX.”
Disconnecting from a computer
To end the U B connection, first follow the procedures for your
computer to disconnect the ENGL-MFX and then remove the U B
cable.
ee the computer manual for how to close the connection on the
computer.
NOT
When shipped from the factory the “ENGL-MFX” drive contains the
“MU IC” and “IN TALL” folders, as well as the “MANUAL” folder, which
contains a PDF copy of this owner’s manual.
Connecting a guitar
An electric guitar can be connected directly to the GUITAR IN jack
(standard mono phone jack) on the left panel.
5
-
Making Connections
Table of contents