manuals.online logo
Brands
  1. Home
  2. •
  3. Brands
  4. •
  5. enzie
  6. •
  7. Ladder
  8. •
  9. enzie DELUX User manual

enzie DELUX User manual

DELUX
Roof Space Ladder
Assembly Instructions
1Open the cardboard box and remove the key and these
Instructions from the side of the hatch box
Carefully open the hatch with the key and open. Climb into the
roof space via a step ladder taking with you a hammer,
wedges, screwdrivers, a rule and anchoring screws.
Before you start you will need:
A tape measure or rule, a yardstick and pencil, stanley knife,
phillips head screwdriver 4 x roofing screws and driver, 8 x
wedges, hacksaw (for Aluminium, wood saw for timber).
580 mm
12 m1 5 m
2The opening in the
ceiling should be
580 mm by 1125
mm and be made up
of noggins and
designed to take the
weight of the ladder.
3
4
Two persons are
recommended to ensure
quick and safe fitting.
From below two people
lift the ladder into the
opening and carefully
release once the
installation clips have
gripped the ladder.
Alternatively one person
can lift from above using
a block and tackle.
Check that the frame lies
flush with the ceiling and
that the frame lies
symmetrically inside the
hole. Next fix the ladder
starting with the hinged
side. Screw the installation
clips so that they force the
ladder frame upwards.
5
Centre the ladder hatch within your framed opening using
wedges. Check that the diagonals are exactly the same length
and that the trapdoor opens and closes easily. To secure
ladder, use 4 roofing screws screwed from the inside of the
frame through into noggins.
6
The rest of the installation will happen downstairs. Climb
though the open frame using a separate step ladder, taking
your tools with you.
enzie Space Saving Stairs Pty. Ltd.
287 Arthur Street
Fairfield, Victoria
Australia, 3078
Ph. +61 3 9481 2255
Fax +61 3 9481 8919
ACN: 126 708 118
www.roofspaceladders.com
roofroof
spacespace
LADDERSLADDERS
The next step involves
adjusting the ladder’s length to
suit your ceiling height. Unfold
the ladder as shown in the
picture and place the bottom
on a trestle, the hatch must be
full open. If your ladder is a
3+1 be sure to extend the
telescopic section of your
ladder to it’s full extent (check
that the nylon stops on the
stringers are resting on their
bracket. Measure off the length
down to the floor using a
yardstick along the second
section’s rear and with the
same slope as the side of the
ladder. Mark off at the edge of
the ladder’s end
7
Place the yardstick on the
lowest section of the ladder
with the marked line at the
upper end. Mark the length on
the side of the ladder at the
lower end of the yardstick. For
the floor angle add 40 mm and
mark and draw line between
the marks.
Cut off the ladder at the mark.
To prevent Scratches on the
floor, fit the protective pads
8a.Wooden Ladder
Place the yardstick on the
lowest section of the ladder
with the marked line at the
upper end. Mark off the length
of the side of the ladder at the
bottom end of the yardstick. An
aluminium ladder should be cut
shorter as shown in the picture
in order to compensate for
added feet. The length should
be reduced by 17 mm.
Cut off the ladder at the mark.
Offer up the pads and drill the
holes, finally screw on the
pads.
8b.Aluminium Ladder
Lubricate the aluminium groove
as indicates in the illustration.
Repeat this procedure every 36
months
9 3+1 Aluminium Ladder
LUBRICATE
LUBRICATE
Important!
Open the trapdoor fully, so that the flap is fully down. Unfold
the ladder. This should rest firmly on the floor and form a
straight line. There should not be any gap between the ladder
sections.
10
Your ladder is now installed. Please follow the maintenance
instructions mounted on the hatch.
11
Guardrail
Now that you have successfully installed your ladder you
might consider purchasing a guardrail.
You won't have to
be fearful of falling
down the opening
in your ceiling
whilst up in the roof
space when you
use the enzie
guard-rail.
Safe:
The guardrail is
900 mm high and is
fitted with a
handrail.
Attractive:
Available in both
pluminium and
pine.
Easy to install:
Kit includes pre-
drilled, pre-cut
components
complete with
hardware and
ready for easy
install.
For more information please visit
www.roofspaceladders.com
TRUST THE EXPERTS
enzie stairs have won
the Australian Design
Award for their spiral
staircases which they
have been building and
installing since 1974.
For further information
visit www.enzie.com
Popular Ladder manuals by other brands

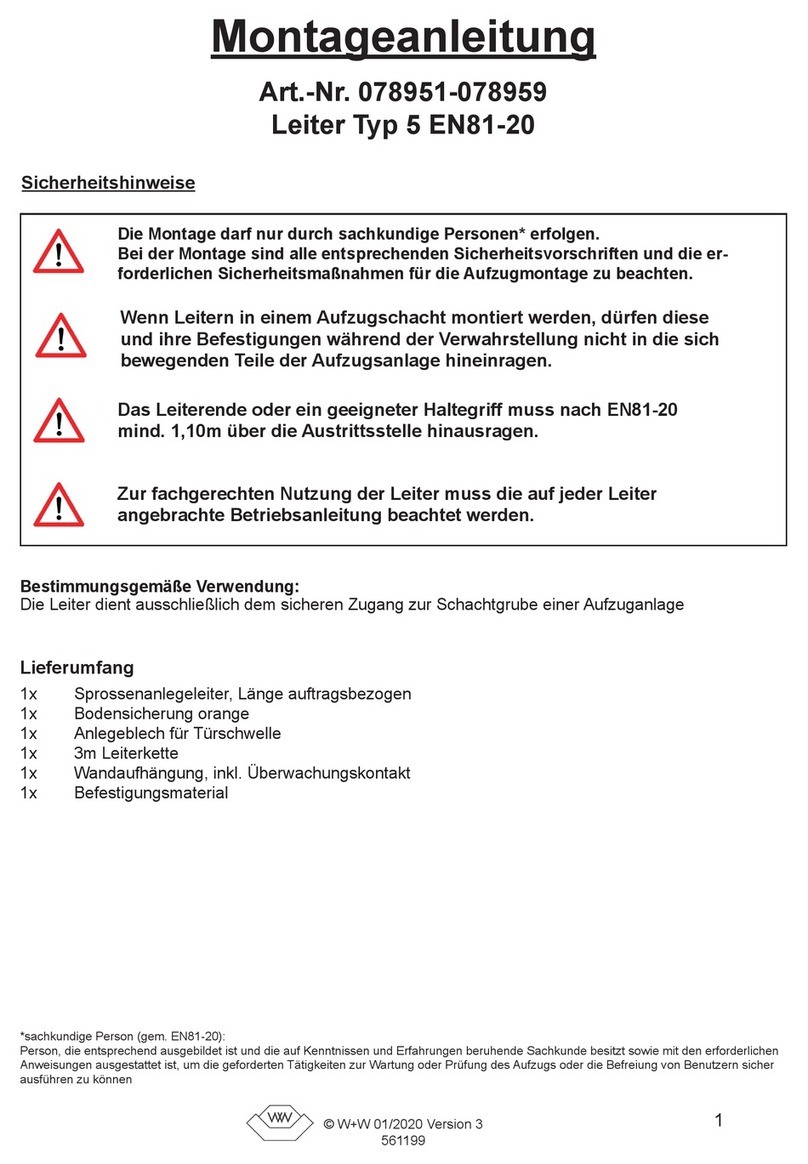
W+W 078951 Mounting instruction

W+W

W+W 078951 Mounting instruction

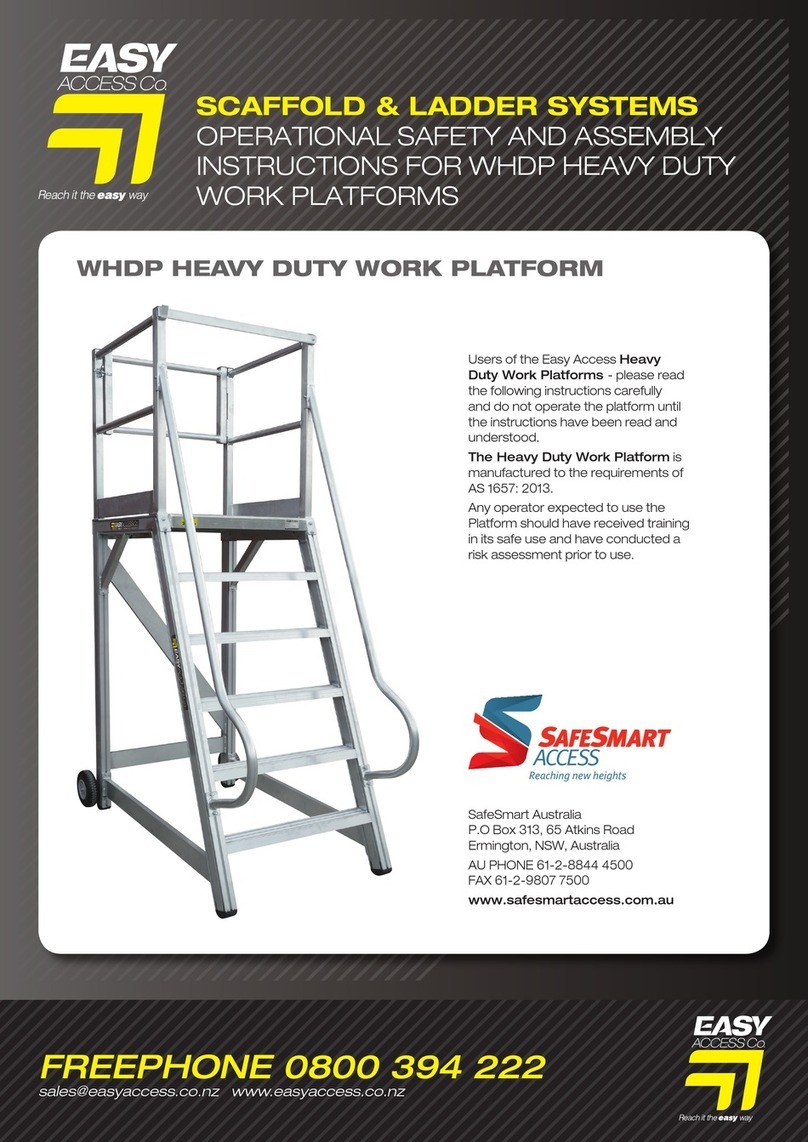
Easy Access WHDP OPERATIONAL SAFETY AND ASSEMBLY INSTRUCTIONS

Easy Access

Easy Access WHDP OPERATIONAL SAFETY AND ASSEMBLY INSTRUCTIONS

W+W TRI-KLAPP 115 Mounting instruction

W+W

W+W TRI-KLAPP 115 Mounting instruction

Clarke TL-2C Operation & maintenance instructions

Clarke

Clarke TL-2C Operation & maintenance instructions

W+W TRI-KLAPP 95 Mounting instruction

W+W

W+W TRI-KLAPP 95 Mounting instruction

Confer Plastics CK7100-X ASSEMBLY, INSTRUCTION AND USE MANUAL

Confer Plastics

Confer Plastics CK7100-X ASSEMBLY, INSTRUCTION AND USE MANUAL

Hailo MTL 575 Operating and maintenance instructions

Hailo

Hailo MTL 575 Operating and maintenance instructions

Centaure 182 1 Series instruction manual

Centaure

Centaure 182 1 Series instruction manual

VonHaus 3500093 manual

VonHaus

VonHaus 3500093 manual

The Renovator Transforma Ladder Safety and operating manual

The Renovator

The Renovator Transforma Ladder Safety and operating manual

zarges Skymaste Industrial Z600 Instructions for assembly and use

zarges

zarges Skymaste Industrial Z600 Instructions for assembly and use

Vuly Ladder manual

Vuly

Vuly Ladder manual

wibe RT 1400 Assembly instruction

wibe

wibe RT 1400 Assembly instruction

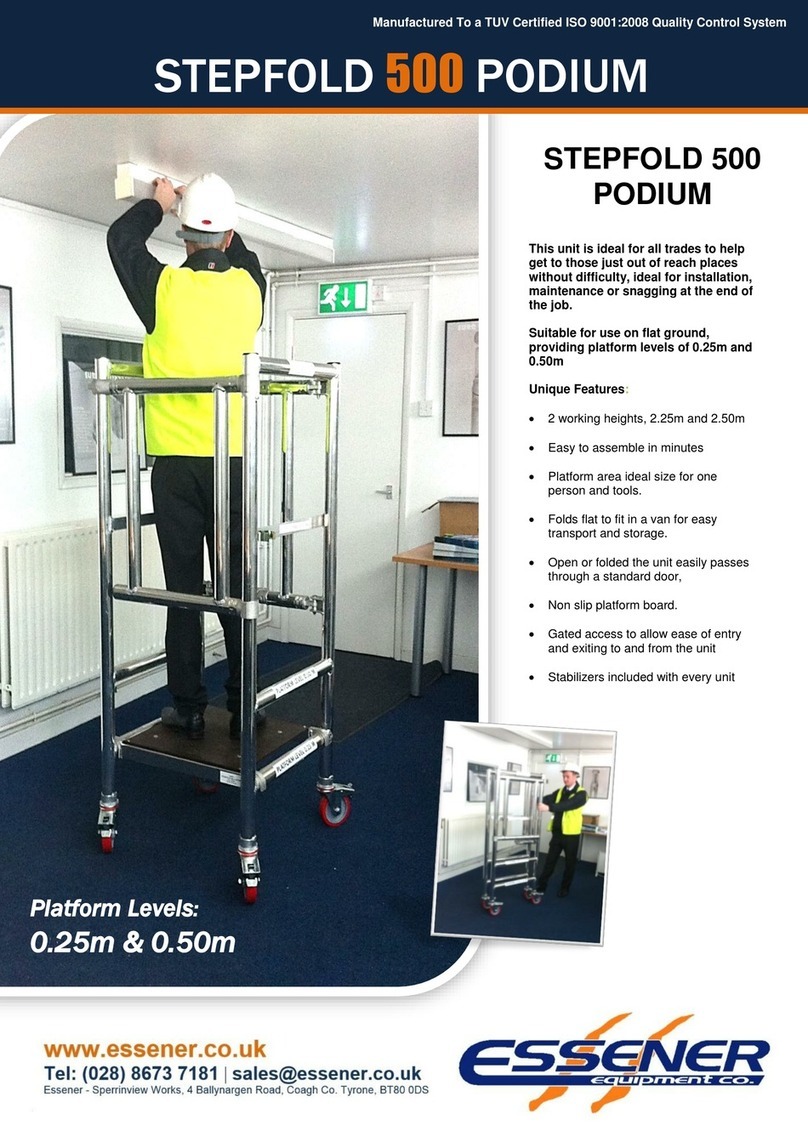
ESSENER STEPFOLD 500 PODIUM Assembly instructions

ESSENER

ESSENER STEPFOLD 500 PODIUM Assembly instructions

AFFIX MACL Series Assembly manual

AFFIX

AFFIX MACL Series Assembly manual

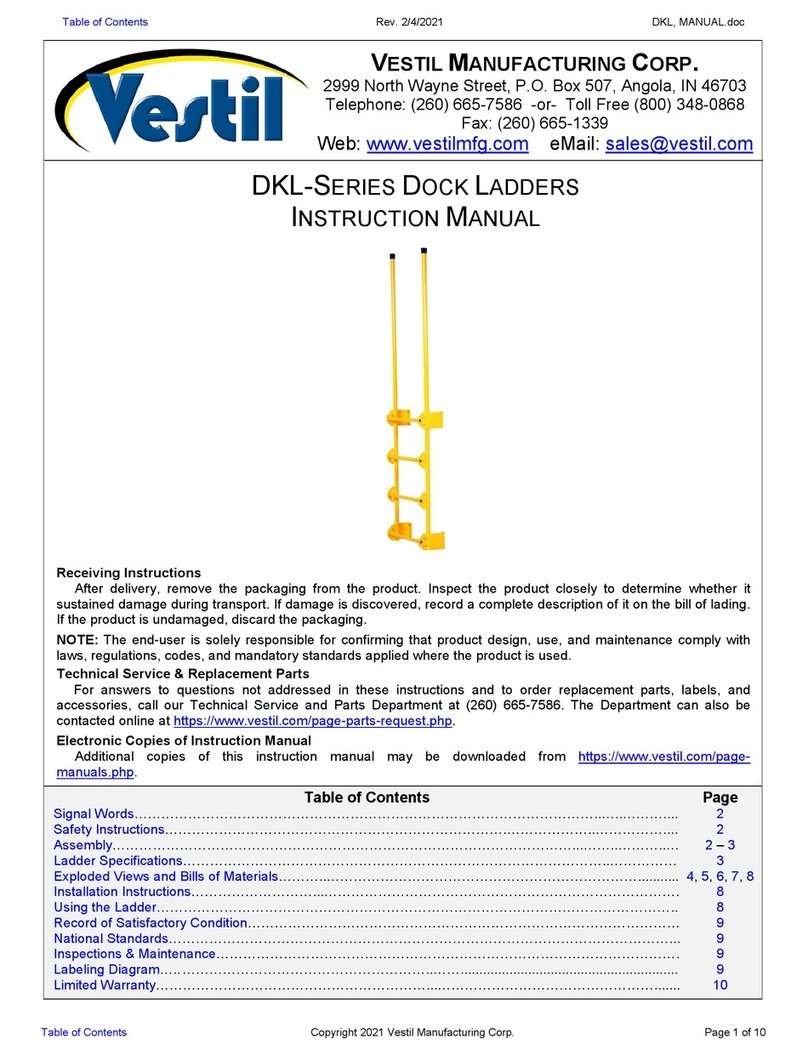
Vestil DKL Series instruction manual

Vestil

Vestil DKL Series instruction manual

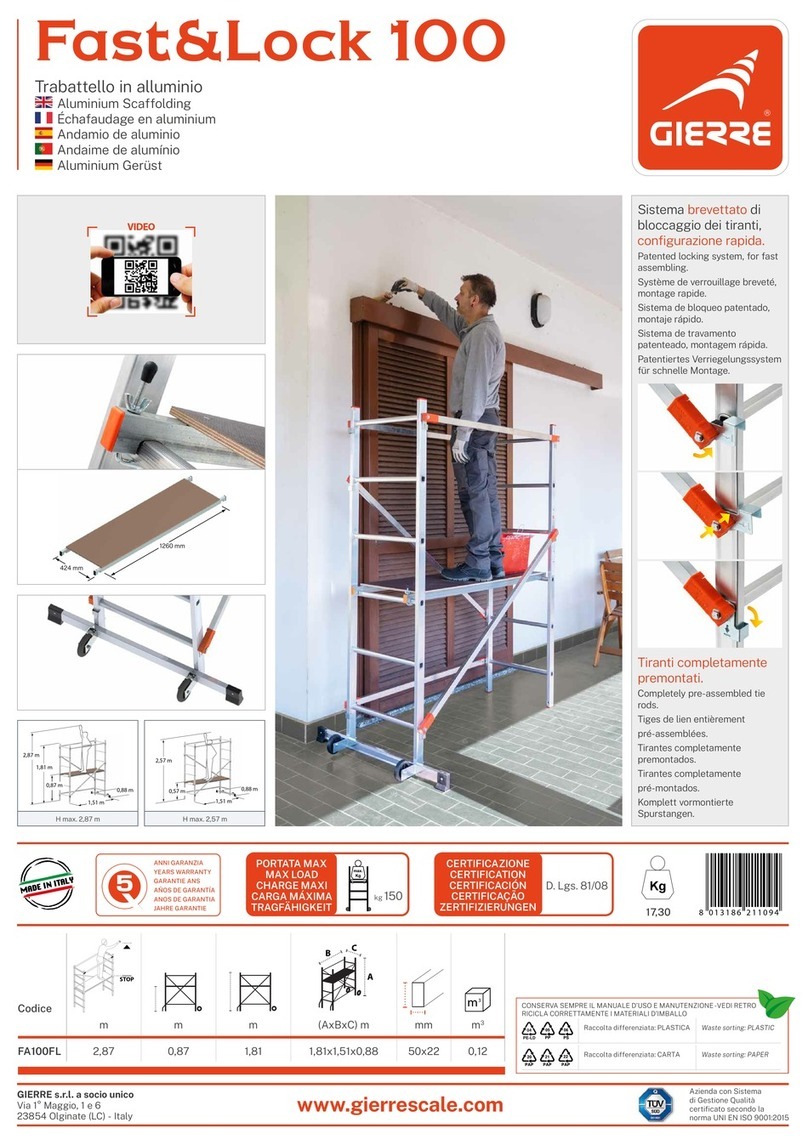
GIERRE FA100FL quick start guide

GIERRE

GIERRE FA100FL quick start guide

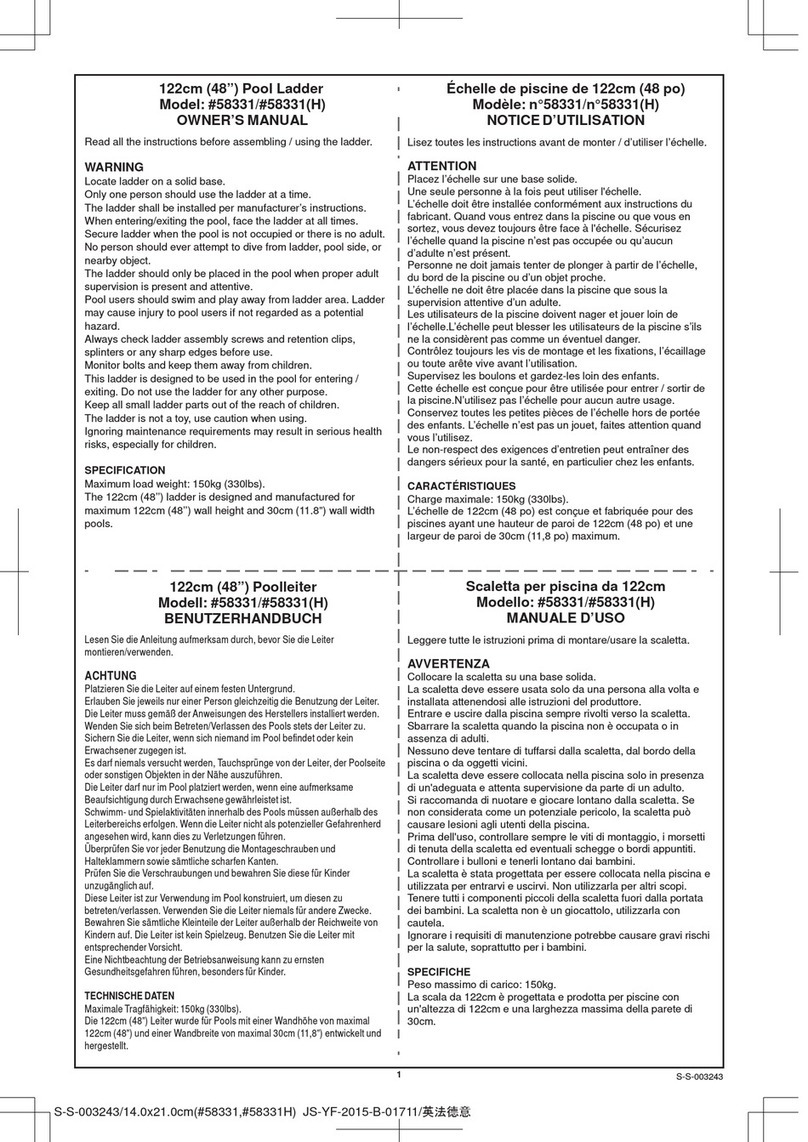
Bestway 58331 H owner's manual

Bestway

Bestway 58331 H owner's manual

manuals.online logo
manuals.online logoBrands
  • About & Mission
  • Contact us
  • Privacy Policy
  • Terms and Conditions

Copyright 2025 Manuals.Online. All Rights Reserved.