manuals.online logo
Brands
  1. Home
  2. •
  3. Brands
  4. •
  5. Vestil
  6. •
  7. Ladder
  8. •
  9. Vestil DKL Series User manual

Vestil DKL Series User manual

Table of Contents Rev. 2/4/2021 DKL, MANUAL.doc
Table of Contents Copyright 2021 Vestil Manufacturing Corp. Page 1 of 10
DKL-SERIES DOCK LADDERS
INSTRUCTION MANUAL
Receiving Instructions
After delivery, remove the packaging from the product. Inspect the product closely to determine whether it
sustained damage during transport. If damage is discovered, record a complete description of it on the bill of lading.
If the product is undamaged, discard the packaging.
NOTE: The end-user is solely responsible for confirming that product design, use, and maintenance comply with
laws, regulations, codes, and mandatory standards applied where the product is used.
Technical Service & Replacement Parts
For answers to questions not addressed in these instructions and to order replacement parts, labels, and
accessories, call our Technical Service and Parts Department at (260) 665-7586. The Department can also be
contacted online at https://www.vestil.com/page-parts-request.php.
Electronic Copies of Instruction Manual
Additional copies of this instruction manual may be downloaded from https://www.vestil.com/page-
manuals.php.
V
ESTIL
M
ANUFACTURING
C
ORP
.
2999 North Wayne Street, P.O. Box 507, Angola, IN 46703
Telephone: (260) 665-7586 -or-Toll Free (800) 348-0868
Fax: (260) 665-1339
Web: www.vestilmfg.com eMail: sales@vestil.com
Table of Contents
Page
Signal Words…………………………………………………………………………………………..…..………....
2
Safety Instructions………………………………………………………………….………………..……………....
2
Assembly…………………………………………………………………………………………...……..………..…
2– 3
Ladder Specifications…………………………………………………………………………………..……………
3
Exploded Views and Bills of Materials………..……………………………………………………………...........
4, 5, 6, 7, 8
Installation Instructions………………………...…………………………………………………………………….
8
Using the Ladder……………………………………………………………………………………………………..
8
Record of Satisfactory Condition……………………………………………………………………………………
9
National Standards…………………………………………………………………………………………………...
9
Inspections & Maintenance………………………………………………………………………………………….
9
Labeling Diagram…..
………………………………………………..……..........................................................
9
Limited Warranty……………………………………………………...………………………………………….......
10
Table of Contents Rev. 2/4/2021 DKL, MANUAL.doc
Table of Contents Copyright 2021 Vestil Manufacturing Corp. Page 2 of 10
SIGNAL WORDS
SIGNAL WORDS appear in this manual to draw attention to messages about actions and uses of the product that
are likely to result in personal injuries. Each signal word indicates a specific level of seriousness of injury. The
NOTICE signal word calls attention to uses of the product likely to cause property damage. Signal words used in this
manual appear below along with their definitions.
Identifies a hazardous situation which, if not avoided, WILL result in DEATH or
SERIOUS INJURY. Use of this signal word is limited to the most extreme situations.
Identifies a hazardous situation which, if not avoided, COULD result in DEATH or
SERIOUS INJURY.
Indicates a hazardous situation which, if not avoided, COULD result in MINOR or
MODERATE injury.
Identifies practices likely to result in product/property damage, such as operation that
might damage the product.
SAFETY INSTRUCTIONS
Vestil strives to identify hazards associated with the use of its products. However, no manual can address every
conceivable risk. The most effective way to avoid injury is to exercise sound judgment when assembling, using,
inspecting, and maintaining this ladder. Anyone who uses this ladder must be made aware that a copy of the
manual is available and where to find it.
If this product is assembled, installed, or used improperly, personal injuries might result.
•Failure to read and understand the entire manual before assembling, installing, using or servicing the product
is a misuse of the product.
•Read the manual to refresh your understanding of proper use and maintenance procedures.
•DO NOT attempt to resolve any problem(s) with the product unless you are both authorized to do so and certain that it
will be safe to use afterwards.
•DO NOT modify the product in any way UNLESS you first obtain written approval from Vestil. Unauthorized
modifications automatically void the LIMITED WARRANTY and might make the product unsafe to use.
•DO NOT exceed the maximum rated load. See Label 287 on product; also LABELING DIAGRAM on p. 9
•Inspect the ladder before each use. DO NOT use the ladder if structural damage is discovered. Examples of structural
damage include, but are not limited to, the following: 1) Cracked, broken or significantly deformed rungs; 2) cracked
welds; 3) corrosion, rusting, severe wear, or other condition that affects the integrity of the product. Replace each part
that fails to pass an inspection. DO NOT use the ladder until it is restored to SATISFACTORY CONDITION.
•Do not reach beyond or lean from the ladder.
•DO NOT use this device UNLESS all product labels are readable and undamaged. See LABELING DIAGRAM.
•Proper maintenance is essential for this product to function properly. At least 1 time per month inspect the ladder to
confirm that it is in normal operating condition:
1. Confirm that all bolts and nuts that attach support brackets to ladder rungs are securely fastened and undamaged.
2. Closely examine the anchor bolts used to mount the ladder to the wall (or other surface). Confirm that all anchor
bolts are tight, unbent and do not wobble. Make sure that the concrete (or other mounting substrate) around the anchor
bolts is not damaged, e.g. cracked, chipped, or eroded.
3. Examine all welds and the metal around the welds for cracks and deformities.
4. Inspect the overall structure. The ladder should be square and rigid.
ASSEMBLY
Models that have 5 or more
steps (DKL-5 through DKL-10)
require assembly.
•DKL-5, -6, -7, & -8 consist of 2
ladder sections, i.e. upper and
lower ladder portions;
a.Insert the mounting tabs of
the lower ladder section
into the open ends of side
rails of the upper section;
b.Then fasten the rung tabs
and rung brackets together
with 3/8” – 16 hardware as
shown in the diagrams.
DKL-5, -6, -7, & -8:
3/
8
” – 16 x 1”
bolt
3/
8
” – 16
lock nut
Side rail
Mounting
tab
Rung tab
Rung
bracket
Table of Contents Rev. 2/4/2021 DKL, MANUAL.doc
Table of Contents Copyright 2021 Vestil Manufacturing Corp. Page 3 of 10
LADDER SPECIFICATIONS
Documents that provide specifications for DKL series mobile ladder stands are available online to anyone who
visits Vestil’s website. Specifications include dimensions, net weight, and capacity information. To access the
appropriate specifications document, navigate to the DKL webpage at https://www.vestil.com/product.php?FID=617.
Scroll the page to the entry for the model you purchased. Click the button in the “PDF” column that looks like a pencil
inside a blue-bordered box. A PDF file will open. This is the specifications document. Print a copy of the document
and keep it with your copy of this manual. The following is an exemplar specifications document. It shows
specifications for model DKL-5.
•DKL-9 & -10 have 3 sections, i.e. upper, middle, and lower portions.
a. Insert the mounting tabs of the middle ladder section into the open ends of side rails of the upper section.
b. Fasten the rung tabs and rung brackets together with 3/8” – 16 hardware as shown in the diagrams.
c. Insert the mounting tabs of the lower ladder section into the open ends of the side rails of the middle section;
then fasten the rung tabs and rung brackets together with 3/8” – 16 hardware and was done in step b.
Step a
Mounting
tab
Rung tab
Rung
bracket
3/
8
” – 16
lock nut
3/
8
” – 16 x 1”
bolt
Upper
ladder
section
Middle
ladder
section
Lower
ladder
section
Complete
ladder
assembly
Step b
Step c
NOTE: If your model is not
included on the LAD-PW
webpage, or if you cannot
access and/or print the
specifications document,
contact the Technical Service
Dept. Contact information for
the department is provided on
the cover page of this manual.
Table of Contents Rev. 2/4/2021 DKL, MANUAL.doc
Table of Contents Copyright 2021 Vestil Manufacturing Corp. Page 4 of 10
EXPLODED VIEW AND BILL OF MATERIALS: DKL-2
EXPLODED VIEW AND BILL OF MATERIALS: DKL-3
Table of Contents Rev. 2/4/2021 DKL, MANUAL.doc
Table of Contents Copyright 2021 Vestil Manufacturing Corp. Page 5 of 10
EXPLODED VIEW AND BILL OF MATERIALS: DKL-4
EXPLODED VIEW AND BILL OF MATERIALS: DKL-5
Table of Contents Rev. 2/4/2021 DKL, MANUAL.doc
Table of Contents Copyright 2021 Vestil Manufacturing Corp. Page 6 of 10
EXPLODED VIEW AND BILL OF MATERIALS: DKL-6
EXPLODED VIEW AND BILL OF MATERIALS: DKL-7
Table of Contents Rev. 2/4/2021 DKL, MANUAL.doc
Table of Contents Copyright 2021 Vestil Manufacturing Corp. Page 7 of 10
EXPLODED VIEW AND BILL OF MATERIALS: DKL-8
EXPLODED VIEW AND BILL OF MATERIALS: DKL-9
Table of Contents Rev. 2/4/2021 DKL, MANUAL.doc
Table of Contents Copyright 2021 Vestil Manufacturing Corp. Page 8 of 10
USING THE LADDER
Review the SAFETY INSTRUCTIONS on p. 3 before using the ladder.
Face the ladder whenever ascending or descending the ladder.
Always maintain a 3-point contact while ascending or descending the ladder. 3-point contact means that the user
must be safely supported by either 2 hands and 1 foot or 2 feet and 1 hand.
Both hands and arms must remain free for climbing. Do not carry tools or equipment while ascending/descending
the ladder. Carry tools in a pouch holster or otherwise be secured. Materials and supplies should not be handled by
the ladder user.
Never jump or slide down from a ladder.
Do not climb more than 1 rung at a time.
Use footwear with heels when climbing the ladder. Do not use flat-soled shoes. Do not climb the ladder if your
shoes are greasy or slippery.
Do not use the ladder if your hands are greasy/slippery, or if you are wearing gloves that are greasy or slippery.
Ladder surfaces, particularly surfaces of rungs and siderails, must always be kept free of grease, oil, or other
slippery substances.
Do not climb the ladder if you are physically limited and cannot climb the ladder safely. Examples of such
limitations include fainting spells and using medications or prescription drugs which might cause physical
impairment(s).
EXPLODED VIEW AND BILL OF MATERIALS: DKL-10
INSTALLATION INSTRUCTIONS
Mount the ladder to a vertical surface (pitch range 75°-
90° from horizontal). The mounting surface, e.g. concrete
wall must be able to support the combined weights of the
ladder and a full capacity load (300 pounds. See LADDER
SPECIFICATIONS on p. 3.
1. Attach mounting brackets to the ladder as shown and
in the locations shown in the appropriate EXPLODED
VIEW. See p. 4 - 8.
2. Attach each mounting bracket to the mounting surface
using two (2) 1/2” anchor bolts of appropriate length
selected by your building engineer.
1/
2
” anchor bolts of
appropriate length
Mounting bracket
3/
8
” – 16 x 1” bolt
&
3
/8” – 16 lock nut
Table of Contents Rev. 2/4/2021 DKL, MANUAL.doc
Table of Contents Copyright 2021 Vestil Manufacturing Corp. Page 9 of 10
RECORD OF SATISFACTORY CONDITION (THE “RECORD”)
Before putting the ladder into service, record its condition. Make written records that describe the locations of
labels and the soundness of all anchor bolt connections. Take photographs from multiple angles. Take close-range
photographs of all anchor bolts, each mounting bracket, each label, and all bracket fasteners (bolts, lock nuts). Collect
all photographs and writings in a file and mark the file appropriately to identify it. This file is a record of the ladder in
satisfactory condition. Use the contents of this file to determine whether the ladder is in satisfactory condition during
all inspections. Do not use the ladder unless it is in satisfactory condition. Purely cosmetic changes, like damaged
finish (paint or powder coat), do not constitute changes form satisfactory condition. However, touchup paint should be
applied to the affected areas as soon as damage is noticed.
NATIONAL STANDARDS
This product is a fixed ladder (FL). ANSI-ASC standard A14.3 (the “Standard”) applies to FL’s. You should acquire
a copy of the latest version of the Standard. Follow all use and maintenance/care instructions provided in the
Standard as well as all other provisions for FL owners and users. If any content in this manual conflicts with any
mandatory provision(s) in the Standard, apply the provision(s) from the Standard. Please contact TECHNICAL
SERVICE personnel and report the conflict.
INSPECTIONS & MAINTENANCE
Regular inspections and maintenance is required for the ladder to function properly for as long as possible. Inspect
the unit as instructed. Inspections and all necessary repairs should only be performed by qualified persons. Compare
the results of each inspection to the RECORD OF SATISFACTORY CONDITION. Do not use the ladder unless every
part is in satisfactory condition. If you have any questions about the condition of your ladder, contact the TECHNICAL
SERVICE department. The phone number is provided on the cover page of this manual. Never make temporary
repairs of damaged or missing parts. Only use manufacturer-approved replacement parts to restore the ladder to
satisfactory condition.
Before each use inspect the ladder for any sustained damage, such as unusual wear, deterioration, or corrosion.
Look for loose connections. Tighten all loose connections.
Regular inspections — At least once per month inspect the following items. Replace all parts not in satisfactory
condition before returning the ladder to service. DO NOT continue to use the ladder if damage cannot be repaired.
•Frame elements (siderails and rungs): Inspect both siderails. Confirm that they are solidly fastened to the rungs
and to the wall. Each siderail and each rung/step should be straight, rigid, and undamaged. Look for excessive wear,
bends, cracks, damaged welds, and looseness. All frame elements should be square, rigid, and free of rust and
corrosion. Remove rust and apply touch-up paint to the affected area. Check the areas where components are
fastened/bolted together. Check all fasteners (bolts, lock nuts) for damage. Examine the metal around bolt holes for
cracks, elongations, etc. All rung fasteners must be tight. If a lock nut must be removed, it must be replaced with a
new lock nut.
•Anchor bolts: Examine the anchor bolts and the wall material around the anchor bolts. Bolts must be solidly
attached to the wall. The wall material must not be cracked or damaged in other ways around the anchor bolts.
Maintenance: In addition to correcting issues discovered during inspections, maintain the ladder.
•Clean the ladder with a damp cloth to remove dirt and grime, especially from step surfaces. Let the ladder dry
completely before returning it to service.
•Apply touchup paint wherever the finish is damaged. Apply touchup paint as soon as damage occurs.
LABELING DIAGRAM
Label content and location are subject to
change. Your product might not be labeled exactly
as shown. Compare this diagram to the RECORD
on p. 9. If differences exist between the diagram
and the RECORD, contact TECHNICAL SERVICE.
Replace all labels that are damaged, missing, or
not easily readable (e.g. faded). To order
replacement labels, contact the technical service
and parts department online at
http://www.vestilmfg.com/parts_info.htm.
Alternatively, you may request replacement parts,
including labels, and/or service by calling (260)
665-7586 and asking the operator to connect you to
the Parts Department.
Label 287: Model designation and capacity;
covered with label 770
Label 821: Read instruction manual
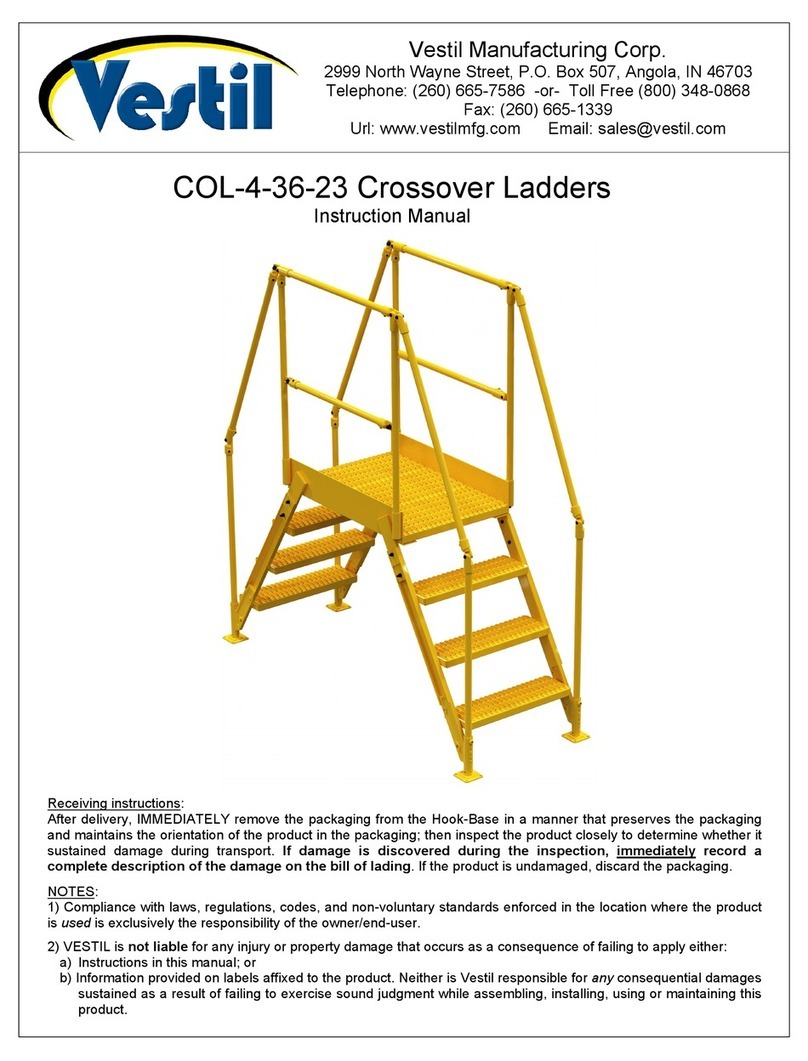
Table of Contents Rev. 2/4/2021 DKL, MANUAL.doc
Table of Contents Copyright 2021 Vestil Manufacturing Corp. Page 10 of 10
LIMITED WARRANTY
Vestil Manufacturing Corporation (“Vestil”) warrants this product to be free of defects in material and workmanship
during the warranty period. Our warranty obligation is to provide a replacement for a defective, original part covered
by the warranty after we receive a proper request from the Warrantee (you) for warranty service.
Who may request service?
Only a warrantee may request service. You are a warrantee if you purchased the product from Vestil or from an
authorized distributor AND Vestil has been fully paid.
Definition of “original part”?
An original part is a part used to make the product as shipped to the Warrantee.
What is a “proper request”?
A request for warranty service is proper if Vestil receives: 1) a photocopy of the Customer Invoice that displays the
shipping date; AND 2) a written request for warranty service including your name and phone number. Send requests
by one of the following methods:
US Mail Fax Email
Vestil Manufacturing Corporation (260) 665-1339 info@vestil.com
2999 North Wayne Street, PO Box 507 Phone Enter “Warranty service request”
Angola, IN 46703 (260) 665-7586 in subject field.
In the written request, list the parts believed to be defective and include the address where replacements should be
delivered. After Vestil receives your request for warranty service, an authorized representative will contact you to
determine whether your claim is covered by the warranty. Before providing warranty service, Vestil will require you to
send the entire product, or just the defective part (or parts), to its facility in Angola, IN.
What is covered under the warranty?
The warranty covers defects in the following original, dynamic parts: motors, hydraulic pumps, motor controllers,
and cylinders. It also covers defects in original parts that wear under normal usage conditions (“wearing parts”), such
as bearings, hoses, wheels, seals, brushes, and batteries.
How long is the warranty period?
The warranty period for original dynamic components is 90 days. For wearing parts, the warranty period is 90
days. Both warranty periods begin on the date Vestil ships the product to the Warrantee. If the product was
purchased from an authorized distributor, the periods begin when the distributor ships the product. Vestil may, at its
sole discretion, extend a warranty period for products shipped from authorized distributors by up to 30 days to account
for shipping time.
If a defective part is covered by the warranty, what will Vestil do to correct the problem?
Vestil will provide an appropriate replacement for any covered part. An authorized representative of Vestil will
contact you to discuss your claim.
What is not covered by the warranty?
The Warrantee (you) is responsible for paying labor costs and freight costs to return the product to Vestil for
warranty service.
Events that automatically void this Limited Warranty.
•Misuse;
•Negligent assembly, installation, operation or repair;
•Installation/use in corrosive environments;
•Inadequate or improper maintenance;
•Damage sustained during shipping;
•Collisions or other accidents that damage the product;
•Unauthorized modifications: Do not modify the product IN ANY WAY without first receiving written authorization
from Vestil.
Do any other warranties apply to the product?
Vestil Manufacturing Corp. makes no other express warranties. All implied warranties are disclaimed to the extent
allowed by law. Any implied warranty not disclaimed is limited in scope to the terms of this Limited Warranty. Vestil
makes no warranty or representation that this product complies with any state or local design, performance, or safety
code or standard. Noncompliance with any such code or standard is not a defect in material or workmanship.

This manual suits for next models

9

Other Vestil Ladder manuals

Vestil LAD-TRN Series User manual

Vestil

Vestil LAD-TRN Series User manual

Vestil LAD Series User manual

Vestil

Vestil LAD Series User manual

Vestil LAD-EZ Series User manual

Vestil

Vestil LAD-EZ Series User manual

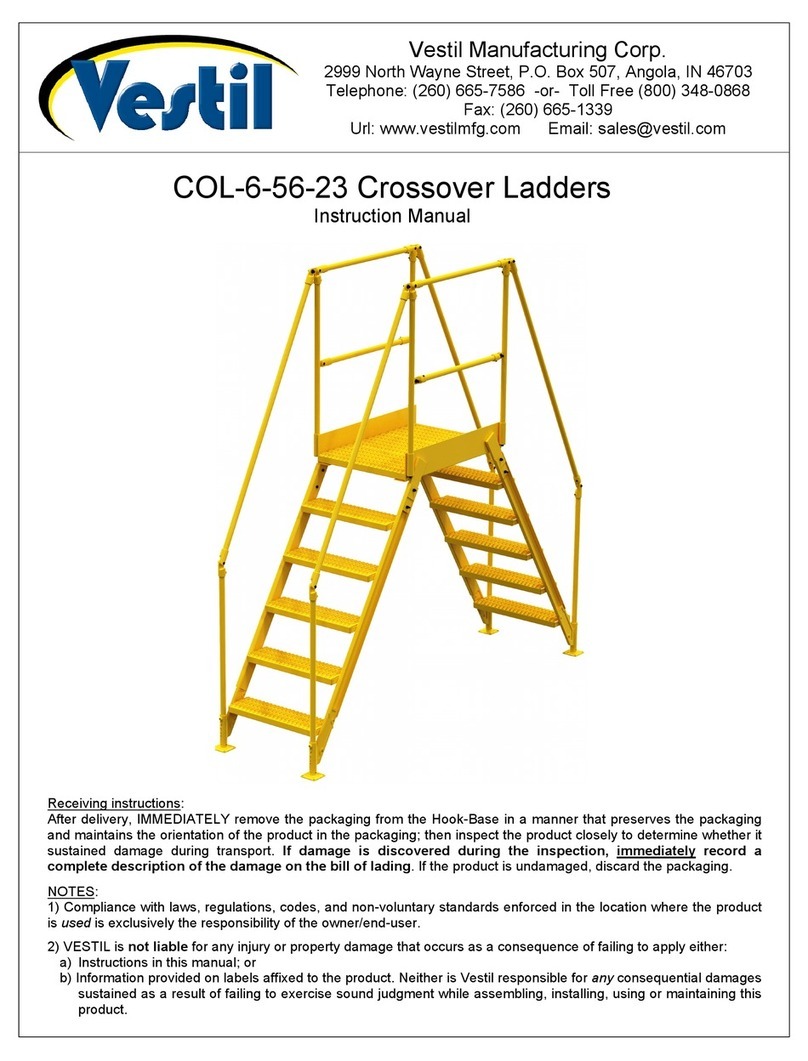
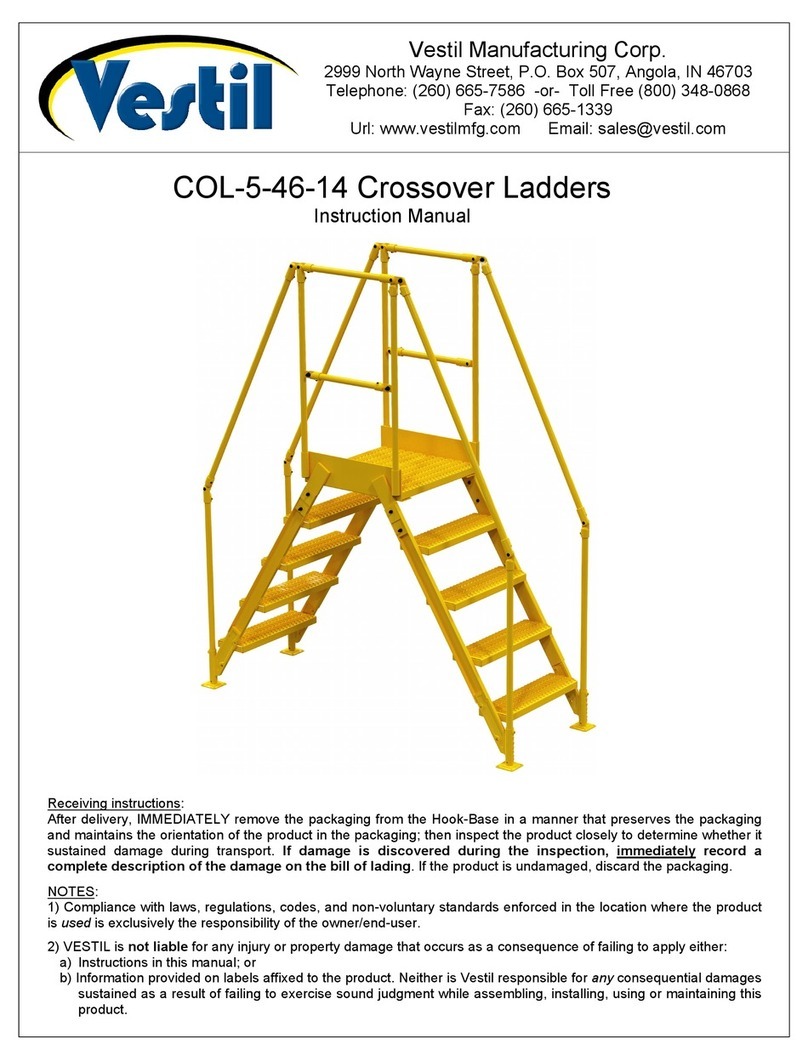
Vestil COL-5-46-14 User manual

Vestil

Vestil COL-5-46-14 User manual

Vestil COL-4-36-14 User manual

Vestil

Vestil COL-4-36-14 User manual

Vestil SPS3 Series User manual

Vestil

Vestil SPS3 Series User manual

Vestil COL HDG Series User manual

Vestil

Vestil COL HDG Series User manual

Vestil LAD-RAF Series User manual

Vestil

Vestil LAD-RAF Series User manual

Vestil COL-3-26-23 User manual

Vestil

Vestil COL-3-26-23 User manual

Vestil COL-6-56-23 User manual

Vestil

Vestil COL-6-56-23 User manual

Vestil LAD-TRS Series User manual

Vestil

Vestil LAD-TRS Series User manual

Vestil VST-4-Y User manual

Vestil

Vestil VST-4-Y User manual

Vestil COL-4-36-33 User manual

Vestil

Vestil COL-4-36-33 User manual

Vestil ATS-6-56 User manual

Vestil

Vestil ATS-6-56 User manual

Vestil LAD-FM-60 User manual

Vestil

Vestil LAD-FM-60 User manual

Vestil LAD-FM-84 User manual

Vestil

Vestil LAD-FM-84 User manual

Vestil Tip-N-Roll LAD-TRN-FDA Series User manual

Vestil

Vestil Tip-N-Roll LAD-TRN-FDA Series User manual

Vestil COL-3-26-14 User manual

Vestil

Vestil COL-3-26-14 User manual

Vestil LAD-MM Series User manual

Vestil

Vestil LAD-MM Series User manual

Vestil LAD-FM-PSO User manual

Vestil

Vestil LAD-FM-PSO User manual

Vestil LAD-PW-18-2-P User manual

Vestil

Vestil LAD-PW-18-2-P User manual

Vestil PWPS User manual

Vestil

Vestil PWPS User manual

Vestil LAD-MM Series User manual

Vestil

Vestil LAD-MM Series User manual

Vestil COLV-7 Series User manual

Vestil

Vestil COLV-7 Series User manual

Popular Ladder manuals by other brands

Munk 32208 instruction manual

Munk

Munk 32208 instruction manual

WaterDog Adventure Gear WAG Boarding Steps DM-12 owner's manual

WaterDog Adventure Gear

WaterDog Adventure Gear WAG Boarding Steps DM-12 owner's manual

Powerfix Profi Z30473 Assembly, operating and safety instructions

Powerfix Profi

Powerfix Profi Z30473 Assembly, operating and safety instructions

TRI-ARC WLST002212 Assembly instructions and parts list

TRI-ARC

TRI-ARC WLST002212 Assembly instructions and parts list

U-Line H-7903 quick start guide

U-Line

U-Line H-7903 quick start guide

GÜNZBURGER STEIGTECHNIK 41306 Assembly and operating instruction

GÜNZBURGER STEIGTECHNIK

GÜNZBURGER STEIGTECHNIK 41306 Assembly and operating instruction

VonHaus 15/007 instructions

VonHaus

VonHaus 15/007 instructions

Hailo ProfiStep Combi Use and operation

Hailo

Hailo ProfiStep Combi Use and operation

EZ-ACCESS FORTRESS OSHA Stair System installation manual

EZ-ACCESS

EZ-ACCESS FORTRESS OSHA Stair System installation manual

Hailo TopLine TL100 Instructions for use

Hailo

Hailo TopLine TL100 Instructions for use

Stockmaster Tracker Assembly instructions

Stockmaster

Stockmaster Tracker Assembly instructions

Kingfisher 3663602522492 quick start guide

Kingfisher

Kingfisher 3663602522492 quick start guide

Atwood MHL2227 Installation operation & maintenance

Atwood

Atwood MHL2227 Installation operation & maintenance

Powerfix Profi 282415 Operation and safety notes

Powerfix Profi

Powerfix Profi 282415 Operation and safety notes

Summit Treestands Solo Pro manual

Summit Treestands

Summit Treestands Solo Pro manual

BOSSCO TeleguardPLUS instruction manual
BOSSCO

BOSSCO TeleguardPLUS instruction manual
Mac allister 3663602522508 / 3663602548140 LL2T manual

Mac allister

Mac allister 3663602522508 / 3663602548140 LL2T manual
Mac allister 3663602773948 manual
Mac allister

Mac allister 3663602773948 manual

manuals.online logo
manuals.online logoBrands
  • About & Mission
  • Contact us
  • Privacy Policy
  • Terms and Conditions

Copyright 2025 Manuals.Online. All Rights Reserved.