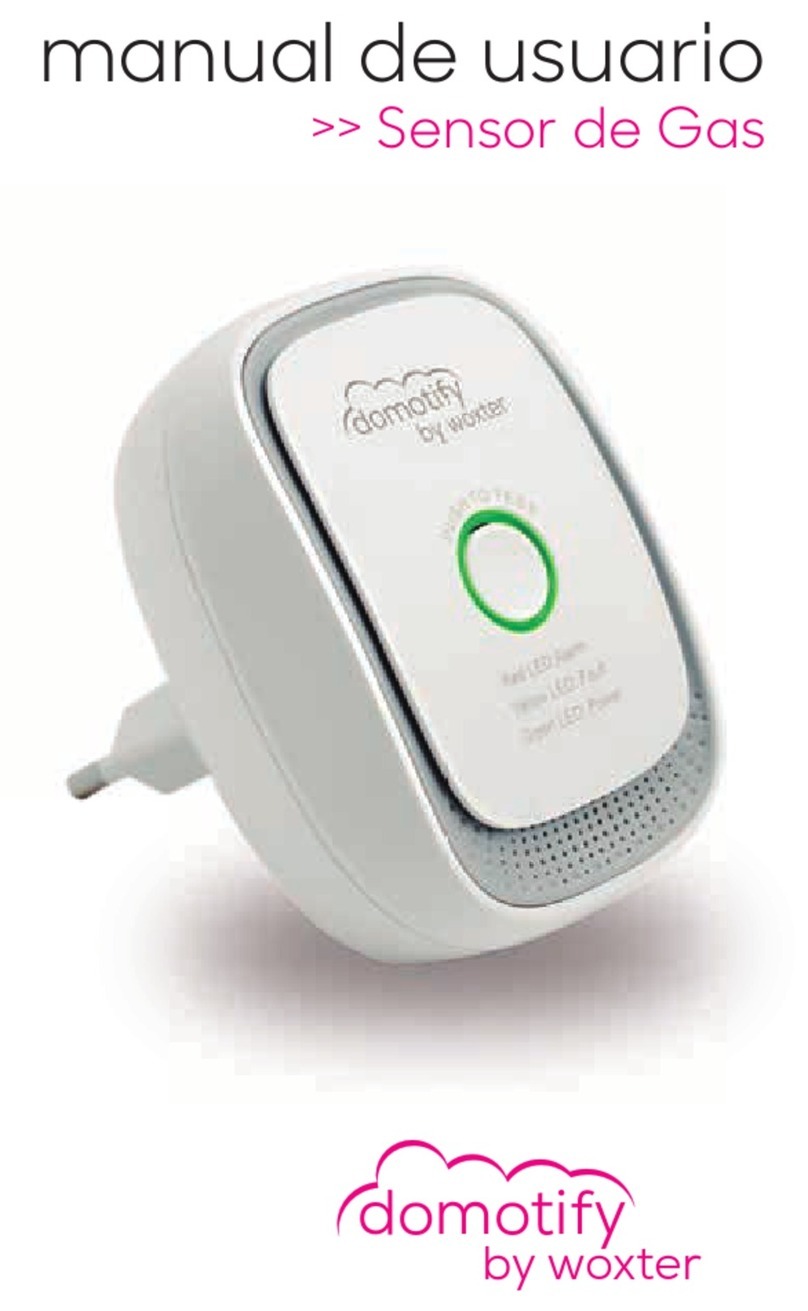
E+E Elektronik CO2 Guard 10 User manual

B
C
AD
Gehäusedeckel
Gehäuseunterteil
KURZANLEITUNG
CO2Guard 10
Gehäuse, Montage
Inbetriebnahme
Der CO2Guard 10 zeigt den Kohlendioxid (CO2) Gehalt als ein Maß für die Raumluftqualität an und kann einen Hinweis
auf Lüftungsbedarf geben, bspw. durch Öffnen von Fenstern. Luftaustausch auf Basis der aktuellen CO2-Konzentration
kann Energiekosten wesentlich reduzieren.
Gehäuse öffnen:
Lasche Avorsichtig nach innen drücken, bis der
Gehäusedeckel sich öffnet.
Gehäuse schließen:
Gehäusedeckel in die Nut Beinsetzen und in
Richtung Cnach unten bewegen, bis Lasche A
einschnappt.
Wandmontage:
Das Gehäuseunterteil mittels der mitgelieferten
Schrauben durch die dafür vorgesehenen Löcher
Dan die Wand montieren. Siehe Bohrschablone
auf der Verpackung. Optimale Höhe über
Fußboden 1,20…1,50 m.
Lieferumfang
Die Batterien in der angezeigten Polarität einsetzen und das Gehäuse schließen (siehe oben).
Der CO2Guard 10 sollte nicht in der Nähe von Fenstern montiert werden und von Menschen mindestens 1,50 m entfernt sein.
Falls wiederauadbare Batterien verwendet werden, sind diese beim Auaden zwingend aus dem CO2Guard 10
herauszunehmen und mit einem geeigneten Ladegerät aufzuladen (nicht im Lieferumfang enthalten)
Dieses Gerät ist nicht für Notstop oder andere sicherheitskritische Anwendungen geeignet, bei denen eine Fehlfunktion oder
ein Ausfall des Geräts zu Verletzungen und Gesundheitsschäden bei Menschen führen könnte.
Die einzelnen Gerätekomponenten müssen entsprechend der geltenden Gesetze getrennt entsorgt werden. Dies gilt
insbesondere für ausgetauschte Batterien.
Batterietausch
Das Blinken aller LEDs zeigt an, dass die Batterien getauscht werden sollten. Als Ersatz sind nur Batterien vom Typ AAA 1,5 V
und Akkus vom Typ AAA 1,2 V zugelassen. Gerät öffnen/schließen wie oben beschrieben.
Die LEDs zeigen den aktuellen CO2-Bereich im Ampel-Stil an, folgende Tabelle veranschaulicht die entsprechende Luftgüte:
Blinkende LED1) CO2-Bereich [ppm]2) Raumluft-Qualität
Rot 2 Über 3000 Sehr schlecht
Rot 1 2000...3000 Schlecht
Gelb 2 1400...2000 Akzeptabel
Gelb 1 1000...1400 Durchschnittlich
Grün 2 800...1000 Gut
Grün 1 Unter 800 Sehr gut
1) Alle LEDs blinken gleichzeitig: Batterien schwach
Rot 2 leuchtet permanent: Fehler
2) Im Freien beträgt die CO2-Konzentration ca. 400 ppm
Bedeutung der LEDs
CO2Guard 10
4 Stk. AAA 1,5 V Alkaline Batterien
Wandmontageset
Tisch-Standadapter
Kurzanleitung
E+E Elektronik Ges.m.b.H.
Langwiesen 7 • 4209 Engerwitzdorf • Austria
Tel: +43 7235 605-0 • Fax: +43 7235 605-8
LG Linz Fn 165761 t • UID-Nr. ATU44043101
Gerichtsstand: 4020 Linz • DVR0962759
INFORMATION +43 7235 605 0 / [email protected]
Tischgerät:
Den mitgelieferten Tischständer
lt. Skizze zusammenstecken und
den CO2Guard 10 draufstellen.
Das Gerät gibt einen kurzen,
dezenten Piepston ab, sobald die
nächst niedrigere Luftgütestufe
(der nächst höhere CO2-Bereich)
erreicht wird.
Sicherheitshinweise
QG_CO2_Guard_10 // v1.0 // Änderungen vorbehalten // 194972

B
C
AD
Front cover
Back cover
QUICK GUIDE
CO2Guard 10
Enclosure, Mounting
Putting into Operation
The CO2Guard 10 shows the carbon dioxide (CO2) concentration in the ambient air as the measure for the indoor air
quality (IAQ) and can indicate the need for ventilation for instance by opening the windows. Air exchange based on the
actual CO2 concentration can significantly reduce energy costs.
Opening the enclosure:
Press latch A gently until front cover can be
opened.
Closing the enclosure:
Set front cover into flute Band move it to direction
Cuntil latch Asnaps in.
Wall mount:
Fix the back cover onto the wall using the screws
in the scope of supply and the Dholes. See
packaging for drill pattern.
Ideal height above the floor 1.20…1.50 m (4…5 ft)
Scope of Supply
Insert the batteries observing the right polarity and close the enclosure (see above).
The CO2Guard 10 shall be placed far from the windows and min. 1.50 m (5 ft) from people.
When employing rechargeable batteries, it is obligatory to remove the rechargeable batteries from the CO2Guard 10 and use
an appropriate battery charger (not in the scope of supply).
This device is not appropriate for safety, emergency stop or other critical applications where device malfunction or failure
could cause injury or damage to human health.
For disposal, the individual components of the device must be separated according to local recycling regulations. Especially
the batteries shall be disposed of correctly.
Battery Replacement
All LEDs flashing together indicate weak batteries. For replacement use alkaline batteries type AAA 1.5 V or rechargeable
batteries of type AAA 1.2 V only. Open/close the device as described above.
The LEDs show the actual CO2 range in a traffic light style which indicates an IAQ rating as shown in the table:
LED flashes1) CO2range [ppm]2) Indoor air quality (IAQ)
Red 2 Higher than 3000 Very bad
Red 1 2000...3000 Bad
Yellow 2 1400...2000 Acceptable
Yellow 1 1000...1400 Average
Green 2 800...1000 Good
Green 1 Lower than 800 Very good
1) All LEDs flashing together: Weak batteries
Red 2 continuously on: Error
2) Note: The outdoor CO2concentration is approx. 400 ppm
Significance of LEDs
CO2Guard 10
4 pcs. AAA 1.5 V alkaline batteries
Wall mounting set
Tabletop adapter
Quick guide
E+E Elektronik Ges.m.b.H.
Langwiesen 7 • 4209 Engerwitzdorf • Austria
Tel: +43 7235 605-0 • Fax: +43 7235 605-8
LG Linz Fn 165761 t • VAT-No. ATU44043101
Place of Jurisdiction: 4020 Linz • DVR0962759
INFORMATION +43 7235 605 0 / [email protected]
Tabletop adapter:
Assemble according to sketch
and place the device on it.
The device beeps decently as soon
as the next lower air quality level
(the next higher CO2range) is reached.
Safety Information
QG_CO2_Guard_10 // v1.0 // Modication rights reserved // 194972
Table of contents
Languages:
Popular Gas Detector manuals by other brands
Det-Tronics
Det-Tronics PointWatch Eclipse PIRECL instructions
Pfeiffer Vacuum
Pfeiffer Vacuum ASM 306S operating instructions
Bacharach
Bacharach HFO1234ZE Installation and operation manual
Osaka
Osaka DG-HFC-R-DOMO instructions
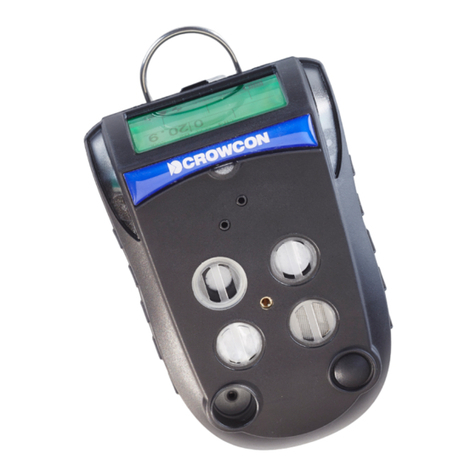
Crowcon
Crowcon Gas-Pro User & Operator Manual

Seitron
Seitron BE COOL R1 quick guide

