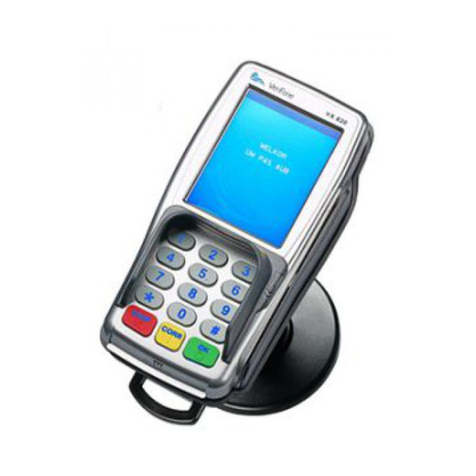
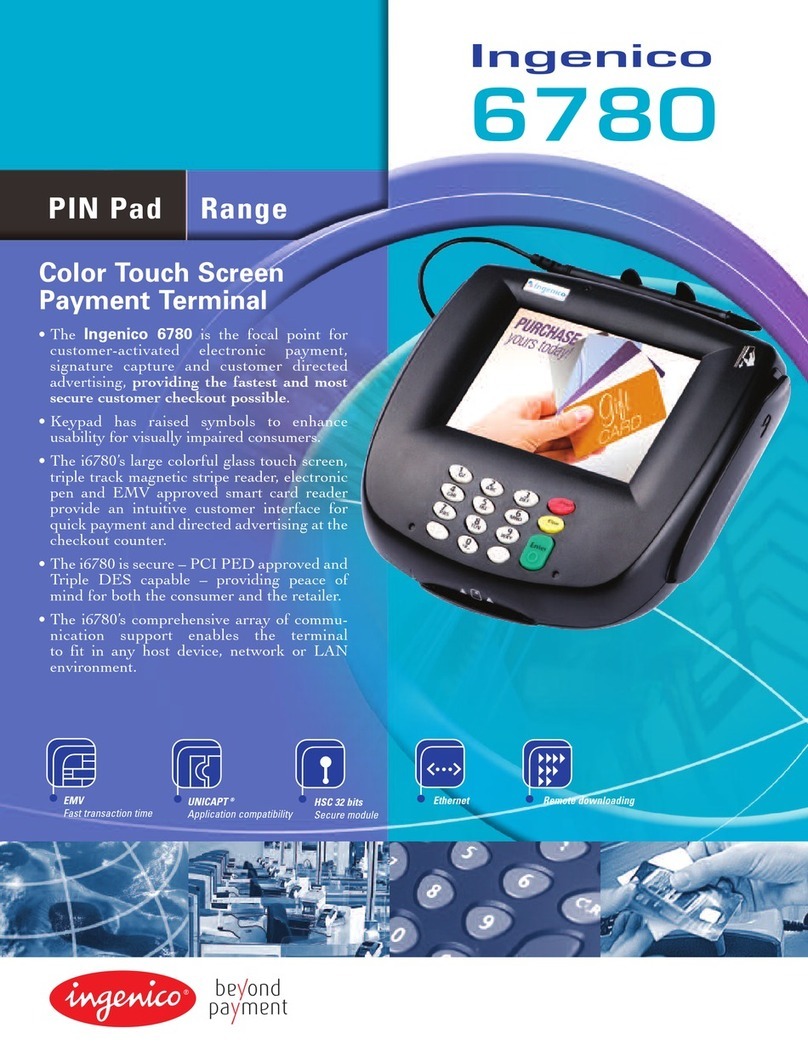
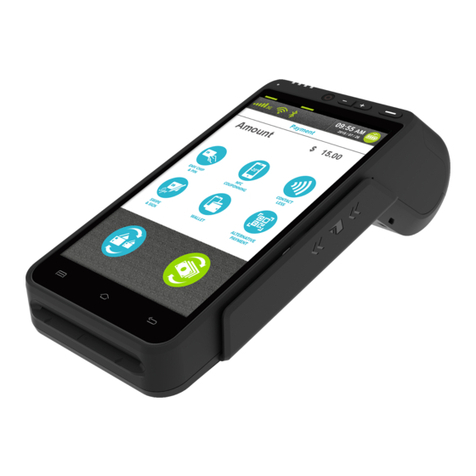
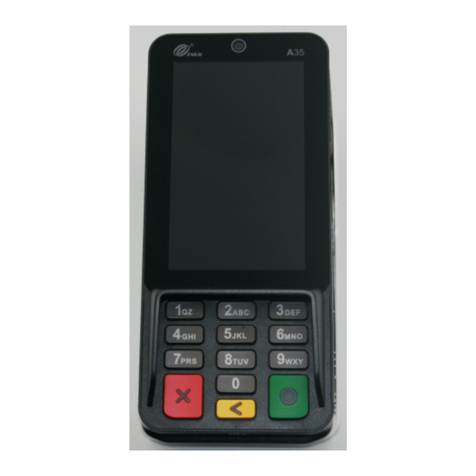
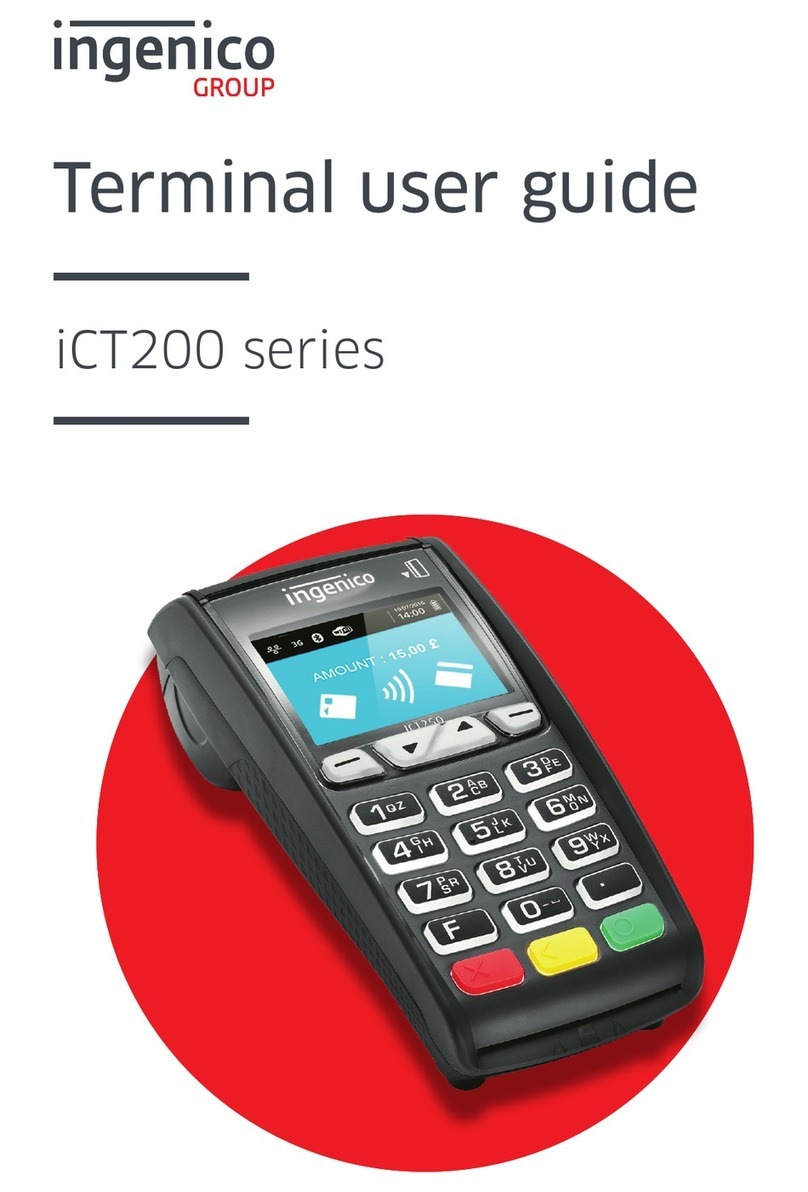
EPS INGENICO DESK 2600 User manual

The
menu
Confirm
For chip card
Chip cards
Insert the card horizontally with the chip
facing up and do not remove it until a
message appears that the transaction
was completed successfully.
Contactless cards
Hold the card firmly against the area
marked with the NFC symbol. Keep the
card close to the reader during the entire
transaction.
Magnetic stripe cards
The card can be scanned either from left
to right or from right to left. (When
scanning, the magnetic strip must be on
top).
EPS LT, UAB
Int. k. 302413851 VAT m.k.
LT10000481191
+370 5 203 2772
w w w . e p s . l t
Savanoriu PR. 123A LT-
03150 Vilnius Lithuania
F
For a contactless card
F3 MenuF2 Menu
Cancel
Adjust
For magnetic card
Paper feed
INGENICO DESK 2600 USER MANUAL
1
2
3
Guidelines for replacing the card reader ribbon
Open the paper feed section by following the instructions in the
image below. Load the paper roll so that the paper strip rotates
from the bottom to the top. After inserting the paper roll, stretch the
tape to the top of the terminal, while holding the paper, close the
cover.
Charging socket
Connect the wire and make it follow the cable path as
shown in the picture.

EPS LT, UAB
Int. k. 302413851 VAT m.k.
LT10000481191
+370 5 203 2772
w w w . e p s . l t
Savanoriu PR. 123A
LT-03150 Vilnius
Lithuania
Our Help Desk is open 24/7
Tel. +370 5 207 1000 or e-mail
Thank you for using our services!
PAYMENT BY CONTACTLESS CARD
Enter the payment amount in cents and press
the green button.
1.
When the message “Waiting for card. Sum XX
EUR", ask the customer to hold the card against
the reader.
2.
After a few seconds, you will hear a beep, the 4
green lights on the top of the reader will light up,
and the screen will show the message “Card
Accepted. Remove the card."
3.
After the customer swipes the card, the reader
displays the message "Approved".
4.
If the purchase amount is lower than the contactless
payment limit, it is usually enough to hold the card
to the reader. In some cases, due to security
requirements, additional authentication of the payer
is required in one of the following ways:
After touching the card, the message "Insert
card" is displayed on the screen. Ask the
customer to insert the card and enter the PIN
code. After touching the card, an audible signal
will sound and the message "Enter PIN code" will
be displayed on the screen. Ask the customer to
enter a PIN code.
After touching the card, a sound signal will be
heard and the message "Remove the card" will
be displayed on the screen. Repeat". Ask the
customer to tap the card again.
PAYMENT BY MAGNETIC CARD
1. Enter the payment amount in cents and
press the green button.
2. When the message "Waiting for card. Sum
XX EUR", ask the customer to swipe the
payment card through the scanner's magnetic
track.
3. The scanner displays the message
“Authorization. XX EUR. Enter PIN'.
4. After entering the PIN code, the customer
may be asked to enter the last 4 payment
cards digits.
5. After entering the last four digits of the
customer card, press the green button. A
message appears on the scanner screen
Plug the scanner's power cord into an electrical
outlet. If you are using a handheld scanner, press
the green button and the screen will display "Hello".
Password generation
If the password function* is enabled on the
scanner, the screen will show “Terminal
locked". Enter the password and click
green button. After entering the correct
password
"Hello" is displayed on the POS terminal screen.
Rebooting the scanner
If you experience loss of connection or other
performance issues while using the POS terminal,
please reboot the device.
To turn off/reboot the POS terminal, press the
yellow and " ." buttons at the same time.
PAYMENT BY CHIP CARD
confirmation by PIN code
1. Enter the payment amount in cents and
press the green button.
2. When the message “Waiting for
card. Amount XX EUR", ask the customer to
insert the card into the reader.
3. When the card is inserted, a message is
displayed:
4. After the customer has entered the PIN
code and pressed green button, a message
appears on the screen
"Confirmed. Pull out the card."
5. An incorrectly entered PIN code can be
corrected with the yellow button, and to cancel
payment, press the red button.
Confirmation of payment by signature
1. Enter the payment amount in cents and
press the green button.
2. When the message “Waiting for
card. Amount XX EUR", ask the customer
insert a payment card.
3. A message appears on the POS terminal
screen "Approved" and the receipt is printed
with space for signature.
4. Ask the customer to sign the receipt and
check if the signature matches the existing one
on a payment card.
5. If the signature matches, press green
button. If the signature does not match, cancel the
payment by pressing the red button.
"Authorization. Purchase. XX EUR. Enter
PIN'.
"Confirmed".
A magnetic card payment can sometimes require
signature verification (see Signature verification
of payment).
ADDITIONAL MENU
DAILY REPORTS
The list of completed payment transactions is
presented in the Interim Report. After pressing the F3
button and selecting "Interim report" press the green
button.
Attention! Day closing report
is printed automatically at the scheduled time.
Manual printing of the report deletes records of
transactions for that day. Therefore, in the Daily
report you will see only those payment transactions
that were made after the report was printed.
F2 menu functions**
Cancellation - completed payment transaction
cancellation (before close of day).
Refund - return of funds to the card.
F3 menu functions
Interim report - option to print
a list of daily payment transactions.
Closing of the day - close the day (manuall
way) and print the end-of-day report.
Last receipt - option to print
the receipt of the last completed payment transaction.
Print receipt - option to print anything
which day's receipt from the list.
Open documents - possibility to review
list of incomplete payment transactions, confirm, cancel or
remove them.
**Only after approval of the merchant's
bank.
*This feature can be enabled by separate
written request.
POWERING UP THE POS TERMINAL

