manuals.online logo
Brands
  1. Home
  2. •
  3. Brands
  4. •
  5. Epson
  6. •
  7. All In One Printer
  8. •
  9. Epson Artisan 1430 User manual

Epson Artisan 1430 User manual

Other manuals for Artisan 1430

3

Other Epson All In One Printer manuals
Epson Expression EcoTank ET-3600 User manual

Epson

Epson Expression EcoTank ET-3600 User manual

Epson WorkForce AL-MX200DNF User manual

Epson

Epson WorkForce AL-MX200DNF User manual

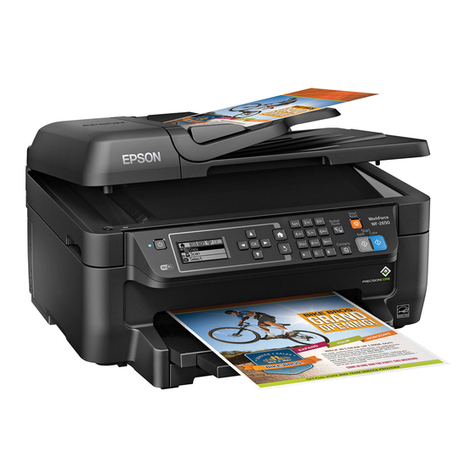
Epson ET-2750 series User manual

Epson

Epson ET-2750 series User manual

Epson ET-7750 User manual

Epson

Epson ET-7750 User manual

Epson L220 Instruction Manual

Epson

Epson L220 Instruction Manual

Epson Stylus CX6500 Assembly instructions

Epson

Epson Stylus CX6500 Assembly instructions

Epson XP-860 User manual

Epson

Epson XP-860 User manual

Epson Stylus CX3200 User manual

Epson

Epson Stylus CX3200 User manual

Epson C11CJ28401BY User manual

Epson

Epson C11CJ28401BY User manual

Epson WorkForce Pro WF-3730 Series User manual

Epson

Epson WorkForce Pro WF-3730 Series User manual
Epson Stylus Scan 2000 User manual

Epson

Epson Stylus Scan 2000 User manual

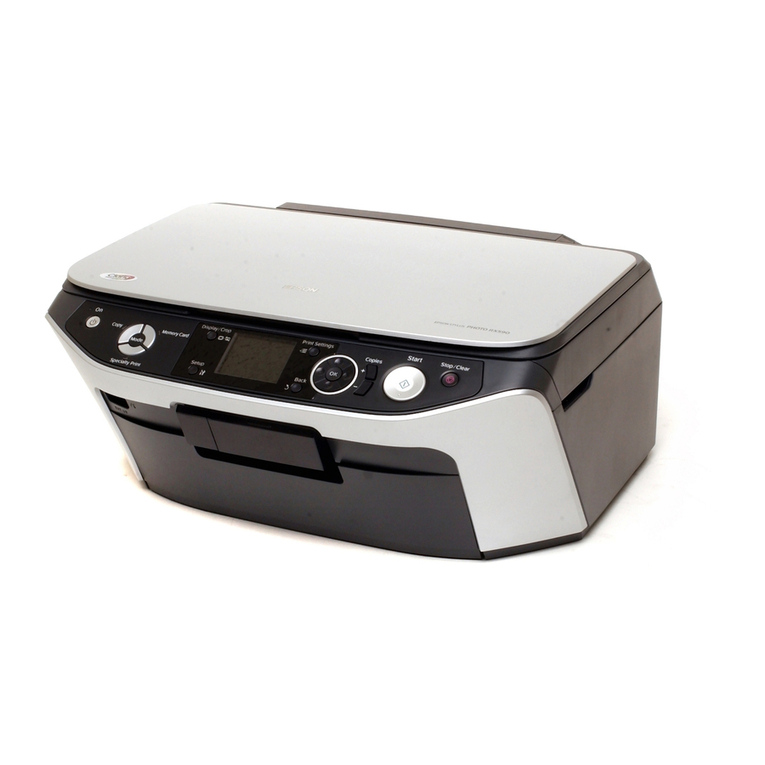
Epson Stylus Photo RX600 User manual

Epson

Epson Stylus Photo RX600 User manual

Epson 4000 - Stylus Pro Color Inkjet Printer User manual

Epson

Epson 4000 - Stylus Pro Color Inkjet Printer User manual

Epson Stylus NX430 Small-in-One User manual

Epson

Epson Stylus NX430 Small-in-One User manual

Epson WorkForce Pro WF-4630 User manual

Epson

Epson WorkForce Pro WF-4630 User manual

Epson Artisan 810 Series Instruction Manual

Epson

Epson Artisan 810 Series Instruction Manual

Epson AL-MX300 Series User manual

Epson

Epson AL-MX300 Series User manual

Epson L355 User manual

Epson

Epson L355 User manual

Epson WorkForce Pro WP-4520 User manual

Epson

Epson WorkForce Pro WP-4520 User manual

Epson Stylus TX430W User manual

Epson

Epson Stylus TX430W User manual

Epson XP-324 User manual

Epson

Epson XP-324 User manual

Epson Expression Premium XP-820 Installation instructions

Epson

Epson Expression Premium XP-820 Installation instructions

Epson Stylus Photo RX560 Series Guide

Epson

Epson Stylus Photo RX560 Series Guide

Epson SC-S30650 User manual

Epson

Epson SC-S30650 User manual

Popular All In One Printer manuals by other brands

Brother MFC-J220 Basic user's guide

Brother

Brother MFC-J220 Basic user's guide

Brother MFC-8510DN Basic user's guide

Brother

Brother MFC-8510DN Basic user's guide

Ricoh Aficio FX200 Service training

Ricoh

Ricoh Aficio FX200 Service training

Olivetti d-Copia 16W Operation manual

Olivetti

Olivetti d-Copia 16W Operation manual

Konica Minolta bizhub C3850FS user guide

Konica Minolta

Konica Minolta bizhub C3850FS user guide

Konica Minolta bizhub 758 manual

Konica Minolta

Konica Minolta bizhub 758 manual

Lexmark MX310 Series Service manual

Lexmark

Lexmark MX310 Series Service manual

Ricoh Aficio 3224C operating instructions

Ricoh

Ricoh Aficio 3224C operating instructions

Sagem MF 3625 user manual

Sagem

Sagem MF 3625 user manual

Brother MFC9800 - MFC 9800 B/W Laser owner's manual

Brother

Brother MFC9800 - MFC 9800 B/W Laser owner's manual

Konica Minolta 7033 instruction manual

Konica Minolta

Konica Minolta 7033 instruction manual

Ricoh Aficio MP 161F operating instructions

Ricoh

Ricoh Aficio MP 161F operating instructions

Brother MFC-J430w user guide

Brother

Brother MFC-J430w user guide

Konica Minolta BIZHUB 558 Quick reference guide

Konica Minolta

Konica Minolta BIZHUB 558 Quick reference guide

Lexmark MX710 Series setup sheet

Lexmark

Lexmark MX710 Series setup sheet

Brother MFC-9760 owner's manual

Brother

Brother MFC-9760 owner's manual

Sharp MX-2310U Start guide

Sharp

Sharp MX-2310U Start guide

Lexmark XC8155 user guide

Lexmark

Lexmark XC8155 user guide

manuals.online logo
manuals.online logoBrands
  • About & Mission
  • Contact us
  • Privacy Policy
  • Terms and Conditions

Copyright 2025 Manuals.Online. All Rights Reserved.

Page | 1
Installation Instructions for
Epson Artisan 1430 Continuous Ink System
List of Contents
1. Continuous Ink System
2. Installation Manual
3. Tube Support Bracket
4. Spare Grommets
5. Spare Sticky Pads
6. Spare Rubber Seals
7. 60ml Syringe
8. Sharp Needle
9. Screwdriver
10. Spare Plastic Elbows
Page | 2
Power on the printer and press the ink
button. When the carriage has moved to
the cartridge removal position unplug the
mains cable from the printer.
This allows the carriage to be moved
manually.
Move the carriage to the left, insert the
screwdriver into the hole and raise the
screwdriver to lever off the hinge. Remove
the cartridge lid.
Remove any cartridges from the machine.
Remove the centre bung from the rubber
seal.
BE CAREFUL NOT TO DAMAGE THE SEALS
WHEN REMOVING THE CENTRE BUNG
Repeat this for all colours, then place to
the right of the printer as shown.
NEVER PLACE THE BOTTLES HIGHER THAN
THE LEVEL OF THE PRINT HEAD
1
2
Page | 3
Move the carriage to the left hand side of
the printer.
Feed the cartridges under the printer
housing.
TAKE CARE NOT TO DAMAGE THE CHIP
RESETTER
Place the cartridges on the housing whilst
you move the carriage back to the
cartridge removal position.
Place the cartridges into the carriage. Press
them down firmly by spreading fingers
across all the cartridges.
Important:
ENSURE THAT EACH CARTRIDGE HAS
CLICKED INTO PLACE.
Page | 4
Remove the backing tape from the sticky
pads on the tube support bracket.
Position the bracket around the printer
button housing, ensuring the plastic tab
fits into the slot.
ENSURE THE SURFACE OF THE PRINTER
HOUSING IS CLEAN AND DRY
Place the tubes into the tube support
bracket and move the carriage all the way
to the left of the printer, remove any slack
by adjusting the tubes while in the support
bracket.
Remove the backing tape from the small
support bracket and fit as shown.
ENSURE THE SURFACE OF THE PRINTER
HOUSING IS CLEAN AND DRY
Attach the printer lid support brackets as
shown. You can now close the lid.
Page | 5
Plug in the mains power cable
and power on the printer.
The printer will go through the
initial ink charge before your
system is ready for use.
If the orange ink light is
illuminated when the printer is
powered on, press the ink button
to move the carriage to the
removal position.
Press and hold the chip reset
button for 5 seconds.
Press the ink button and the
printer will begin the initial ink
charge.
Page | 6
Your system is now ready for use.
Visit www.sawgrasseurope.com/technical-support for further instructions on how to
configure your Epson Stylus Photo 1500W for use with sublimation ink:
Setup should be completed in the following order:
1. Sublimation Installation Guide
2. Epson Driver Configuration
3. Printing from your graphics software application.
Page | 7
REFILLING THE BOTTLES
Lay the bottles down and remove the
rubber bung from the colour you wish to
refill.
Use the syringe and nozzle attachment
to fill the colour.
You cannot fill the reservoir further than
the hole allows.
Do not stand the system up so you can
fill the smaller chamber, this system
works on the principle that the smaller
chamber is partially empty.
Return the bottles to an upright position
and replace the rubber seal ensuring the
centre bungs are removed.