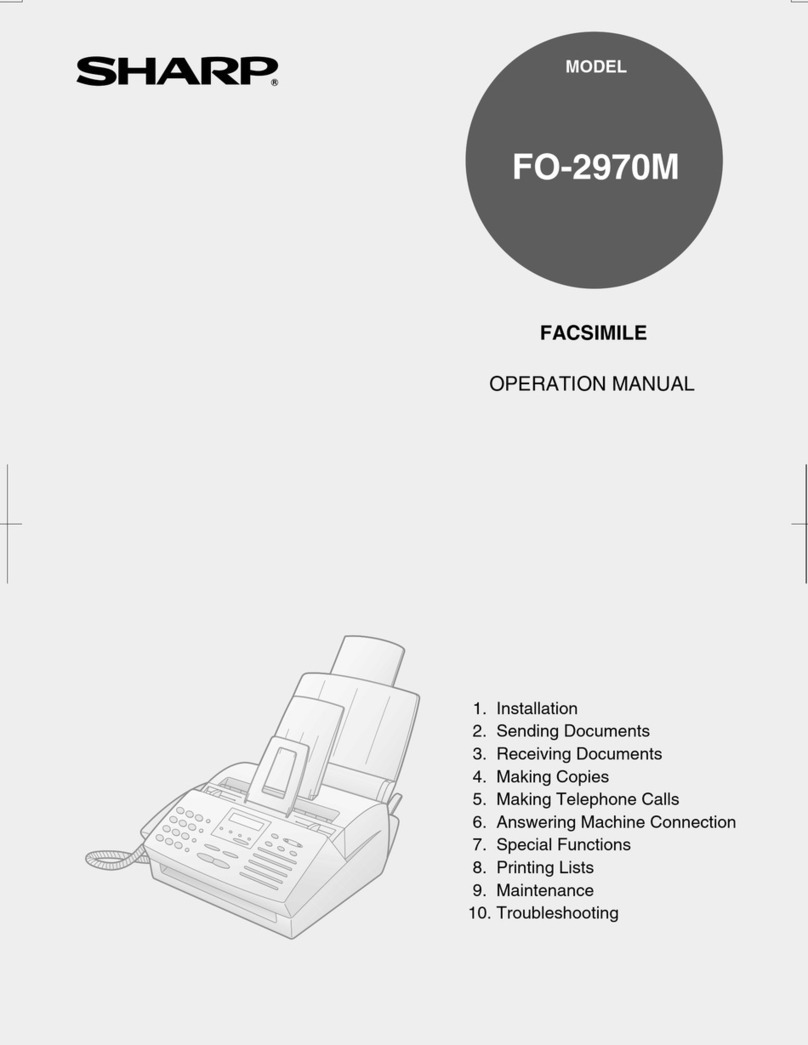
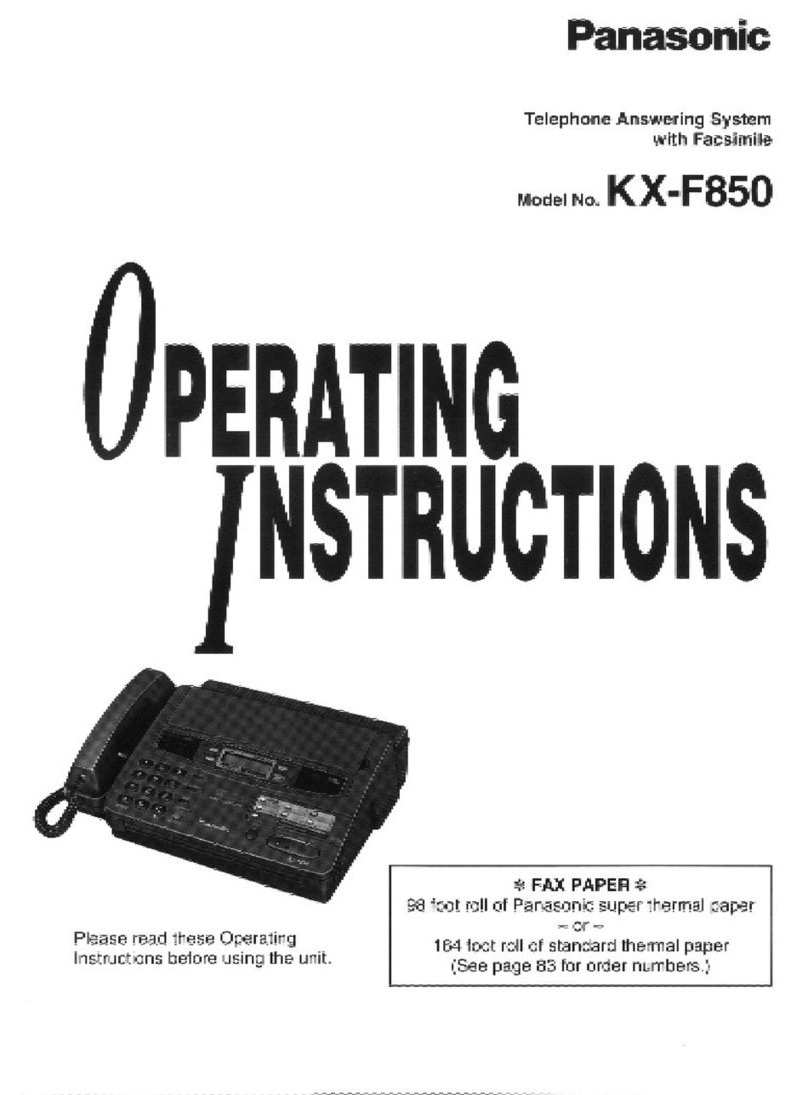
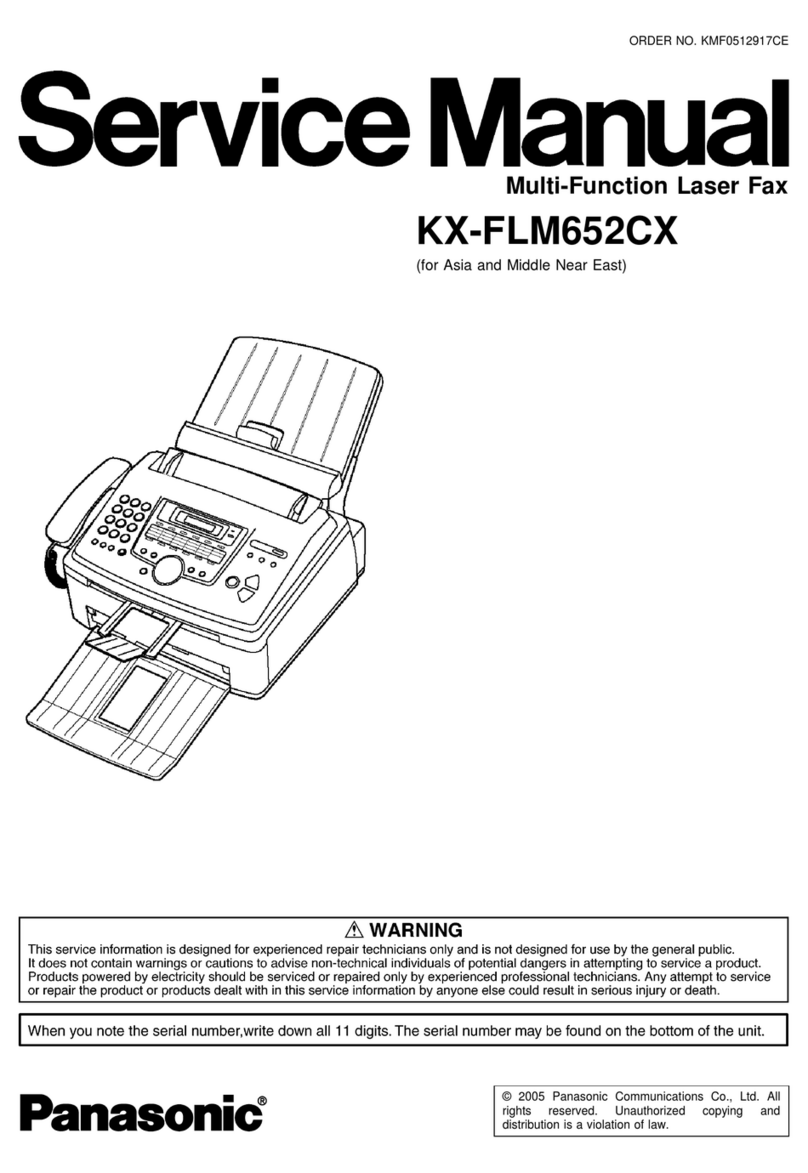
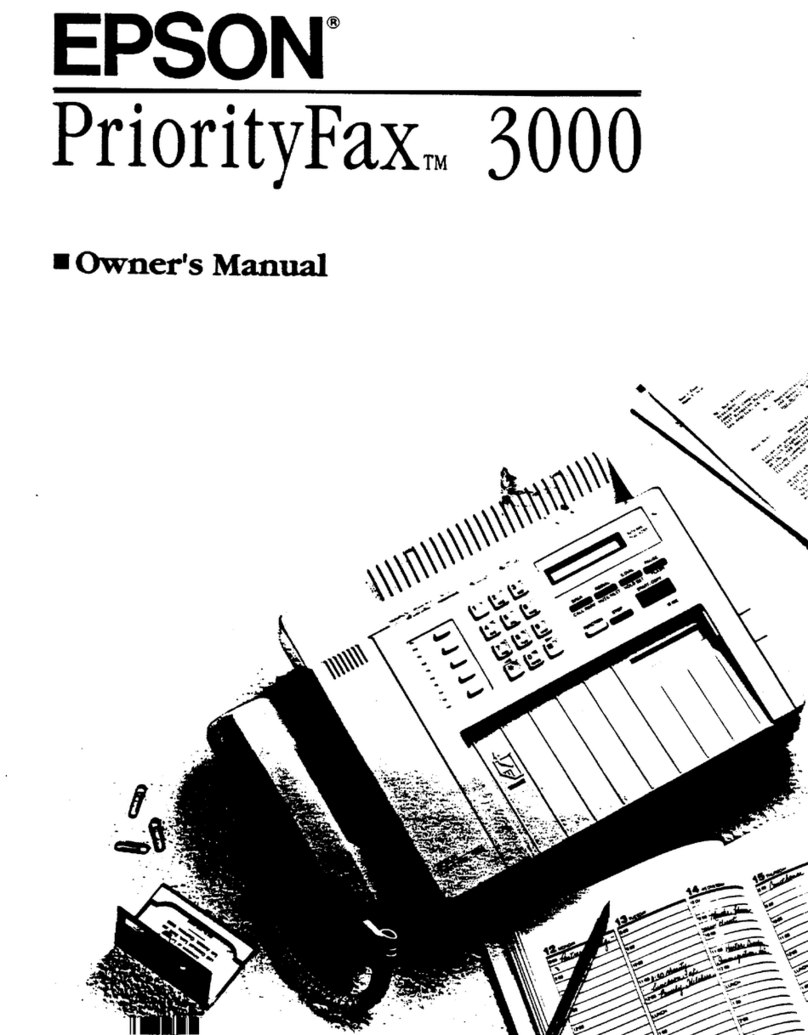
Epson X-PRF 1000 User manual


IMPORTANT NOTICE
Pages of a multi-page document must be between 0.06 and
0.09 mm thick. If they are not, transmit them one by one or use
a copier to copy them and send the copies instead.
If a document stops partway through the feeder, press STOP to
remove it. Do not open the paper cover without removing the
document first.

TELEPHONE INFORMATION
This equipment complies with Part 68 of the FCC Rules. On the rear panel of this equipment is a label that contains, among
other information, the FCC Registration number and Ringer Equivalence Number (REN) for this equipment. You must,
upon request, provide this information to your telephone company.
Ask your telephone company or installer to install the jack suitable for your device if such is not available.
The REN is useful to determine the quantity of devices you may connect to your telephone line and still have those devices
ring when your telephone number is called. In most, but not all, areas, the sum of the RENs of all devices connected to one
line should not exceed five (5.0). To be certain of the number of devices you may connect to your line, as determined by the
REN, you should contact your local telephone company to determine the maximum REN for your calling area.
If your telephone equipment causes harm to the telephone network, the telephone company may discontinue your service
temporarily. If possible, they will notify you in advance. But if advance notice isn’t practical, you will be notified as soon as
possible. You will be informed of your right to file a complaint with the FCC.
Your telephone company may make changes in its facilities, equipment, operations, or procedures that could affect the
proper functioning of your equipment. If they do, you will be notified in advance to give you an opportunity to maintain
uninterrupted telephone service.
If you experience trouble with this telephone equipment, please contact the manufacturer’s authorized service agency for
information on obtaining service or repair. The telephone company may ask that you disconnect this equipment from the
network until the problem has bean corrected or unit you are sure that the equipment is not malfunctioning.
WARNING
For protection against the risk of electrical shock, always disconnect all cables from the wall outlet before servicing,
modifying, or installing the equipment.
This equipment may not be used on coin service provided by the telephone company nor connected to party lines.
Hearing Aid Compatibility
The telephone with this equipment is hearing aid compatible.
When Programing Emergency Numbers and/or Making Test Calls to Emergency Numbers:
1.
Remain on the line and briefly explain to the dispatcher the reason for the call before hanging up.
2Call only in the off-peak hours, such as early morning or late evenings.
iv

EPSON AMERICA, INC.
LIMITED WARRANTY
What is Covered: Epson America. Inc. (“Epson”) warrants that the Epson product
enclosed with this Limited Warranty statement and purchased and used in the United
States will conform to the manufacturer’s specifications and be free from defects
in workmanship and materials for a period of one year from the date of original
purchase.
What We
Will Do To Correct problems: Should your EPSON product prove defec-
tive during this period, please bring the product securely packaged in its original con-
tainer or an equivalent, along with proof of the date of original purchase, to your Epson
Dealer or Epson Customer Care Center. Epson will. at its option, repair or
replace
on an exchange basis the defective unit, without charge for parts or labor.
Mat
This Warranty
Does
Not Cover: This warranty covers only normal consumer
use in the United States. Epson is not responsible for
warranty
service should the
EPSON label or logo or the rating label or serial number be removed or should the
product fail to be property maintained or fail to function properly as
a
result of misuse,
abuse, improper installation, neglect improper shipping, damage caused by disasters
such as fire, flood, and lightning, improper electrical current, service other than by
an Epson Authorized Servicer, or conditions outside the control of Epson such as
common carrier equipment and/or facilities. Postage, insurance, or shipping costs
incurred in presenting your Epson product for warranty service are your responsibility.
THE WARRANTY AND REMEDY PROVIDED ABOVE ARE EXCLUSIVE AND IN
LIEU OF ALL OTHER EXPRESS WARRANTlES AND UNLESS STATED HEREIN,
ANY STATEMENTS OR REPRESENTATIONS MADE BY ANY OTHER PERSON OR
FIRM ARE VOID. ME DURATION OF ANY IMPLIED WARRANTIES OF MERCHAN-
TABILITY OR FITNESS FOR A PARTICULAR PURPOSE ON YOUR EPSON PRO-
DUCT SHALL BE LIMITED TO THE DURATlON OF THE EXPRESS WARRANTY
SET FORTH ABOVE. EXCEPT AS PROVIDED IN THIS WRITTEN WARRANTY,
NEITHER EPSON AMERICA, INC. NOR ITS AFFILIATES SHALL BE LIABLE FOR
ANY LOSS, INCONVENIENCE, OR DAMAGE, INCLUDING DIRECT, SPECIAL.
INCIDENTAL, OR CONSEQUENTIAL DAMAGES, RESULTING FROM THE USE OR
INABILITY TO USE THE EPSON PRODUCT, WHETHER RESULTING FROM
BREACH OF WARRANTY OR ANY OTHER LEGAL THEORY.
Some
states
do not allow limitations on how long an implied warranty lasts and
some states do not allow the exclusion or limitation of incidental or consequential
damages, so the above limitation and exclusion may not apply to you.
To locate the Epson Authorized Reseller or Epson Customer Care Center nearest you
call:
1-800-922-8911
or write to:
Epson America, Inc.
P.O. Box 1842
Torrance. CA 90505
FCC COMPLIANCE STATEMENT FOR AMERICAN USERS
This equipment generates and uses radio frequency energy and if not installed and used properly that is, in strict
accordance with the manufacturers instructions, may cause interference to radio and television reception. It has been type
tested and found to comply with the limits for a Class B computing device in accordance with the specifications in Subpart
J of Part 15 of FCC Rules, which are designed to provide reasonable protection against such interference in a residential
installation. However, there is no guarantee that interference will not occur in a particular installation. If this equipment
does cause does cause interference to radio and television reception, which can be determined by turning the equipment off and on,
you are encouraged to try to correct the interference by one or more of the following measures:
lReorient the receiving antenna
lRelocate the equipment with respect to the receiver
lMove the equipment away from the receiver
lPlug the equipment into a different outlet so that the equipment and receiver are on different branch circuits.
If necessary, consult your dealer or an experienced radio/television technician for additional suggestions. You may find the
following booklet prepared by the Federal Communications Commission helpful:
‘Television Interference Handbook.”
This booklet is available from the U.S. Government Printing Office, Washington, DC 20402. Stock No. 004-000-0450-7.
IMPORTANT NOTICE: DISCLAIMER OF WARRANTY
Epson America makes no representations or warranties, either express or implied, by or with respect to anything in this
manual, and shall not be liable for any implied warranties of merchantability and fitness for a particular purpose or for any
indirect, special, or consequential damages. Some states do not allow the exclusion of incidental or consequential damages,
so this exclusion may not apply to you.
COPYRIGHT NOTICE
All rights reserved. No part of this publication may be reproduced, stored in a retrieval system, or transmitted, in any form
or by any means, electronic, mechanical, photocopying, recording, or otherwise, without the prior written permission of
Epson America, Inc. No patent liability is assumed with respect to the use of information contained herein. While every
precaution has been taken in the preparation of this publication, Epson America assumes no responsibility for errors or
omissions. Nor is any liability assumed for damages resulting from the use of the information contained herein. Further,
this publication and the features described herein are subject to change without notice.
TRADEMARKS
Epson is a registered trademark of Seiko Epson Corporation.
Copyright © 1989 by Epson America, Inc.
Torrance, California

IMPORTANT SAFETY INSTRUCTIONS
1.
2.
3.
4.
5.
6.
7.
8.
9.
10.
11.
12.
Read all of these instructions and save them for later reference.
Follow all warnings and instructions marked on the product.
Unplug this product from the wall outlet before cleaning. Do not use liquid cleaners or aerosol cleaners. Use a damp
cloth for cleaning.
Do not use this product near water.
Do not place this product on an unstable cart, stand, or table. The product may fall, causing serious damage to the
product.
Slots and openings in the cabinet and the back or bottom are provided for ventilation; to ensure reliable operation of
the product and to protect it from overheating, these openings must not be blocked or covered. The openings should
never be blocked by placing the product on a bed, sofa, rug, or other similar surface. This product should never be
placed near or over a radiator or heat register. This product should not be placed in a built in installation unless proper
ventilation is provided.
This product should be operated from the type of power source indicated on the marking label. If you are not sure of
the type of power available, consult your dealer or local power company.
This product is equipped with a 3-wire grounding-type plug, a plug having a third (grounding) pin. This plug will
only tit into a grounding type power outlet. This is a safety feature. If you are unable to insert the plug into the outlet,
contact your electrician to replace your obsolete outlet. Do not defeat the purpose of the grounding type plug.
Do not locate this product where the cord will be walked on.
If an extension cord is used with this product, make sure that the total of the ampere ratings on the products plugged
into the extension cord do not exceed the extension cord ampere rating. Also, make sure that the total of all products
plugged into the wall outlet does not exceed 15 amperes.
Never push objects of any kind into this product through cabinet slots, as they may touch dangerous voltage points or
short out parts that could result in a risk of fire or electric shock. Never spill liquid of any kind on the product.
Except as specifically explained in the User’s Manual, do not attempt to service this product yourself. opening or
removing those covers that are marked ‘Do Not Remove” may expose you to dangerous voltage points or other risks.
Refer all servicing in those compartments to service personnel.
13.
Unplug this product from the wall outlet and refer servicing to qualified service personnel under the following
conditions:
A.
When the power cord or plug is damaged or frayed.
B.
If liquid has been spilled into the product.
C.
If the product has been exposed to rain or water.
D.
If the product does not operate normally when the operating instructions are followed. Adjust only those controls
that are covered by the operating instructions, since improper adjustment of other controls may result in damage
and will often require extensive work by a qualified technician to restore the product to normal operation.
E.
If the product has been dropped or the cabinet has been damaged.
F.
If the product exhibits a distinct change in performance, indicating a need for service.

Contents
Introduction
Features..................................................
1
About This Manual . . . . . . . . . . . . . . . . . . . . . . . . . . . . . . . . . . . . . . . . . 1
Conventions Used in This Manual ........................
2
Where to Get Help .........................................
2
1 Setting Up the PriorityFax
Unpacking the Fax Machine ...............................
1-1
Choosing a Place for the Fax Machine.......................
1-2
Assembling the Fax Machine...............................
1-2
Connecting the Handset ...............................
1-3
Connecting the Fax Machine to the Telephone Line. .......
1-3
Installing a single-line telephone connection...........
1-3
Installing a multi-line telephone connection...........
1-5
Installing the Output Tray and Paper Rest. ...............
1-5
Installing the output tray...........................
1-5
Installing the paper rest... .........................
1-8
Plugging in the Fax Machine ...............................
1-9
Inserting the Recording Paper Roll ........................
1-10
Reloading paper..................................
1-12
Running a Copy Test ....................................
1-12
2 Using the PriorityFax
The Control Panels .......................................
2-1
The Top Control Panel .................................
2-1
Buttons...........................................
2-1
Message lights....................................
2-2
The Back Control Panel ................................
2-2
Switches.........................................
2-3
Memory Batteries ........................................
2-3
Replacing the batteries ................................
2-4
Sending a Document ......................................2-4
Document Sending Cautions ...........................
2-6
Document Sending Enhancements ......................
2-6
Resolution........................................
2-6
Contrast .......................................... 2-7
Sending Documents More Than Five Pages Long .............
2-7

PriorityFax 1000 Manual
Receiving Documents.....................................
2-8
Automatic Reception..................................
2-8
Manual Reception.....................................
2-8
One-touch and Speed Dial Faxing..........................
2-9
One-touch faxing.....................................
2-9
Registering one-touch fax numbers..................
2-9
Using one-touch faxing............................
2-10
Speed dial faxing....................................
2-11
Registering speed dial fax numbers.................
2-11
Using speed dial faxing............................
2-12
Manual Redial..........................................
2-12
The Add Paper Message Light............................
2-12
3
Using the PriorityFax as a Telephone
The Telephone Controls...................................
3-1
Buttons and Switches..................................
3-1
Adjusting the Handset Volume and Ringer Switches..........
3-3
Using Standard Dialing....................................
3-3
Using Redialing..........................................
3-3
One-touch Telephone Dialing..............................
3-4
Registering One-touch Telephone Numbers..............
3-4
Using One-touch Telephone Dialing.....................
3-5
4 Troubleshooting
Problems and Solutions...................................
4-1
Sending..............................................
4-1
Document ..................................... 4-1
Document doesn’t enter the feeder properly...........
4-1
Documents cannot be fed into the fax machine........
4-2
You hear continuous ringing and the receiving party’s
fax machine does not pick up....................
4-2
The receiving party complains that document
image quality is poor............................
4-2
Documents you sent are received blank...............
4-3
One-touch or speed dial faxing does not work.........
4-3
Receiving............................................
4-3
Recording paper is jammed.........................
4-3
Received copies are blank...........................
4-3
The telephone rings continuously....................
4-4
Received document image quality is poor.............
4-4
vi

Contents
Copying .............................................
4-4
Nothing comes out of the paper slot. .................
4-4
No image appears on the paper roll ..................
4-5
Print quality of the copy is poor .....................
4-5
Telephone ............................................
4-5
One-touch and speed dialing don’t work .............
4-5
The telephone does not ring. ........................
4-6
5 Maintenance
Cleaning the Interior of the Fax Machine . . . . . . . . . . . . . . . . . . . . 5-1
Cleaning the Exterior of the Fax Machine. . . . . . . . . . . . . . . . . . . . 5-2
6 Technical Specifications
Glossary
vii

Introduction
Features
About This Manual
The Epson PriorityFax™ 1000 is an advanced desktop facsimile
machine and telephone that combines high speed and quality with
a wide range of features.
In addition to its compact design and ease of operation, this fax
machine offers the following
High-speed transmission
An automatic document feeder holding up to five pages at a
time
A multi-featured telephone including one-touch and speed
dialing and last number redial
An automatic paper cutter
A convenience copier capability
Three levels of resolution - including an 8-shade gray scale
for photos - to provide superior document transmission
quality.
This manual provides step-by-step instructions for setting up and
operating the fax machine.
Chapter 1 contains information on unpacking, setting up,
connecting, and testing the fax machine.
Chapter 2 provides basic information on using the fax machine,
including one-touch and speed dialing.
Chapter 3 explains using the fax machine as a telephone.
If the fax machine does not operate properly or the print quality is
not what you expect, see Chapter 4 for a list of possible problems
and recommended solutions.
Other chapters include information on general maintenance and
technical specifications. There is also a glossary of terms.
Introduction-1

PriorityFax 1000 Manual
Conventions Used In
This Manual
Note
Notes contain important information and useful tips on
the operation of your fax machine.
WARNING
Warnings must be followed carefully to avoid damage to
your fax machine and to ensure that your fax machine
operates correctly.
Where to Get Help
Customer service for Epson products is provided by a network of
authorized Epson Customer Care Centers throughout the United
states.
Call the Epson Consumer Information Center at l-800-922-8911 for
the following
Customer Care Center referrals
Technical support referrals
Information on Epson User Groups.
To locate or purchase accessories or supplies, contact your nearest
Epson dealer or call 1-800-873-7766.
Introduction-2

1
Setting Up the PriorityFax
This chapter takes you through the steps of unpacking,
assembling, and testing the fax machine.
Unpacking the Fax
As you unpack the fax machine, check that you have all the items
Machine
shown below and none have been damaged during transportation.
Output tray wire paper holders
Telephone line cord
Epson PriorityFax 1000 unit
Output tray paper guides
Handset curled cord
Recording paper roll
Telephone handset
Paper rest wire
After removing the contents, store the packaging materials in case
you ever need to transport your fax machine.
1-1

PriorityFax 1000 Manual
WARNING
Lift the fax machine by its body, never by the telephone
handset or cradle.
Choosing a Place for
the Fax Machine
When you select a location for your fax machine, keep the
following in mind:
Place the fax machine on a flat, stable surface.
Select a vibration-free area.
Locate the unit near a telephone wall jack and a standard
grounded outlet.
WARNING
a
a
a
a
Avoid locations that are subject to direct sunlight,
excessive heat, moisture, or dust.
Avoid using electrical outlets controlled by wall
switches or automatic timers. Disruption of power can
wipe out information in the unit’s memory.
Avoid using outlets on the same circuit with large
motors or other appliances that might disturb the
power supply.
Keep the unit away from potential sources of
interference, such as loudspeakers or the base units of
cordless telephones.
Assembling the Fax
Machine
To assemble the fax machine, you need only do the following:
Connect the handset
Plug in the line cord
Install the output tray and paper rest

SettingUpthePtiotityFax
Connecting the Handset
The first step in assembling the fax machine is attaching the
handset to the unit.
Locate the insert opening on the front end of the telephone cradle
and plug in one end of the curled handset cord. Push firmly to be
sure it is locked.
Connecting
the Fax
Machine to the
Telephone Line
Installing a
single-line
telephone connection
Connect the other end of the curled handset cord to the end of the
handset, as shown below. Be sure that the inserted plug clicks
securely in place.
There are two types of
connections
for installing your fax machine:
single-line and multi-line.
A single-line connection is the preferred solution for installing the
fax machine. To hook up to a single-line connection, perform the
following steps:

Plug one end of the telephone line cord (the flat cord) into the back
of the fax machine, as shown below.
Plug the other end into your modular telephone wall jack (USOC
RJ11C). Make sure both ends of the cord click securely into place.
Note
If you have the older 4-prong telephone wall jack, you
must use a modular 4-prong adapter USOC RJAIX). Plug
the adapter into the wail jack, and then plug the telephone
cord into the adapter, as shown in the illustration below.
1-4

Setting Up the PriorityFax
Installing a multi-line
telephone connection
Most offices have key systems or PBXs. Although in many
cases it is relatively easy to connect the fax machine to a key
system or a PBX, we suggest that you contact the company
that installed your organization’s telephone system and ask
them to connect the fax machine for you.
It is preferable to have a separate line for the fax machine.
This way, you can leave the unit in Automatic Answer mode
24 hours a day and derive full benefit from the fax machine’s
unattended operations capabilities.
If the fax machine is connected to a multi-line system, ask
your installer to connect the fax machine to the last line on
the system. This prevents the fax machine from being
activated each time a telephone call comes into your office.
Installing the Output
Tray and Paper Rest
Installing the output tray
There are two types of paper holders for the PriorityFax: the
output tray for holding documents sent to you, and the
paper rest for holding documents you have just sent to
others.
The larger of the two paper holders, the output tray, receives
incoming and copied documents. You can position the
output tray at a 90° angle to the fax machine at the front edge
of the table you are using, so that incoming or copied
documents fall directly into the output tray.
Note:
Using the output tray is optional. If you install only
the output tray base, you can collect incoming or
copied documents on the table or other surface you
‘are using for the fax machine.
To install the output tray base and the output tray, follow
these steps:
Place the output tray base on the table in front of you, with
the tabs on the output tray base pointing away from you.
Then insert the wire output tray paper guide into the holes
on either side of the output tray base so that the bend in the
wire paper guide points toward you, as shown in the
following illustration.
1-5

PriorityFax 1000 Manual
Place the fax machine at the edge of the table and locate the two
notches on the front underside of the fax machine.
Holding the output tray base level, press the tabs extending from
the output tray base into the notches on the front of the fax
machine, as shown in the following illustration.
1-6

Setting Up the PriorityFax
Rear
Front
hole
Place the output tray in front of you and insert each of the
two wire paper holders into the holes at the edge of the
output tray, as shown below.
To attach the output tray to the output tray base, locate the
holes on either side of the output tray base. Then insert the
pegs on either side of the output tray into these holes, as
shown below.
Note
This tray can used in a horizontal position instead of
the vertical position shown on the next page. If you plan to
use the tray in the horizontal position, insert the pegs into
the rear slots instead of the front holes. Then push the
output tray as far back as it will go.
1-7

PriorityFax 1000 Manual
When the output tray is installed, it hangs over the edge of the fax
machine operating surface to catch your incoming or copied
documents, as shown below.
lnstalling the paper
rest
The smaller of the paper holders, the paper rest, is used to hold
documents that you have just faxed to others. To install the paper
rest, follow these steps:
Locate the grooves at the back of the fax machine, right below the
back control panel.
1-8

Setting Up the PriorityFax
Holding the paper rest at about a 45 degree angle to the fax
machine, press the tabs extending from one end of the rest into the
grooves, as shown in the following illustration. If you wish, you
can also install the paper rest wire as-shown below. Do not use the
paper rest wire with legal-sized documents.
Plugging in the
Fax Machine
Make sure that the rest fits evenly and securely.
The fax machine can be plugged into any standard power outlet.
Make sure that the outlet is grounded and that it is not on the same
line as large appliances or office machines that tend to draw a lot
of power in a very short period of time, such as refrigerators and
copiers. The fax machine power requirements can be found in
Technical Specifications, Chapter 6.
Plug the power cord into a properly grounded electrical outlet.
You do not need to turn the fax machine on or off.
Now you should insert the recording paper roll.
This manual suits for next models
1
Table of contents
Other Epson Fax Machine manuals

Epson
Epson Stylus CX9400 Instruction Manual

Epson
Epson AcuLaser CX37DNF Guide User manual

Epson
Epson PriorityFax 1000 Dimensions

Epson
Epson PriorityFAX 3000 Dimensions

Epson
Epson PriorityFax 1000 User manual

Epson
Epson PriorityFAX 2000 User manual

Epson
Epson PriorityFAX 3000 User manual

Epson
Epson FX-BO User manual

Epson
Epson PriorityFAX 3000 User manual

Epson
Epson PriorityFAX 2000 User manual