1-B C 1-B M 1-B Y 1-B BK
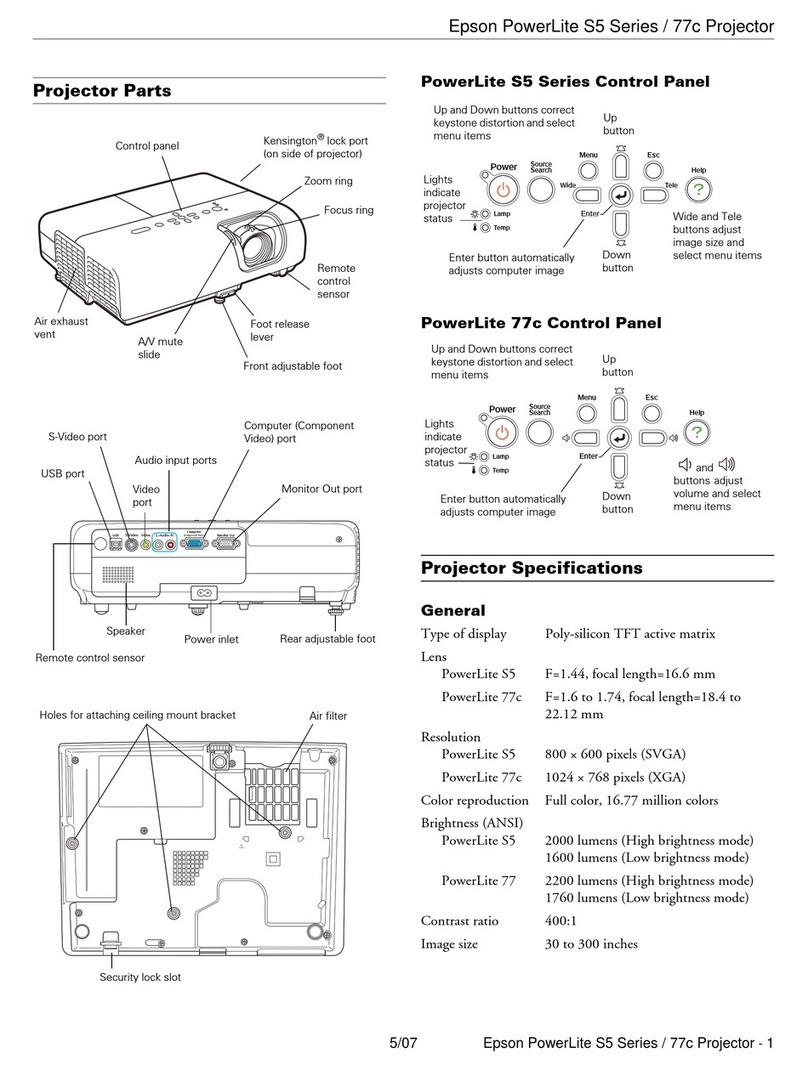
Setting Up Adjust the distance between the projector and
the screen until the desired image size is obtained.
* When installing to wall, leave a space of about
7.87 inches (0.2m) between the projector and the wall.
Page 4 of
Owner's Manual
screen size
projection
distance
(7.7–9.2)
(11.5–13.8m)
(3.8–4.5)
148.3–180.2
223.9–271.7
299.5–363.3
450.7–546.3 inches
(3.0–3.6)
118.1–143.6
(2.3–2.7)
87.8–107.0
(1.5–1.7)
(1.1–1.3)
(–1.1)
–44.7
42.5–52.1
57.6–70.4
30"
26"
40"
60"
80"
100"
150"
200"
300"
(5.7–6.9)
61X46
53X40
81X61
120X90
160X120
200X150
305X228
410X300
610X460(cm)
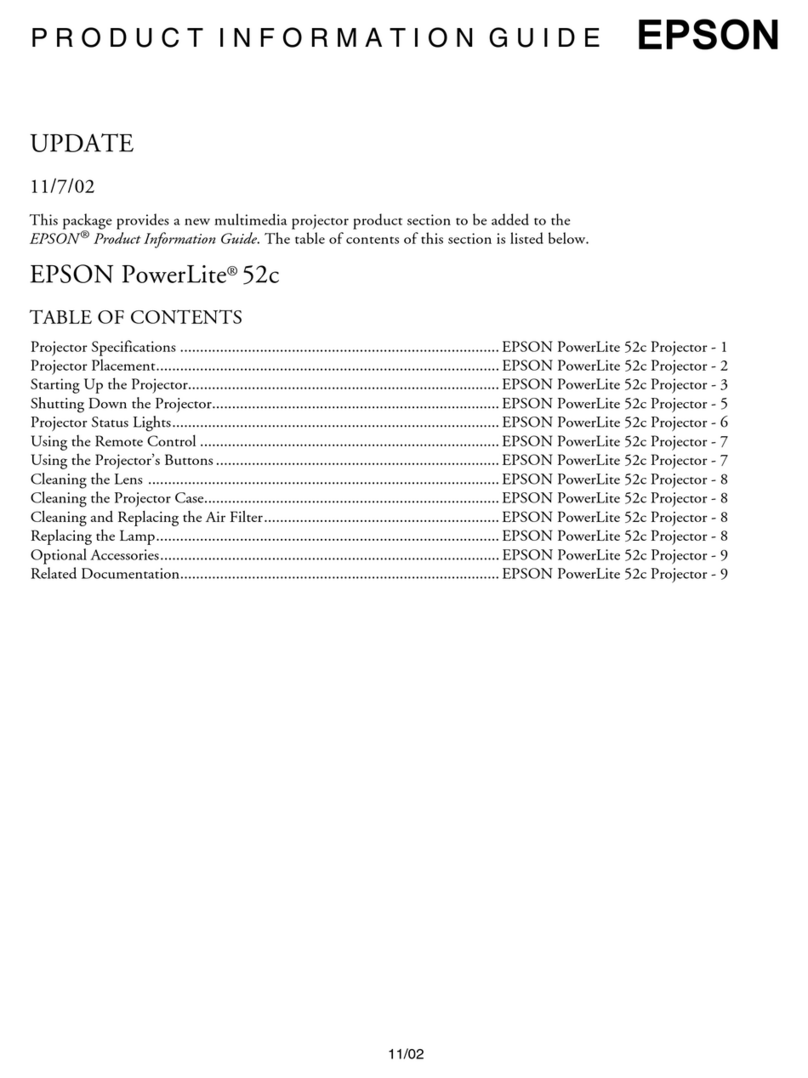
Checking the Indicators
The projector is equipped with indicators that alert you to problems with projector operation.
The following tables show what the indicators mean and how to remedy problems that they indicate.
*1
If an indicator is showing a status which does not appear in the previous tables, contact your dealer or the nearest address provided on page 79 of
the Owner's Manual.
*2
Contact your dealer for a spare lamp.
Page 39 of
Owner's Manual
Troubleshooting
Operation indicator
Lamp indicator
Temperature indicator
14
1
Operation Indicator
Lamp Indicator
Temperature Indicator
Indicator status Problem and remedy
Indicator status Problem and remedy
Indicator status Problem and remedy
Illuminated
in Orange
Blinking
in Orange
Blinking
in Orange
Blinking
in Orange
Standby condition
Projection starts when the is pressed.
Power
Cool-down in progress
After while, the projector switches to the
standby condition (the indicator lights orange).
Illuminated
in Green Projecting in progress
Blinking
in Green
Warm-up in progress
After warm-up is complete, projection
will start when a video signal is input.
Blinking
in Red
Blinking
in Red
Blinking
in Red
Internal problem
Stop using the projector and ask for projector
to be repaired. *1
Internal problem
Stop using the projector and ask for projector
to be repaired. *1
Extinguished
Extinguished
Extinguished
The power is not switched on
Illuminated
in Red
Illuminated
in Red
Lamp error
Replace the lamp with a new one .
*2
Time to replace the lamp.
Replace the lamp with a new one .
*2
Nearing the time for replacing the lamp
Prepare a new lamp.*2
The power has not been switched on or normal
projection is in progress.
The power has not been switched on or normal
projection is in progress.
Excessive internal temperature (overheating)
The lamp goes off automatically and projection
becomes impossible. Wait for approximately 5
minutes with the projector in that state. After 5
minutes has passed, pull out the power plug
once, then insert it again.
When the power plug is reinserted, the projector
will recover to the normal state, so press the
and turn on the power again.
High-speed cooling in progress.
If the internal temperature rises any higher,
projection will stop.
Check that the air inlet and exhaust vents are clear
and that the indoor temperature is not too high.
Power

