Ericsson MINI-LINK TN User manual
Other Ericsson Network Hardware manuals
Ericsson
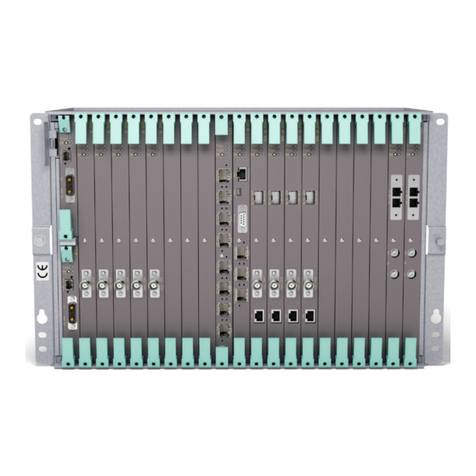
Ericsson MINI-LINK TN R4 ETSI Parts list manual
Ericsson
Ericsson RBS 3107 User manual
Ericsson
Ericsson TANDBERG Television iPlex N20001 User manual

Ericsson
Ericsson E1 User manual
Ericsson
Ericsson EDACS Station GETC1e 19D901868G4 Instruction sheet
Ericsson
Ericsson HM4x0 User manual
Ericsson
Ericsson EDACS Station GETC Instruction sheet

Ericsson
Ericsson EDN312 User manual

Ericsson
Ericsson Baseband 6648 User manual

Ericsson
Ericsson Marconi OMS 870 User manual
Ericsson
Ericsson Baseband 6620 User manual
Ericsson
Ericsson Marconi OMS 1200 Technical specifications

Ericsson
Ericsson RBS 3107 User manual

Ericsson
Ericsson SOLUTION DESCRIPTION EDA 1200 4.0 Operating and installation instructions

Ericsson
Ericsson RBS 6402 User manual
Ericsson
Ericsson MINI-LINK 6351 Parts list manual
Popular Network Hardware manuals by other brands

Matrix Switch Corporation
Matrix Switch Corporation MSC-HD161DEL product manual

B&B Electronics
B&B Electronics ZXT9-IO-222R2 product manual

Yudor
Yudor YDS-16 user manual

D-Link
D-Link ShareCenter DNS-320L datasheet

Samsung
Samsung ES1642dc Hardware user manual

Honeywell Home
Honeywell Home LTEM-PV Installation and setup guide


