ersa IR 650 A User manual

Operating Instructions
ERSA IR 650 A and PL 650 A
Semi-Automatic SMD/BGA Rework System
ERSA GmbH
Leonhard-Karl-Str. 24
97877 Wertheim / Germany
Service Phone +49 9342/800-147
Fax +49 9342/800-256
Internet www.ersa.com
Document 3BA00143 Rev.2

Operating Instructions
ERSA IR / PL 650 A
ERSA IR / PL 650 A / Page 2 Document 3BA00143 Rev.2
Contents
1. Introduction 4
1.1 General product information 4
1.2 General information about the operating instructions 4
1.3 Proper use 5
2. Technical data 6
2.1 IR 650 A basic unit 6
2.2 ERSA PL 650 A 7
3. Safety instructions 8
3.1 Aggregates and interfaces 8
3.2 Safety instructions for handling the system 11
4. Transport, storage, assembly, and disposal 12
4.1 Scope of supply 12
4.2 Transport and storage 12
4.3 Assembly 13
4.3.1 Setting up the system 13
4.3.2 Mechanical connections 14
4.3.2 Electrical connections 15
4.4 Disposal 16
5. Commissioning 17
5.1 Switching on for the first time 17
5.2 IRSoft installation 17
6. Function description 18
6.1 The IRSoft user Interface 18
6.2 Device controls 19
6.2.1 IR 650 A 19
6.2.2 PL 650 A 19
6.3 Parameter Window 20
6.3.1 Current profile parameters 20
6.2.3 RPC 650 A 20
6.3.2 Measured value and threshold value sensors 21
6.3.3 Specifying threshold value functions 21
6.3.4 System settings 21
6.3.5 The status display 22
6.3.6 The information window 22
6.4 Profile settings 23
6.4.1 Setting the profile parameters 23
6.4.2 Setting the heating element configuration 24
6.4.3 Saving, loading, and managing profiles 24
6.5 Desoldering a component 26
6.6 Placing the component and soldering 28
6.7 The optimal profile 31
7. Troubleshooting 33
8. Maintenance 34
8.1 Cleaning 34
8.1.1 IR 650 A 34
8.1.2 PL 650 A 34
8.2 Replacing a silicon suction cup on the IR 650 A 34
9. Spare parts and wearing parts 35
9.1 ERSA IR 650 A 35
9.2 ERSA PL 650 A 36

Operating Instructions
ERSA IR / PL 650 A
Document 3BA00143 Rev.2 ERSA IR / PL 650 A / Page 3
Copyright
This operating manual is only for service, mounting and operating personnel.
Operating manual, ERSA GmbH all rights reserved.
Neither the complete documentation nor parts of it may be reproduced or used for competitive
purposes without prior permission of ERSA GmbH.
Actions to the contrary constitute an obligation for compensation of damages.

Operating Instructions
ERSA IR / PL 650 A
ERSA IR / PL 650 A / Page 4 Document 3BA00143 Rev.2
1. Introduction
1.1 General product information
The ERSA IR / PL 650 A Rework System has been especially developed for extremely large and high-
mass printed circuit boards.
The dynamic heating technology of the IR 650 A, based on ERSA IR technology, offers extensive pos-
sibilities, even for repairing complex components and printed circuit boards. Individual profile design,
as well as high repetitive precision through automatic process control, extending to component cooling,
intelligent measurement technology, and multiple closed loop technology enable ideal process results,
even for lead-free applications. The integrated reflow process camera rounds out the process reliability
aspects of the IR 650 A. The IR 650 A is ideally supplemented with the PL 650 A placement system. With
the PL 650 A secure placement of even the smallest, multi-position components succeeds in no time.
Here as well, state-of-the-art cameras and drive technology support the user and ensure optimal compo-
nent placement.
Through the flexible, and for the most part automatic operation of the IR / PL 650 A, cycle times can be
significantly reduced in comparison to cycle times achieved with traditional rework systems.
1.2 General information about the operating instructions
The operating instructions are designed to provide the owner of the rework system with complete infor-
mation concerning the product, its set-up and commissioning, basic machine functions, malfunctions and
malfunction resolution, maintenance, as well as spare parts and wearing parts.
Before placing the machine in service, you must carefully read and have understood the section
on safety. Our service department is available to respond to any questions and problems you
might have with this product.
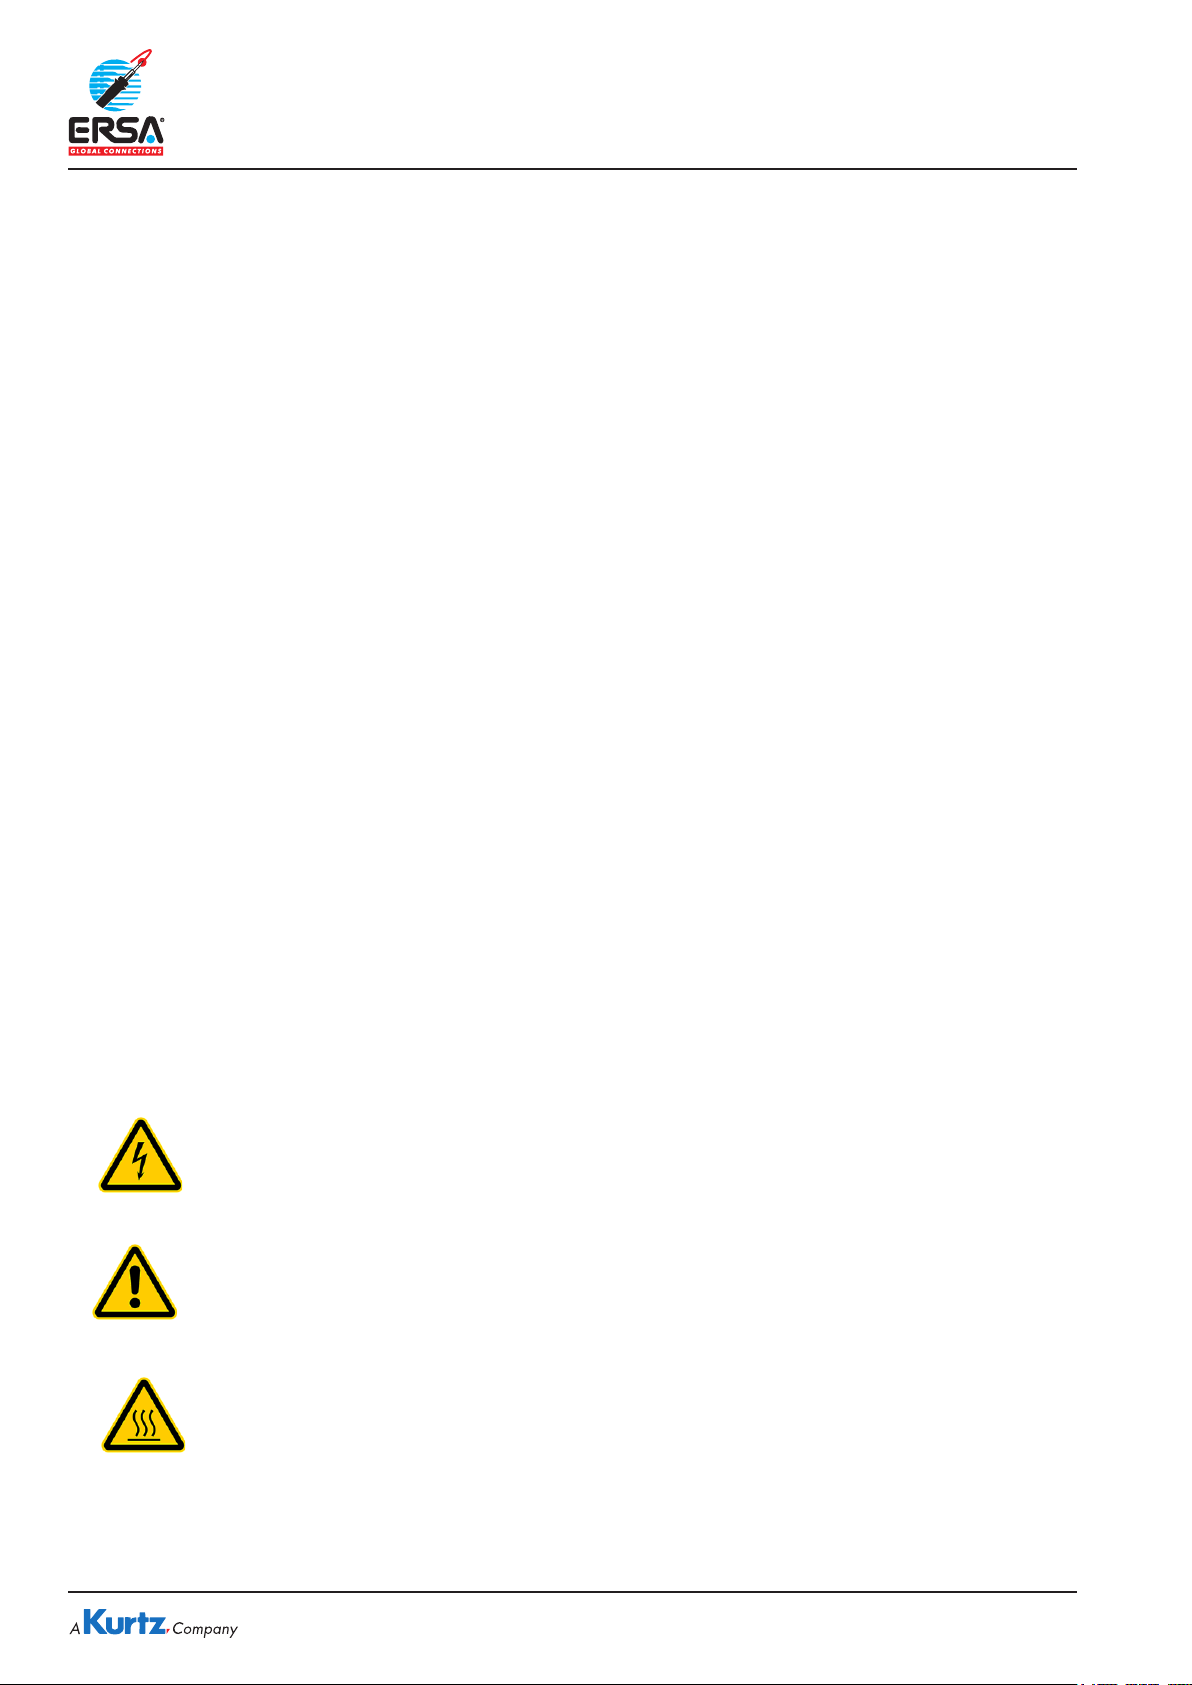
Explanation of symbols
This symbol warns of electric shock hazard. Touching voltage-conducting parts can
result in serious bodily injuries which can be fatal.
This symbol warns of hazards of any type that can result in bodily injuries that can be
fatal.
This symbol indicates a hazard of burn injuries caused by touching hot objects or ma-
chine parts.
ATTENTION! Attention indicates instructions, which if not complied with, result in damage to the sol-
dering machine or other material damages!

Operating Instructions
ERSA IR / PL 650 A
Document 3BA00143 Rev.2 ERSA IR / PL 650 A / Page 5
1.3 Proper use
The ERSA IR / PL 650 A rework system has been built in accordance with the state of the art and stan-
dard health and safety regulations. Residual hazards can exist with the system, particularly if it is oper-
ated improperly by untrained personnel, or if it is used for purposes for which it is not intended (proper
use).
The ERSA Rework System has been designed exclusively for the placement of electronic components
and subsequent soft soldering (selective reflow soldering) of electronic assemblies that are suitable
for this process. Any other use, or use exceeding this specification, is considered to be improper. The
manufacturer/supplier assumes no liability for damages resulting from improper use.
Proper use also includes compliance with the Operating Instructions, including all of the safety instruc-
tions.
Unauthorized reconstructions and/or modifications that influence the safety of the ERSA Rework Sys-
tem are prohibited, and the manufacturer/supplier is not liable for any damages resulting from such
additions or modifications.
The system is designed exclusively for commercial use. Private use is excluded.

Operating Instructions
ERSA IR / PL 650 A
ERSA IR / PL 650 A / Page 6 Document 3BA00143 Rev.2
2. Technical data
2.1 IR 650 A basic unit
Device dimensions
Length: 794 mm
Width: 602 mm
Height: 462 mm
Weight: approximately 75 kg
Electrical data
Voltage: 1 x 230 V / N / PE
Voltage tolerance +6 % / -10 %
Frequency: 50 / 60 Hz
Rated power: 3600 W without PC
Protection class I
Upper heating element
IR upper heating element output 4 x 300 W
4 separately switched heating zones
Maximum heating element surface 120 x 60 mm
Upper heating element with motorized positioning
Lower heating element
Lower heating element output 2 x 800 W + 4 x 400 W
5 separately switched heating zones
Maximum heating element surface 350 x 470 mm
IR heating element wavelength 2 - 5 µm
Control
Controlled via a PC
(Windows 2000 or XP required)
Universal Serial Bus (USB) interface
Integrated 4-character LED display
Temperature measurement
1 x IR sensor
4 x thermocouple channel(K-type, potential-free)
Additional data
Component size 1 x 1 mm to 60 x 60 mm
Maximum PCB size 460 x 560
Environmental specifications
Operating temperature: 0 – 40 °C
Relative humidity: 0 – 80 %
Temperature increase in the process to 2.5 K/sec.
Maximum stroke 70 mm
Working distance
From the PCB to the upper heating element 60 mm
From the PCB to the work table 140 mm
Volume flow int. cooling fans
Upper 182 m³/h lower 120 m³/h
Vacuum nozzle switching point
Up to 15 mm above the upper edge of the PCB.

Operating Instructions
ERSA IR / PL 650 A
Document 3BA00143 Rev.2 ERSA IR / PL 650 A / Page 7
2.2 ERSA PL 650 A
Device dimensions
Length: 600 / 700 mm
Width: 200 mm
Height: 520 / 690 mm
Weight: approximately 21.5 kg
Electrical data
Via external power supply 1 x 100-230 VAC
Supply voltage: 24VDC / 50 W
Frequency: 50 / 60 Hz
Visionbox
Component size 1x1 mm to 60 x 60 mm
Split optics optional for QFP processing
Component placement force app. 2 N for Auto
Pick&Place, or position controlled.
Illumination LED row light (each side separately
adjustable for component and PCB)
LED ring light for RPC camera (adjustable)
RPC camera
Illumination: LED ring light white (adjustable)
Camera: CCD color camera
Focus: 25x optical 12x digital
Swivel area: 180°
Interface: System bus

Operating Instructions
ERSA IR / PL 650 A
ERSA IR / PL 650 A / Page 8 Document 3BA00143 Rev.2
3. Safety instructions
3.1 Aggregates and interfaces
The interfaces and aggregates of the IR 650 A = PL 650 A are shown in the following photo.
IR 650 A displays
DIGITAL 2000 A
display
Upper heat-
ing element
Lower heating
element
Placement
table with
change-frame
Placement
head
Illumination
Switch for
IR 650 A
RPC module
Placement table fine adjustment
IR temperature
sensor
Display of the integrated DIGITAL 2000 A soldering station
The display with the three buttons represents a complete DIGITAL 2000 A soldering sta-
tion. The respective soldering iron is connected to the side connector. Operating and safety
instructions for this unit are in the included ERSA DIGITAL 2000 A Operating Instructions.
Placement head
The placement head positions the respective component on the PCB in conjunction with
IRSoft
Attention crushing hazard!
When placing components do not reach between placement head and PCB.
Video output
USB interface
* PC, monitor, mouse, and keyboard are not include in scope of supply
Switch for
illumination

Operating Instructions
ERSA IR / PL 650 A
Document 3BA00143 Rev.2 ERSA IR / PL 650 A / Page 9
Upper heating element
The required heat from above for soldering/desoldering electronic components is generated
via this aggregate. Temperature selection is specified via the IRSoft control software.
Attention burn hazard!
Upper heating element and surrounding housing parts reach high temperatures dur-
ing a soldering process.
Placement table
Via the placement table the PCB is aligned so that the placement head places the compo-
nent precisely on the PCB.
Lower heating element
The required heat from below for soldering/desoldering electronic components is generated
via this aggregate. Temperature selection is specified via the IRSoft control software.
Attention burn hazard!
Lower heating element and surrounding housing parts reach high temperatures dur-
ing a soldering process.
Fine adjustment
Use the fine adjustment to precisely position the placement table.
IR temperature sensor
The sensor detects the surface temperature of the component that will be soldered/desol-
dered, in a contactless process.
Reflow process camera
The reflow process camera provides a live image of the soldering process to the monitor.
The optionally available IDView or Imagedoc software is necessary for this application.
Illumination
The lighting provides optimal, glare-fee illumination of the workstation. It can be switched on
or off via the side-mounted switch.
Switch for illumination
The switch activates or deactivates the system illumination.
IR 650 A display
The display shows the current actual temperature of the selected temperature sensor.

Operating Instructions
ERSA IR / PL 650 A
ERSA IR / PL 650 A / Page 10 Document 3BA00143 Rev.2
Video output:
Two cinch sockets are located on the rear of the IR 650 A. The video signal from the RPC
camera and the PL camera are available on these sockets.
This signal is transmitted to the video inputs of the FALCON Frame Grabber card in the PC
via two video cables.
USB interface, system bus:
The IR /PL 650 A is connected to a PC via a USB cable (type A-B). All control functions, and
the process parameter documentation, are available via the IRSoft software.
The control signals to the individual system modules are distributed via the system bus. PL
650 A and RPC module are connected on the rear of the IR 650 A for this.
The video signals of the two motorized zoom cameras are also transmitted internally via
these cables.
Master switch / EMERGENCY-STOP switch:
The entire IR / PL 650 A system is switched on and off via this switch, and in the event of
hazard it is all-phase disconnected from the power supply.
Safety temperature monitoring:
The upper heating element and the lower heating element of the IR 650 A are equipped
with thermal safety switches.
In the event of uncontrolled heating they automatically switch off the energy supply to the
heating elements, to prevent damage to the device or to objects in the vicinity.
The ring core transformer for the upper heating element is likewise equipped with a safety
switch.
Vacuum supply:
The IR / PL 650 A does not require any external compressed air or vacuum supply.
The IR 650 A has two integrated vacuum pumps.
One supplies the hand vacuum VacPen grip, the second supplies the vacuum nozzle of the
IR 650 A and also of the PL 650 A.

Operating Instructions
ERSA IR / PL 650 A
Document 3BA00143 Rev.2 ERSA IR / PL 650 A / Page 11
3.2 Safety instructions for handling the system
Fire and explosion hazard
The upper heating element and the lower heating element become very hot during
operation. Flammable objects, liquids, and gases, must be removed from the work
area of the device!
Do not use the system to heat any liquids, or containers under pressure. Batteries
and electrolyte capacitors can explode if heated excessively.
Attention burn hazard
Hot housing elements should not be brought into contact with the skin or materials
that are sensitive to heat.
The housing parts of the IR system remain hot for several minutes after a rework
process.
Attention laser
A Class II semi-conductor laser is used as a positioning aid. Do not look directly into
the laser beam.
Attention high-voltage
The device contains voltage-conducting parts. There is a risk of fatal injury if inexpe-
rienced personnel work on the unit.
Only experienced and qualified electricians may perform repair work.

Operating Instructions
ERSA IR / PL 650 A
ERSA IR / PL 650 A / Page 12 Document 3BA00143 Rev.2
4. Transport, storage, assembly, and disposal
4.1 Scope of supply
Please check the completeness of the packaged contents. The scope of supply consists of:
• IR 650 A basic unit with integrated DIGITAL 2000 A soldering station
• PCB frame with anchoring elements
• RPC camera module and pre-mounted camera swivel arm and system cable
• Replacement silicon suction cup Ø 5 mm, replacement silicon suction cup Ø 8 mm (2 x)
• Tech tool soldering iron with rest stand, holder, and cable spring
• VacPen vacuum grip with connecting hose and holder
• Component tray
• External ACCUTC thermocouple K-type (2 x)
• USB cable for connecting to a PC
• FALCON Frame Grabber card to install in a PC
• Video connecting cable (cinch - cinch) (2x)
• Operating Instructions IR / PL 650 A on CD-ROM
• Operating Instructions DIGITAL 2000 A (3BA00044)
• Safety instructions
• PL 650 A placement system* with system cable (separate packaging)*
• Power supply for Placer*
• Connecting cable for Placer*
• Vacuum nozzles (2x)*
• Hex socket wrench*
• Calibrating plate + needle*
* If placement system was also ordered.
Please contact your supplier if the listed components are damaged or incomplete.
4.2 Transport and storage
IR 650 A and PL 650 A are each delivered on a pallet in a stable box enclosure.
Only use the original packaging for transport and interim storage of the systems.
Strictly avoid jerky movements, jolts, or dropping the systems!
The systems must be protected from weather influences such as rain, fog, sea air, etc.
If the units will be stored for a longer period of time under humid conditions, then the system must be
packed air-tight with desiccating agents in the enclosure.
Damages due to improper transport and storage are not covered by the guarantee.

Operating Instructions
ERSA IR / PL 650 A
Document 3BA00143 Rev.2 ERSA IR / PL 650 A / Page 13
4.3 Assembly
4.3.1 Setting up the system
Prepare the site where the system will be set-up:
Free, solid, level work table, with at least 100 kg bearing capacity,
recommended dimensions 2000 x 1000 mm (L x D)
Remove the IR 650 A from the packaging. Remove the topside of
the enclosure, have two people lift the device under the base plate.
Place the IR 650 A on the work platform. 200 - 300 mm of work
platform should remain free in front of the device.
Now remove the RPC camera module and mount it on the swivel
camera arm of the IR 650 A.
Note:
There must be 500 mm free space on both sides of the total
system, which is free of objects or obstacles, in order to
fully exploit the movement range of the X-Y axes.

Operating Instructions
ERSA IR / PL 650 A
ERSA IR / PL 650 A / Page 14 Document 3BA00143 Rev.2
Anchor the cable spring for the soldering iron‘s feeder cable.
Anchor the holder of the rest stand on the right bearing column of
the IR 650 A.
Route the feeder cable of the soldering iron through the cable
spring.
Place the rest stand on the IR 650 A.
Take the PL 650 A device out of its packaging:
Position the PL 650 A to the right next to the IR 650 A on the work
platform.
Connect the IR 650 A and the PL 650 A to the base plate using the
screws (2x M6) provided.
4.3.2 Mechanical connections

Operating Instructions
ERSA IR / PL 650 A
Document 3BA00143 Rev.2 ERSA IR / PL 650 A / Page 15
4.3.2 Electrical connections
Attention:
Ensure that the master switch on the IR 650 A is switched off, before connecting the
electrical systems!
Connect the vacuum feed line of the PL 650 A to the IR 650 A.
Connect the VisionBox on the PL 650 A to the device control unit
(on the upper rear of the device).
Now connect the PL 650 A control unit to the rear of the IR 650 A
with the system cable.
Connect the RPC camera module to the IR 650 A via the appropri-
ate system cable.
Now connect the ERSA soldering iron to the connector of the digi-
tal soldering station (upper right).
Place the soldering tool in the rest stand.

Operating Instructions
ERSA IR / PL 650 A
ERSA IR / PL 650 A / Page 16 Document 3BA00143 Rev.2
Connect the two video sockets on the rear of the IR 650 A to the
FALCON Frame Grabber that you have previously installed in your
PC.
Connect the USB cable, type A-B to one of your PC‘s USB con-
nections.
Plug the external power supply of the PL 650 A into the 230 V con-
nection of the IR 650 A (outlet on the rear of the device).
Connect the feed line of the IR 650 A to your power supply connec-
tion. The connection must have 230 V AC, 50/60 Hz, 16 A avail-
able.
4.4 Disposal
After its service life the IR / 650 A system must be disposed of in accordance with the applicable regula-
tions of the respective country where the device was used.
Please contact your local provider of disposal services DIGITAL 2000 A in this regard.

Operating Instructions
ERSA IR / PL 650 A
Document 3BA00143 Rev.2 ERSA IR / PL 650 A / Page 17
5. Commissioning
5.1 Switching on for the first time
Switch on the master switch on the IR 650 A and on the PL 650 A.
After a brief self-test the devices are ready for operation.
5.2 IRSoft installation
Your PC must satisfy the following minimum prerequisites before installing IRSoft:
Minimum requirement Recommended
Operating system Windows 2000 Windows XP Service Pack2
Processor 1 GHz 2 GHz
RAM 256 MB 512 MB
Screen 17“ TFT 19“ TFT
PC system requirements
Installation:
- First close all applications.
- Insert the CD In the CD-ROM drive and run “IRSoftSetup.exe“.
- Setup will now start.
- Follow the instructions.

Operating Instructions
ERSA IR / PL 650 A
ERSA IR / PL 650 A / Page 18 Document 3BA00143 Rev.2
Important note:
This chapter is only an excerpt from IRSoft‘s Online Help. Please see the IRSoft Online Help
for details on functions and settings. You can call the Online Help with the F1 key!
After starting IRSoft the connection to the connected IR device is
established automatically. The prerequisite for this is that only one
interface is activated in the interface configuration.
If multiple interfaces are activated, then the user will first get a
interface selection window, in which he can open the desired inter-
face.
After opening the interface, the individual operating and information elements are displayed in the IR-
Soft view. The interface is basically divided into three parts. The Operator controls are on the left side,
the profile setting view is on the right side, the parameter windows are below.
6. Function description
6.1 The IRSoft user Interface

Operating Instructions
ERSA IR / PL 650 A
Document 3BA00143 Rev.2 ERSA IR / PL 650 A / Page 19
6.2 Device controls
6.2.1 IR 650 A
The currently measured temperature is displayed in the upper sec-
tion. Underneath there is the keypad for operating the IR650A. Be-
neath the keypad there are 2 status windows. In the upper status
window the current system status is displayed. The field below is
used for more extensive messages, such as errors that can occur.
The popup window for this control opens via the right mouse key.
6.2.2 PL 650 A
Use the PL650A operator controller to operate the fundamen-
tal functions of the Placer PL650A (Vision box, Forwards/Back,
Head up/down, rotate, Fine drive, up/down. In addition this control
includes the operating elements for the camera integrated in the
Placer (lighting, lighting red lighter/darker, lighting white lighter/
darker, focus, zoom, White Balance key, Auto Focus key, and keys
for Preset 1 + 2).
In the lower part of the control there is an output window where
the messages relative to the Placer are output in plain text. The
head of the Placer has three clearly-defined settings (Top, Middle
= place position, Down = pick position). These settings are visual-
ized through the graphic to the left of the “Head down” key.
Pushing the slider triggers the corresponding actuators in the
Placer, use the mouse wheel to finely adjust the slider for the input
focus.

Operating Instructions
ERSA IR / PL 650 A
ERSA IR / PL 650 A / Page 20 Document 3BA00143 Rev.2
6.2.3 RPC 650 A
The control for the RPC camera is available twice depending
on the equipment. It is located on the Placer control, and here it
governs the internal camera of the placer, also there is another
separate control for an external RPC camera that is connected to
the IR650A.
The LED ring light is controlled via the “Lighting” slider. The sliders
“Zoom” and “Focus” are for image adjustment. Use the AF button
to trigger Auto Focus, use “WB” for white balance. Use the Preset
1 + 2 keys to call previously saved settings (Lighting, Zoom and
Focus) at the touch of a button. These functions are quite useful
when recurring camera settings, e.g. total adjustment of the ar-
rangement must be called or should be called.
To save the preset – settings all settings are activated manually.
Then use the right mouse key to open the following popup menu.
By calling the appropriate function all settings are saved and can
then be called as desired via Preset 1 (2).
6.3 Parameter Window
6.3.1 Current profile parameters
In this view the parameters are displayed that are currently active in the connected IR device. Thus the
user can check the parameters individually, and he can check them based on the curve of the target
profile.
Recording data and time, the name of the user, as well as the other environment variables are saved
and displayed on the left side.
With the IR650A the configuration of the upper and lower heating elements is displayed, with the
IR550A, the setting of the apertures is displayed.
This manual suits for next models
1
Table of contents
Other ersa Welding System manuals
Popular Welding System manuals by other brands

stud welding products
stud welding products StudPro LiteXI Operator's manual

Lincoln Electric
Lincoln Electric SVM143-A Operator's manual

Beta
Beta 310/1 Operation manual and instructions

AOTAI
AOTAI ARC315 instruction manual

ESAB
ESAB migmaster 215 pro instruction manual

Asahi/America
Asahi/America Proweld Shop 12 Operation & maintenance manual

Migatronic
Migatronic FOCUS STICK 120 E PFC user guide

HURNER
HURNER HST 300 Manual USB 2.0 user manual

CEMONT
CEMONT COLT 130G Safety instruction for use and maintenance

Sealey
Sealey SUPERMIG 150/5.V2 instructions

STAMOS
STAMOS S-Multi 41 user manual

Air Liquide
Air Liquide SAXOMIG 171C Safety instruction for use and maintenance