ERM
5/ERM
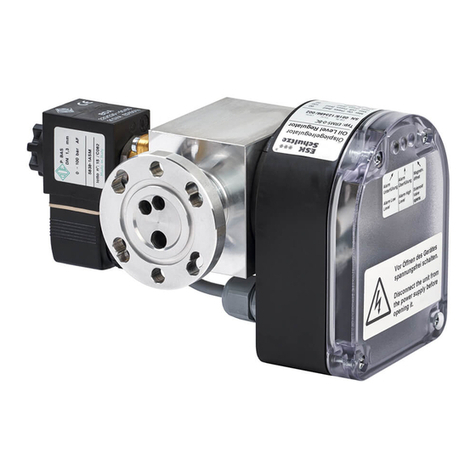
6Elektron. Ölspiegelregulatoren
Electronic Oil Level Regulators
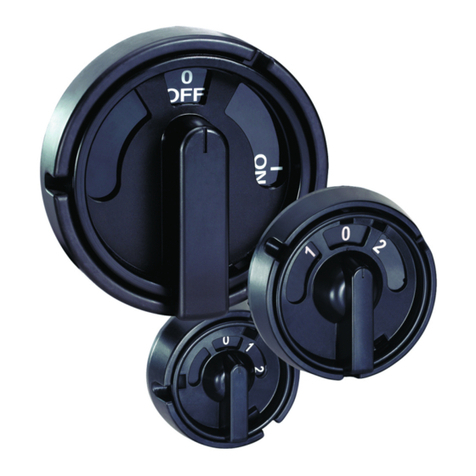
5. Schrauben am Prismenschauglas lösen
(3x Sechskantschlüssel 4mm)
a. Prismenschauglas um 180° drehen
b. Schrauben mit 10 Nm wieder an-
ziehen (3x Sechskantschlüssel4 mm)
5. Loosen the screws on the prism
sight glass (3x Allen key 4 mm)
a. Turn prism sight glass 180°
b. Retighten the screws with 10Nm
(3x Allen key 4 mm)
6. Kabelverschraubung am Elektronik-
gehäuse lösen (Maulschlüssel 19mm),
das Kabel ein wenig herausziehen und
wieder befestigen
6. Loosen the cable gland on the electron-
ics housing (open-end wrench 19mm),
pull out the cable a little and fasten it
again
7. Erst die Magnetventilspule und dann
das Elektronikgehäuse auf den Grund-
körper aufstecken
8. Kunststoffmutter und U-Scheibe
an das Magnetventil schrauben
9. Elektronikgehäuse an den
Grundkörper anschrauben
(3x Sechskantschlüssel 2,5mm)
10. Deckel aufschrauben
(4x Kreuzschraube)
11. TOP-Schild entfernen
7. First insert the solenoid valve coil and
then the electronics housing onto the
base body
8. Screw the plastic nut and the washer
to the solenoid valve
9. Screw the electronics housing
to the base body
(3x Allen key 2.5mm)
10. Screw on cover
(4x Phillips screw)
11. Remove the label‘TOP‘
Für weitere Informationen siehe auch:
For more information see also:
ESK-Katalog / ESK Catalogue
Typ ERM5:
Montage- und Betriebsanleitung /
Installation and operating instructions
Typ ERM6:
Montage- und Betriebsanleitung /
Installation and operating instructions
Kundenzeichnungen / Drawings
3-D-Ansichten / 3D views
Vorher … / Before … … und nachher / … and after
MADE
IN
GERMANY
www.esk-schultze.de 3/4
