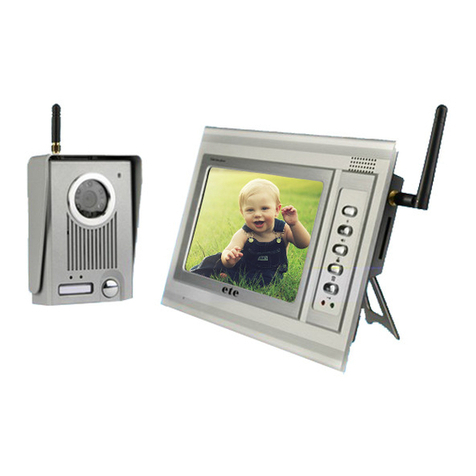
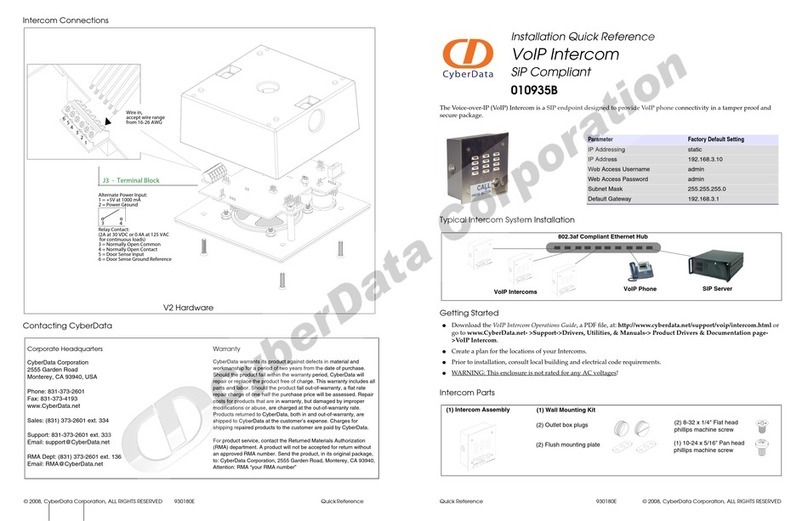
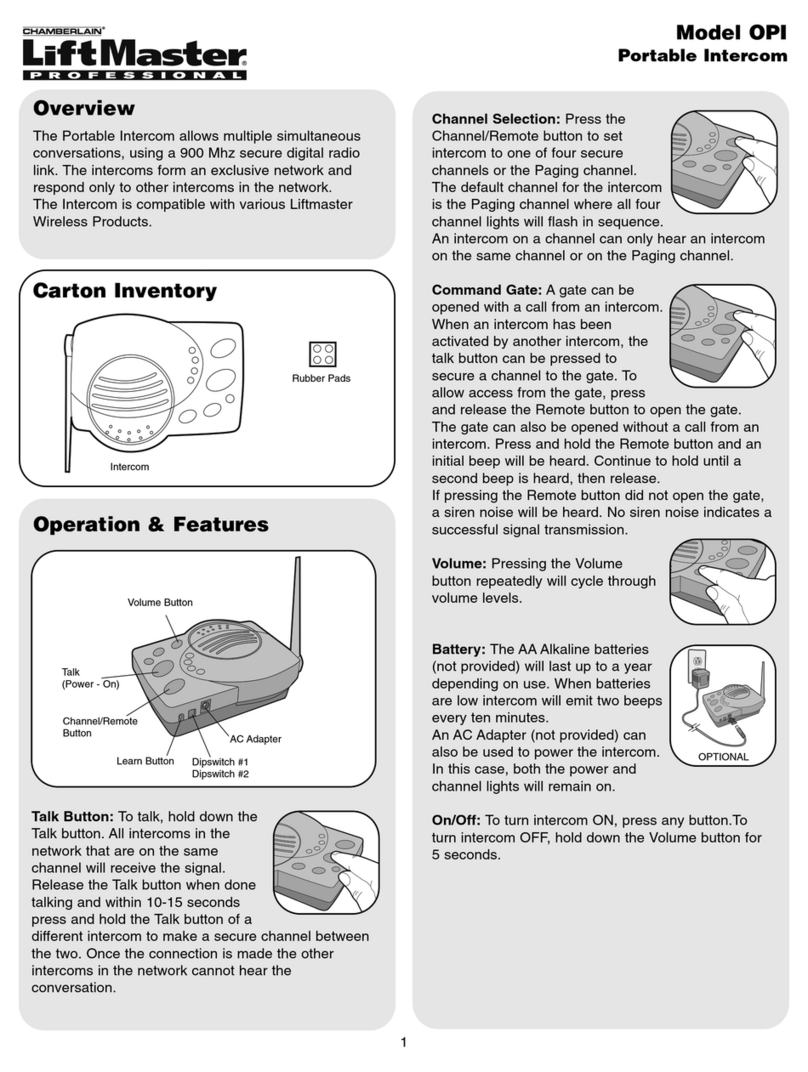
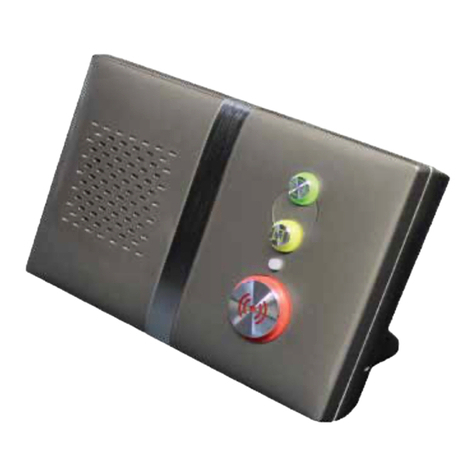
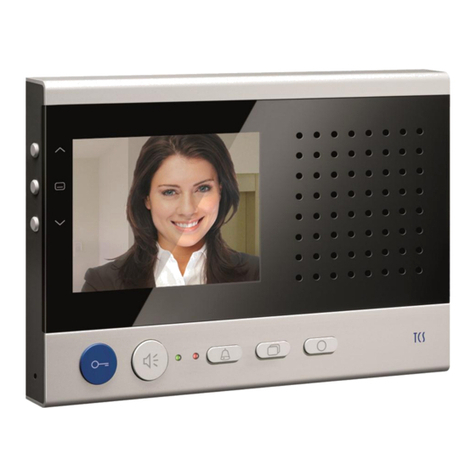
ete T-709CW User manual


9
10
11
12
13
13


A. Status Instruction
Power-off status: The machine is not started.
Standby status: Sleep mode, the machine is power on but LCD screen is shutdown.
Operating status: The machine is power on and LCD screen is on.
Monitor status: Display outdoor image.
Menu status: Press menu button to choose menu when in the main interface.
B.Call function.
In standby or other status, if visitor presses button on outdoor unit, indoor unit will ring
and automatically save one picture (or 10 seconds video),then automatically back to monitor
status.
Note: Must insert SD card for photo/video recording.
C.Monitor function.
When in standby status, press any button to the main interface.When in the main interface,
press camera button to monitor status, then users can view outdoor situation through
outdoor camera. If users need to talk with visitor, just press intercom button . Press
intercom button again to end the talk, or in 60 seconds,the image will automatically shutdown
and back to standby status.
D. Unlock function.
Basing on security factors and avoid wrong unlock operation, users can only unlock the
door after visitor pressing calling button, or when in monitor status, users press unlock
button to unlock the door.
E. Photographed function (Need SD card)
When in monitor status, users should press camera button to take one photo. The
machine will automatically save it and back to monitor status.
F. Video recorder function. (Need SD card)
Press video button to record 10 seconds video, and automatically save and back to
monitor status.
G. Menu setup function.
Press any button to the main interface when in standby status.
Monitor Set Visiting record

1.Set
To adjust SD card, brightness, saturation, language, match code, time/date,
a. SD card.
In menu interface, select SD card and press confirm button . Then press right button
for checking capacity, deleting content.
① Check capacity: Press confirm button to see the data, press to quit.
② Delete content: Press confirm button to delete all files then automatically return, pres
to quit.
b. Brightness
In menu interface, select brightness option by pressing right button , then press
confirm button to enter into brightness setup. Press for adjustment, press confirm
button to save and quit.
c. Saturation
In menu interface, press right button to saturation option, then successively press
and to adjust saturation. Press to save and exit.
d. Language.
In menu interface,successively press and to language option. Users can choose
Chinese and English by pressing , press to save and exit.
SD card Brightness Saturation Language
Pair Time/date Camera mode Ring
Check capacity Delete content
China
e. Pair (match code)
In menu interface, successively press and to match code option until “paring”
appear, press pare button (Pic.1) for 10 seconds. After code successfully matched, indoor
monitor shows signal and image. Attention: All wireless products have been matched code
before delivery. There’s no need to match code only if users need to change monitor or
camera.
(Pic.1)
Press the pair button Press the pair button
f. Time/date
In menu interface, successively press and to set time/date menu option, then
press and for setup, and press to select the next number, and so on.
g. Camera mode
In menu interface, successively press and to camera mode menu option. Press
to choose camera mode, then press to save and exit.
Photo Video

h. Ring
2. Media
In this menu, users can do operation for video and photo.
a. Photo
In media menu, select photo menu then press to enter it, then press three times
to view the photo. Press to view the next one. Press to exit. Attention: Users can
delete photos one by one. In all photos stored interface, select one photo, press the right
button until it appears X, press again to delete it. If users want to delete all
photos, go to the SD card menu and select clear content to delete all photos.
b. Video
In media menu, select photo menu then press to enter it, then press three times
to view the video. Press to view the next one. Press to exit. Attention: Users can
delete videos one by one. In interface of all videos stored, select one video, press the right
button until it appears X, press again to delete it. If users want to delete all videos,
go to the SD card menu and select clear content to delete all video.
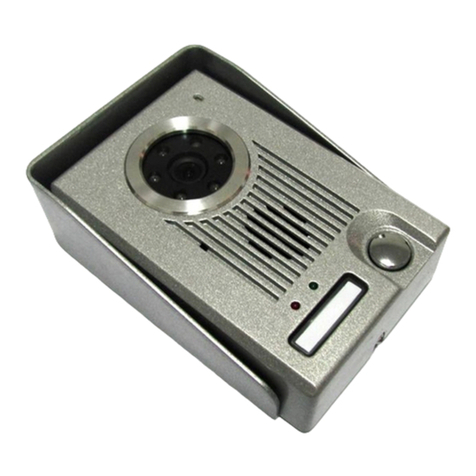
Outdoor unit should be installed at proper place, within height of 1.5m-1.7m for
good camera angle. Please care about the cleaning to avoid fault caused by dust.
1.Take out the bracket and screws. Fix the bracket onto wall.( Pic 1)
2.Fit the outdoor unit to the hole upon the bracket, and then boost it up, fit them well.
3. Use the screw to lock the bracket and outdoor unit.
4. Install the antenna well.
Photo Video
In setup menu interface, successively press and to ring menu, press right button
o set volume. Press down button to choose different rings, then press to return.
Ring
Ring1
Ring2
Ring3
Ring4
Ring5
Ring6
Ring7
Ring8
Volume

3.Indoor unit installation:
Indoor unit should be installed at proper place for convenient operation, within
height of 1.5m-1.7m. Try to protect it from sunshine for better display affect.
Fix the bracket onto the wall. Connect indoor unit and outdoor camera with the
wire at the back of the indoor monitor. Then fix the indoor unit onto the bracket.
Insert the electricity cable to the plug.(Shown as the photo).
Infared
Outdoor unit

This manual suits for next models
2
Table of contents
Other ete Intercom System manuals
