Issue 4, June 2023 Model 370A User Guide
Page 10 Studio Technologies, Inc.
Model 370A
INTERCOM BELTPACK
able to speak at normal levels, e.g., sporting events
such as golf tournaments where “whispering” may
be necessary.
Electret microphones typically have a higher out-
put level due to their internal preamplier circuitry.
As such, less preamplifier gain may be required.
Selecting the 22 or 30 dB gain setting will probably
be appropriate in these cases.
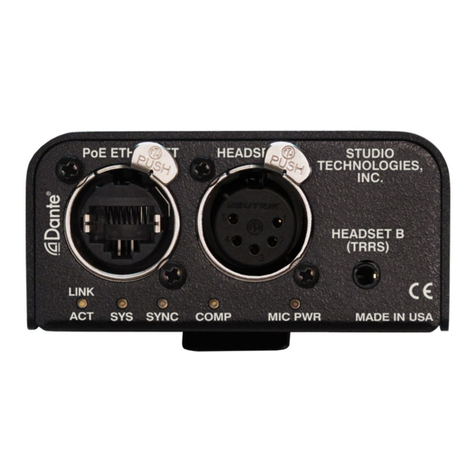
The compressor active LED, labeled COMP and vis-
ible adjacent to the headset connector, can act as a
guide when setting the microphone preamplier gain.
During normal talk operation the compressor active
LED should light intermittently. If, for example, with
a dynamic microphone the LED rarely lights and the
preamp gain is set to 42 dB it might be a good idea to
change it to 48 dB. If the LED is lit fully during normal
talking in a situation where the headset has an electret
microphone and the gain is set for 30 dB, changing it
to 22 dB might be warranted.
Headphone Output Channel Routing
Choices are Left, Right, and Left and Right.
Two Dante receiver (input) channels can be assigned
to the headphone output channels using the Dante
Controller application. How these two audio signals
are route to the Model 370A’s headphone output
channels can be congured using this conguration
choice. The three options provide exibility in how
the audio sources are presented to the user. When
using a stereo (“double mu”) headset it’s common
for the audio input sources to be routed to both the
left and right channels. But the Model 370A’s exibility
allows each source to be independently congured
for sending to the left only, right only, or both left and
right headphone channels.
When using a stereo headset sending all inputs to
both channels is often referred to as a dual-channel
mono output. If a monaural (“single mu”) headset
is used the Left conguration option allows the two
input channels to be combined to monaural so that
the listener can simultaneously hear both sources.
Sidetone – Level
Choices are O, Low, Medium Low, Medium,
Medium High, and High.
The Model 370A includes a sidetone function that
allows microphone audio coming from the microphone
preamplier to be sent to the both channels of the
headphone output. This serves as a user conrma-
tion that they are actively sending audio to either or
both of the talk output channels. Sidetone audio will
only be routed to the headphone output when either
or both of the talk channels are active. The level of
the sidetone audio can be selected from among ve
values. The correct value is simply the one that makes
the user most comfortable. Sidetone audio can also
be disabled by selecting O. Selecting O would be
useful only in special applications such as during
troubleshooting or where user talk audio is being
returned as part of their listen audio signals. The two
rotary level controls will not impact the sidetone level.
Button Operation
Choices are Push to Talk, Latching, Push to Talk/
Tap to Latch, and Disabled.
This conguration section allows independent selec-
tion of how the two talk buttons will function. When
the Push to Talk mode is selected, the operation is
self-explanatory. Only when a talk button is pressed
and held will talk audio be sent out its associated
Dante transmitter (output) channel.
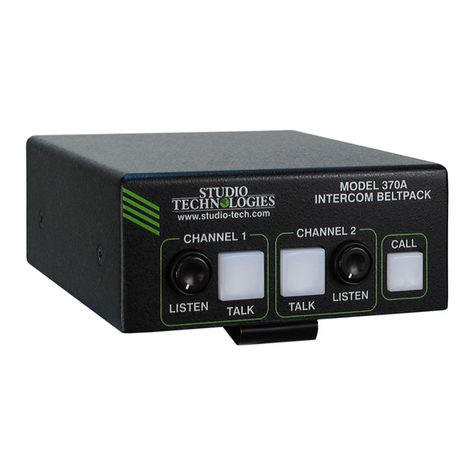
When the Latching mode is selected, tapping
(momentarily pressing) the button will cause the func-
tion to “latch” into the talk active mode. Tapping the
button again will cause the function to “unlatch” and
talk will no longer be active.
When the Push to Talk/Tap to Latch mode is selected,
a “hybrid” function of sorts is enabled. Pressing and
holding the talk button will enable audio to be sent
out its associated Dante transmitter (output) channel.
When the button is released, audio will stop being
sent out its associated transmitter channel. Tapping
(momentarily pressing) the button will cause the func-
tion to “latch” into the talk active mode. Tapping the
button again will cause the function to “unlatch” and
talk will no longer be active.
Many applications are best served when the buttons
are congured in the Push to Talk mode. This ensures
that a channel can’t accidentally be left in its talk active
mode. There are certainly valid situations when the
Latching or Push to Talk/Tap to Latch modes setting
will prove to be very useful.
When the Disabled mode is selected, microphone
audio will never be sent out the associated Dante
transmitter (output) channel. This can be useful when


