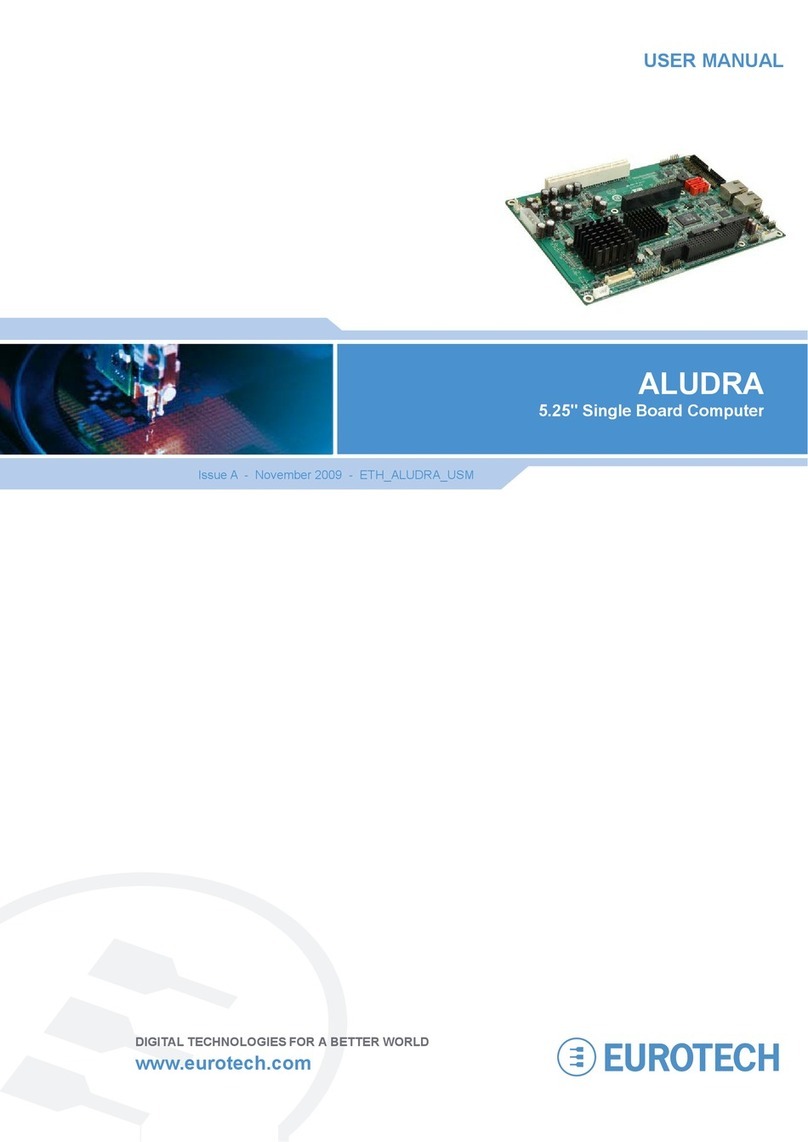
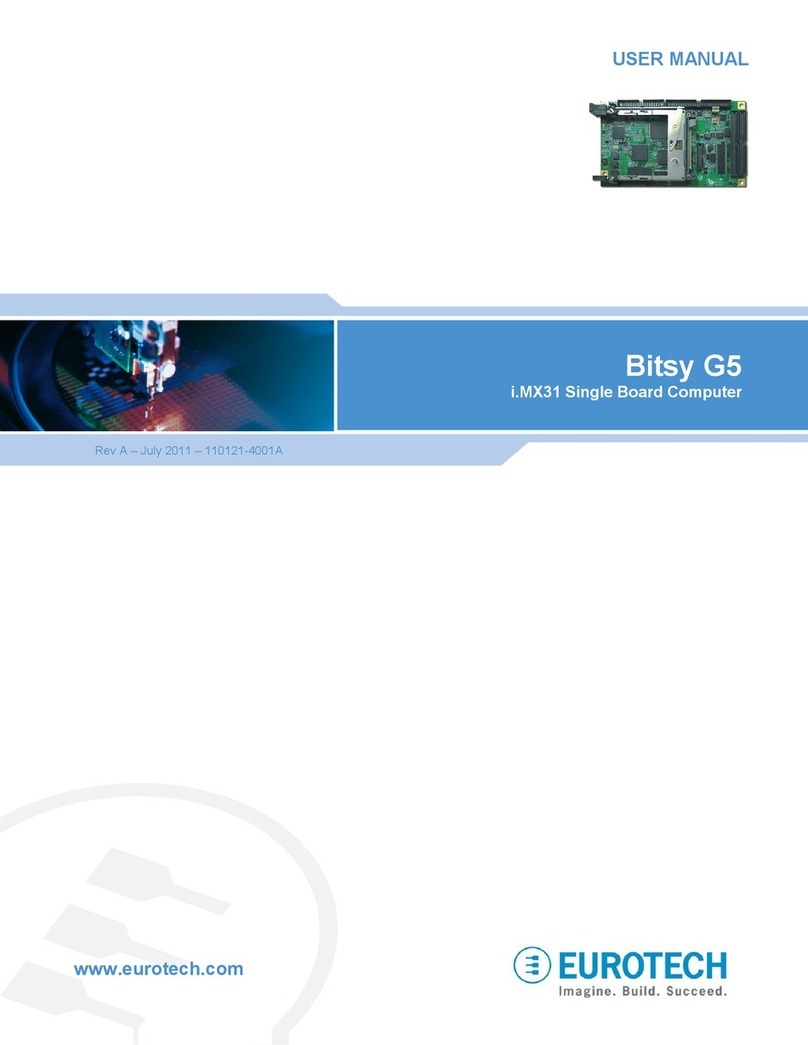
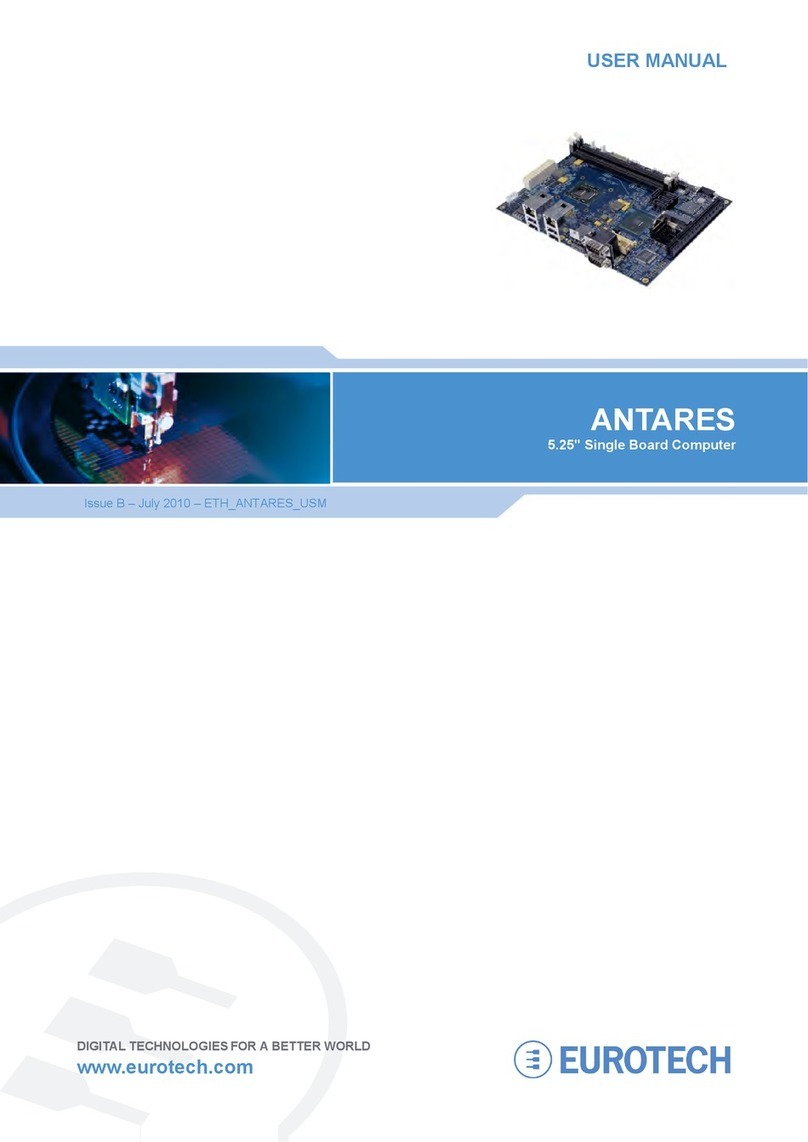
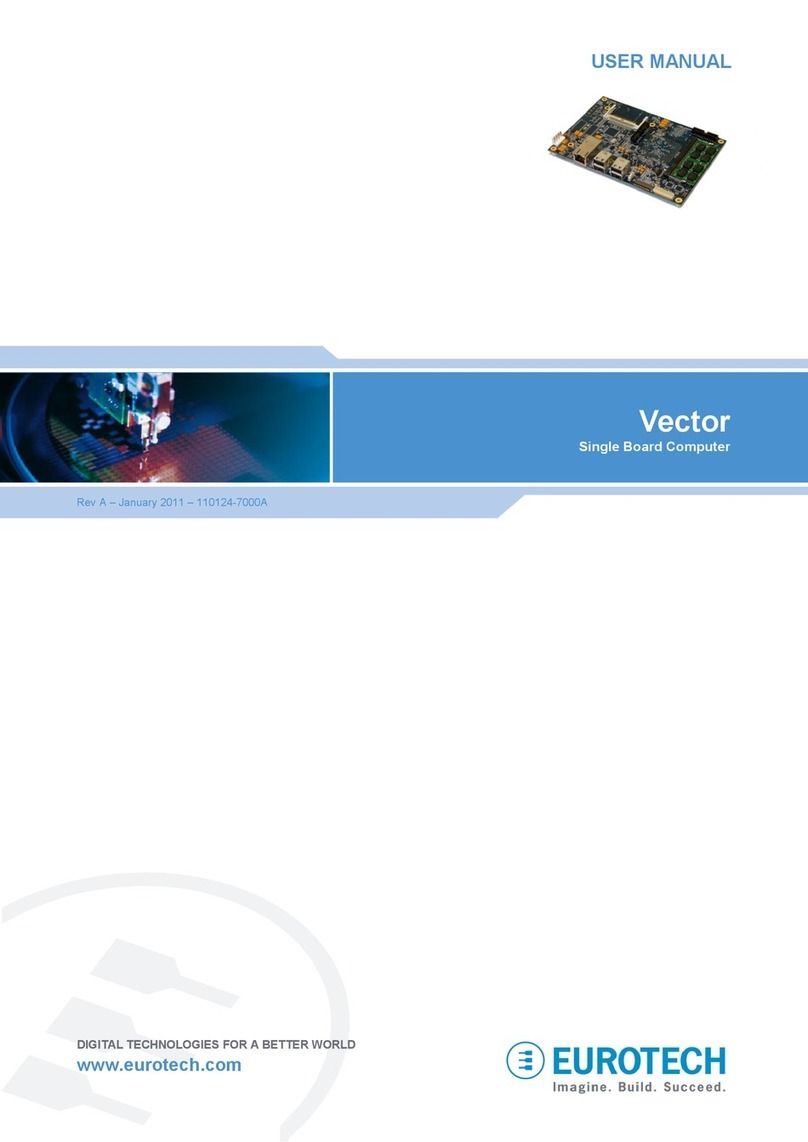
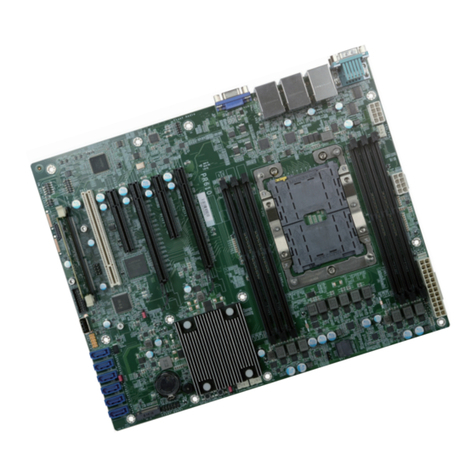
Eurotech Apollo User manual

Rev. 7.0 - April 2009 - ETH_APOLLO_USM
DIGITAL TECHNOLOGIES FOR A BETTER WORLD
www.eurotech.com
USER MANUAL
APOLLO
Intel Celeron M/Pentium M based EBX
Single Board Compute
r

APOLLO user manual
Disclaimer
The information in this document is subject to change without notice and should not be construed as a commitment
by any Eurotech company. While reasonable precautions have been taken, Eurotech assumes no responsibility for
any error that may appear in this document.
Warranty
This product is supplied with a 3 year limited warranty. The product warranty covers failure of any Eurotech
manufactured product caused by manufacturing defects. The warranty on all third party manufactured products
utilised by Eurotech is limited to 1 year. Eurotech will make all reasonable effort to repair the product or replace it
with an identical variant. Eurotech reserves the right to replace the returned product with an alternative variant or
an equivalent fit, form and functional product. Delivery charges will apply to all returned products. Please check
www.eurotech.com for information about Product Return Forms.
Trademarks
PhoenixTM and PhoenixBIOSTM are trademarks of Phoenix Technologies Limited.
ROM-DOS and FlashFX are trademarks of Datalight Inc.
MS-DOS, Windows NT, Windows CE, Windows 98 and Windows XP are trademarks of the Microsoft Corporation.
Intel®, Pentium®and Celeron®are registered trademarks of the Intel Corporation.
CompactFlash is the registered trademark of The CompactFlash Association.
Linux is a registered trademark of Linus Torvalds.
Bluetooth is a registered trademark of Bluetooth SIG, Inc.
All other trademarks recognised.
Revision history
Issue no. PCB Date Comments
A V1I3 14th June 2005 First full release of manual.
B V1I4 15th November 2005 Added detailed hardware description.
C V1I4/V2I1 31st July 2007 Updates for V1Ix and V2Ix board versions.
D V1I4/V2I1 1st October 2007 Eurotech rebranding.
E V1I4/V2I1 5th June 2008 Minor updates.
F V1I4/V2I1 8th December 2008 Minor updates.
G V1I4/V2I1 2nd April 2009 Minor updates and new branding.
© 2009 Eurotech. All rights reserved.
For contact details, see page 144.

CONTENTS
Issue G 3
Contents
Introduction...............................................................................................................................5
APOLLO ‘at a glance’ ...................................................................................................6
Features .......................................................................................................................8
Support products ........................................................................................................10
Development kits ........................................................................................................11
Handling your board safely.........................................................................................12
Conventions................................................................................................................13
Getting started with your APOLLO..........................................................................................14
Identifying your APOLLO version ...............................................................................14
CPU configuration ......................................................................................................15
Installing a processor..................................................................................................16
Connecting a floppy disk drive....................................................................................17
Connecting a hard disk drive ......................................................................................17
Connecting a CD-ROM (IDE type) .............................................................................17
Connecting a CompactFlash®card.............................................................................18
Connecting a keyboard...............................................................................................18
Connecting a mouse...................................................................................................18
Turning on your APOLLO ...........................................................................................18
Using the serial interfaces (RS232/RS485/IrDA)........................................................19
Connecting a printer ...................................................................................................19
Using the audio features.............................................................................................19
Using the flat panel interface ......................................................................................19
Using the USB ports ...................................................................................................20
Using the Ethernet interface .......................................................................................20
Using the 1394/Firewire ports.....................................................................................20
LED indicators ........................................................................................................................21
Jumpers and connectors ........................................................................................................22
Jumpers......................................................................................................................24
Connectors .................................................................................................................31
PhoenixBIOS features and setup ...........................................................................................51
PhoenixBIOS configuration ........................................................................................52
General use ................................................................................................................52
Control keys................................................................................................................53
Main menu..................................................................................................................54
Advanced menu..........................................................................................................60
Security menu.............................................................................................................81
Power menu ...............................................................................................................84
Boot menu ..................................................................................................................86
Exit menu....................................................................................................................88
Operating system drivers........................................................................................................89
Detailed hardware description ................................................................................................90
APOLLO block diagram..............................................................................................90
Processor ...................................................................................................................91
APOLLO chipset.........................................................................................................92
Graphics and Memory Controller Hub (82855GME)...................................................92
Windows XP/XP Embedded Video Drivers.................................................................96

APOLLO user manual
Issue G
4
Video option boards ................................................................................................... 97
ICH4 (IO controller hub)............................................................................................. 98
Firmware hub ............................................................................................................. 99
CMOS backup EEPROM........................................................................................... 99
PCI local bus............................................................................................................ 100
Ethernet controllers.................................................................................................. 101
Primary network interface ........................................................................................ 101
Secondary network interface ................................................................................... 102
Network boot............................................................................................................ 102
Ethernet cables........................................................................................................ 102
IDE interface ............................................................................................................ 103
USB host controller.................................................................................................. 103
Real Time Clock....................................................................................................... 104
Watchdog timer........................................................................................................ 105
System control interface .......................................................................................... 105
AC’97 audio CODEC ............................................................................................... 106
PCI dual UART ........................................................................................................ 107
Super IO .................................................................................................................. 109
Serial ports............................................................................................................... 109
IrDA/ASK-IR..............................................................................................................110
Parallel port...............................................................................................................110
Floppy disk controller ................................................................................................111
Hardware monitor ..................................................................................................... 111
Keyboard and mouse controller................................................................................112
IEEE1394 ports and CF+ socket ..............................................................................112
Trusted platform module ...........................................................................................113
Power supply ............................................................................................................113
Front panel interface.................................................................................................114
Registers V1Ix board ................................................................................................115
Registers V2Ix board ................................................................................................117
Unique ID................................................................................................................. 121
System resources .................................................................................................... 122
System memory map ............................................................................................... 123
Interrupts.................................................................................................................. 123
DMA mapping .......................................................................................................... 126
Appendix A – Specification................................................................................................... 127
Appendix B – APOLLO mechanical diagram ....................................................................... 130
Appendix C – TFT display interface cable ........................................................................... 133
Appendix D – APOLLO USB 5/6 breakout........................................................................... 135
Appendix E – DVI video option board .................................................................................. 136
Appendix F – TV out video option board.............................................................................. 138
Appendix G – VGA option board.......................................................................................... 140
Appendix H – Reference information ................................................................................... 142
Appendix I – RoHS-6 Compliance - Materials Declaration Form......................................... 143
Eurotech Group Worldwide Presence.................................................................................. 144

Introduction
Issue G 5
Introduction
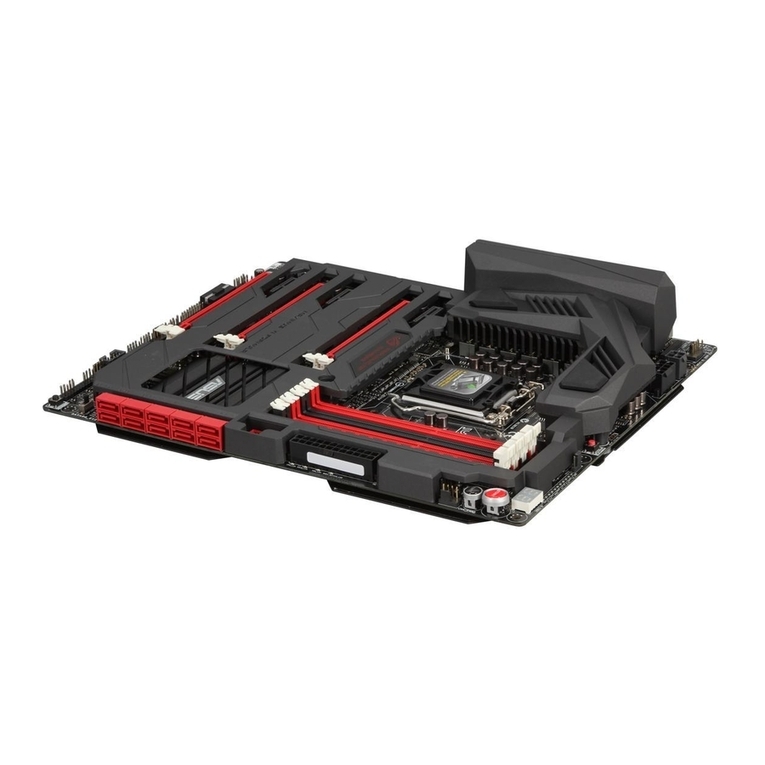
The APOLLO is an EBX format, high-performance, high-functionality PC-compatible
processor board designed for embedding into OEM equipment. The board is based on
the Intel 855GME/ICH4 chipset and supports a range of Intel Pentium M and Celeron M
mobile processors to offer a combination of high performance computing features with
low power dissipation.
It offers all standard features and connectors found on a PC motherboard including:
•Multiple video ports.
•Audio.
•Two Ethernet ports.
•CF+ CompactFlash®Type II socket.
•Four serial ports, parallel port, IrDA port.
•Primary IDE interface.
•Six USB 2.0 compliant ports.
•Two IEEE1394a-2000 compliant (Firewire) ports.
•General purpose IO and user defined jumpers.
Gigabit Ethernet is a build option on the V1Ix board and a standard feature on the V2Ix
boards.
The board is able to run all popular operating systems including Windows XP/
XP Embedded and Linux.
Typical applications for the APOLLO include:
•Low power, high density server racks.
•1U or 2U systems with passive cooling for fan-less operation.
•Systems requiring high levels of hardware/software security.
•Server/client systems using Trusted Computing.
•Compact kiosk systems.
The V1Ix board can be purchased in the following standard variants:
•Standard (two 10/100 Ethernet).
•Gigabit (one 10/100 Ethernet and one 10/100/1000 Ethernet).
•The V2Ix board is available as a single variant offering Gigabit Ethernet (1x 10/100
and one 10/100/1000 Ethernet, this also has a Trusted Platform module (TPM 1.2)
fitted as standard.

APOLLO user manual
Issue G
6
APOLLO ‘at a glance’
ATX power supply connector COM4 RS485/RS422 serial port
PCI slot BIOS write protect/PCI power select
CD audio input Video option
System and
CPU fans
LVDS display
interface
LCD backlight
connecto
r
System control
interface
3 stereo
audio jacks
Pin heade
r
to S/PDIF
optical output
IrDA connector
Front panel
interface
Primary IDE
interface
COM3/COM4
RS232 serial
ports
Firewire port 1
CompactFlash
socket
USB3/USB4

APOLLO user manual
Issue G
8
Features
Processor
•Intel Pentium M and Celeron M processor options.
Chipset
•North Bridge: Intel 82555GME.
•South Bridge: Intel 82801DB/ICH4.
•400MHz processor side bus speed.
System memory
•Up to 1024MB PC2700 DDR DIMM.
BIOS
•PhoenixBIOS boot from HDD, FDD, CDROM, CompactFlash®, USB device or
network boot.
Video
•Integrated Intel Extreme Graphics 2.
•VGA CRT interface - 2048 x 1536 at 75Hz.
•LVDS interface (single/dual channel) -1600 x 1200 at 60Hz.
•Dual graphics controller - allows for two independent video displays.
•Additional DVI and CRT add-on modules are also available.
Audio
•AC97 codec with support for six channel 5.1 speaker output.
•S/PDIF (Sony/Philips Digital Interface) compressed digital output to optical
transmitter.
Network support
•Dual 10/100baseTx Ethernet ports or a build variant for 10/100 and 10/100/1000
Ethernet ports.
USB interface
•Six USB 2.0 channels: four on-board; two via an add-on module.
Serial ports
•Two RS232.
•One RS232/IrDA.
•One RS232/422/485.

Introduction
Issue G 9
Other ports, connectors and sockets
•Printer, mouse, keyboard and floppy drive ports. (Slimline floppy via flat flex
connector.)
•Auxiliary connector for LCD character display, GPIO, LED drivers and SMBus.
•Two IEEE1394a-2000 Firewire ports (100/200/400Mbps).
•PCI Rev 2.2 expansion with support for three PCI bus master cards via a riser card.
•IDE ATA hard drive port (Ultra ATA100/66/33, PlO).
•CompactFlash®(CF+) version 2.0 Type Il socket for memory and I/O cards.
Integrated security features
•Unique ID, tamper detection circuitry.
•Trusted platform module using Atmel AT97SC3203 (TPM 1.2) V2Ix APOLLO only.
•Provides hardware-based authentication of platform trust level, a secure store for
private keys and an inbuilt encryption engine (compliant to TCG Spec. 1.2).
New features in the V2 APOLLO
•Trusted platform module TPM 1.2 using Atmel AT97SC3203.
•Enhanced watchdog support.
•Improved SuperIO functionality.
•RoHS compliant design.
•Standby and BIOS boot LEDs.
•Ethernet outputs are fixed as 1 x 10/100 and 1 x 10/100/1000 Ethernet.

APOLLO user manual
Issue G
10
Support products
The APOLLO is supported by the following optional products:
•1U 19"wide APOLLO ICE (Industrial Compact Enclosure)
Provides easy-to-use system solutions for embedded SBC applications. It is
manufactured from 0.9mm (20 SWG) finished mild steel. The enclosure conforms to
the 19" 1EC6O297-1/2 DIN 41494 and MEP IEC 60917-2-1 standards and therefore
meets the 19" 1U specification in height and width. Depth is approximately 13.8
inches (350mm).
The APOLLO ICE contains:
- 180W AC ATX PSU: Auto-ranging 100-240V AC at 47 - 63Hz.
- DC input ATX PSU options available, please contact Eurotech sales.
- Standard I/O connections from rear panel.
- On/off switch, power and HDD activity LEDs.
- Front panel connections for USB ports and IEEE1394 port.
- Access to a front panel reset switch.
- PCI riser card with two card expansion slots.
- Floppy disk, hard disk drive and CD/DVD writeable drive.
- Front panel LCD display with navigation/input switches and user LEDs.
- Tamper detect switch for enclosure lid.
•LCD display
An AU Optronics 15" XGA (1024x768) colour TFT LCD display interfaces directly with
the LVDS signals provided by the APOLLO. The display has a 400:1 contrast ratio,
16ms response time and a dual CCFL backlight providing 350nits of screen
brightness.
•TSC1 (touchscreen controller)
The Eurotech TSC1 can be used to provide analogue resistive touchscreen support
for the APOLLO. The TSC1 is designed to directly interface between four-, five- or
eight-wire analogue touchscreens and a serial connection. A 1:1 ribbon cable can be
used to connect directly to one of the RS232 ports on the APOLLO. A separate +5V
connection is also required.
•15" touchscreen
Glass-backed 15" touchscreens are available for use in conjunction with the 15" LCD
display. Two touchscreens are available: a four-wire option and an eight-wire option.
These interface directly with the Eurotech TSC1 touchscreen controller.
For more details about any of the above options, please go to www.eurotech.com or
contact the Eurotech sales team (see page 144).

Introduction
Issue G 11
Development kits
Eurotech offers development kits for the APOLLO board. A choice of three different
configurations is available:
•Windows XP Embedded contained on Flash disk module for the APOLLO V2Ix board
and Windows XP Embedded contained on a CompactFlash® card for the APOLLO
V1Ix board.
•Linux contained on USB flash disk.
•No operating system, no CompactFlash card.
All three configurations are supplied with a Pentium M 1.6GHz processor, 512MB
PC2700 DDR SDRAM and are based on the Gigabit Ethernet APOLLO variant.
A range of options are available with all three development kits. Please contact the
Eurotech sales team (see page 144) to discuss your requirements.

APOLLO user manual
Issue G
12
Handling your board safely
Anti-static handling
This board contains CMOS devices that could be damaged in the event of static
electricity being discharged through them. At all times, please observe anti-static
precautions when handling the board. This includes storing the board in appropriate anti-
static packaging and wearing a wrist strap when handling the board.
Battery
The board contains a lithium non-rechargeable battery. Do not short circuit the battery or
place on a metal surface where the battery terminals could be shorted. When disposing
of the board or battery, take appropriate care. Do not incinerate, crush or otherwise
damage the battery.
Packaging
Please ensure that, should a board need to be returned to Eurotech, it is adequately
packed, preferably in the original packing material.
Electromagnetic compatibility (EMC)
The APOLLO is classified as a component with regard to the European Community EMC
regulations and it is the user’s responsibility to ensure that systems using the board are
compliant with the appropriate EMC standards.
RoHS compliance
The European RoHS Directive (Restriction on the use of certain Hazardous Substances –
Directive 2002/95/EC) limits the amount of 6 specific substances within the composition
of the product. The APOLLO and associated accessory products are available as RoHS-
6 compliant options and are identified by a -R6 suffix in the product order code.
A full RoHS Compliance Materials Declaration Form for the APOLLO is included as
Appendix I – RoHS-6 Compliance - Materials Declaration Form, page 143. Further
information regarding RoHS compliance is available on the Eurotech web site at
www.eurotech-ltd.co.uk/RoHS_and_WEEE.

Introduction
Issue G 13
Conventions
The following symbols are used in this guide:
Symbol Explanation
Note - information that requires your attention.
Caution – proceeding with a course of action may damage
your equipment or result in loss of data.
Jumper is fitted.
Jumper is not fitted.
Jumper fitted on pins 1-2.
Jumper fitted on pins 2-3.

APOLLO user manual
Issue G
14
Getting started with your APOLLO
Once you have a working APOLLO system, you can start adding other peripherals to
enable you to start development. In this section we guide you through setting up and
using peripherals and some of the features of the APOLLO.
The APOLLO uses a PhoenixBIOS (Basic Input-Output System) to provide support for
the board as standard. BIOS defaults have been selected to enable the board to operate
with a minimum of devices connected. If you want to change these default settings, you
use the PhoenixBIOS setup program. See PhoenixBIOS features and setup, page 51 for
details.
The setup parameters are stored in the CMOS RAM and are retained when the power is
switched off, providing the battery backup supply is connected. If no battery is installed or
the CMOS settings are corrupted then the BIOS will restore them from an onboard
CMOS EEPROM.
Identifying your APOLLO version
To comply with the EU RoHS regulations, the APOLLO has been updated to version 2.x.
Overall, the changes to the APOLLO functionality are minimal. However some of the
component changes require new software to be loaded.
You can identify the version of your APOLLO board in three ways:
•Visually. All APOLLO PCBs are marked on the top side with the APOLLO name and
a board version and issue.
•Using a software utility. An APOLLO identification program is available from Eurotech
support. This DOS-based application reads the values of the installed SuperIO and
from this information determines and displays the APOLLO version.
•From the BIOS. To see the APOLLO version from the BIOS:
1Boot the APOLLO board
2As the BIOS Phoenix splash screen appears, press the Esc key, immediately
followed by the Pause/Break key. The BIOS version is then displayed as
follows:
APOLLO V1Ix X1.xx or V1.xx
or
APOLLO V2Ix X2.xx or V2.xx

Getting started with your APOLLO
Issue G 15
CPU configuration
The APOLLO board has been specifically designed to support a range of Intel Pentium M
and Celeron M mobile processors. The appropriate voltage and speed selections are
configured during the boot process. No user configuration is required.
Installing memory
The APOLLO has one DIMM socket for an unbuffered ECC or non-ECC double data rate
(DDR) SDRAM 184-pin DIMM module. DIMM modules supported are:
•128MB, 256MB, 512MB and 1024MB.
•PC1600 (200MHz), PC2100 (266MHz) and PC2700 (333MHz).
The APOLLO supports a single 184-pin DIMM module. If your board was supplied
without memory, or if you wish to upgrade your memory, then you need to source an
appropriate module. See Memory interface, page 92, for details.
No link settings are required to enable the board to support different memory sizes. The
BIOS automatically detects the memory and configures the board appropriately. Always
ensure that the power is switched off before attempting to insert a memory module. The
module should be inserted in an ESD safe area, and you should be wearing an earth
strap or touching a grounded surface to protect the device. The memory module is
designed to ensure that it can only be plugged in with the correct orientation. If the
module does not fit, check the key locations and ensure the memory is the correct type.
To install memory, insert the memory module vertically into the socket. The memory
module and socket are keyed to ensure the correct orientation of the module in the
socket. Once fully inserted into the socket, the module can be pressed down towards the
board. The tabs on the socket automatically latch onto the module and secure it in place.
To remove the memory, gently pull the two tabs sideways. The module releases and can
be removed easily.
Once power is applied to the board, the BIOS automatically configures the memory.
During the memory check, a message is displayed showing the amount of memory found.

APOLLO user manual
Issue G
16
Installing a processor
The standard and Gigabit variants of the APOLLO board have a zero insertion force PGA
socket soldered to the board that accepts a range of Pentium M and Celeron M FC-PGA
processors. For a list of PGA processors, see page 91.
To install a processor into the socket, follow these steps:
1Check that the socket actuator is in the OPEN position, as shown by an open
padlock symbol:
Socket actuator Open position
2Align the small triangle on the top side of the processor with the A1 pin
position on the socket. A small triangle on the socket shows this position, as
does the APOLLO board silkscreen.
The µFC-PGA processors are designed to only fit into the socket in one way.
You should not have to press down on the processor to get it to fit into the
socket. If the processor does not drop completely into the socket, check the
orientation. If orientation is correct, turn the actuator on the socket until the
processor drops in completely.
3Gently hold the processor down and secure it in the socket by using a
screwdriver to turn the actuator to the Closed position. This is shown by a
closed padlock symbol.
4Mount a suitable cooling solution to contact the exposed processor die before
the board is powered on. The BIOS automatically determines the processor
installed and adjusts the settings accordingly. No BIOS modifications are
required.
Closed
position
Processor A1
position

Getting started with your APOLLO
Issue G 17
Connecting a floppy disk drive
The APOLLO supports one slimline floppy drive via a flat flex connector. A 26-way flat flex
cable is used to provide a direct connection between the APOLLO board connector (see
J27 – Slimline floppy drive interface on page 50) and the slimline floppy drive. Power for
the floppy drive is provided over the cable.
The BIOS default configuration assumes that a 1.44MB floppy disk is connected.
You can use the PhoenixBIOS setup to change this to other floppy drive formats.
See page 54 for details.
Connecting a hard disk drive
The APOLLO provides a single primary IDE controller, enabling up to two IDE devices to
be connected. For optimum performance, ATA66 drives and above should use an 80-way
IDE ribbon cable with 40-way connectors. An 80-way cable has additional ground lines to
improve the signal integrity at the higher ATA66 and ATA100 operating speeds.
If you add two drives to a single channel, one should be set up as a ‘master’ and the
other as a ‘slave’. The BIOS automatically detects the hard disk drive(s) during the POST
processes and configures the hardware correctly. The PhoenixBIOS allows either a
master or slave device to be the boot device. See page 54 for further details.
For further details about the IDE interface, see page 103.
The standard APOLLO cable kit provides an 80-way IDE ribbon cable for use with
ATA66 and ATA100 drives.
Connecting a CD-ROM (IDE type)
If a CD-ROM drive is required in the system, it may be connected in place of a secondary
drive (as detailed above). The CD-ROM should be configured as a ‘slave’ device.
Drivers are required to support a CD-ROM drive under DOS. If a bootable CD is inserted
in the drive, the BIOS can be configured to automatically boot from this CD.

APOLLO user manual
Issue G
18
Connecting a CompactFlash®card
The APOLLO has a single CF+ version 2.0 Type II CompactFlash®socket that supports
both Type I and Type II CompactFlash cards. This provides support for magnetic disk
drive data storage and I/O cards such as Ethernet, serial, fax/modem, barcode scanner,
Bluetooth, 802.11b wireless LAN, wireless digital cell phone cards and so on.
The CompactFlash socket is connected to the CardBus/PCMCIA controller. If a
CompactFlash card is plugged into the socket it acts as a normal hard disk drive and is
detected by the BIOS during the POST process. If the card has an operating system
loaded and is correctly configured to be bootable, it can be selected as a boot device
from the BIOS boot menu.
The CompactFlash card can only be inserted into the socket one way. The correct
orientation is for the top of the card (i.e. the normal printed side) to be furthest from the
PCB.
For further details about the CompactFlash socket, see CompactFlash®CF+ socket,
page 112.
Connecting a keyboard
A PS/2 keyboard can be connected to the PS/2 MiniDIN Connector. See page 36 for
more information.
Connecting a mouse
A PS/2 mouse can be connected to the PS/2 MiniDIN Connector. See page 36 for more
information.
Turning on your APOLLO
By default, the APOLLO BIOS is set to enter a standby state when power is applied. This
therefore requires the operator to turn the unit ON via a remote switch connected to the
board. The APOLLO power button connection should be connected to a momentary ON
push button switch; this is described in System control interface on page 105.
To set the APOLLO board into a mode whereby it automatically starts when AC power is
applied, change the After Power Failure setting in the Power screen within the BIOS
Setup. See Power menu, page 84, for more information.

Getting started with your APOLLO
Issue G 19
Using the serial interfaces (RS232/RS485/IrDA)
The four serial port interfaces on the APOLLO are fully PC compatible:
•COM1 and COM2 are decoded at standard PC address locations. PC applications
can use these ports without any special configuration.
•COM3 and COM4 are interfaced via a PCI based dual UART. The Windows and
Linux drivers provided on the APOLLO CD allow for the configuration of these
devices as standard serial ports.
The BIOS setup screens are used to configure the operation of each of the serial ports.
Connections to COM1 and COM2 are via standard DB9 connectors. COM3 and COM4
are interfaced via a 10-way boxed header. The pin assignment of these headers is
arranged to enable a 9-way IDC D-Type plug to be connected directly to pins 1-9 on the
cable. The D-type connector is compatible with the standard 9-way connector on a
desktop machine. A suitable cable is provided in the development kit.
See Serial ports, page 109 for further details about the serial port interface, and page 38
for pin details.
Connecting a printer
An enhanced printer port is incorporated into the APOLLO. This port can be used to
support a Centronics-compatible printer or ECP/EPP bi-directional device. The port
signals are routed to directly to a female DB25 connector. This socket is compatible with
a standard printer port connector on a desktop machine.
See Parallel port, on page 110, for further details about the parallel port interface, and
page 37 for pin details.
Using the audio features
The APOLLO provides an AC97 audio codec that supports standard line in, line out, mic
in functionality, or alternatively can be configured in software to support the 5.1 speaker
output format. The audio outputs are made available through board-mounted 3.5mm
stereo jacks. Interfaces are also available to support an optical S/PDIF (Sony Philips
Digital Interface) connector and CD audio input.
See pages 32 and 38 for further details.
Using the flat panel interface
The APOLLO provides a dual channel LVDS LCD display header that can be used to
directly interface to LVDS LCD displays up to a maximum resolution of 1600x1200. The
display type is selected from the PhoenixBIOS Intel IGD video setup menu. See Video
(Intel IGD) control settings, page 76, for further details.

APOLLO user manual
Issue G
20
Using the USB ports
The standard USB connector is a 4-way socket, which provides power and data signals
to the USB peripheral. It is a USB Type A connector.
USB ports 1 and 2 are standard USB Type A connectors (J4B and J4C). USB Ports 3 and
4 are provided on a 10-way header (J18) designed to be compatible with PC expansion
brackets that support two USB sockets. USB ports 5 and 6 are supported via a board
interfaced through the video option connector (J16). The 10-way header provided on the
video option board or USB5/6 breakout (see page 97) has a pinout corresponding to J18.
See pages 34, 42 and 45 for further details.
Using the Ethernet interface
The APOLLO V1Ix board provides two 10/100 Ethernet ports as standard. A factory build
option on the V1Ix board is also available that provides one 10/100 Ethernet port and one
10/100/1000 Ethernet port, thus providing Gigabit Ethernet capability.
The APOLLO V2Ix board provides one 10/100 Ethernet port and one 10/100/1000
Ethernet port, there is no variant supporting two 10/100 Ethernet ports.
Both Ethernet interfaces are capable of supporting network boot features. Two rear panel
RJ-45 pin connectors provide the Ethernet interface. To support Gigabit Ethernet
capabilities, a cable rated to CAT5e or above with four signals pairs should be used.
Further information on the Ethernet interfaces is available on page 101.
Using the 1394/Firewire ports
The APOLLO provides two IEEE1394a ports capable of supporting connection speeds of
100, 200 and 400Mbps; each port also provides a fused and diode protected 12V bus
power rail.
The IEEE1394 Port 0 (J4A) is a 6-pin 1394 connector. The IEEE1394 Port 1 supports the
connection of a 6-pin 1394 connector and is interfaced via a 10-way pin header. See
page 34 for further information.
Other manuals for Apollo
1
Table of contents
Other Eurotech Motherboard manuals
Eurotech
Eurotech PROTEUS User manual
Eurotech
Eurotech GEMINI 1U ICE User manual

Eurotech
Eurotech VULCAN-533-M64-F16 User manual
Eurotech
Eurotech ISIS-1.6-M1G-F2G-GPS User manual
Eurotech
Eurotech GEMINI User manual
Eurotech
Eurotech AIM104-COM8 User manual
Eurotech
Eurotech PXA320 User manual
Eurotech
Eurotech Titan User manual
Eurotech
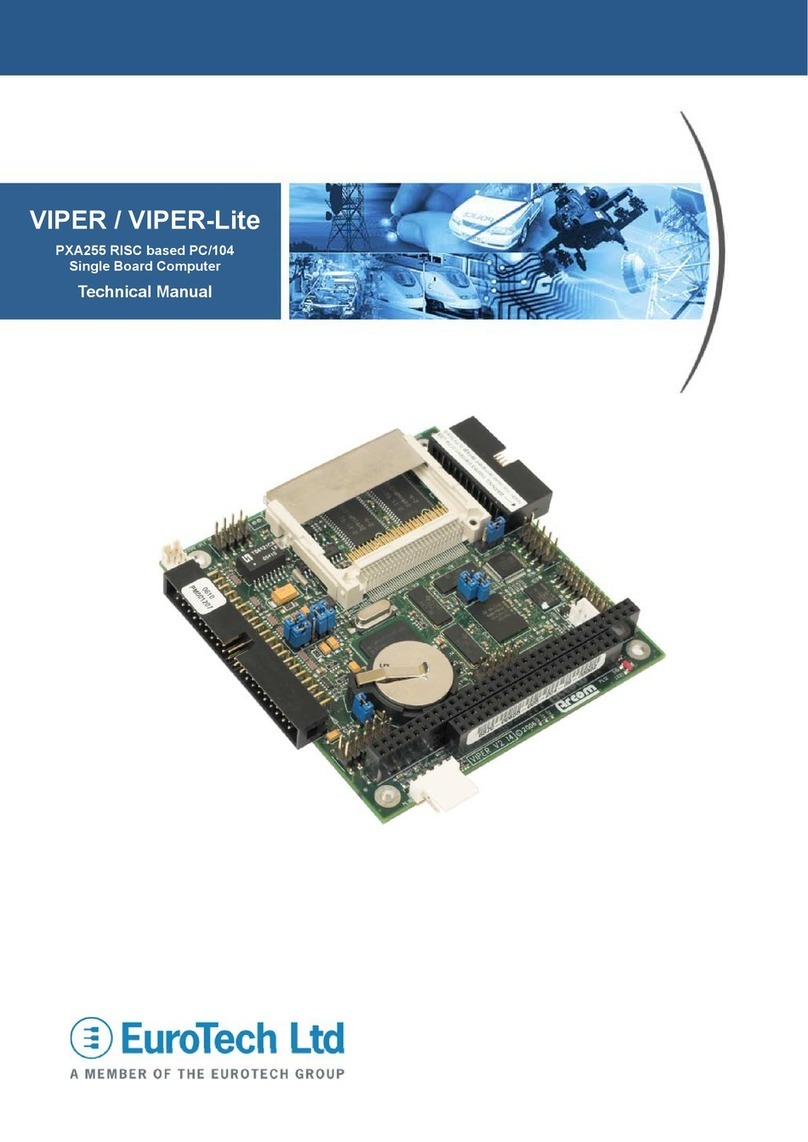
Eurotech VIPER User manual

Eurotech
Eurotech Titan User manual


