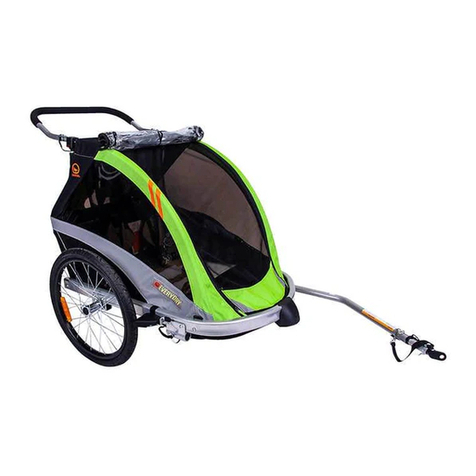
Everyday Traveler Instruction Manual

Owner’s Instructions and Safety Manual
Bike Trailer
Traveler

Contents
1. Trailer Components
2. Assembling Your Trailer
3. Attaching the Tow Arm
4. Attaching the Trailer to a Bike
5. Configuring the Trailer into a Jogger
6. Attaching the Jogger Fork Tubes
7. Attaching the Jogger Wheel
8. Attaching the Safety Flag
9. Using the Cover and Windscreen
10. Using the Brake
11. Securing Children and Cargo
12. Disassembly, Folding and Storage
13. Securing and Removing Children and Cargo
14. Maintenance, Storage and Customer Service
15. Safety Warnings
Caution!
Biking and bicycle touring are increasingly popular recreational activities. Your new trailer is designed
and constructed to provide a portable, comfortable and sturdy addition to your outdoor ventures. Please
read the instruction manual and all safety warnings closely before using your trailer and keep manuals
for future use. For questions or additional information please visit www.everdaybicycles.com
1

Package Contents:
Trailer body, 2 rear wheels, tow bar with hitch connector, jogger wheel (select models only), 2 jogger
fork arms (select models only), 2 fork arm screw mounts (select models only), flag, manual
Required Tools:
10mm wrench (for attaching to non quick release bicycles only)
2

Trailer Components
1. All weather/mesh access panel
2. Tow bar and hitch connector
3. Jogger fork arm (not included with all models)
4. Jogger wheel (not included with all models)
5. Push bar/folding assembly
6. Push button release wheels
7. Tow bar/jogger fork receiver
8. Rear brake straps
Trailer Mode
Jogger Mode (select models only)
6
8
5
1
2
3
4
7
3

Tow Bar and Hitch Connector Components
1. Hitch connector
2. Safety strap
3. Lock pin
4. Tow bar
1
2
3
4
4

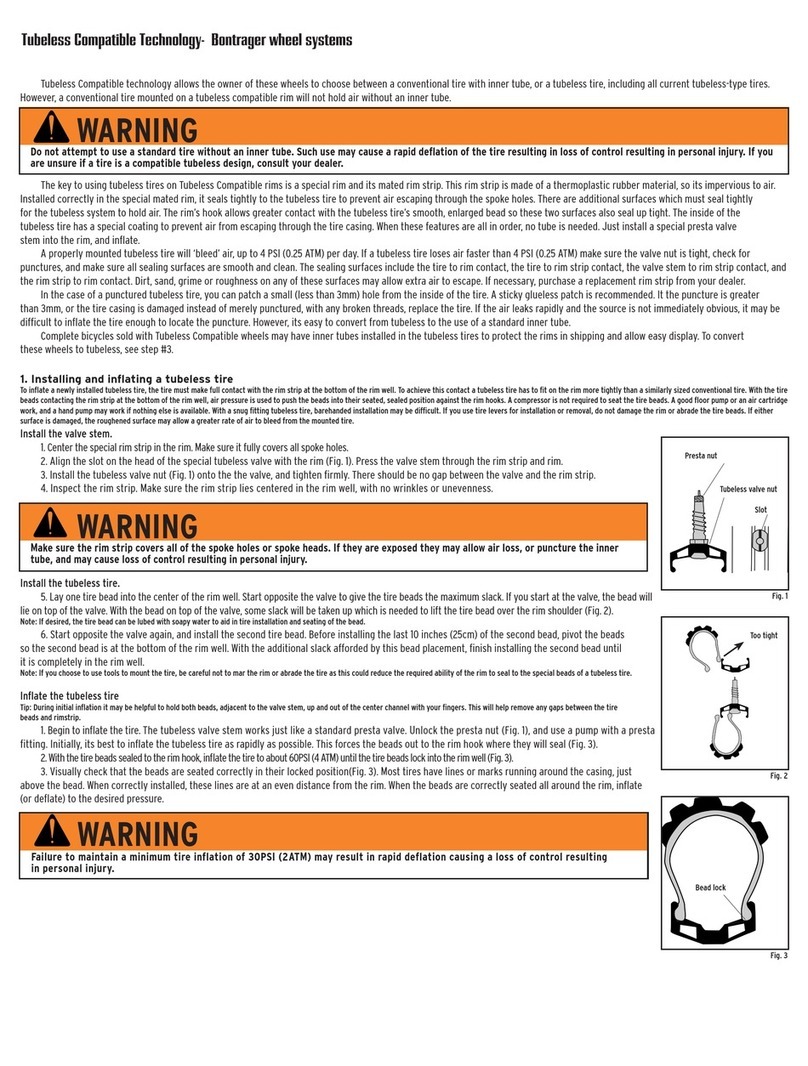
Assembling your Trailer
1. Remove the trailer parts from the box. Set the main trailer body flat on the ground with the black side
down.
2. To open the frame, lift the rear cabin tubing up, then the front tubing. Pull the rear cabin tubing up to
allow the black clip on the front cabin tubing to lock into the hardware on the rear cabin tubing. Note
this may require some initial force.
3. Once located, push the two pieces of hardware together to until they audibly “click” into position.
WARNING! Immediately discard of all plastic bags and plastic wrapping materials.
5
1
2
3
4

Attaching the Wheels
1. Insert the wheel axle into the axle receiver on the trailer body
2. Lock the wheel axle onto the frame by inserting the pin into hole on the wheel axle and locking the
pin securely. Pull firmly on the wheel to confirm the axle is fully secure.
WARNING! You must make certain the frame and wheels are locked before using the trailer.
Failure to do so could result in serious injury to you or your child. Make sure the cabin assembly is
securely locked together in place before use.
6
Using Lock Pin & Spring Clip Fasteners
To use the lock pin and spring clip fasteners, insert the pin at attachment
point until it pushes through the opposite hole. Rotate the spring clip up and
over until it snaps into place over the pin head. To unlock, reverse order.

Attaching the Tow Arm (for use as a trailer)
1. The hitch arm is held in place by a spring pin and a quick release pin. Depress the spring pin and
slide the tow arm into the receiver on the left side of the trailer as shown.
2. Once the spring pin locks in place in the hole in the bracket, locate the quick release pin, (tethered
on the trailer frame), then insert the pin through the bracket and into the hole in the tow arm. The pin
should go completely through the tow arm and bracket. Once the pin is through, flip the safety clasp
over and onto the pin. Give the pin a tug to be sure it is secure.
WARNING! Check this pin periodically during and before each use to be sure it has not become
loose. Failure to do so could result in serious injury to you or your child.
7
2
1
3

Attaching the Trailer to a Bike
Your trailer is designed to attach easily to just about any full-size bicycle. Once installed the hitch con-
nector can be left on the bicycle and the trailer released using the spring clip.
The hitch fitting must be attached to the left rear axle of the bike. Do not attach to any cycle where
it cannot attach to the axle. It is recommended that the bicycle(s) to which the trailer will be attached
undergo a safety check by a qualified bicycle mechanic before attaching the trailer to it. This trailer is
not designed to be used with electric bikes or motorcycles.
8

Attaching the Trailer to a Bike
1. Remove the quick release or nut from the left side of the bikes rear axle. Install the hitch connector
between the quick release or nut and the bike frame. Tighten the quick release or nut according to the
manufacturers recommendation.
2. Insert the flex connector onto the hitch connector. Insert the lock pin and close the spring clip. Wrap
the safety strap around the frame of the bike and latch to the D-ring on the tow bar.
WARNING! Safety strap must attach to the bike frame when using this product in trailer mode.
Quick -release lock pin must be in place and locked before riding.
The height of the hitch clamp shall not exceed 15.7in (400mm) above the road surface and the stan-
dard drawbar load shall be between 30 and 80N.
9
1
2
3
4

Removing the Trailer from the Bike
1. Remove the safety strap by releasing the clip on the D-ring. Remove the quick-release lock pin to
release the flex connector and trailer. The hitch connector can remain on the bike when the trailer is
removed.
Note: Additional hitch connectors for use on multiple bikes can be purchased at
www.viavelobike.com.
10
1
23

Configuring your Trailer into a Jogger (select models only)
Your trailer can accept an optional jogger kit.
Tow Bar and Hitch Connector Components
1. 2 fork tubes
2. 2 fixing screws
3. Quick release 16 inch wheel
11

Attaching the Jogger Fork Tubes (select models only)
1. To install the jogger kit, first remove the tow arm by releasing the lock pin and then press the spring
pin and pull out the arm.
2. Take one jogger fork tube and insert into the corresponding receiver on the trailer body and insert
the lock pin and close the spring clip.
3. Tighten the fixing screw into the threaded nut in the bottom of the front frame tube. Perform same
action for both fork tubes.
WARNING! Make sure spring pin is locked. If not locked, the pin may fall out, releasing the fork.
This may cause injury to you or your child.
12
1
2
3
4

Attaching the Jogger Wheel (select models only)
1. Open the quick release axle skewer on the wheel to allow the axle to fit inside the plastic fork tips.
Align the flats on the axle with the flats on the fork tips, and slide into the slots. Close the quick-release
lever, making sure it is tight. If the wheel is still loose in the frame, open the release lever, tighten the
thumb nut, and close the lever again. Repeat this until there is sufficient resistance to securely lock the
wheel.
Note: If the wheel does not track straight, loosen the lever and shift the wheel slightly in the slot to
adjust the direction, retighten and check the tracking.
13

Attaching the Safety Flag
1. Assemble the flag and insert the end into the small sleeve on the left side of the trailer body.
WARNING! This flag is meant for use only with the trailer and greatly increases your visibility to
others. This flag is not a toy. Do not let your child play with this flag when not in use. Failure to com-
ply with this warning could result in serious injury to your child.
14

Using the Cover and Windscreen
1. The clear vinyl windscreen and the protective mesh barrier zip open for loading. In inclement
weather, the clear windscreen protects your passengers from the elements. Weather permitting, you
can roll up the clear window and affix with the elastic straps provided. The mesh allows ventilation,
but prevents debris from entering the trailer.
WARNING! Rocks and debris from the bicycle wheels could injure your child. Never use the
trailer without closing the mesh cover. Failure to do so could result in serious injury to your child.
15

Using the Brake
Your trailer is equipped with a strap parking brake for added safety. When loading or unloading or
parking your trailer, engage the parking brake to prevent the trailer from moving.
1. Release the buckle from the strap affixed to the rear of the trailer frame. Loop the free end of the
strap through the spokes of the wheel, and clip the latch to the D-ring as shown.
WARNING! When releasing the brake, make sure to return the strap to the frame, and clip in
place. Failure to do this will allow the strap to drag the ground, or it may become tangled in the
wheel.
16
1
2

Securing Your Child
Place a single child in the center and use the center strap in the middle. For two children use the outer
center straps and shoulder straps.
1. Un-clip the straps and place your child in the seat. Adjust the upper buckles to fit snugly above your
child’s shoulders. The crotch strap buckle should come just below your child’s belly button, where a normal
belt would lay. Adjust the ladder lock so the buckle is in the correct position.
2. Buckle the two side straps to the crotch strap and adjust snugly so you can fit average size fingers
between belt and your child. The buckle should be centered in your child’s abdomen. Hook the shoulder
straps to the D-rings on the buckle and adjust the ladder locks so they fit snugly.
WARNING! To avoid serious injury or death from falling or sliding out, children should always
wear the seat belt and shoulder straps. There should be a minimum distance of 1.5in (494mm) between
the top of the child’s head (without a helmet on) and the roof of the cabin. If the child’s head protrudes
above the upper crossbeam when seated, they are too tall to ride safely in the trailer.
17

18
Cargo Storage
The trailer has a rear storage area. This is not intended for items weighing more than 10lbs (4.5kg).
WARNING! Distribute items carefully and evenly. Items may cause the trailer to become unstable.
Failure to comply with this warning could result in serious injury to you or your child
Folding Your Trailer
To fold your trailer, simply locate the release latches on the vertical frame tubes. To operate the latches,
first depress the red button, and then separate to open the frame. Push forward to fold. The trailer can
be folded with or without the wheels on. If the wheels are removed, they can be stowed inside the
trailer when not in use. To remove the wheels, simply disengage the lock pin, and pull the wheel out
from the frame.
1
2

19
General Maintenance
From time to time, check your trailer for loose hardware, worn parts, torn material or stitching.
Repair or replace parts as needed. Over or under inflation of tires may cause handling issues for the
trailer. Replace tires only with street tread tires.
We suggest you periodically clean all parts, wipe dry and then let air dry, especially if exposed to salt
water, salt spray, beach sand etc.
WARNING! Do not make any modifications to the trailer. Be sure that the trailer and bike are in
good working conditions. A bike dealer can help you with inspection and maintenance.
Do not use cleaning solvents. Clean only with mild soap and water.
Seasonal Storage of Your Trailer
Inspect the trailer and its parts before and after each use and storage. Check the working conditions of
both trailer and bike before each use.
Store trailer in a dry area and always make sure trailer is dry before storing.
WARNING! To prevent color fading and eventual weakening of the fabrics or components, store
the trailer out of direct sunlight.
Service and Repair of Your Trailer
Service and repair can be performed by any bike shop.
For any assembly questions or for replacement parts, PLEASE DO NOT RETURN TO THE STORE!
Call customer service by phone
Email customer service at
855-249-1471
Table of contents
Other Everyday Bicycle Accessories manuals
