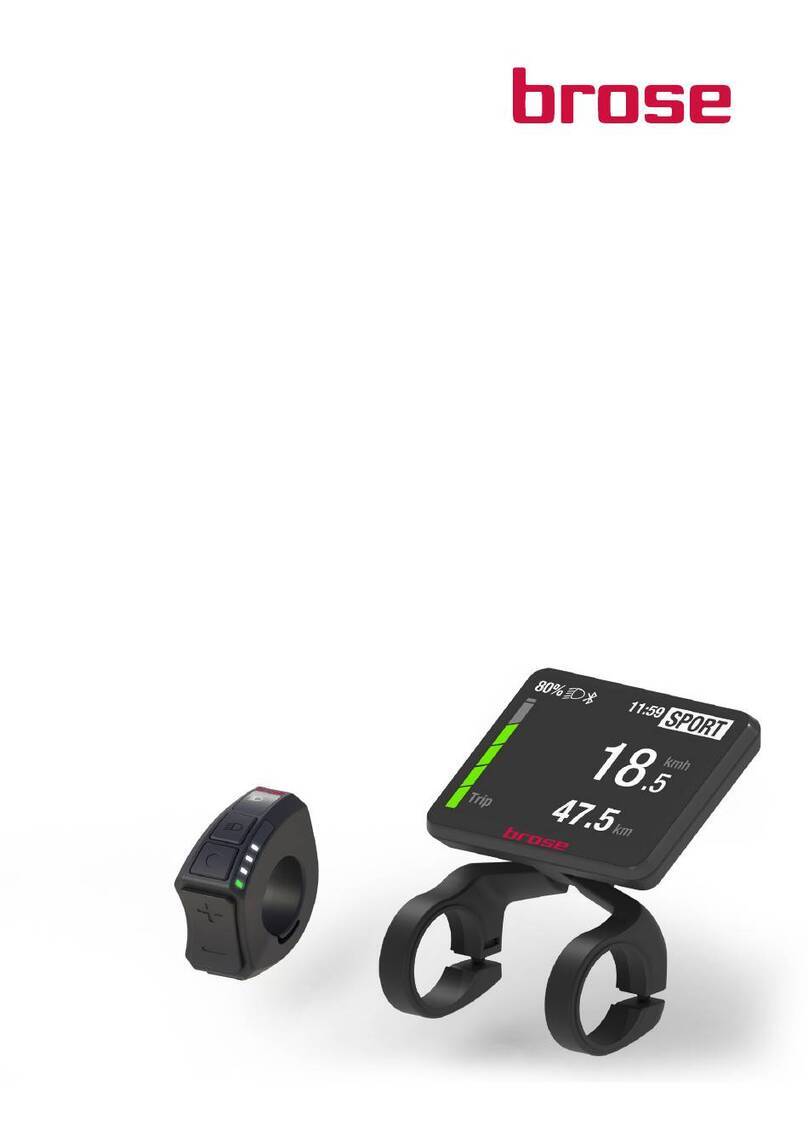
Brose E 41230 User manual

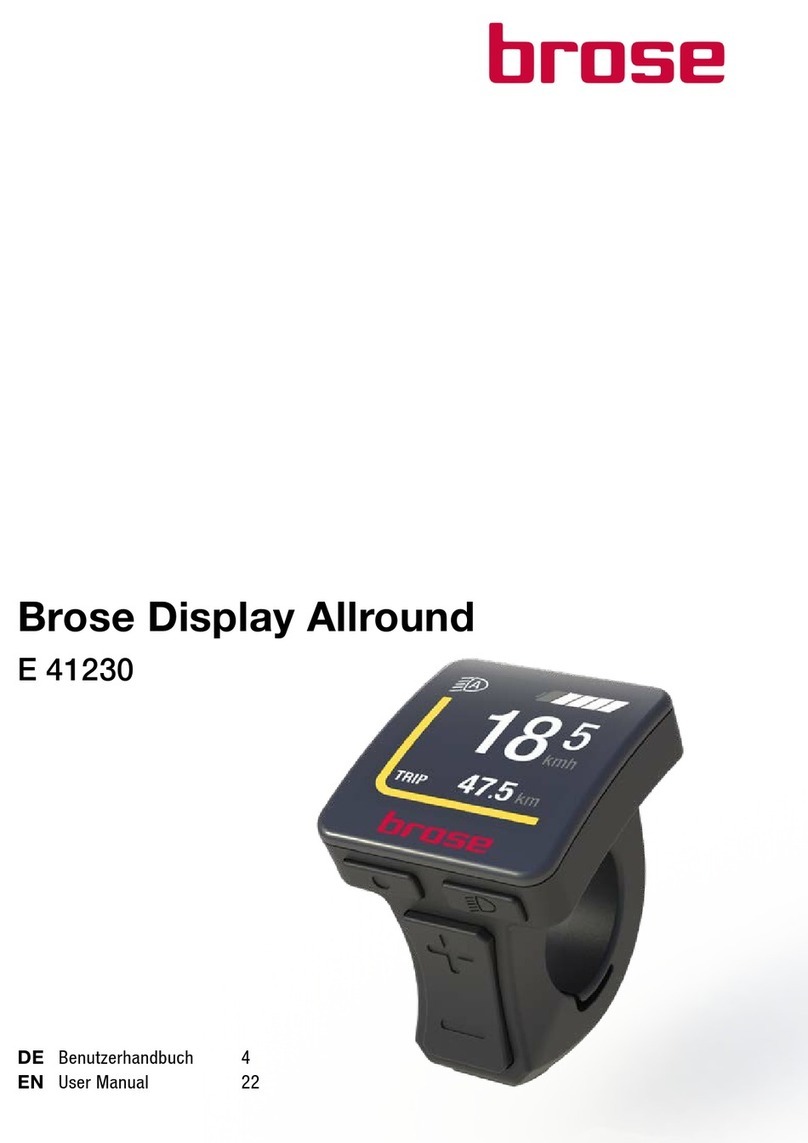
Brose Display Allround
E41230
ORIGINAL OPERATING INSTRUCTIONS

EN | 2 // Brose Display Allround E41230
I
kmh
18 5
OFF
kmh
18 5
OFF
II
kmh
18 5
BOOST
kmh
18 5
SPORT
kmh
18 5
TOUR
kmh
18 5
ECO
kmh
18 5
OFF
III
kmh
35
PUSH -
1.
kmh
35
WALK
2.
IV
A. Quick start overview

3 | ENBrose Display Allround E41230 //
(2)
(6)
(1)
(3)
(4)
(5)
B. Key assignment overview
20.3 Nm (max. 0.5 Nm)
Allround Display
Brose Drive
1.
2.
3.
(8)
(8)
(7)
C. Assembly and adjustment

EN | 4 Table of contents // Brose Display Allround E41230
Table of contents
About these
original operating instructions 5
1 Additionally
applicable documents 5
2 Reading and storing
the user manual 5
3 Intended use 6
4 Foreseeable misuse 6
5 Residual risks 7
6 Explanation of illustrations 8
7 Explanation of symbols and signs 9
For your safety 10
8 Information regarding
safety and warning notices 10
9 Safety notice 11
Assembly and adjustment 13
10 Mounting and adjusting
the control unit 14
11 Adjusting the control unit 14
Before initial commissioning 15
12 Basic controls (buttons) 16
13 Display basics 17
14 Menu structure and navigation 18
Operation and control 19
15 Switching the
Brose Drive System on and off 19
16 Selecting the assistance level 20
17 Using the push assist 21
18 Switching the lighting on and off 22
19 Changing the
trip information view 22
Displays 23
20 System information 23
21 Battery charge level display 23
Menu and settings 24
22 Menu 24
23 Settings 25
24 Settings System 26
Error handling 27
25 Troubleshooting 27
26 Error indication in the display 28
Transport,
maintenance and cleaning 29
27 Transport 29
28 Maintenance 29
29 Cleaning 30
Technical data 31
30 Control unit
Brose Display Allround 31
31 Declaration of Conformity 31
Disposal 32
Service 34
32 Customer care and service 34
33 Copyright 34

5 | ENBrose Display Allround E41230 // About these original operating instructions
These original operating instructions – referred to as the user manual in the
following – is based on the standards and regulations applicable in the European
Union and contain important information on the use of Brose components.
About these original operating instructions
1 Additionally applicable documents
This user manual is part of the original
operating instructions for the Brose
Drive System.
The complete original operating
instructions consist of all documents
relating to the individual components of
the Brose Drive System installed in your
e-bike.
The component configuration for the
Brose Drive System installed in your
e-bike can be found in the included data
sheet of the e-bike manufacturer.
You absolutely must read and observe
the following:
· The operating instructions of the
e-bike manufacturer,
· The user manuals of supplementary
components of the Brose Drive
System,
· The user manuals for additional and
special equipment.
2 Reading and storing the user manual
Read the user manual, especially the
safety advice in the following chapters,
carefully before using components of
the Brose Drive System.
This user manual contains information
for the safe and fault-free use of the
Brose Display Allround E41230 for the
Brose Drive System.
This user manual does not contain any
instructions for operating the complete
Brose Drive System (information on this
topic can be found in the additionally
applicable documents).
· Keep the user manual at hand for
further use by all users.
· If you hand over your e-bike or
individual components of the Brose
Drive System to third parties, always
include the pertinent operating
instructions and all additionally
applicable documents.

EN | 6 About these original operating instructions // Brose Display Allround E41230
3 Intended use
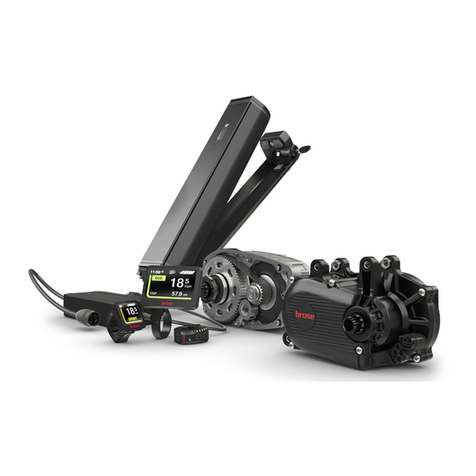
The Brose Drive System is designed as
an e-bike drive system. It consists of
several components.
The components of the Brose Drive
System installed in your e-bike are
especially designed for your e-bike
and may only be used in their original
configuration as intended.
The Brose Display Allround E41230
component described in these operating
instructions is one of them.
The manufacturer’s instructions for
the intended use of the e-bike (e.g.,
use on certain terrain or similar
instructions) must also be followed (see
the manufacturer’s instructions for the
e-bike).
The Brose Display Allround E41230 is
used for displaying information relevant
to cycling and to control the drive unit of
the Brose Drive System.
· The Brose Display Allround E41230
is designed and intended only for use
with a Brose Drive System.
· The Brose Display Allround E41230
can be mounted on the right or left
handlebar of the e-bike.
· Any other use is regarded as improper.
Brose accepts no liability for damage
caused by incorrect or improper
installation or use other than that
intended. Only use the Brose Drive
System as described in this manual. Any
other use is considered improper and
may result in accidents, serious injury
and damage to the drive system.
4 Foreseeable misuse
Foreseeable misuse, especially tuning,
will void the CE marking of your e-bike
(EPAC up to 25km/h) – with all legal
consequences.
Tuning consists of all non-approved
modifications to the Brose Drive System
or e-bike that manipulate performance.
Accidents that can be traced back to
technical manipulation are subject to
high personal liability costs and criminal
prosecution.
Furthermore, any kind of tampering with
the Brose Drive System will void the
warranty and guarantee claims on your
e-bike.
Refrain from the following misuse of
the Brose Display Allround E41230 or
the e-bike equipped with it in order to
prevent hazards:
· Improperly performed repairs and/or
maintenance work;
· Improperly performed cleaning and
care;
· Structural modifications to the
delivery condition of the Brose Drive
System or the e-bike equipped with
it, especially tuning, and any other
manipulation of the Brose Drive
System and its components;
· The opening and modification of
all components of the Brose Drive
System.

7 | ENBrose Display Allround E41230 // About these original operating instructions
5 Residual risks
Certain residual risks unavoidably remain
when using the e-bike - despite a well-
calculated design by the manufacturer
and compliance with the specifications
for intended use by the user.
You can reduce these residual risks
yourself by observing all safety and
warning notices, but you cannot
completely exclude them. It is therefore
vital that you be aware of the existence
of residual risks when using the e-bike.
Unforeseeable residual risks associated
with the use of the e-bike described here
include:
Risk of injury
· Unforeseeable cycling maneuvers
and/or misbehavior of other road
users.
· Surprising or sudden changes in the
road surface conditions, such as
freezing wetness or “black ice”.
· Incalculable material defects or signs
of wear that may cause components
of the e-bike to break or impair their
function.
Risk of fire
· Internal, invisible damage can cause
the battery to catch fire and ignite
objects in the vicinity.
Risk of damage
· When the battery is burning,
hydrofluoric acid escapes with the
flue gas. Hydrofluoric acid is highly
corrosive and permanently damages
surfaces.

EN | 8 About these original operating instructions // Brose Display Allround E41230
6 Explanation of illustrations
Illustrations in this user manual show
functions by way of example and may
differ from the actual appearance of your
Brose Drive System.
All illustrations are schematic and
examples only. Some details may vary
for your e-bike depending on the e-bike
manufacturer. Detailed information on
your entire e-bike is available from your
dealer and e-bike manufacturer.
The numbering in the following tables
refers to the illustrations at the beginning
of this manual.
Illustration overview
A. Quick start overview
B. Key assignment overview
C. Assembly and adjustment
Illustrated components
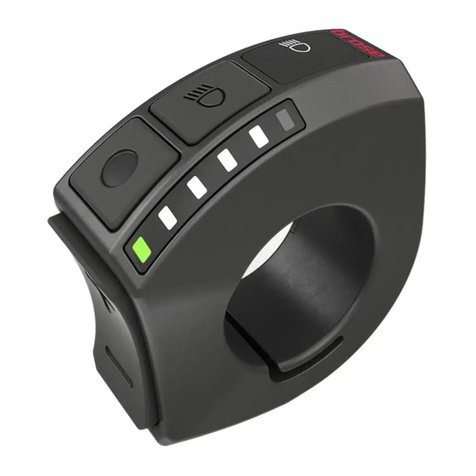
(1) Button (On/Off)
›Switch system on/off
(2) Button (Menu)
›Confirm selection
(3) Button (Light)
›Jump menu back one level
(4) Button (Plus)
›Increase assistance level /
›Page up menu
(5) Button (Minus)
›Decrease assistance level /
›Page down menu
›Activate push assist
(6) Button (Push Assist)
›Release push assist
(7) Plug
›Connection to the motor unit
(8) Grub screw
›Control unit fastening

9 | ENBrose Display Allround E41230 // About these original operating instructions
7 Explanation of symbols and signs
The following symbols can be found on the components of the Brose Drive System
and in this user manual.
Read and observe the user
manual to ensure safe use.
For your own protection
and for the protection of the
components, observe all
instructions marked with this
symbol!
Never twist the fixed control
unit. Always loosen the grub
screw before turning the
control unit to adjust it.
Products marked with
this symbol comply with
all applicable Community
regulations of the European
Economic Area.
Labeling of rechargeable
and other batteries that
must not be disposed of
with household or residual
waste. Dispose of the
labeled rechargeable and
other batteries at suitable
collection points.*
Electrical appliances
with this labeling must
not be disposed of with
household or residual waste.
Consumers are required by
law to dispose of electrical
equipment with this labeling
at appropriate collection
points for environmentally
sound recycling.*
Dispose of the packaging
according to type. Put
cardboard in the waste
paper container and foils in
the recyclables container.*
Bluetooth®
The Bluetooth®word mark and logos are
registered trademarks and the property
of Bluetooth SIG, Inc.
Any use of these word marks/logos by
Brose Antriebstechnik GmbH and Co. is
under license.
*Please also observe the notes on disposal on page
32
.

EN | 10 For your safety // Brose Display Allround E41230
For your safety
8 Information regarding safety and warning notices
This user manual contains instructions
and notices for your safety, as well as
the safe and proper operation of the
Brose Drive System.
For your own safety, please read all
safety notices and information in this
chapter carefully before using the Brose
Drive System or the components.
8.1 Explanation of
safety and warning notices
Basic safety notices are summarized
in this chapter and include instructions
that basically apply to safe use or to
maintaining a safe condition.
Action-related warnings warn of residual
dangers and precede the respective
step.
8.2 Presentation and structure of
safety and warning notices
SIGNAL WORD
Type and source of the danger!
Explanation of the type and source of
the danger.
»Measures for preventing the danger.
8.3 Danger classification of
safety and warning notices
The safety and warning notices are
classified with regard to their level of
danger.
The danger levels with the corresponding
signal words and warning symbols are
explained below.
DANGER
Danger that will result in death or
serious injury if not prevented.
WARNING
Danger that can result in death or
serious injury if not prevented.
CAUTION
Danger that can result in moderate or
minor injury if not prevented.
NOTE
Danger that can result in property
damage if not prevented.

11 | ENBrose Display Allround E41230 // For your safety
9 Safety notice
WARNING
Dangers for e-bike users!
Basically, specific dangers arise
when using e-bikes. Depending on
the e-bike model in which the drive
system is installed, there may be
additional dangers not mentioned
here.
»Read and follow the manufacturer’s
instructions for your e-bike.
»Find out about any applicable
national regulations concerning
e-bikes and observe them.
WARNING
Risk of accidents and injury!
If you are distracted by the operation
or displays on the control unit while
cycling, a risk of accidents and
injuries arises.
»Familiarize yourself with the handling
of the control unit and the various
indications and views on the display
before setting off (away from road
traffic).
»Do not be distracted by controls or
displays while cycling.
»Drive with foresight and do not make
any settings on the control unit (e.g.
change the assistance level) during
delicate cycling maneuvers and in
unclear cycling situations.
WARNING
Risk of accidents and injury!
If the Brose Drive System is activated
accidentally, accidents and injuries
may result.
»Always remove the battery from the
e-bike:
− Before transporting the e-bike.
− Before performing any work on the
e-bike.
− Before storing the e-bike.
WARNING
Risk of accidents and injury!
There is a risk of injury if the push
assist is used improperly.
»Only use the push assist as an aid
when pushing your e-bike:
− When push assist is activated, the
e-bike must be held securely with
both hands and the wheels must
be in contact with the ground.
− Do not use the push assist to
propel yourself while sitting on the
e-bike.

EN | 12 For your safety // Brose Display Allround E41230
NOTE
Risk of damage!
Improper handling can damage the
Brose Drive System or the individual
components.
»Only have individual components
of the Brose Drive System and
the e-bike replaced with identical
components or other components
expressly approved by Brose or the
e-bike manufacturer. In this way, you
can protect the other components or
your e-bike from possible damage.
»Never open the components
of the Brose Drive System. The
components may be destroyed by
opening, voiding the warranty.
»Do not place the e-bike upside down
on the handlebars and saddle.
»Do not use the control unit as a
handle.
»Do not lift the e-bike by the control
unit.
»Never twist the fixed control unit.
Always loosen the grub screw before
turning the control unit to adjust it.

13 | ENBrose Display Allround E41230 // Assembly and adjustment
Assembly and adjustment
WARNING
Risk of accidents and injury!
Incorrect or improper assembly and
maintenance work can damage
your e-bike or the components and
increase the risk of accidents.
»Do not overestimate your technical
abilities.
»Have assembly and maintenance
work, in particular the replacement of
components and spare parts, carried
out only by an authorized Brose
specialist dealer.
»Do not under any circumstances
carry out any work or make any
changes to your e-bike or the
components if you do not have the
necessary expertise and required
tools.
»Always switch off the Brose Drive
System and remove the battery
before starting work.
»Make sure that you can safely operate
the controls on the handlebars at all
times.
NOTE
Risk of damage!
Improper handling can cause
damage to the control unit.
»Never twist the fixed control unit.
Always loosen the grub screw before
turning the control unit to adjust it.
INFORMATION
· The control unit can be mounted
on either the left or right side of the
handlebar.
· Brose recommends positioning on
the left-hand side of the handlebar.

EN | 14 Assembly and adjustment // Brose Display Allround E41230
10 Mounting and adjusting the
control unit
›
fig.C,page3
1. Carefully remove the handle and open
the fastening of the brake, gear shift
and all other components mounted
on the selected side of the handlebar.
›Observe the respective manufac-
turer’s instructions for the compo-
nents and the e-bike.
2. Carefully loosen the grub screw (8)
with a size 2 mm (3/32 in.) hexagon
socket on the control unit.
›NOTE: The screw cannot be
removed from the control unit.
3. Slide the control unit onto the
handlebar from the side.
›Position the control unit close to the
handle so that all keys can be easily
operated by your thumb.
›Make sure that the connection cable
is not crushed or kinked.
4. Slightly tighten the grub screw with a
size 2 mm (3/32 in.) hexagon socket.
›Do not tighten the screw yet.
5. Check the position of the control unit.
›Are all buttons accessible with your
thumb?
›Is the display clearly visible?
6. Tighten the grub screw with the
hexagon socket.
›Torque: 0.3 Nm (max. 0.5 Nm).
7. Connect the plug (7) of the control
unit with the plug of the motor cable.
›This connection may vary depending
on the equipment of their e-bike.
11 Adjusting the control unit
›
fig.C,page3
1. Carefully loosen the grub screw (8)
with a size 2 mm (3/32 in.) hexagon
socket on the control unit.
›NOTE: The screw cannot be
removed from the control unit.
2. Adjust the position of the control unit.
›Are all buttons accessible with your
thumb?
›Is the display clearly visible?
3. Tighten the grub screw with the
hexagon socket.
›Torque: 0.3 Nm (max. 0.5 Nm).

15 | ENBrose Display Allround E41230 // Before initial commissioning
Before initial commissioning
WARNING
Risk of accidents and injury!
Becoming distracted by the
operation or the indications on the
display while cycling can result in
accidents and serious injuries.
»Familiarize yourself with the functions
and handling of the control unit away
from road traffic before using your
e-bike for the first time.
NOTE
Risk of damage!
Improper handling can cause
damage to the control unit.
»Never twist the fixed control unit.
Always loosen the grub screw before
turning the control unit to adjust it.
Commissioning the control unit does not
require any further steps after assembly.
The control unit is ready for operation as
soon as it has been connected correctly
and the battery is sufficiently charged.
· You can use the controls (buttons)
on the control unit to control the
functions of your Brose Drive System.
· The display of the control unit informs
you about the selected assistance
level, as well as other information on
your Brose Drive System.
INFORMATION
· The control unit does not have its own
battery and therefore cannot be used
or operated outside the e-bike.
· Provided the e-bike is switched
on, the control unit always remains
switched on during cycling, even if
the motor assistance is deactivated.
INFORMATION
A complete function is only given if
the speed sensor as well as all cables
have been connected correctly and the
battery is charged (at least one white
charging bar visible).
INFORMATION
· The menu and settings cannot be
accessed while cycling.
· All interface representations and
interface texts on the following pages
correspond to the release status of
the software.
· An update may change the display
slightly; you can obtain this update
from your authorized Brose dealer.

EN | 16 Before initial commissioning // Brose Display Allround E41230
12 Basic controls (buttons)
(4)
(5)
(2)
(3)
(1)
Fig. 1: Controls (buttons) of the control unit
(1) Button (On/Off)
(2) Button (Menu)
(3) Buttons / (Plus/Minus)
(4) Button (Light)
(5) Button (Push Assist)
Button (On/Off)
›Press the button to switch the
Brose Drive System on or off again.
Button (Menu)
›With the button, you can retrieve
various information while cycling.
›If you are in a menu (e.g. “Settings”),
use this button to confirm the
settings you have made.
Buttons / (Plus/Minus)
›Using the n / buttons, you can
increase or decrease the assistance
level.
›If you are in a menu (e.g. “Settings”),
you can use these two keys to scroll
up or down in the menu.
Button (Light)
›Use the button to switch the
lighting of your e-bike on or off
again. This function depends on the
model.
›If you are in a menu (e.g. “Settings”),
press the button to go back one
level. Changed settings are saved.
Button (Push Assist)
›Press the button to enable the
push assist function.

17 | ENBrose Display Allround E41230 // Before initial commissioning
13 Display basics
kmh18 5
km
47,5
Trip
kmh
18 5
km
47,5
Trip
(3)
(6) (6)
(5)(5)
(2)
(3)
(2)
(4)
(4)
(1)(1)
Plain DesignStandard
Fig. 2: User interface
(1) System status information
(e.g.errors)
(2) Lighting display
(3) Battery charge level display
(4) Current assistance level
(5) Trip information (including unit)
(6) Speed (including unit)
The control unit offers a choice of two
different user interfaces.
· Changing the user interface
(see chap. 23 on page 25)
.
· The upper display area forms the
status bar and is permanently
displayed while cycling.
· In the center display area, the current
speed and the charge level or the
assistance level are displayed as a
colored line.
· In the lower display area, you can
use the button to call various trip
information (trip data).

EN | 18 Before initial commissioning // Brose Display Allround E41230
14 Menu structure and navigation
The menu structure of the Brose control
unit is as follows:
Settings
Reset
Tripinformation
Menu
BACK
(1)
(2)
(3)
(4)
Fig. 3: Menu structure
(1) Headline (permanently visible)
(2) Menu sub-item
(3) Back (last list item)
(4) Navigation bar
To access the menu, stop or start the
e-bike and proceed as follows with the
e-bike stationary:
· Press the button for two seconds.
›Menu is shown on the display.
· Navigate to the desired list item with
the /buttons and call it with the
button.
To go back one level:
· Select Back and confirm with the
button.
· Or: Press the button.

19 | ENBrose Display Allround E41230 // Operation and control
Operation and control
15 Switching the Brose Drive System on and off
INFORMATION
· The Brose Drive System can only be
started up with a sufficiently charged
battery (at least one white charging
bar visible).
· Depending on the battery installed
in your e-bike, it may take a few
moments for the display of the control
unit to turn on.
Activation
· With the e-bike battery inserted, press
the button on the control unit once.
›The Brose Drive System is now
ready for operation.
The drive is activated as soon as
you start pedaling. The motor power
depends on the assistance level set on
the control unit.
As soon as you stop pedaling in normal
mode or as soon as you reach a speed
of 25 km/h, the assistance function of
the e-bike drive is switched off.
The drive is automatically reactivated
as soon as you start pedaling and the
speed is below 25 km/h.
Deactivation
· Press the button on the control unit
for at least 1.5 seconds.
›The system takes about 3 seconds
to turn off completely. You can turn
on the system again only after it has
shut down completely.
The control unit, drive unit and battery
are switched off completely.
Automatic deactivation
If no power is called up from the e-bike
drive for approx. 15 minutes (e.g.
because the e-bike is stationary) and no
button is pressed on the e-bike control
unit, the Brose Drive System switches
off automatically to save energy.
The time after which the control unit
switches off automatically can be
adjusted in the settings
(see chap. 24 on
page 26)
.
The control and display unit is always
switched on, even if the motor assistance
is deactivated.
Always switch off the Brose Drive
System when you park the e-bike.

EN | 20 Operation and control // Brose Display Allround E41230
16 Selecting the assistance level
Your Brose Drive System has four
assistance levels.
During the ride, the level is displayed to
you as a colored band or as text in the
status bar, depending on the selected
user interface
(Fig. 2,page17)
.
The characteristics of the respective
assistance mode can be found in table
«Overview of the assistance levels»
.
You can set on the control unit how
much the e-bike drive assists you when
pedaling. The assistance level can be
changed at any time, even while cycling.
To increase the assistance level, press
the button on the control unit
repeatedly until the desired assistance
level appears in the display. To decrease,
press the button.
For 2 seconds, the selected assistance
level is displayed in the trip information
area, also as text.
Overview of the assistance levels
OFF
(grey)
No motor assistance.
Simultaneously resistance-
free cycling.
ECO
(green)
Noticeable support from
the engine for maximum
efficiency and range.
TOUR
(blue)
Clearly noticeable assistance
from the engine, optimum for
long trips.
SPORT
(yellow)
Powerful assistance for
sporty cycling.
BOOST
(red)
Full support for sporty
cycling, on hilly routes and
in city traffic with normal
battery range.
Other manuals for E 41230
1
Table of contents
Other Brose Bicycle Accessories manuals