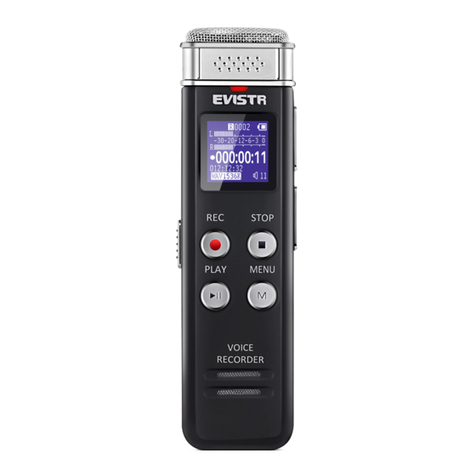
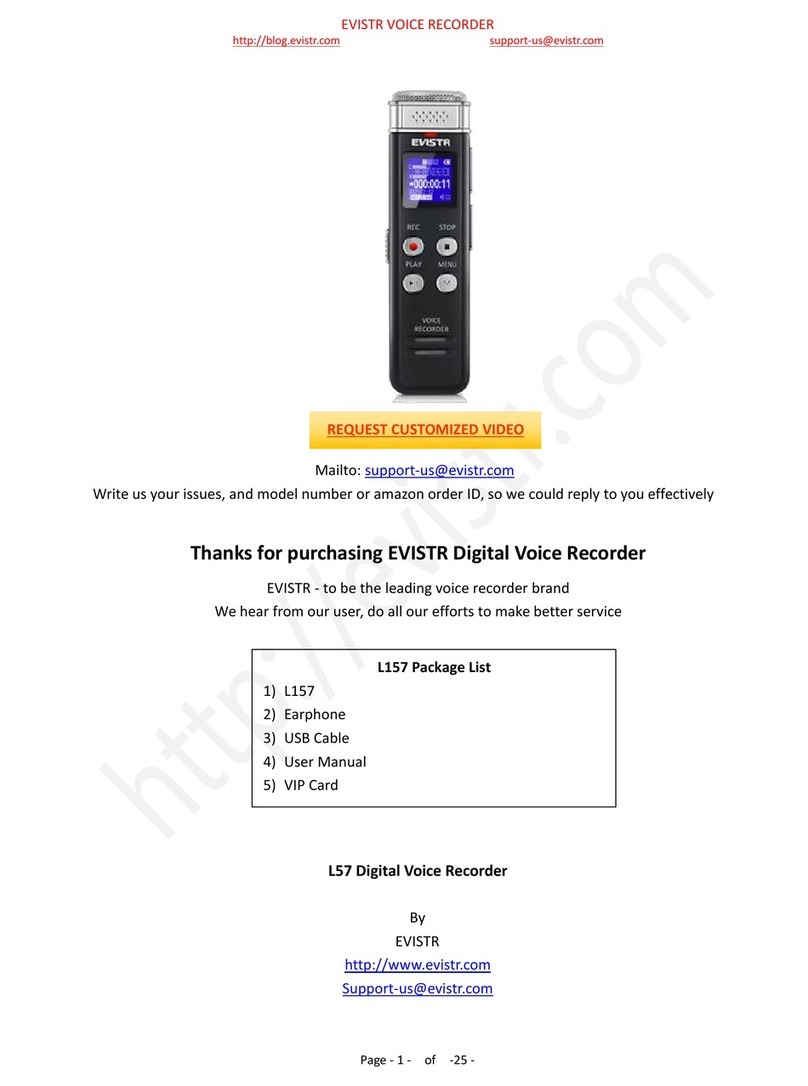
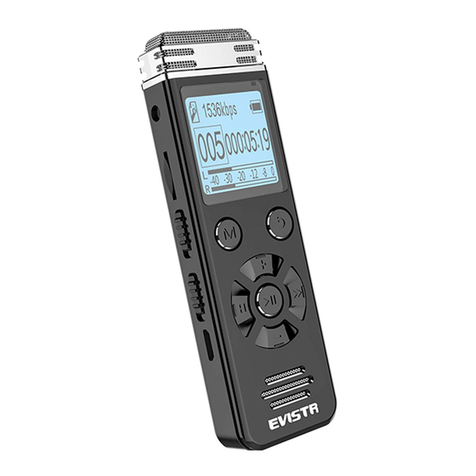
Evistr L36 User manual

EVISTR VOICE RECORDER
http://blog.evistr.com support-us@evistr.com
Page - 1 - of -14 -
Mailto: support-us@evistr.com
Write us your issues, and model number or amazon order ID, so we could reply to you effectively
Thanks for purchasing EVISTR Digital Voice Recorder
EVISTR - to be the leading voice recorder brand
We hear from our user, do all our efforts to make better service
L36 Digital Voice Recorder
By
EVISTR
http://www.evistr.com
Support-us@evistr.com
REQUEST CUSTOMIZED VIDEO
L36 Package List
1) L36
2) Earphone
3) LINE-IN Cable
4) External Microphone
5) USB Cable
6) User Manual
7) VIP Card

EVISTR VOICE RECORDER
http://blog.evistr.com support-us@evistr.com
Page - 2 - of -14 -
CHAPTER ONE....................................................................................................................................... - 3 -
L36 Open the Box................................................................................................................................. - 3 -
1) The Package Information..........................................................................................................- 3 -
2) The Operation Guide Explain................................................................................................... - 3 -
3) Important Notice Before Using The Device............................................................................. - 4 -
CHAPTER TWO...................................................................................................................................... - 5 -
L36 Basic Operation Guide................................................................................................................... - 5 -
1) Charging Voice Recorder.......................................................................................................... - 5 -
2) Turn On Voice Recorder........................................................................................................... - 6 -
3) How to Recording.....................................................................................................................- 6 -
4) How to Pause and Resume Recording..................................................................................... - 8 -
5) How to Playback Recording......................................................................................................- 8 -
6) How to Fast Forward / Rewind.................................................................................................- 9 -
7) How to Move to Next / Previous..............................................................................................- 9 -
8) How to Adjust Speaker Volume............................................................................................... - 9 -
9) How to Delete Recordings........................................................................................................- 9 -
10) Download File to Computer.................................................................................................- 10 -
11) How to Play Music................................................................................................................- 10 -
12) Restore to Factory Settings.................................................................................................. - 11 -
13) REST (When Device was frozen)...........................................................................................- 11 -
14) How to Connect to Computer..............................................................................................- 11 -
15) Format EVISTR L36 Drive on Computer Directly..................................................................- 12 -
16) System Time & Date Setting.................................................................................................- 12 -
17) Go to Setting (Menu Options)..............................................................................................- 14 -

EVISTR VOICE RECORDER
http://blog.evistr.com support-us@evistr.com
Page - 3 - of -14 -
CHAPTER ONE
L36 Open the Box
1) The Package Information
The original package comes with film wrapped, and have bar code information
Package List
1 x L36 Machine
1 x Earphone
1 x LINE IN Cable
1 x External Microphone
1 x USB Cable (for data transfer and charging)
1 x VIP Card
We highly suggest you register from our BRAND site, to get extended warranty, verify the product
authentication and better customer service.
2) The Operation Guide Explain
MENU
Built-in Speaker
Built-in Microphone
External Mic Jack
Earphone Jack
HOLD: lock/unlock
USB Socket
POWER button
DELETE
microSD card slot
RESET hold

EVISTR VOICE RECORDER
http://blog.evistr.com support-us@evistr.com
Page - 4 - of -14 -
Press: it means hit and release the button
Press and Hold: it means press and hold it down 2-3 seconds till you see changes on the screen
display
ON/OFF: the middle PLAY button
PLAY: Play / pause / confirm / OK
REC: Recording
STOP: Stop play / Cancel /Return/ Save Recording
MENU: enter menu options / Switch Between MUSIC and RECORD folder
REW/FF (Previous / Next): Fast Forward/Rewind, Previous/Next
VOL+/VOL-: Vol Adjust, up/down selection
3) Important Notice Before Using The Device
DOs
Turn ON / OFF the recorder by press and hold PLAY button (this device also could press and
hold REC button to fast boot up to record)
Backup data frequently as you could
Charging the device via the enclosed USB cable to computer or wall charger (charger input less
than 5V 1A)
When battery low, save your recordings, and charge it immediately
Device support charging and recording at the same
Remember to Press STOP to save recording every time finished a recording
Vol - / Down
Fast Forward / Next
Vol + / Up
Record
Stop / Return / Save
Recording
Play / Pause / Confirm /
OK / Turn ON/OFF
Rewind / Previous

EVISTR VOICE RECORDER
http://blog.evistr.com support-us@evistr.com
Page - 5 - of -14 -
Recorder will not make any noise during recording, except Record LED light flash (this function
could turn off)
Keep this EBOOK and its Booklet in the package safely for future reference
Customer satisfaction and warranty is our mostly important thing. Any issues, just directly
contact us support-us@evistr.com
Contact customer service with ORDER ID or System Firmware Version Information, Bar Code on
the package, so you will get more effectively reply
Register VIP service, get gifts free, extend warranty, effectively customer service
DON’Ts
Do not cut off the device’s power immediately when save a long time recording
Do not scratch the device body, and writing near the device microphone, it is very sensitive, all
this small noise will be capture very clear and loud
Do not format the device unless the file had backup
Do not cut off its power during format device
Do not delete file unless the file had backup
Do not press any buttons when connect to computer, in case exiting connection mode
Do not use non-original micro USB cable to transfer data from device to computer, not all kind
micro USB support data transfer function
Do not use the Voice Activated Function, unless you need, otherwise it may not recording some
low decibel voice you need
Do not pause the device from long time, the device will automatically shut down when there is
no operation, and not playing or recording
CHAPTER TWO
L36 Basic Operation Guide
1) Charging Voice Recorder
Connect it to your computer with enclosed cable, it will charge, once it has finished charging
( typically around 1.5-2 hours), you can eject the device from the USB port

EVISTR VOICE RECORDER
http://blog.evistr.com support-us@evistr.com
Page - 6 - of -14 -
You could also connect the enclosed cable with your voice recorder and other USB socket for
charging (like USB wall charger, USB charge dock)
Charging Input: 5V 500mAh ~ 1000mAh
2) Turn On Voice Recorder
Simply press and hold down the PLAY button, the device will turn on, screen light up
Turn off the device by press and hold down PLAY button again
See below picture
ON: Turn on the device by press and hold down
PLAY button
OFF: Turn on the device by press and hold down
PLAY button
3) How to Recording
Press & hold PLAY button power on your voice recorder
Press REC, it starts to record (display shows “please wait...”)
Press STOP, it saves your recordings (display shows “Saved!”)

EVISTR VOICE RECORDER
http://blog.evistr.com support-us@evistr.com
Page - 7 - of -14 -
1) Press & hold PLAY to turn ON
2) Press REC, to record
3) Press STOP, save recordings
NOTE:
During Recordings, you should press STOP to
save your recordings before turn off your voice
recorder
If, for example, we press REC and STOP 3 times, the recorder will create 3 recorded files
corresponding to each time, and they will typically be named

EVISTR VOICE RECORDER
http://blog.evistr.com support-us@evistr.com
Page - 8 - of -14 -
Each recordings will be saved a file names with date
in sequence, but it has a time stamp
If we want to see the recorded date of file
“2017-03-02-21-52-07.WAV”, we could click right
button and view file properties, we will see the
recordings file time
File Name Format:
Year-Month-Day-Hour-Minute-Seconds
See the right side picture shows:
4) How to Pause and Resume Recording
During recording, press PLAY pause recording
Press PLAY again, resume your recording
5) How to Playback Recording
Press and Hold PLAY boot on our voice recorder
Press PLAY, playback recordings.
1) Press & Hold PLAY, turn on voice recorder
2) Press PLAY to playback the recordings
NOTE: If we cannot find the recordings, please kindly check whether we have
switched to music folder or not. We could press and hold MENU button(and wait
a moment) to switch between MUSIC and RECORD folder

EVISTR VOICE RECORDER
http://blog.evistr.com support-us@evistr.com
Page - 9 - of -14 -
3) Press PLAY to pause playback
4) Press PLAY again to resume playback
6) How to Fast Forward / Rewind
During playback, Press and Hold (do not release the button) to fast forward / rewind
7) How to Move to Next / Previous
During playback, Press and Hold to select next / previous recording
8) How to Adjust Speaker Volume
During playback, Press and Hold + / - to select next / previous recording
9) How to Delete Recordings
Delete recordings, it could have 5 method
A. Format the recorder EVISTR L36 drive on your WINDOWS computer directly
B. Go to your EVISTR L36 DRIVE, find folder “RECORD”, select the recordings you want to delete on
computer
C. Format the recorder on the device directly
D. Delete single file on the device by entering delete mode
E. Delete all recordings on the device by entering delete mode
Now we introduce how to delete recordings on the device by enter delete mode. In pictures ,we
introduced how to Delete single recordings, and how to delete all recordings
Press M(menu) button enter Menu Option, Find Delete
Press PLAY, it will will show “Delete one, Delete All”
Select Delete one, and press PLAY button to confirm it, it will delete the file you just saw.
Select Delete All, it will delete All Files
Delete Recordings from device itself

EVISTR VOICE RECORDER
http://blog.evistr.com support-us@evistr.com
Page - 10 - of -14 -
1) Press M (at right side), enter
menu options
2) Select “Delete”
3) Press PLAY go to delete
option
4) Select Delete One, press
PLAY confirm it
5) Select Yes
6) Press PLAY, confirm and
delete the recording
Notice:
Select delete one, it will delete the file you saw
Select delete all, all recordings will be deleted
Remember to back up all recordings before delete a file
When it reads music folder, press delete, it will delete songs.
10) Download File to Computer
Connect the recorder to computer via USB cable
1) Connect to computer, device show
“connection information”
2) All recordings was inside the folder
“RECORD”, we could copy recordings, and
then paste to computer disk
3) Or copy music from computer to the
L36 Disk
11) How to Play Music
1/2
Delete One
Delete All
Deleting..
6/6
Variable Speed p..
Set
Delete
“ 2017-03-0...”
Yes
No
1/6
Save position
Record settings
Play setting
“ 2017-03-0...”
Yes
No

EVISTR VOICE RECORDER
http://blog.evistr.com support-us@evistr.com
Page - 11 - of -14 -
Turn on the recorder
Press and hold MENU (button 2 seconds), switch to music folder ( if we were at recordings folder)
Press PLAY to playback music
Notice:
if it shows “no songs founds” that means there is no songs file in the recorder disk, or the song
file format are not supported.
Press and hold MENU button for 2-3 seconds, and then release the MENU button, wait a
moment, it will switch back to recordings folder
12) Restore to Factory Settings
When we mistakenly change settings in wrong way, and don’t know how to correct it. Restore to
factory settings, could be very helpful. All settings will be restored to default, same like the first day
we just saw the device.
Here are the steps to restore to factory settings
Turn on the voice recorder
Press M(menu), find & select “Set”
Press PLAY, enter SET, find & select "Factory Settings"
Press PLAY, enter it, find & select “Yes”
Press PLAY, confirm your selection, and it starts to restore to factory settings.
When it succeed, screen will show “restored!”
13) REST (When Device was frozen)
There is a REST hold at the right side, use small needle push it to reset the device.
14) How to Connect to Computer
Use the enclosed Micro USB cable connect it between our computer and voice recorder, when
Restored!
Restore factory
Yes
No
Setting
Disk space
Player inform..
Factory settings
Setting
Date and Time
Language
Password Set
5/6
Variable Speed p...
Set
Delete
1/6
Save position
Record settings
Play setting

EVISTR VOICE RECORDER
http://blog.evistr.com support-us@evistr.com
Page - 12 - of -14 -
successfully connected, we will see the connection icon, see as following picture
After we successfully connected to computer, we could delete the files in the recorder, copy file from
the recorder out to our computer disk, copy file into our voice recorder, it just like a normal flash
drive
1) Successfully connected to our computer
2) We will see EVISTR L36 on our computer
15) Format EVISTR L36 Drive on Computer Directly
After we successfully connected to our computer, we click the mouse right button, and format it
Notice:
Once we format the disk, all data on the device will be erased utterly, and cannot be restored, so we
need to
16) System Time & Date Setting
Turn on your voice recorder
Press M (menu), find & select " SET"
Press PLAY, enter SET, find & select "Date and time"

EVISTR VOICE RECORDER
http://blog.evistr.com support-us@evistr.com
Page - 13 - of -14 -
Screen will display “Time settings”, “Date Settings”
Set Time
1) Select Time settings, Press
PLAY enter it
2) Select set time format, press
PLAY, set the time format
3) Here, we select at 24-hours,
and press PLAY to confirm it
4) Press STOP return back
5) Select Set time,press PLAY
enter it
6) Press + /- to adjust hour, and
then, press move to Minute
7) Press + / - to adjust minute
8) Press PLAY to confirm
setting
Set Date
1)Select Date settings, Press
PLAY enter it
2) Set Date format
3) Press PLAY confirm setting,
and then select “Set Date”
4) Press PLAY enter, set date
5) Press +/- adjust Year, and
the press Move Month
6) Press +/- adjust Month, and
the press Move Day
22 56
HH MM
HH MM
Time settings
Set time format
Set time
Time settings
Set time format
Set time
Set time format
12-hours
24-hours
Time settings
Set time format
Set time
Date settings
Set date format
Set date
Time settings
Set time format
Set time
Date and time
Time settings
Date settings
56
Date and time
Time settings
Date settings
22
18 07 16
YY MM DD
Date settings
YYYY MM DD
DD MM YYYY
MM DD YYYY
Date settings
Set date format
Set date
18 08 16
YY MM DD

EVISTR VOICE RECORDER
http://blog.evistr.com support-us@evistr.com
Page - 14 - of -14 -
Now we had successfully set time and date for the recorder
17) Go to Setting (Menu Options)
At the status of stop recording and playback, we could press M (menu), enter menu options
The buttons will performs like this
:for selection (or move to next position)
+, -: for selection
PLAY): for confirm selections, and adjust
STOP: return back
If we have met some issues with my voice recorder, don’t worry, don’t give up just yet and assume
that it is defective
At Chapter Four, we offered some very common trouble shooting, just have a quick view, based on
our customer feedback, mostly complaints could be solved from below
If we still cannot get the issue fixed, don’t be hesitate to contact support-us@evistr.com with your
order, so we could help to solve the question more effectively. All items come with 1 year warranty,
and customer satisfaction was guaranteed.
7) Press +/- adjust Day, and the
press PLAY to confirm setting
8) Now, we had set the
correctly time and date
18 08 17
YY MM DD
Date settings
Set date format
Set date
Table of contents
Other Evistr Voice Recorder manuals
