manuals.online logo
Brands
  1. Home
  2. •
  3. Brands
  4. •
  5. EWELLY
  6. •
  7. Thermostat
  8. •
  9. EWELLY Eliweli EW-T206B Manual

EWELLY Eliweli EW-T206B Manual

1.
.Parameter lock: Hold press for 5 seconds, lock indicator
lighting and enter to locking state. This parameter can only query,
cannot be adjusted, but constant temperature can be adjusted.
Unlock: Hold press for 5 seconds to locking light off, parameter
lock release.
Temperature setting:
。
2.Data setting:
Press gently to display controlling
temperature press or to change controlling temperature.
Press for 6 seconds for setting. On entering
setting , will be displayed. Then Press to set .
3
版本:T206B.12.03.19
Microcomputer Thermostat Serial
《EW-T206B 》 Directions
ELIWELI is an enterprise which is speciallized in pro
-ducing eletronic controller.We always insist that quality
of product and best service is our goal.
Our sensor is especially precisely made and sealed; it
is moisture-proof , therefore its performances are more
1 .
2 .
3 .
4 .
5 .
6 . ℃
7 .
8 .
9 .
Operating voltage
Load
Power Consumption
Working environment
Control Range 50 50
Resolving Power Accuracy
Overall Dimension 80(length) 32(wide) 70(high)mm
71(length) 29(wide)mm
:AC220V ±10% 50HZ/60HZ
Output :Compressor relay 10A/220V/AC
:≤3W
:-10℃~50℃ R H≤90%
:— ℃ ~ ℃
:1℃ :±1℃
Input signal :one line NTC-sensor input.10k×2m
: × ×
Hole Size ×:
Press three times, then press or
select temperature difference of 1 to
15 .
℃
℃
Press one time, then press or
select the lower temperature limits:
-50℃to the set temperature-1℃.
Press twice, then press or
select the higher temperature limits:
the set temperature+1℃ to -50℃.
Press five times, then press or
to select the temperature correction of
-15 to 15 .℃ ℃
Press four times, then press or
to select the delay time starting: 0 ~ 5
minutes.
Error symbol: when the sensor
short-circuit or open circuit
"EI" will displayed. Enter
1.The voltage must accord with controller's demand. The
voltage's deviation is no more than ±5%.
2.The loop of sensor is possible to keep away from the
loop of power.
3.The sequence of line's must have been connected
Properly.
Set
PV
SV
!
。
C
Set
PV
SV
!
。
C
Set
PV
SV
!
。
C
Set
PV
SV
!
。
C
Set
PV
SV
!
。
C
Set
PV
SV
!
。
C
/
Defrost operation cycle:
automatic defrost interval 0-
99 hours
Set
PV
SV
!
。
C
Defrosting time: defrosting
exit time: 0-99 minutes
Set
PV
SV
!
。
C
Defrost parameter settings: Hold press and six seconds
then enter to the defrosting parameter setting procedure. When
enter setting, F1 will displayed, and then press can be changed
the parameters of F1 and F2, and press and to change the
setting value.
Error symbol: when the
temperature is over the set value of
HS, the "HH" will displayed. Enter
the failure mode of operation
Set
PV
SV
F
。
!
。
C
Error: when temperature over the
set value of LS, "LL" symbol
appears. Stop running
Set
PV
SV
!
。
C
The failure mode of operation: run 45 minutes, stop 1
5 minutes cycle. Until the failure disappears.
Set
PV
SV
!
。
C
Refrigerating Indicator
Defrosting Indicator
Trouble Indicator
Forcible Defrosting Key
Setting Key
Current Temperature
Setting Indicator
Fault display and processing:
Defrosted relay 5A/220V/AC
Locking Indicator
Technical Specifications
Brief on Operation
Demand of install
Brief on Controlling Procedure
Troubles Causes Solutions
No display when power
is on.
Check if the power is broken or
the thermostat failture.
Check power supply and change fuse;
Check if the input voltage is right or
change the thermostat with our distributor.
Displaying and machine
doesn't work
Set the temperature in the stop
interval;
The external circuit protection;
Reset the necessary controlling temperature.
Check the reasons for overload and overheating.
After the trouble is solved, restart to work.
Displayed temperature is unstable
or there exists misplay.
The sensor is interfered; or poor wiring;
or Together with other power cord
bundle;or line damage.
Separate sensor wiring with power
cables or change shielded lines or check
if the contact is tight or not.
Measurement error between
current temperature and
displayed.
The installation position of the sensor
is not correct; or the sensor's wiring is
too long and its resistance is over; or the
wiring connected poor; or the sensor
is damaged
All sensors should be corrected at their locations.
Enlarge the cross section of the expanded wires.
Make sure the wires sealed is good. or Change the
sensor.
Machine does not stop when
the temperature reaches.
The sensor is not correctly installed and cannot
measure the correct temperature. Compressor
contactor fails.
Check if the sensor has accurately measured
the temperature or not. Change compressor
contactor.
Relay work with overload
“EI” is displayed
Return difference value is too small or the
setting for pressure protection is not correct.
The sensor is opened or shorted circuit.
Reset and enlarge return difference value. Adjust
setting for pressure protection.
Check to see if the sensor wiring has good contact
with coupling end or not.
1. Please read this product instruction carefully and connect input/
output plugs of power & sensor to the corresponding sockets strictly
by following connection diagram, otherwise the usage & operations
will be affected. Check again to make sure there is no mistake.
Tighten all the screw of connection plugs again, and then connect
it to the power for running.
2. Keep away this product from moist or corrosiIve air and high
magnetic field. Otherwise the normal operaton of this product
will be affected.
.3. All our products have passed strict quality inspections before l
eaving factory. We provide one-year quality guarantee (which is
limited to product itself) period for this product.
If you have any doubt or problem concerning the electronic
temperature or humidity controller made by us, please contact
our distributors and we will provide you high-quality after-sale
services. Thanks!
Guangzhou Eliweli Autocontrol Tech. Co., Ltd.
htt p://ww w.eliwe li.com
●Cooling: When the current temperature ≥ setting temperature
+ temperature hysteresis and delay the setting of the "delay time", the
load relay ON. Defrosted relay OFF. Refrigerating Indicator lighting.
Cooling stop: When the real temperature ≤ the set temperature,
the load relay is Off. Defrosted relay OFF. Refrigerating Indicator OFF
●
● .1 when the instrument after defrost (or boot) to run a set running period of
time and then into defrost (load relay Off, defrost relay On, defrost indicator
On). Refrigerating Indicator OFF
Press Heat key into the defrost mode.
entering the defrost time and delay after the set defrosting time ,
defrost relay off, defrost indicator off, exit the defrost status,
return to the normal control status.
2. .
●Exit defrost:
12345 6 7 8 9 11
1
0
220V/AC
Model:EW-T206B
Compress-
or
Sensor
N
T
C
1
2
Defroster
HH shown
Ultralow temperature alarm or sensor line shorted.
Hsvalue ≥set temperature+temperature
difference
LL shown LS value ≤set temperature+temperature
difference
Ultralow temperature alarm or sensor line off.
16A/220V~ 5A/220V~
Reset parameters: Press and five seconds, the display will
flashes three times, the parameter is reset to factory settings.
Compulsory defrosting: press Heat button for six seconds to enter
the defrosting. Defrost cycle set "0" means Non-recyclable defrost,
but still forced defrosting
Lock: press 6 seconds, the locking indicator lights, parameter
can not be mobilized, set temperature can be adjusted.
Unlock: press 6 seconds, the locking lights off, all parameters
can be adjusted.
Code Function Setting Range Ex-factory
Value Unit
Lower limit
Upper limit
Delayed Time
Temperature
Correction
Temperature
Difference
-50 to Tempera-
ture control-1
Temperature con-
trol+1 to 80
-15~15
1~10
1~15
-50
50
00
2
4
℃
℃
℃
℃
Mins
F1
Defrosting
cycle
0-99 6Hours
F2 1-99
10
Mins
Defrost time
Electrical Wiring Diagram
Parameters for Procedure
Feature descriptions
Trouble shooting
Warnings

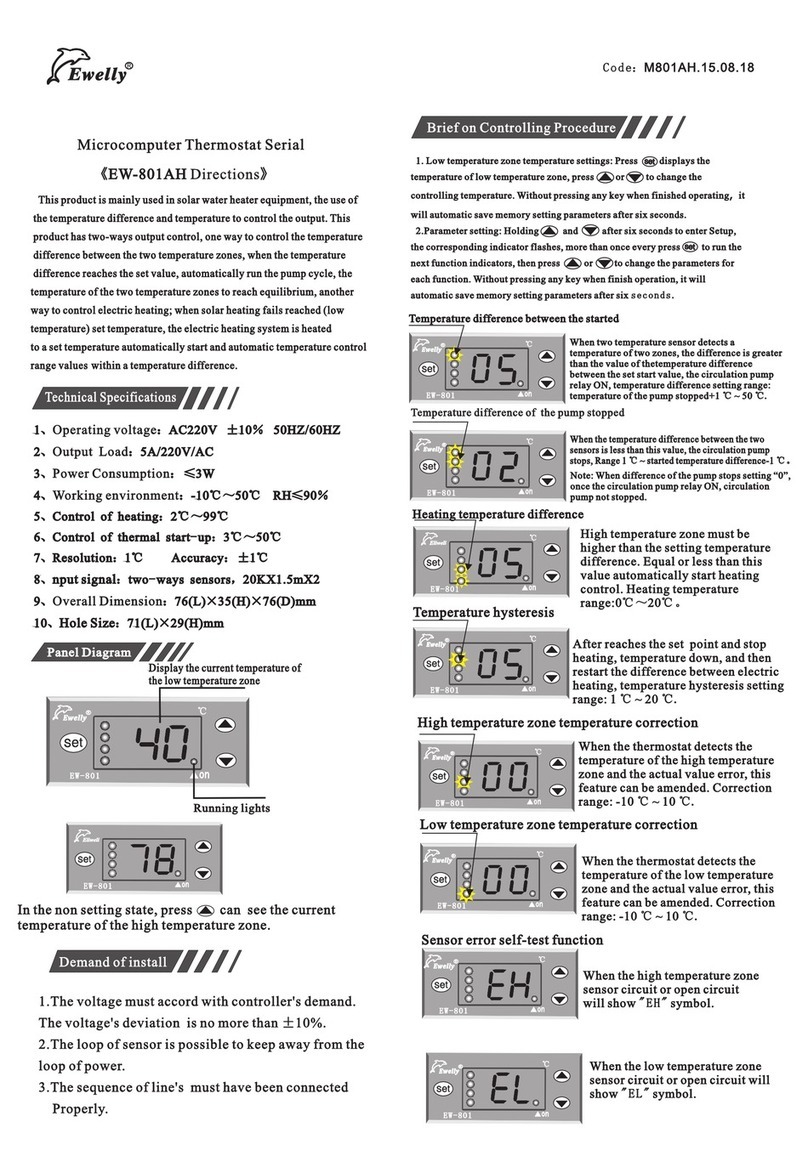
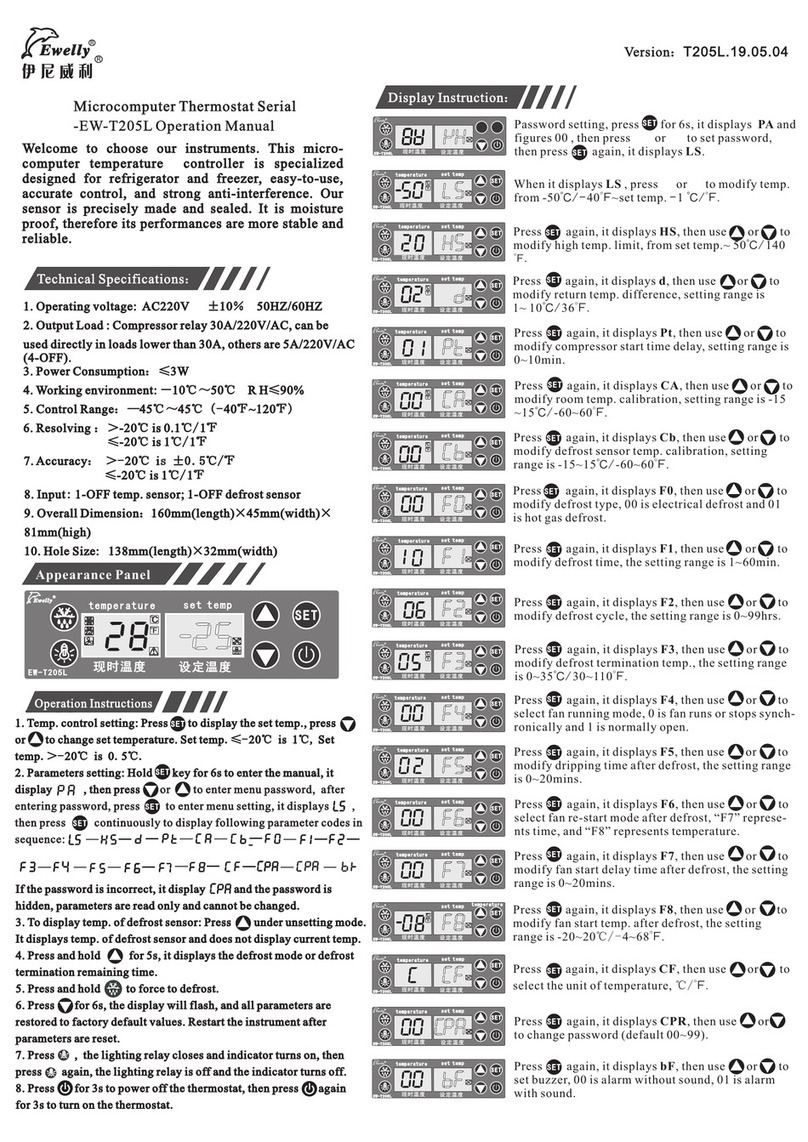
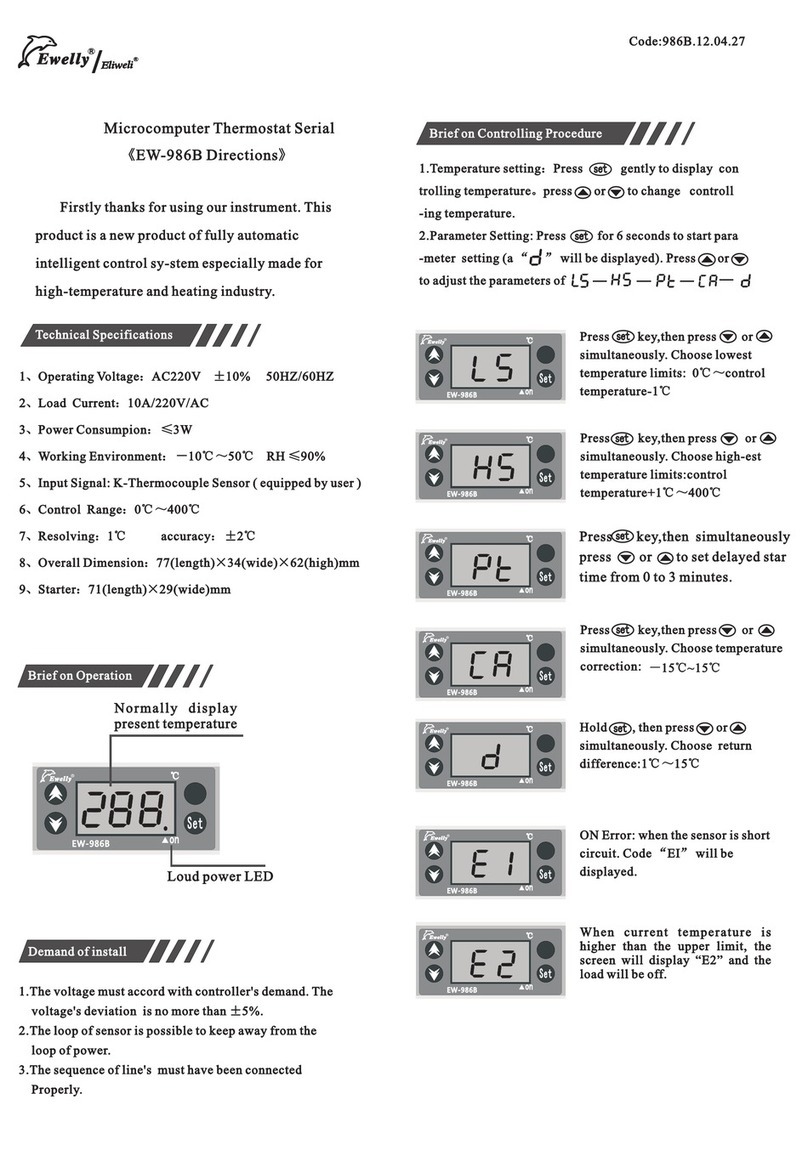
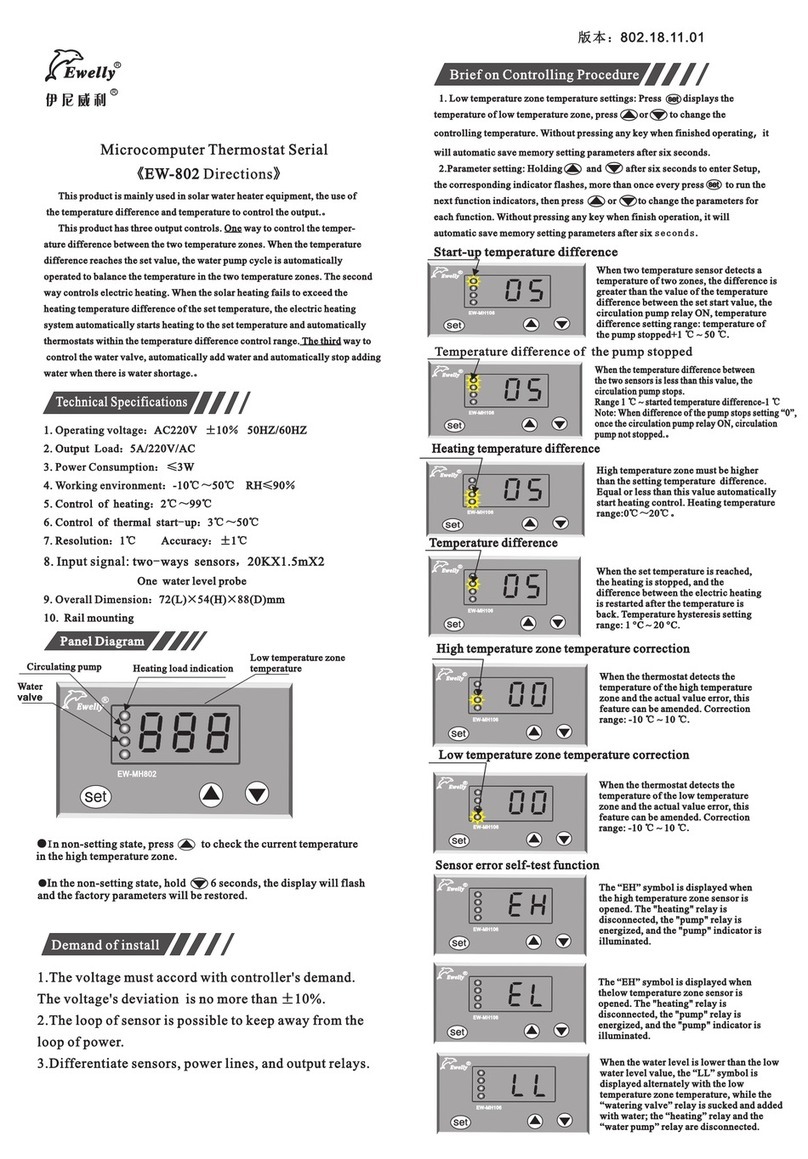
Other EWELLY Thermostat manuals

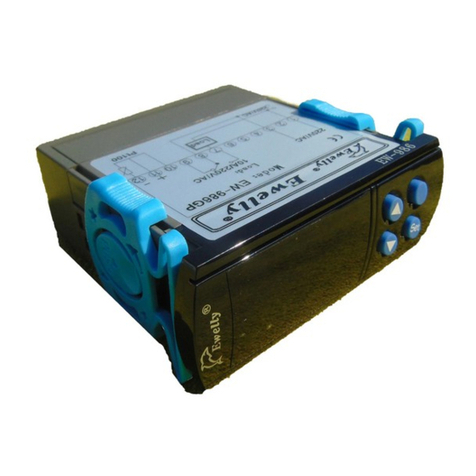
EWELLY EW-986GP Manual

EWELLY

EWELLY EW-986GP Manual

EWELLY EW-983A Manual

EWELLY

EWELLY EW-983A Manual

EWELLY EW-181 User manual

EWELLY

EWELLY EW-181 User manual

EWELLY EW-801AH User manual

EWELLY

EWELLY EW-801AH User manual

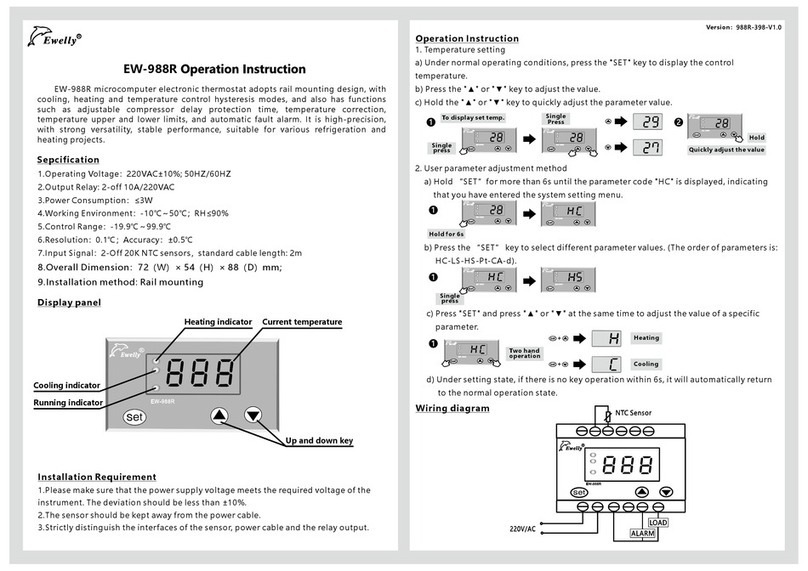
EWELLY EW-988R Technical manual

EWELLY

EWELLY EW-988R Technical manual

EWELLY EW-T205L User manual

EWELLY

EWELLY EW-T205L User manual

EWELLY EW-285 User manual

EWELLY

EWELLY EW-285 User manual

EWELLY EW-802 Manual

EWELLY

EWELLY EW-802 Manual

EWELLY EW-986B User manual

EWELLY

EWELLY EW-986B User manual

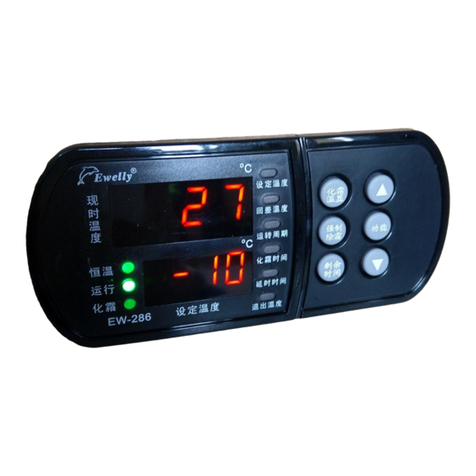
EWELLY EW-286 Manual

EWELLY

EWELLY EW-286 Manual

EWELLY EW-285A Manual

EWELLY

EWELLY EW-285A Manual

EWELLY EW-181 User manual

EWELLY

EWELLY EW-181 User manual

EWELLY EW-T207Z Manual

EWELLY

EWELLY EW-T207Z Manual

Popular Thermostat manuals by other brands

Honeywell CM27i user guide

Honeywell

Honeywell CM27i user guide

York Activia 017 installation manual

York

York Activia 017 installation manual

Honeywell AQ1000TN2 - Low Voltage T-Stat owner's guide

Honeywell

Honeywell AQ1000TN2 - Low Voltage T-Stat owner's guide

P.A.P. Heating Solutions HA308N manual

P.A.P. Heating Solutions

P.A.P. Heating Solutions HA308N manual

Purmo Emmeti CLEVER operating instructions

Purmo

Purmo Emmeti CLEVER operating instructions

Texas Instruments LM5013-Q1EVM user guide

Texas Instruments

Texas Instruments LM5013-Q1EVM user guide

DK System DK LOGIC 200 manual

DK System

DK System DK LOGIC 200 manual

Honeywell Round Professional install guide

Honeywell

Honeywell Round Professional install guide

JUMO KMf-20 operating instructions

JUMO

JUMO KMf-20 operating instructions

Daikin BACnet Series installation manual

Daikin

Daikin BACnet Series installation manual

Neptronic TRT2422 Specification and installation instructions

Neptronic

Neptronic TRT2422 Specification and installation instructions

Honeywell TC300 Configuration and user's guide

Honeywell

Honeywell TC300 Configuration and user's guide

HaiLin Controls HL8001 Operator's manual

HaiLin Controls

HaiLin Controls HL8001 Operator's manual

Lauda Ecoline E 200 operating instructions

Lauda

Lauda Ecoline E 200 operating instructions

EBECO EB-Therm 355 manual

EBECO

EBECO EB-Therm 355 manual

Honeywell T8602C manual

Honeywell

Honeywell T8602C manual

wattio THERMIC manual

wattio

wattio THERMIC manual

Venstar T4700 Owner's manual and installation instructions

Venstar

Venstar T4700 Owner's manual and installation instructions

manuals.online logo
manuals.online logoBrands
  • About & Mission
  • Contact us
  • Privacy Policy
  • Terms and Conditions

Copyright 2025 Manuals.Online. All Rights Reserved.