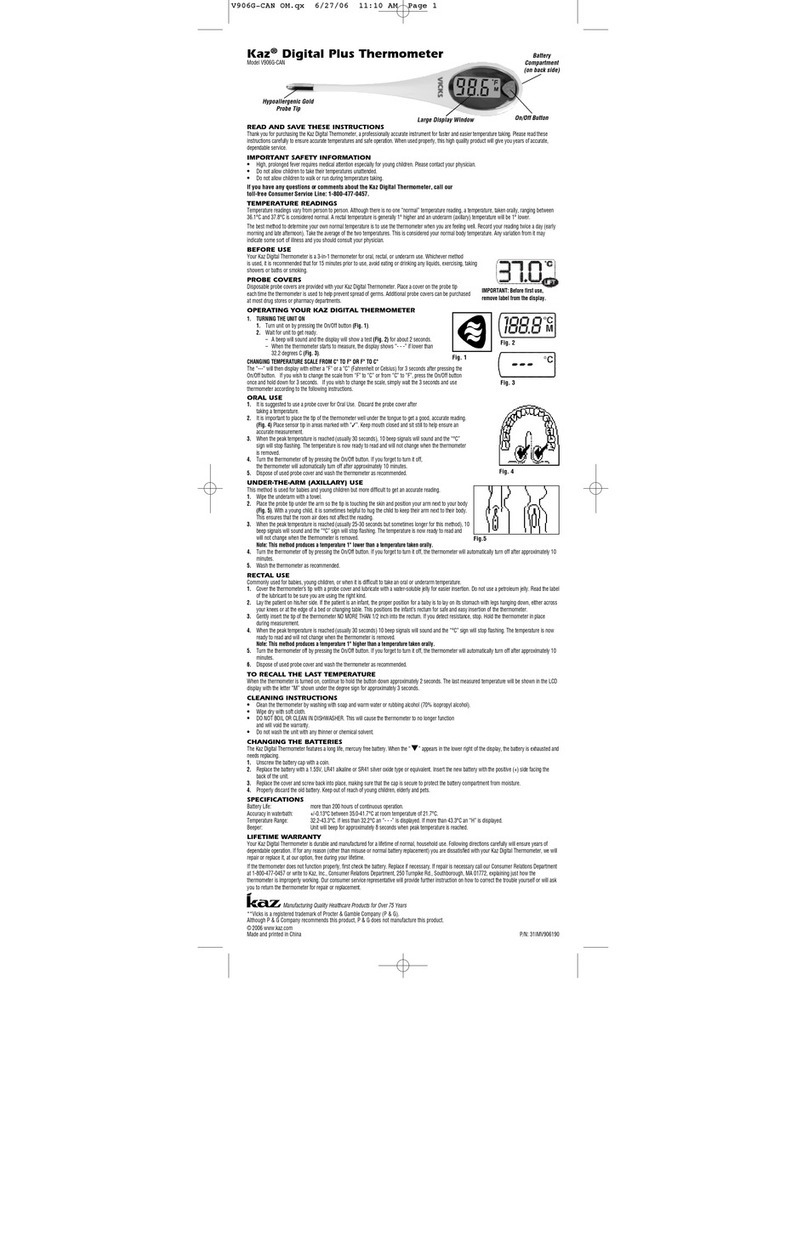
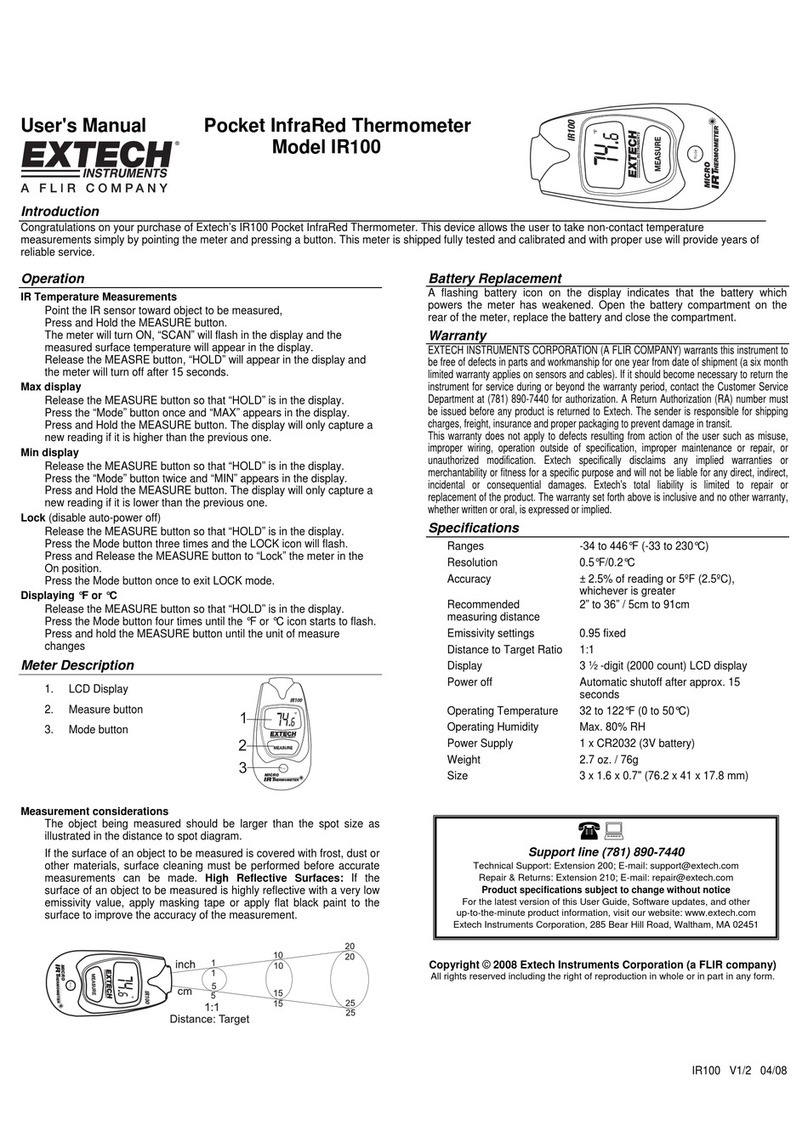
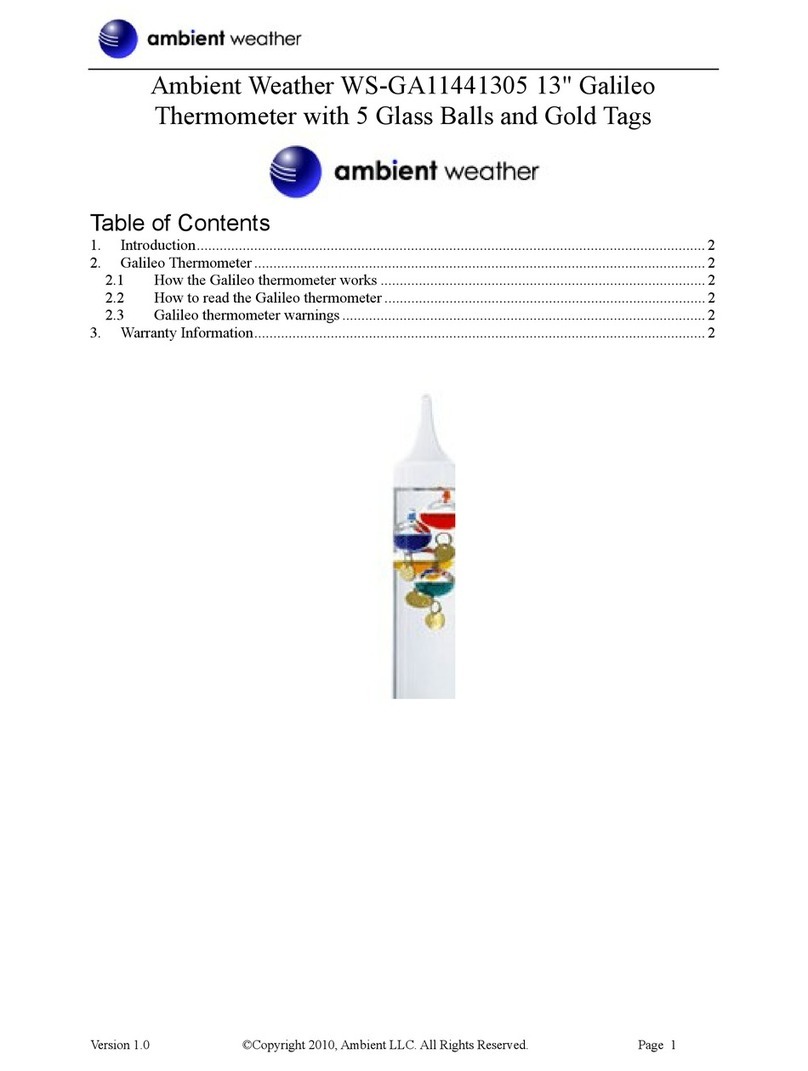
Ewig Macao TPR301 User manual

ACC211 User Manual - draft Page 1 of 9 issued: 15th March 2007 (A)
WIRELESS GRILL THERMOMETER
MODEL:TPR301
INSTRUCTIONMANUAL
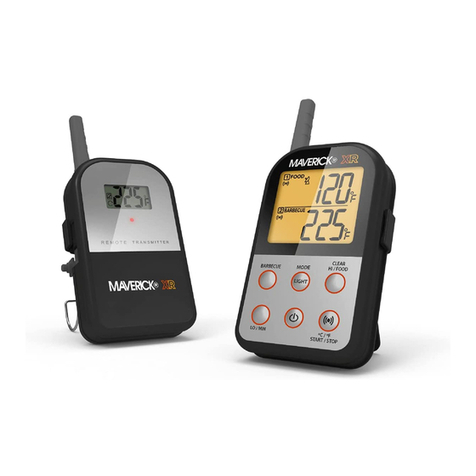
Congratulationson your purchase of the WirelessGrill Thermometer, a programmable wirelessfood
thermometer.You will nowbe able to remotely monitorthe time and temperatureoffood cooking in the ovenor
outdoorsfrom anywhere in yourhome. The receiver unit will beep to alertyou whenthe cooking temperatureis
within the 10 F(5 C) rangeoralreadyreaching the target temperature.
Receiver Features
LCD - Liquid crystal displayto showdisplay icons, Food-Taste, Timer, Received & Set temperatures. See LCD
diagram fordetailed information.
CLIP –Detachable clip for attaching the receiverunit on a wrist belt or for restingon cradle.
BATTERY COMPARTMENT - Holdstwo (2) “AAA”1.5V batteries.
Description of buttons
1. [HR/▲]
In Timermode, press to sethourfrom 0hrto 23hr. Pressand hold for2 seconds; the hour setting will
increase at a faster rate.
In Thermometermode, press to increasethe manual temperature from 14ºFto 482ºC. Press and hold for 2
seconds, the temperaturesetting will increase ata fasterrate.
LCD
CLIP
BATTERY COMPARTMENT
1
2
3
4
5
6
7
8
9

ACC211 User Manual - draft Page 2 of 9 issued: 15th March 2007 (A)
2. [MIN/▼]
In Timermode, pressto set minutesfrom 0minto 59 min. Press and holdfor2seconds;the minutesetting
will increase ata faster rate.
In Thermometer mode, press to decrease the manual temperature from14ºFto 482ºC. Press and hold for
2 seconds; the temperature setting will decrease at a faster rate.
3. [CLEAR]
While thetimer count-down orcount-up processisstopped,press once toclearthe timer reading to zero. In
thermometermode, press to select temperature unitin Celsiusor Fahrenheit.
4. [MODE]
Press to select Thermometer orTimer mode.
Press and hold for 2 seconds to enterRF registration mode.The ‘---‘icon will appear in the place of the
probe temperature and flash in 1Hz; press [Mode] button again to stop the RF registration.
5. [START/STOP]
Press to start or stop the timercount-down orcount-up.
Press to stop the temperature/timer alertsound.
6. [MEAT]
In Thermometer mode, toggle [MEAT] button toselectmeat type: BEEF àVEAL àLAMB àPORK à
CHICK (chicken) àTURKY(turkey) àHAM(pre-cooked Ham) àreturn.
7. [TASTE]
In Thermometermode, toggle [TASTE] button toselect the taste level: WELL DONE, MEDIUM, MEDIUM
RARE or RARE.
8. [ON/OFF]
Power switch forthe receiver unit.
9. [LIGHT]
Press once to turn on backlightfor 10 seconds. While the backlight is on, press anykeywill extend the
backlight illumination for another10 seconds.

ACC211 User Manual - draft Page 3 of 9 issued: 15th March 2007 (A)
Timer mode (Count up /Count down)
Countup Countdown
Howto use the count up timer
1. Press[MODE] button to select the Timermode, the timer icon ‘ ’ will appear.
2. In Timer mode and while the timeris stop running, press [CLEAR] button to reset the timer to 0:00.
3. While the timerdisplayis 0:00, press [START/STOP]button will trigger timer to count up, the icon ‘ ’ will
flash in 1Hz. Press[START/STOP] button again to temporarilystop the counting.
4. When the timer reaches the maximum count up time to 23:59:59, it will stop counting at 0:00 and starts
beeping for 20 secondsto alert the user. To stop the alert sound, press the [START/STOP] button.
Howto use the count down timer
1. With the unit in Timermode and the timeris stop running, press [CLEAR] button to resetthe timer to 0:00.
2. Press [HR/▲] and [MIN/▼]button to enter desired count down time.
3. Press[START/STOP] button to startcounting down, the icon ‘ ’ will flash in 1Hz. Press [START/STOP]
button again to temporarilystop the counting.
4. While the count down timereaches 0:00, the unitwill beep for 20 seconds to alertthe user.Meanwhile, the
timerwill automaticallyswitch tocount up timer.The icon ‘ ’ and ‘ ’ will blinktogetherto prompt the user
that the count down timer istimes up and startcountingthe elapsed time.

ACC211 User Manual - draft Page 4 of 9 issued: 15th March 2007 (A)
Thermometer mode
Pre-programmed Temperature Alert
In Thermometer mode, thisdevice will alertuserwhen the probe temperaturereached the pre-determined
selective setting.
The user firstly selectsameat type(e.g.Beef)and ataste level (e.g. WELLDONE).The pre-set temperature of
170ºF displayautomatically.
MEAT TASTE
Type WELL
DONE MEDIUM
MEDIUM
RARE RARE
Beef BEEF 170ºF 160ºF 145ºF 140ºF
Veal VEAL 170ºF 160ºF 145ºF N/A
Lamb LAMB 170ºF 160ºF 145ºF N/A
Pork PORK 170ºF 160ºF N/A N/A
Chicken,whole CHICK
185ºF N/A N/A N/A
Turkey,whole TURKY
185ºF N/A N/A N/A
Ham pre-cooked HAM 140ºF N/A N/A N/A
Lowbattery indicator
for receiver
Lowbattery indicator
fortransmitter
Meat type
Taste level

ACC211 User Manual - draft Page 5 of 9 issued: 15th March 2007 (A)
Pre-Alert
When the probe temperature iswithin 10 F(5 C) of the pre-set temperature, the device unit will beep once
every2 secondsand last for 1 minute.
Reach Alert
When the probe temperaturereaches the pre-set temperature, the device unit will beep in pattern of bi-bi-bi/sec
for 5 second, then silent for5 second. This beeping pattern will repeat and last for10 minutes.
Note: To stop the alert sound, pressthe [START/STOP] button.
Manual temperature setting

ACC211 User Manual - draft Page 6 of 9 issued: 15th March 2007 (A)
The usercan use [▲]and [▼]buttonto enteramanual temperatureother than the above pre-programmed
temperature. When manual temperature isin use, the “PRE-SET”icon change to “MANUAL”.
RF loss link indication
The receiver unit normallyworkswell in the 30 m/98 ft.range (at sign)with the Transmitter unit. However,if the
receiver unit istaken outside the wireless reception range orthereis severeexternal radio interference, the
receiver maynot able to receivethe temperature signal fromthe Wireless sensorprobe. If thislosslink
condition persistsmore than 3minutes, the device willstarttoalert user byemitting abeep sound once for
every2seconds for aduration of 10 minutes,prompting the user tocorrect thelosslink.Tore-link,the user
should returnthe device close to the transmitter cradle.
SPECIFICATIONS Receiver unit (Device)
Temperature measuring range: 14 Fto 482 F(-10 Cto 250 C)
Displayed probe temperature range: 14 F to 482 F (-10 C to 250 C)
Operating temperature (device): 32 F to 122 F (0 C to 50 C)
Batteries: 2 “AAA”(1.5V)alkaline batteries

ACC211 User Manual - draft Page 7 of 9 issued: 15th March 2007 (A)
Transmitter Features
Description of buttons
1. [TX] –transmit manually,terminates the auto registration process. Pressand hold for 2secondsto register
the radio frequencywith the receiver.
2. [On/Off] slide switch –ON - normal operation with full function. OFF - turnstransmitter off while not in use.
SPECIFICATIONS
Temperature measurementrange (probe): 14 F to 482 F (-10 C to 250 C)
Operating temperature (Cradle): 32 F to 122 F ( 0 C to 50 C)
Batteries: two (2) “AAA”1.5V alkaline batteries
Batteryinstallation and RF registration procedure
The Remote Thermometer requiresthe Receiver to linkup with the Transmitter unitthrough signal registration.
Please follow below procedures to make sure the receiver can synchronize with the transmitter signal.
1. Install the two AAAbatteries into the receiverand the transmitter.
2. Plug the stainless steel probe sensor into thesensor port at the bottom side of the transmitter cradle.
3. Power up the Receiverunitbyswitching the [On/Off] slide switch to ‘ON’position.
4. Power up the Transmitter byswitching the [On/Off] slide switch to ‘ON’position. This needs to be done
within 2minutes of turning on the receiver in orderforthe receiverto registerthesignal from the transmitter.
plug in for stainless steel
probe sensor
BATTERY COMPARTMENT
holds 2 AAAbatteries.

ACC211 User Manual - draft Page 8 of 9 issued: 15th March 2007 (A)
5. Registration iscomplete when the Receiver receives the probe temperatureand displays it in place of the
flashing icon “- - -”.If the probe temperature doesnot appear in the receiver within 5-10 seconds,pressand
hold [MODE] button in the Receiver unit for2 secondsto re-enter the RF registration mode. The icon ‘- -
-‘will startto flash.Then press and hold [TX] button in the transmitter for 2 secondsto force it to send the
registration code to the receiver.
HELPFUL HINTS
- The displaytemperature range is14 F to 482 F (-10 to 250 C). “LLL”will be displayed on thescreen when
the internal temperature of the meat is lower than 14 F(-10 C) and “HHH”will flash when the temperatureis
above482 F (250 C). Thisis not a malfunction.
-“LLL”will alsoappearwhen the stainless steel probe is disconnected or malfunctions.
-If the receiver and/or the transmitter display “LLL”or “HHH”instead ofthe probe temperature, wait for probe to
reachroomtemperature. If “LLL”or “HHH”isstill displayed, itis likelythe internal probe wire hasshorted out
eitherthrough moisture or heat damage.
- Do not immerse the probe in water while cleaning.
- Do not allowthe probe or probe wire to come into contactwith flames. If cooking with grill cover
closed, use onlymedium or lowheat.
-Make sure the probe tip is inserted into the meat at least 2.5 cm/ 1 inch.
- If the temperature displayed seemsto read too high or the temperature seemsto be increasing too quickly,
checkto make sure that the probe tip is not poking through thefood to theoutside. Reposition the probe tip in
the centre of the thickest part of the food. Avoid touching bone orheavyfat areas.
Cautions:
-Alwayswearaheatresistant glove to touch the stainlesssteel probe sensor or wireduring orjust aftercooking.
Do not touch with bare hands.
-Keep the stainlesssteel probe sensorand wire awayfrom children.
- Clean the stainless steel probe and drythoroughlyafter each and everyuse.
- Do not use the receiver in the rain. It isnot waterproof.
-Do notexpose the plug of the stainless steel probeor the plug-in hole ofthe transmitter to wateror any liquid.
Thiswill result in a bad connection and faultyreadings.
-Do not expose the receiver or transmitter to direct heat or surface.
- Do not use stainlesssteel probe in a microwave oven.
- The Remote Thermometer registerstemperatures as low as14 F (-10 C) and as high 482 F (250 C). “LLL”
will be displayed below 14 F (-10 C)and “HHH”will be displayed above 482 F (250 C)..
- Do not use the stainless steel probe sensor above 482 F (250 C). Doing so will deteriorate the wire.
Cleaning

ACC211 User Manual - draft Page 9 of 9 issued: 15th March 2007 (A)
-Alwayswearaheatresistant glove to touch the stainlesssteel probe sensor or wireduring orjust aftercooking.
Do not touch with bare hands.
-Keep the stainlesssteel probe sensorand wire awayfrom children.
- Wash the metal probe tip with hot soapywater and drythoroughly. Do not immerse the probe in water while
cleaning.
- Wipe the transmitter and receiver with damp cloth. Do notimmerse either in water.
Information to user
Modifications notauthorized by the manufacturer may void user’s authority to operate this
device.
Note: This equipment has been tested and found tocomplywith the limitsfor aClassBdigital device,pursuant
to part 15 of the FCC Rules. These limits are designed to provide reasonable protection against harmful
interference in a residential installation. This equipment generates,usesand can radiate radio frequency
energyand, if not installed and used in accordance with theinstructions, maycause harmful interference to
radio communications.
However, there is no guarantee that interference will not occur in aparticularinstallation.Ifthisequipment does
cause harmful interference to radio or television reception, whichcan be determined byturning the equipment
off and on, the user isencouraged to tryto correct the interference byone or more of the following measures:
--Reorientor relocate the receiving antenna.
--Increase the separation between the equipment and receiver.
--Connect the equipment into anoutleton a circuit different fromthat to which the
receiver isconnected.
--Consult the dealer or an experienced radio/TVtechnician for help.
Thisdevice complieswith part 15 of the FCC Rules. Operation issubject to the following two conditions: (1)
thisdevice maynot cause harmfulinterference, and(2) this device must acceptanyinterference received,
including interference that maycause undesired operation.
Table of contents
