Page | 2
INTRODUCTION
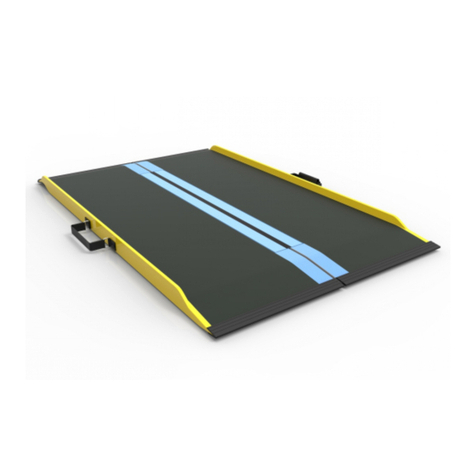
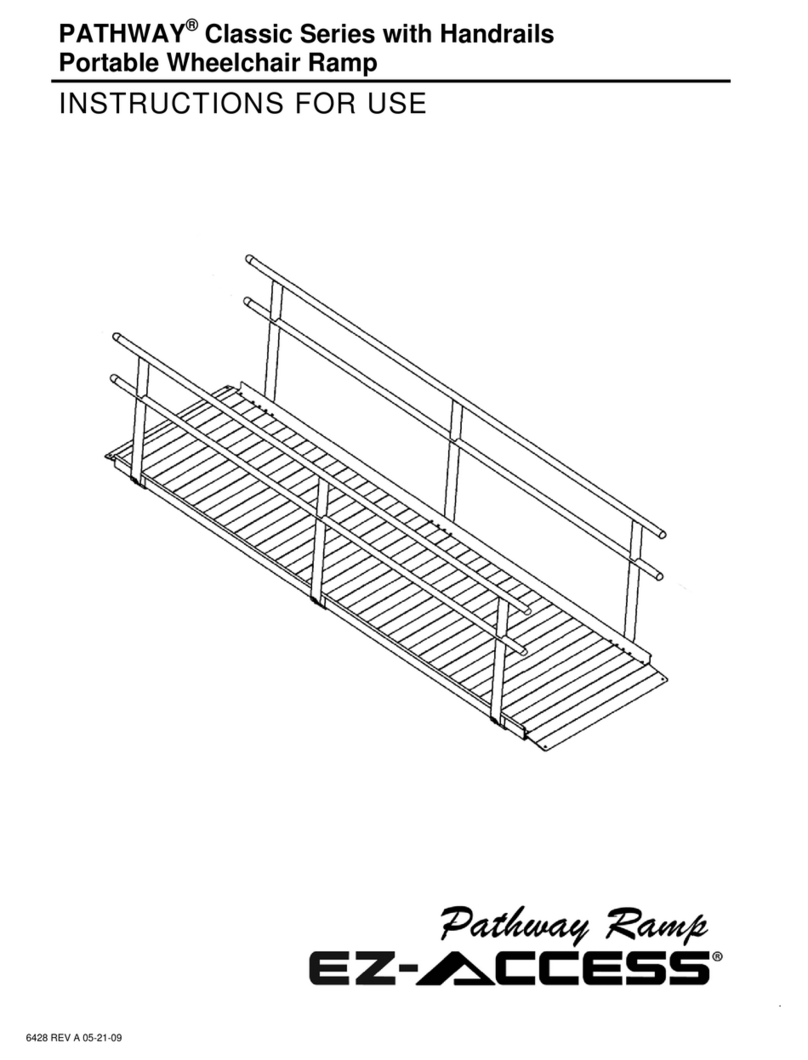
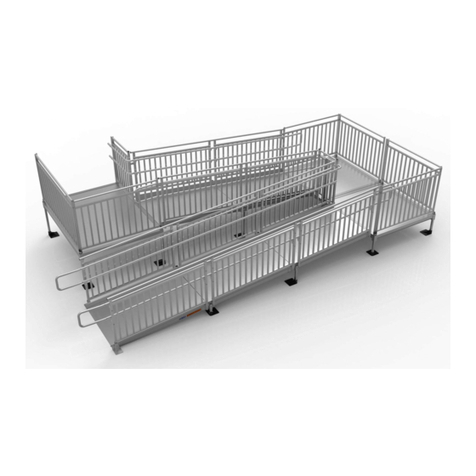
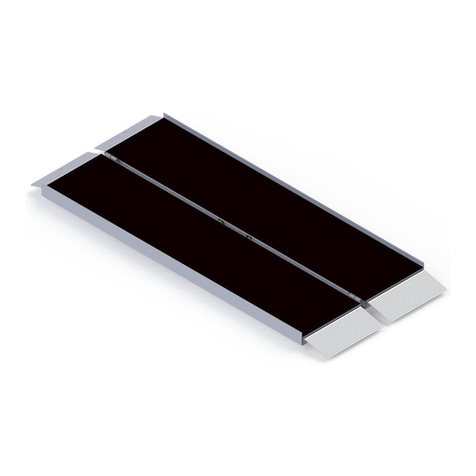
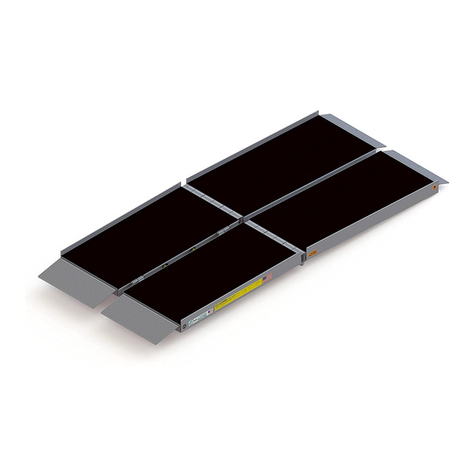
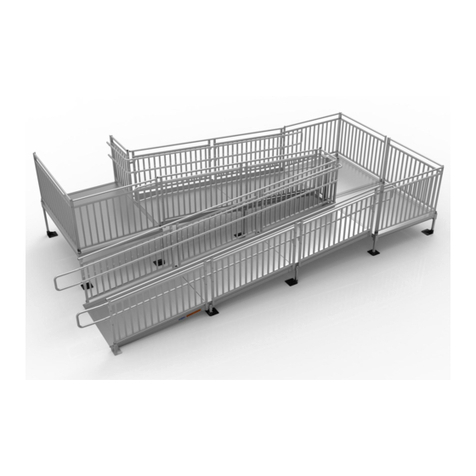
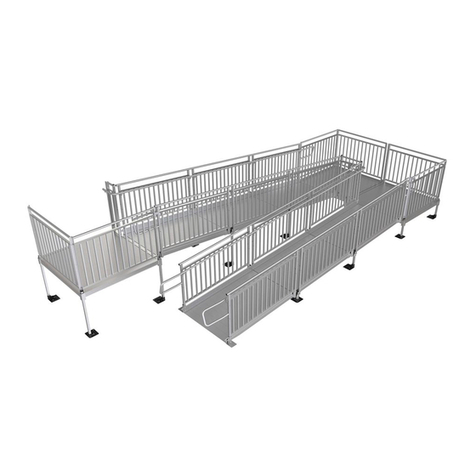
The GATEWAY® 3G Solid Surface Portable Ramp is available in 3 configurations: ramp without handrails, ramp with
two-line handrails, and ramp with vertical picket handrails (if walking on the ramp, handrails are required). This
portable ramp is ideal for either temporary or semi-permanent applications and is designed for the rigors of repeated,
everyday use. Throughout these instructions, the GATEWAY 3G Solid Surface Portable Ramp is also referred to as ‘ramp’
and includes the ramp, handrails (if purchased), and any/all components and hardware that are intended to be
assembled on the ramp.
SYMBOLS
The WARNING symbol indicates a potentially hazardous condition/situation. The warnings throughout this
document, and on your equipment, if any, are for the protection of people and property. Failure to abide by
warnings will result in a waiver of all liabilities, loss of your warranty, and could result in equipment damage
and or failure, property damage, risk of serious bodily injury, and or death to operators, riders, and those
nearby. The symbol may appear in various colors and in conjunction with other symbols.
The NOTE symbol indicates important information. Failure to obey all notes could result in improper operation,
less-than-optimum equipment performance, and at the sole discretion of the equipment manufacturer, may
void your warranty. The symbol may appear in various colors and in conjunction with other symbols.
WARNINGS
Maximum weight capacity is 1,000 lbs.; never exceed weight capacity.
Prior to assembly and use, read and follow all instructions, warnings, and labels. Following all instructions and
obeying all warnings before and during use is necessary for safe operation. For additional information or to
obtain replacement copies of instructions or labels, call 1-800-451-1903.
For people and mobility equipment only; not for commercial use.
Consult local building codes regarding securing the ramp for wind loads.
Before use with mobility equipment, refer to your mobility equipment's owner guide for acceptable ramp usage,
including proper slope/incline, chair direction, etc.; never exceed its recommendations.
Only use the ramp with a qualified helper.
Always use a lap belt if using the ramp with mobility equipment.
If walking on the ramp, handrails are required and must be installed.
Before each use, check the ramp for worn, loose, or damaged parts. If you find any of these conditions, do not
use the ramp and contact your dealer for service or repairs; failure to do so may result in serious injury.
Do not use the ramp if it is damaged or unstable.
Do not tamper with, attempt to repair, or modify any portion of the ramp.
Ensure that the landings the ramp will be placed on are substantial and of sound construction.
Use only if the secure, unobstructed, level landings can support, at minimum, the same weight capacity as the
ramp (1,000 lbs.).
Ensure that the surface area of the top lip transition plate fully overlaps a secure, unobstructed, level landing
enough to safely install provided clevis pins or other non-provided anchoring hardware, and rests firmly against
the upper landing. If a secure, unobstructed, level landing cannot be attained, do not use the ramp.
Ensure that the ramp is securely anchored before each use.
Use only if sufficient maneuvering room is available at both ends of the ramp to assure safe travel when
entering and exiting the ramp.
The ramp surface may be slippery in wet conditions; use caution as traction may be reduced.
Do not use the ramp if its surface is covered with ice, snow, dirt, leaves, or other debris. Remove all
accumulations and sweep the surface clean before use.
Do not run, jump, or play on or around the ramp, including climbing on or between the handrails.
Do not use any part of the ramp to support planters, lights, decorations, etc.
Improper use of the ramp could result in serious injury.
Always exercise caution when handling, installing, and or using the ramp.
Aluminum conducts electricity. Do not use or handle the ramp around live wiring or during electrical storms.
TOOLS AND HARDWARE TYPICALLY REQUIRED
•1/2″ SOCKET OR 1/2″ WRENCH
•1/4″ MASONRY DRILL BIT (IF ANCHORING INTO CONCRETE)
•
1/4″ NUT DRIVER OR SOCKET
•
SEMI-PERMANENT ANCHORING HARDWARE & TOOLS (SEE ‘SETUP AND USE’ SECTION)
