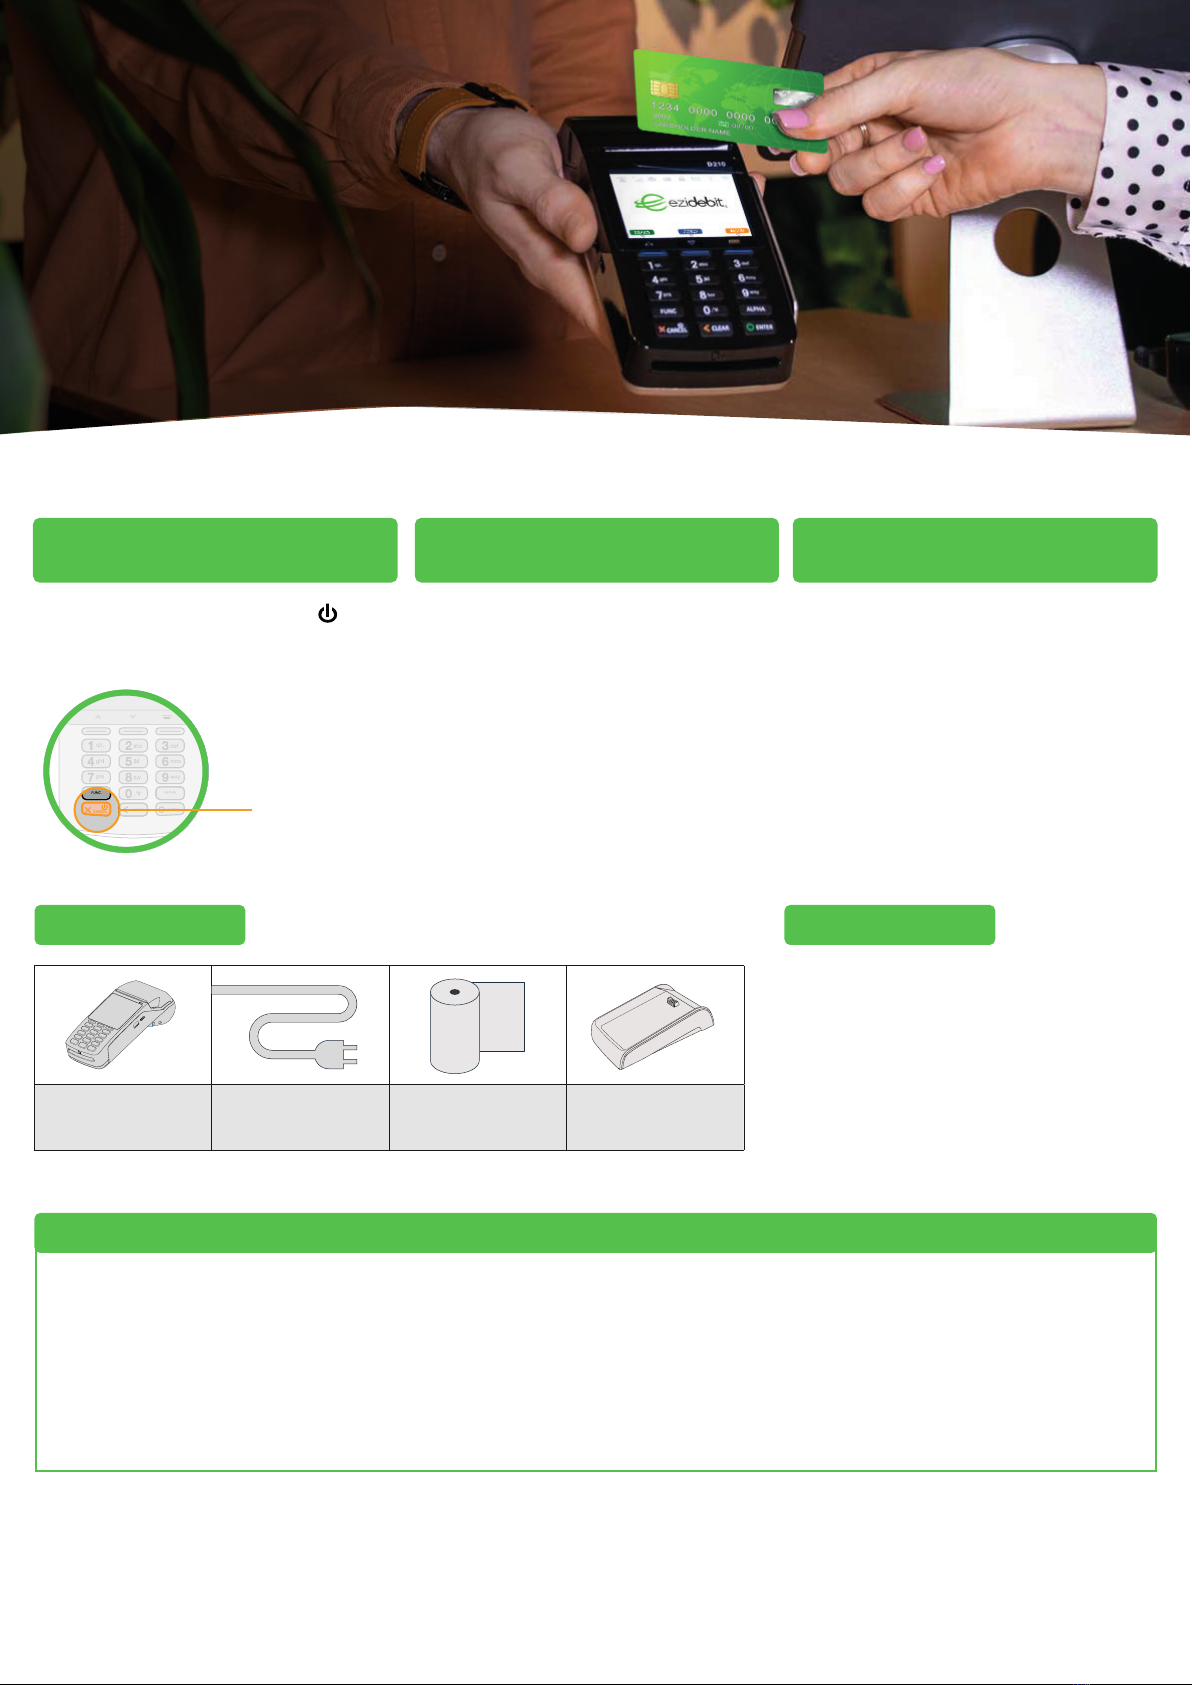
Quick Start Guide | D210E
a. If you are using your terminal independent of any
software, key in the purchase amount and press ENTER; or
b. If your terminal is paired to your software, the purchase
amount will automatically appear on the screen
2. Present the terminal to the customer. They will be prompted
on the screen to PRESENT / INSERT
3. The customer should insert or tap their card
a. Insert - the customer should follow the screen prompts to
select account and enter PIN
b. Tap - for transactions over $100 the customer will be
prompted to enter their PIN
4. Terminal displays ACCEPTED or DECLINED result
5. The receipt will be offered to the customer.
Purchase
If you have set up TIPPING or CASH OUT, you will need to enter the amounts before presenting the terminal to the customer. The total
amount of the transaction will show.
Refunds
To process a refund you will need to enter your REFUND PIN. Please contact Ezidebit account support on 1300 362 812 to set up your
dedicated refund PIN.
1. Select TRANS
2. Select REFUND
3. Type in the REFUND amount and press ENTER
4. Enter your REFUND PIN
The remainder of the transaction is as per steps 2-5 of Purchase
Changing your Terminal Network Connection
3G Connection
1. Select MENU
2. Select MISCELLANEOUS (7)
3. Scroll DOWN and select COMMS SETTINGS (8)
4. Select CHANGE COMMS TYPE (6)
5. Select 3G GPRS
6. Your terminal will reboot
7. Your terminal is now ready to take payments via a
3G connection
Wi-Fi Connection
1. Select MENU
2. Select MISCELLANEOUS (7)
3. Scroll DOWN and select COMMS SETTINGS (8)
4. Select CHANGE COMMS TYPE (6)
5. Select Wi-Fi
6. Your terminal will reboot
7. Select SCAN – your terminal will scan for
available Wi-Fi networks
8. Select your Wi-Fi network
9. Enter your Wi-Fi password
10. Your terminal is now ready to take payments via
the connected Wi-Fi network
*Note: It’s advised not to connect to a public Wi-Fi
network.
Base Ethernet Connection
1. Select MENU
2. Select MISCELLANEOUS (7)
3. Scroll DOWN and select COMMS SETTINGS (8)
4. Select CHANGE COMMS TYPE (6)
5. Select BASE ETHERNET
6. Your terminal will reboot
7. Place your terminal onto your base station
8. Select QUICK
9. The screen will display “Terminal will connect to
B210_XXXX”
10. Check this corresponds with your B210 unit –
Press YES to conrm
11. Your terminal is now ready to take payments
via Bluetooth from your base station. Your
base station will need to be connected to the
internet to take payments.
Manual logon: MENU > MANUAL LOGON
Reprint last receipt: MENU > REPRINT
Changing receipt font size: MENU > MISCELLANEOUS > PRINTER
OPTION > PRINTER FONT
Press YES to change font size
Press CANCEL to return to your idle screen
Common Admin Functions Loading Paper
1. Pull printer cover release ap to open the printer bay.
2. Remove existing roll core and place new roll into printer.
The tongue of the paper should be feeding up from
underneath and out towards the top of the terminal.
3. Pull out the tongue of the paper roll so it is coming out of
the feeder and close the printer cover.
EZI-STD.001.00
1.
You can change how your terminal connects to the internet by following the instructions below: