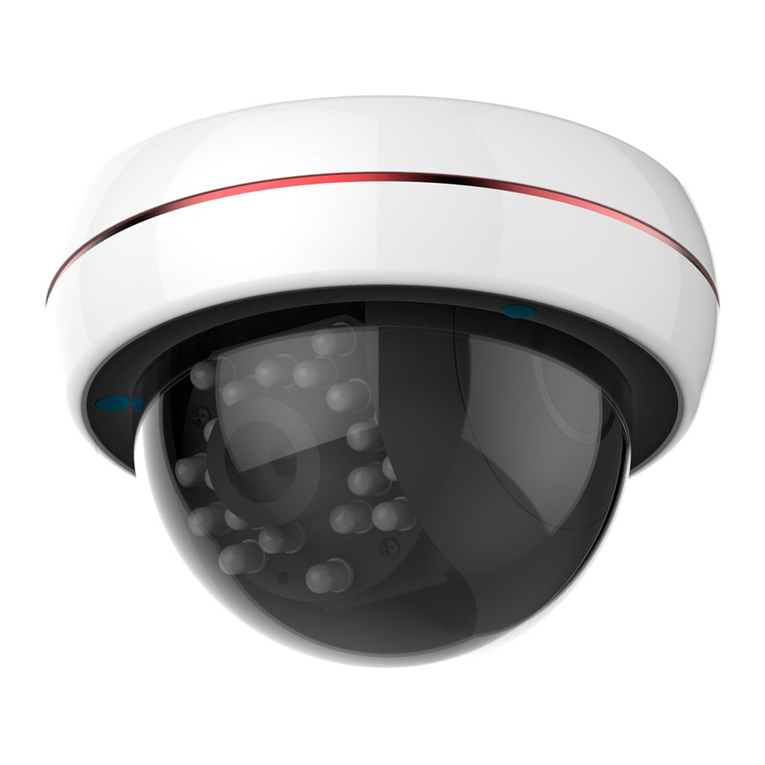
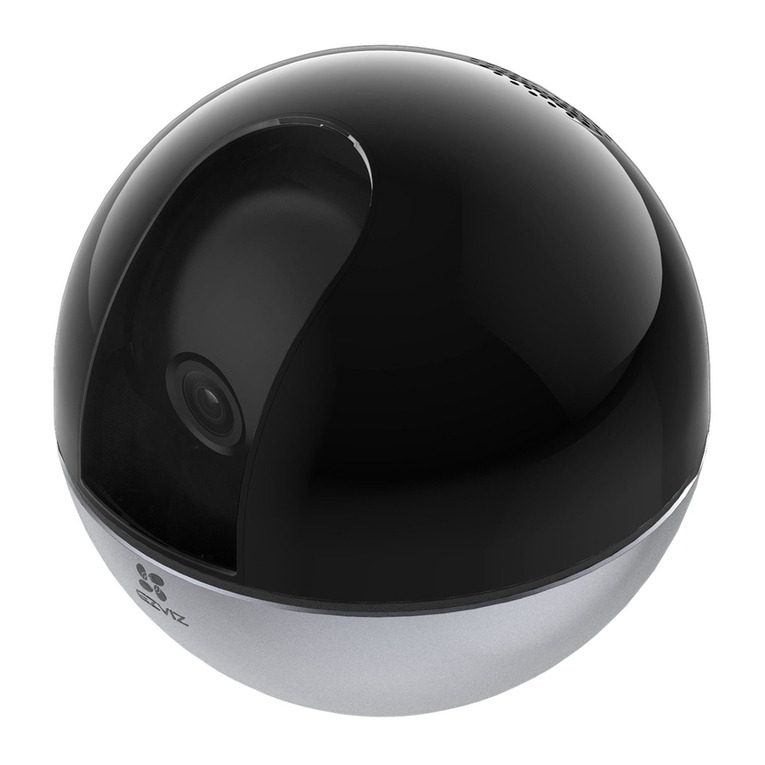
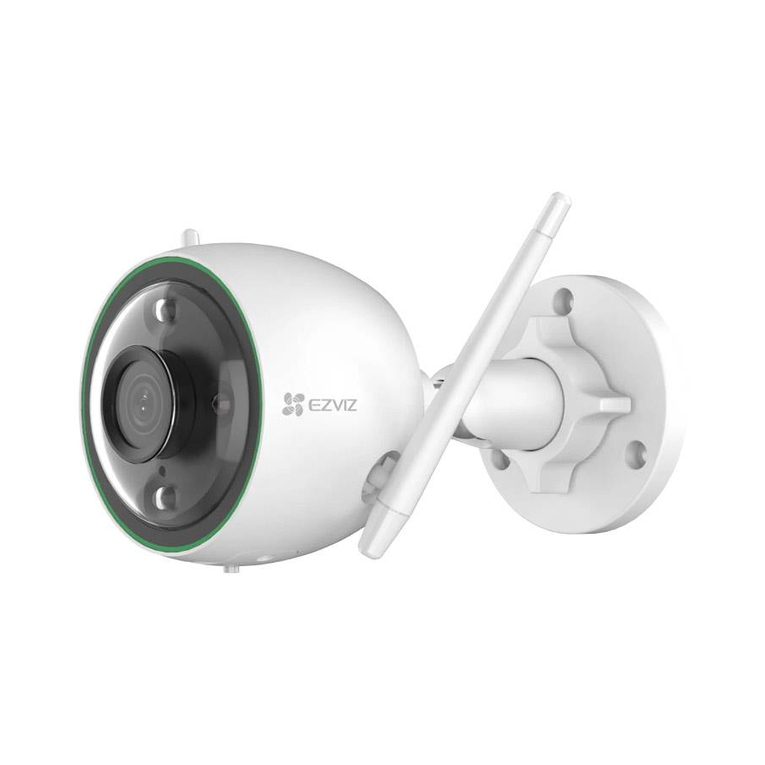
Ezviz CS-C4S-51FR User manual


COPYRIGHT ©2015 Hangzhou Hikvision Digital Technology Co., Ltd. or its subsidiaries. ALL RIGHTS
RESERVED.
About this Manual
The Manual includes instructions for using and managing the product. Pictures, charts, images and all
other information hereinafter are for description and explanation only. The information contained in the
Manual is subject to change, without notice, due to firmware updates or other reasons. Please find the
latest version in the ™ website (http://www.ezvizlife.com).
Any and all information, including, among others, wordings, pictures, graphs are the properties of
Hangzhou Hikvision Digital Technology Co., Ltd. or its subsidiaries (hereinafter referred to be
“Hikvision”). This user manual (hereinafter referred to be “the Manual”) cannot be reproduced, changed,
translated, or distributed, partially or wholly, by any means, without the prior written permission of
Hikvision. Unless otherwise stipulated, Hikvision does not make any warranties, guarantees or
representations, express or implied, regarding to the Manual.
Trademarks Acknowledgement
™, ™, and other Hikvision’s trademarks and logos are the properties of Hikvision in various
jurisdictions. Other trademarks and logos mentioned below are the properties of their respective
owners.
Legal Disclaimer
TO THE MAXIMUM EXTENT PERMITTED BY APPLICABLE LAW, THE PRODUCT DESCRIBED, WITH ITS
HARDWARE, SOFTWARE AND FIRMWARE, IS PROVIDED “AS IS”, WITH ALL FAULTS AND ERRORS, AND
HIKVISION MAKES NO WARRANTIES, EXPRESS OR IMPLIED, INCLUDING WITHOUT LIMITATION,
MERCHANTABILITY, SATISFACTORY QUALITY, FITNESS FOR A PARTICULAR PURPOSE, AND
NON-INFRINGEMENT OF THIRD PARTY. IN NO EVENT WILL HIKVISION, ITS DIRECTORS, OFFICERS,
EMPLOYEES, OR AGENTS BE LIABLE TO YOU FOR ANY SPECIAL, CONSEQUENTIAL, INCIDENTAL, OR
INDIRECT DAMAGES, INCLUDING, AMONG OTHERS, DAMAGES FOR LOSS OF BUSINESS PROFITS,
BUSINESS INTERRUPTION, OR LOSS OF DATA OR DOCUMENTATION, IN CONNECTION WITH THE USE
OF THIS PRODUCT, EVEN IF HIKVISION HAS BEEN ADVISED OF THE POSSIBILITY OF SUCH DAMAGES.
TO THE MAXIMUM EXTENT PERMITTED BY APPLICABLE LAW, IN NO EVENT SHALL HIKVISION’S TOTAL
LIABILITY FOR ALL DAMAGES EXCEED THE PURCHASE PRICE THE PRODUCT.
HIKVISION does not undertake any liability for personal injury or property damage, as the result of
product interruption or service termination cause by: a) improper installation or usage other than as
requested; b) the protection of national or public interests; c) Force Majeure; d) yourself or the third
party, including not limitation, using any third party’s products, software, applications, and among
others.
REGARDING TO THE PRODUCT WITH INTERNET ACCESS, THE USE OF PRODUCT SHALL BE WHOLLY
AT YOUR OWN RISKS. HIKVISION SHALL NOT TAKE ANY RESPONSIBILITES FOR ABNORMAL
OPERATION, PRIVACY LEAKAGE OR OTHER DAMAGES RESULTING FROM CYBER ATTACK, HACKER
ATTACK, VIRUS INSPECTION, OR OTHER INTERNET SECURITY RISKS; HOWEVER, HIKVISION WILL
PROVIDE TIMELY TECHNICAL SUPPORT IF REQUIRED.
The purpose of the Products is to provide an adequate warning in the event of illegal encroachment in
certain area; however, the proper installation of the Products will not eliminate, but only reduce, that
accidents will not occur or that there will be no personal injury or property loss as a result. You are
highly recommended to raise your vigilance and strengthen the safety awareness in the daily life.
SURVEILLANCE LAWS VARY BY JURISDICTION. PLEASE CHECK ALL RELEVANT LAWS IN YOUR
JURISDICTION BEFORE USING THIS PRODUCT IN ORDER TO ENSURE THAT YOUR USE CONFORMS TO
THE APPLICABLE LAW. YOU FUTHER AGREE THAT THIS PRODUCT IS ONLY FOR CIVIL USE, AND
HIKVISION SHALL NOT BE LIABLE IN THE EVENT THAT THIS PRODUCT IS USED WITH ILLEGITIMATE
PURPOSES, SUCH AS THIRD PARTY RIGHTS INFRINGEMENT, MEDICAL TREATMENT, SAFETY
EQUIPMENT OR OTHER SITUATIONS WHERE THE PRODUCT FAILURE COULD LEAD TO DEATH OR
PERSONAL INJURY, OR WEAPON OF MASS DESTRUCTION, CHEMINCAL AND BIOLOGICAL WEAPON,
NUCLEAR EXPLOSION, AND ANY UNSAFE NUCLEAR ENERGY USES OR ANTI-HUMANITY USAGES. YOU
SHOULD UNDERTAKE ALL RESPONSIBILITIES FOR LOSSES OR DAMAGES RESULTING FROM THE
ABOVE USAGES WHATSOEVER.
IN THE EVENT OF ANY CONFLICTS BETWEEN THE ABOVE AND THE APPLICABLE LAW, THE LATER
PREVAILS.

Regulatory Information
This device complies with Part 15 of the FCC Rules. Operation is subject to the following two conditions:
(1) This device may not cause harmful interference, and
(2) This device must accept any interference received, including interference that may cause undesired
operation.
Cet appareil est conforme à la section 15 des réglementations de la FCC. Le fonctionnement de
l’appareil est sujetaux deux conditions suivantes :
(1) cet appareil ne doit pas provoquer d’interférences néfastes, et
(2) cet appareil doit tolérer les interférences reçues, y compris celles qui risquent de provoquer un
fonctionnement indésirable.
Note: This product has been tested and found to comply with the limits for a Class B digital device,
pursuant to Part 15 of the FCC Rules. These limits are designed to provide reasonable protection against
harmful interference in a residential installation. This product generates, uses, and can radiate radio
frequency energy and, if not installed and used in accordance with the instructions, may cause harmful
interference to radio communications. However, there is no guarantee that interference will not occur in
a particular installation. If this product does cause harmful interference to radio or television reception,
which can be determined by turning the equipment off and on, the user is encouraged to try to correct
the interference by one or more of the following measures:
—Reorient or relocate the receiving antenna.
—Increase the separation between the equipment and receiver.
—Connect the equipment into an outlet on a circuit different from that to which the receiver is connected.
—Consult the dealer or an experienced radio/TV technician for help.
Please take attention that changes or modification not expressly approved by the party responsible for
compliance could void the user’s authority to operate the equipment.
This equipment should be installed and operated with a minimum distance 20cm between the radiator
and your body
Cet équipement doit être installé et utilisé à une distance minimale de 20 cm entre le radiateur et votre
corps

EU Conformity Statement
This product and - if applicable - the supplied accessories too are marked with "CE" and
comply therefore with the applicable harmonized European standards listed under the
EMC Directive 2004/108/EC, the RoHS Directive 2011/65/EU.
2012/19/EU (WEEE directive): Products marked with this symbol cannot be disposed of
as unsorted municipal waste in the European Union. For proper recycling, return this
product to your local supplier upon the purchase of equivalent new equipment, or
dispose of it at designated collection points. For more information see:
www.recyclethis.info.
2006/66/EC (battery directive): This product contains a battery that cannot be disposed of
as unsorted municipal waste in the European Union. See the product documentation for
specific battery information. The battery is marked with this symbol, which may include
lettering to indicate cadmium (Cd), lead (Pb), or mercury (Hg). For proper recycling,
return the battery to your supplier or to a designated collection point. For more
information see: www.recyclethis.info.

Box Content
1
C4S x1
Mounting Template x1 Quick Start Guide x1
Allen Wrench x1Screw Kit x1
The figures in this manual are for reference only and may differ from the
actual product.
ENGLISH

Basics
Network Interface 10M/100M Self-adaptive Ethernet Interface
Some models support the PoE (Power over Ethernet)
addtionally.
Power Supply
RESET
Name Description
microSD
Card Slot For microSD Card (not included with this product). You can
purchase separately. Recommended compatibility: Class 10,
maximum space 64GB. After inserting the microSD card,
you can record the event inside the camera. You need to
initialize it on the EZVIZ International app.
1A 12V
Press and hold the RESET button for 3s when the camera is
running, the camera restarts and rests all parameters to default.
Network Interface
Power Supply
Lens
microSD
Card Slot
Mounting Base
Inner Cover
Front Cover
RESET Button
Trim Ring
2

Operations
Power-on
Step 1
You can also power on the camera by PoE switch (not included). Only
supported by CS-C4S-51EFR, CS-C4S-52EFR, CS-C4S-51WEFR and
CS-C4S-52WEFR.
Option 2
Power on the camera by connecting to the power socket by a power
cable (not included).
Option 1
Power Cable
(Not Included)
Power Socket
Network Cable
PoE
Switch
3

- Connect your mobile phone to Wi-Fi.
- Download the EZVIZ International app by searching the “EZVIZ” in App
Store and Google PlayTM.
- Start the app and register for an EZVIZ user account following the
start-up wizard.
- Log in the EZVIZ International app.
- Scan the QR Code on the bottom of the camera or on the Quick Start
Guide cover and follow the prompts to add the camera and set the Wi-Fi.
(Locate the camera within 3 meters from the router when setting the
Wi-Fi.)
To connect to another Wi-Fi, press and hold the RESET button on the
camera for 3 seconds to rest and restart the camera and reconnect the
Wi-Fi about 1 minute later.
Step 2
Quick Settings
1Registering an EZVIZ Account
2Adding the Camera
The wired network connection is supported as well, connect the camera
to the router with a network cable.
4

Installing the Camera
Make sure the wall is strong enough to withstand three times the weight of the
camera and the mounting.
Do not tear off the protetive film on the camera untill the installation is finished.
1Disassembling the Device
Remove the inner cover.
3 Insert the microSD card into the
card slot if you want to record the
event video inside the microSD
card. (Optional)
4
According to the pictures below, remove black decorative parts, front cover and
inner cover in order and insert the micro SD card in the card slot.
Find the OPEN mark on the trim
ring. Lift the lock near the mark to
take off the trim ring.
Loosen the three screws on the
front cover using Allen wrench and
take off the front cover.
1 2
5

2Posting the Mounting Template
Tear off the mounting template and post it on a proper position.
3Installing the Mounting Base
If you want to route cables from the top, drill the installation hole A
in the middle of the template.
Drill screw holes according to the “ ” on the mounting template, and
then push the expansion screw into the holes.
Align the mounting base to the mounting template and secure it with
screws.
If you install the device on the wooden wall, the screws can be directly
pushed in and fixed.
1 Cement Wall 2 Wooden Wall
6

4Connecting the Cables
Route the cables from the side opening and connect the required cables.
If you want to route the cables from the top, draw the cables from the drilled
cable hole .
Side Opening
If the camera has been added to an EZVIZ account, it will connect to
the same account automatically after connecting the power and
network cables.
If the camera is connected to a Wi-Fi network before, it will connect
to the same Wi-Fi automatically after connecting the power cable.
7

5Open the EZVIZ International app, get the live view of the camera, and
adjust the surveillance angle according to the live view image.
- Rotate the black camera body to adjust the lens to the desired position in
horizontal direction (0 to 350°) .
- Adjust the lens in vertical direction (0 to 65°).
- Hold the grooves and rotate the lens in rotation direction (-90° to 90°).
0~350°
-
9
0
°
~
9
0
°
0
~
6
5
°
Adjusting the Surveillance Angle
8

Tear off the protective film o the
camera and complete the
installation.
4
Fix the three screws in Step 2 using
the Allen wrench and replace the
front cover.
Replace the inner cover. Make
sure the groove and the direction
of the lens are lined up.
1
3
2
6Assembling the Device
Replace the inner cover, front cover, and trim ring in order according to the
pictures below.
Align OPEN mark on the trim ring
to symbol on the front cover to
replace the trim ring.
9
9

Functions
720P HD Live Video (CS-C4S-51XX Series )
1080P HD Live Video (CS-C4S-52XX Series)
PoE Power Supply (The PoE switch is required and not
provided.)
(supported by CS-C4S-51EFR, CS-C4S-52EFR,
CS-C4S-51WEFR, and CS-C4S-52WEFR)
microSD card. Maximum space 64G.
Wi-Fi Connection
(Supported by CS-C4S-51WEFR and CS-C4S-52WEFR)
12
10

EZVIZ Cloud
The realization of some certain functionalities of this product (including, but
not limited to, live view, recording, and remote playback) depends on the
internet and telecom value-added services. To realize these functionalities, go
to EZVIZ website (www.ezvizlife.com), register your account, hold to the Terms
of Agreement for EZVIZ Service, and then add the device for management.
……
Wi-Fi Connecon
Wired Network
Connecon
2
1
……
……
12
11

The parameters of different models may vary, refer to the table below for
details.
Specifications
* Y-Supported * N-Not Supported
The Motion Detection and the ICR Light Compensation are supprted by
all models.
Model Lens Resolution Wi-Fi PoE
CS-C4S-51FR
2.8mm
720P
1.3MP
2.8mm NN
CS-C4S-51WEFR
2.8mm
720P
1.3MP
2.8mm YY
CS-C4S-51FR
4mm
720P
1.3MP
4mm NN
CS-C4S-51WEFR
4mm
720P
1.3MP
4mm YY
CS-C4S-52FR
4mm
1080P
2.0MP
4mm NN
CS-C4S-52EFR
4mm
1080P
2.0MP
4mm YN
CS-C4S-51EFR
2.8mm
720P
1.3MP
2.8mm YN
CS-C4S-51EFR
4mm
720P
1.3MP
4mm YN
CS-C4S-52WEFR
4mm
1080P
2.0MP
4mm YY
12
12

Q:
A:
The mobile phone cannot receive alarm prompts when the camera is online.
1. Make sure the EZVIZ International app is running on your mobile phone and the
Motion Detection Notification is enabled.
2. For Android system, make sure the App is running in background; and for iOS,
enable the message push function in “Settings > Notification”.
3. If still no alarm prompts, press-and-hold the RESET button for 3 seconds to
restore the camera settings.
Q:
A:
Live view or playback failed.
Make sure your network is well connected. Viewing live video needs a good
bandwidth. You can refresh the video, or change a network and try again.
Q:
A:
“The device is offline.” or “The device is not registered.” prompts when adding
the camera by EZVIZ International app.
1. Make sure the network, that the camera is connceted to, is normal and the DHCP
of router is enabled.
2. Press and hold the RESET button for 3s to reset the parameters if you manually
changed the network parameters.
How to use the microSD card for local storage?
1. Make sure there is a microSD card inserted and the camera is added to your EZVIZ
account.
2. Log in the EZVIZ International app and enter the “Device Details” interface, if the
“Initialize Storage Card” button appears, you need to initialize the microSD card
first.
3. The microSD card recording for the motion detection is enabled by default.
Q:
A:
Troubleshooting
Does the camera support Wi-Fi connection and PoE power supply?
Camera models with Wi-Fi module: CS-C4S-51WEFR and CS-C4S-52WEFR.
Camera models with PoE module: CS-C4S-51EFR, CS-C4S-52EFR,
CS-C4S-51WEFR and CS-C4S-52WEFR.
Q:
A:
12
13

Contenido del paquete
C4S x1
Plantilla de montaje x1 Guía de inicio rápido x1
Llave Allen x1Juego de tornillos x1
Las figuras de este manual solo se incluyen a modo de referencia y pueden
no ser idénticas al producto en cuestión.
12
14
ESPAÑOL

Conceptos básicos
Interfaz de red Interfaz Ethernet 10M/100M autoadaptativa
Algunos modelos admiten también PoE (alimentación a
través de Ethernet).
Fuente de
alimentación
RESET
Nombre Descripción
Ranura para
tarjeta
microSD
Para la tarjeta microSD (no incluida con este producto).
Puede adquirirla por separado. Compatibilidad recomenda-
da: Clase 10, espacio máximo de 64 GB. Tras insertar la
tarjeta SD, puede grabar con la cámara. Debe inicializarla
en la aplicación EZVIZ International.
1 A 12 V
Mantenga pulsado el botón RESET durante tres segundos
mientras la cámara
se esté ejecutando; la cámara se reiniciará y restablecerá
todos los parámetros a sus valores predeterminados.
Interfaz de red
Fuente de
alimentación
Lentes
Ranura para
tarjeta
microSD
Base de
montaje
Cubierta
interior
Cubierta
frontal
Botón RESET
Anillo
embellecedor
12
15
This manual suits for next models
6
Table of contents
Languages:
Other Ezviz Security Camera manuals

Ezviz
Ezviz C6W User manual

Ezviz
Ezviz C4S series User manual

Ezviz
Ezviz TY1-R105 User manual

Ezviz
Ezviz CS-T2-A User manual

Ezviz
Ezviz H3-R100 User manual

Ezviz
Ezviz C2c Operating and maintenance instructions

Ezviz
Ezviz CP1 User manual

Ezviz
Ezviz EB8 4G User manual

Ezviz
Ezviz C1C User manual

Ezviz
Ezviz BC2 User manual