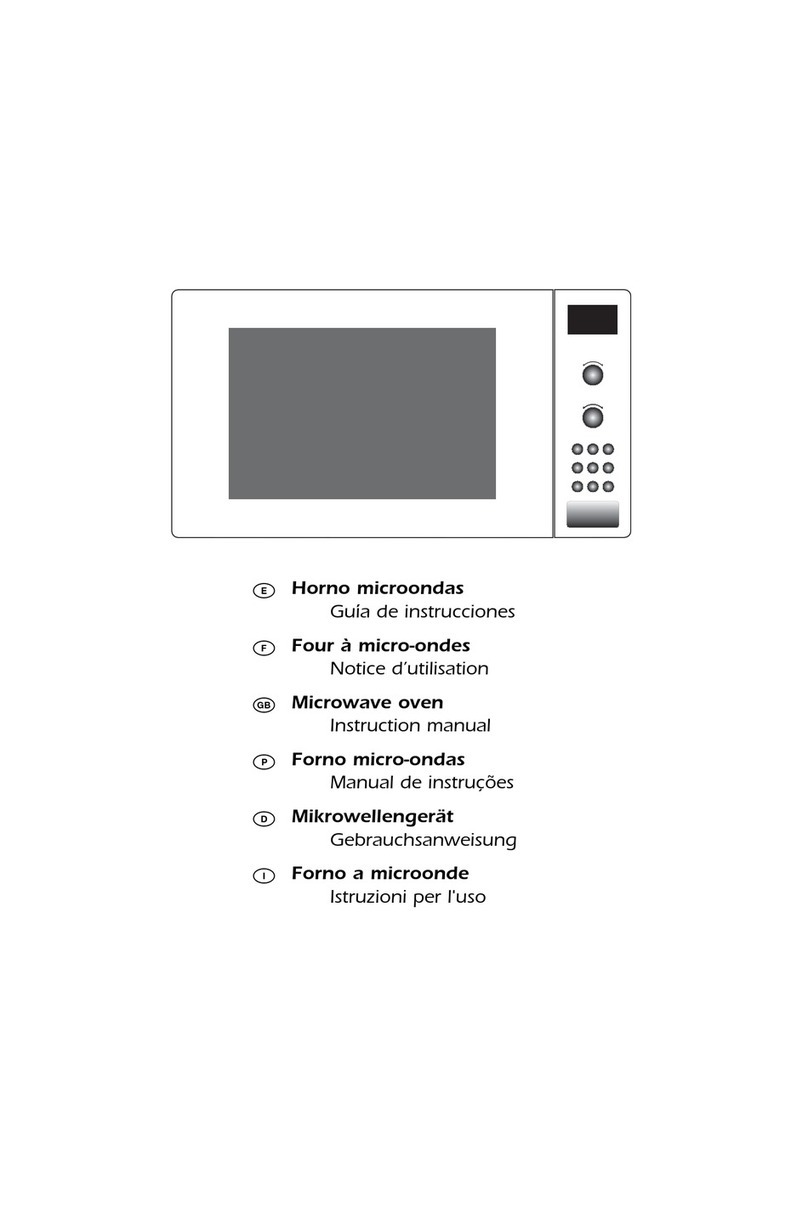
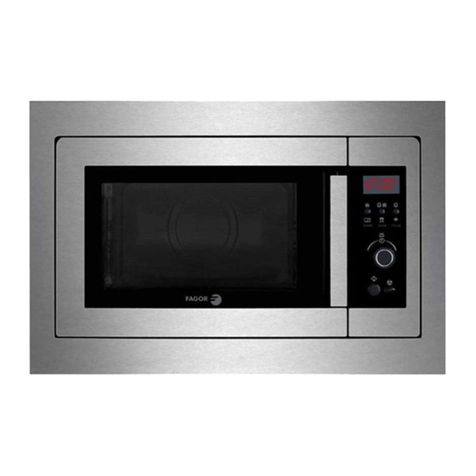
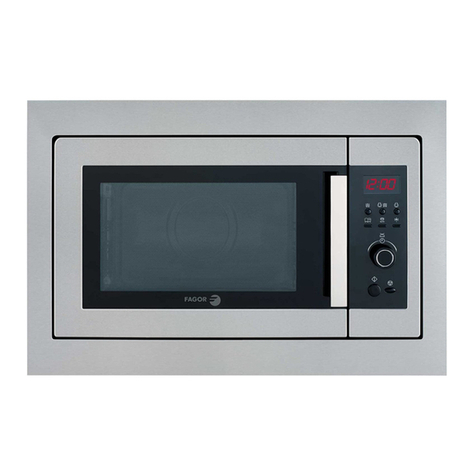
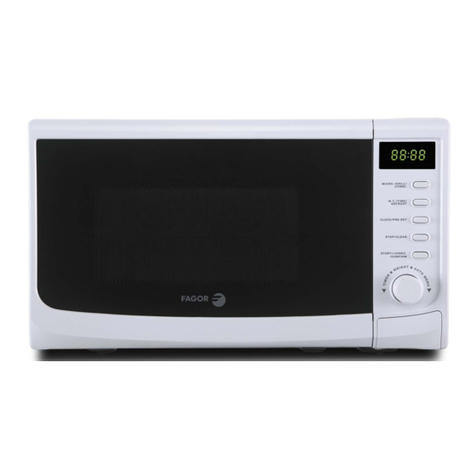
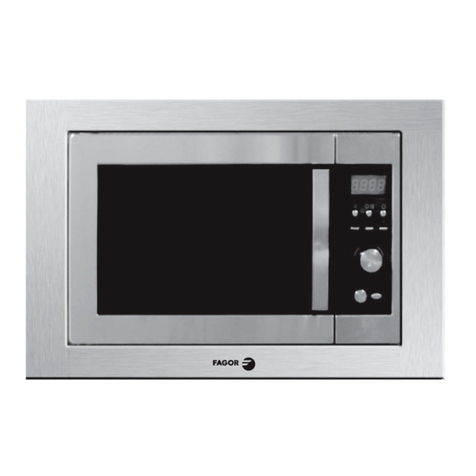
Fagor Spoutnik User manual

EN Instruction Manual
Microwave Oven

Dear Customer,
Thank you for purchasing you new Fagor microwave oven, we hope you enjoy using it.
We place all our passion and know-how into our appliances that we create for you and Sputnik is no excep-
tion. This revolutionary product has been designed with innovation and performance in mind.
Of course in an ongoing effort to satisfy our customer’s demands with regard to after-sales service, our Cus-
tomer Support Department is at your disposal, ready to listen and respond to all of you questions and sug-
gestions (contact information shown at the end of this booklet).
You can also log on to our web site www.fagor.co.uk where you will find all our products, as well as addi-
tional useful information.
Fagor
As part of our commitment to constantly improve our products, we reserve the right to make changes to
their technical specification, function or aesthetic properties in line with technological development.
www.fagor.co.uk
Attention: Before installing and using your appliance, please carefully read this instruction man-
ual carefully, this will allow you to quickly familiarise yourself with its operation.
This appliance is not intended for use by persons (including children) with reduced physical sen-
sory or mental capabilities, or lack of experience and knowledge, unless they have been given su-
pervision or instruction concerning use by a person responsible for their safety.
Children should be supervised to ensure that they do not play with the appliance
2

Contents EN
1 Noces to the user
Safety recommendaons P4
Safety warnings P5
2 Specificaon P6
3 Operang princciple P7
4 Installing your appliance
Worktop installaon P8
Turntable installaon P8
Posioning your appliance P8
Electrical connecon P8
5 General Microwave advice
Suitable materials P9
Materials not suitable P10
Descripon of your appliance P10
6 Using your appliance
Control panel features P11
First start up P12
Seng the clock P12
Quick start P12
Display menus P13
Reheat seng P13
High power cooking P14
Low power cooking P14
Cooking advice meat / fish P14
Cooking advice Veg / fruit P15
Defrosng P16
Sound On/ Off P16
7 Caring for and cleaning your appliance P17
8 Troubleshoong P18
9 Aer-sales service informaon P19
10 Operang Proficiency tesng P20
3

Notices to the user EN
Important: Keep this user guide with your appliance. If the appliance is ever sold or transferred to
another person, ensure that the new owner receives the user guide. Please become familiar with
these recommendations before installing and using your appliance. They were written for your
safety and the safety of others.
SAFETY RECOMMENDATIONS:
•Your appliance is designed for standard household cooking, reheating and defrosting of foods. The manufacturer
declines any responsibility in the case of inappropriate use.
•Only use materials that are suitable for use in microwave ovens.
•To avoid damaging your appliance, never operate it while empty or without the turntable.
•The minimum height of free space necessary above the top surface of the oven shall be at least 30cm.
•Do not place any object obstructing the cooling circuit on each side of the microwave.
•Do not interfere with the openings on the lock on the front of the appliance; this could cause damage to your appli-
ance that would require a service call.
• Failure to maintain the oven in a clean condition could lead to deterioration of the surface that could adversely af-
fect the life of the appliance and possibly result in a hazardous situation. For cleaning your appliance please follow
the guidance in this book.
•Liquids and other foods must not be heated in sealed containers since they are liable to explode.
•Eggs in their shell and whole hard-boiled eggs should not be heated in microwave ovens since they may explode,
even after microwave heating has ended.
•Microwave heating of beverages can result in delayed eruptive boiling; therefore care must be taken when handling
the container.
•In the case of small quantities (a sausage, a croissant, etc.) place a glass of water next to the food.
•Excessive cooking times may dry out foods and carbonise them. To avoid such incidents, never use the same times
recommended for cooking in a traditional oven.
•If smoke is observed, switch off or unplug the appliance keep the door closed in order to stifle any flames.
•The oven should be cleaned regularly and any food deposits removed.
4
1

WARNINGS:
•If the door or door seals are damaged, the oven must not be operated until it has been repaired by a competent
person.
•It is hazardous for anyone other than a competent person to carry out any service or repair operation that involves
the removal of a cover which gives protection against exposure to microwave energy.
•This appliance is not intended to be operated by means of an external timer or separate remote-control system.
•The cover or any outer surface may get hot when the appliance is operating.
•When heating food items in plastic or paper containers, closely observe the cooking due to the possibility of
ignition.
•The contents of feeding bottles and baby food jars should be stirred or shaken and the temperature checked before
consumption in order to avoid burns.
•Never heat a baby bottle with the teat on (risk of explosion, due to pressure build up).
• Always use oven mitts to remove dishes from the oven. Some dishes absorb the heat of foods and, therefore, are
very hot.
PRECAUTIONS TO AVOID POSSIBLE EXPOSURE TO EXCESSIVE MICROWAVE ENERGY:
•Do not overcook food.
•Do not use the oven cavity for storage purposes. Do not store items, such as bread, cookies, etc. inside the oven.
•Remove wire twist-ties and other metal packing items such as; handles from paper or plastic containers/bags before
placing them in the oven.
•Install or locate this oven only in accordance with the installation instructions provided.
•Use this appliance only for its intended uses as described in manual. Do not use corrosive chemicals or fumes in this
appliance. This oven is especially designed to heat. It is not designed for industrial or laboratory use.
WARNING: This appliance is not intended for use by persons (including children) with reduced physical sen-
sory or mental capabilities, or lack of experience and knowledge, unless they have been given supervision
or instruction concerning use by a person responsible for their safety.
Notices to the user EN
5
1

Specification EN
Reference Spoutnik
Power consumption 230V 50Hz
Rated microwave power input 1200W
Rated microwave power output 700W
Operation frequency 2450MHz
Turntable diameter 28cm
Product size (HxLxD) 327mm x 369mm x 429mm
Net weight 11Kg
· PROTECTING THE ENVIRONMENT This appliance’s packing materials are recyclable. Recycle them
and play a role in protecting the environment by disposing of them in municipal containers provided
for this purpose.
Your appliance also contains various recyclable materials. Thus it is stamped with this logo to indicate to you that
used appliances should recycled with other waste at your local municipal recycling centre. The recycling of appli-
ances organised by your manufacturer will take place under the best conditions, in compliance with European direc-
tive 2002/96/CE concerning electrical and electronic equipment waste. Consult your city hall or your retailer to find
the drop-off points for used appliances that is nearest to your home. We thank you for your help in protecting the en-
vironment.
6
2

Operating principle EN
Operating principle
The microwaves used for cooking are electromagnetic waves. They are found naturally in our environment as radio-
electric waves, light or infra-red radiation. Their frequency is located in the 2450 MHz bandwidth.
Their properties:
• They are reflected by metals.
• They can pass through all other materials.
• They are absorbed by molecules of water, fat and sugar.
When a food is exposed to microwaves, the molecules are quickly shaken up, which causes heating.
The microwaves penetrate into the food to a depth of around 2.5 cm. If the food is thicker,
it will be cooked to its core by conduction, as with traditional cooking.
It is important to know that microwaves cause a simple thermal reaction inside the food.
The microwaves enter the cavity
below the turntable, they are re-
flected around the cavity by the
dome unl absorbed by the food /
liquid. The dome is designed to en-
sure even cooking.
7
3

Installing your appliance EN
Worktop installaon
Remove all packaging material and accessories. Examine the oven for any sign of transit damage, do not
connue if the appliance is damaged.
Turntable installaon
a. Never place the glass tray upside down. The glass tray should never
be restricted or jammed.
b. Both the glass turntable and turntable ring must be used during
cooking.
c. All food receptacles / containers must always be placed on the glass
turntable prior to commencing cooking.
d. If the glass is broken please contact aer-sales service for a replace-
ment prior to using the oven again. This is not covered under the
warranty
Posioning your appliance
Select a level surface that provides enough
space to allow the oven vents to be clear of
obstruction. A minimum of 10cm is required
between the oven and any adjacent wall, one
side should be fully open.
The oven should be positioned with at least
30cm clearance above it, this allows the cover
to be opened without obstruction and steam
to vent out.
Allow 15cm to the rear of the oven.
Blocking any air inlet / outlet can damage the
oven.
• Your installation must be protected by a 13 Amp fuse.
• It is mandatory to use a power point with an earth terminal, connected in accordance with current safety reg-
ulations.
• In your electrical installation, provide a device that is accessible to the installer, capable of separating the ap-
pliance from the main power and whose contact opening is at least 3 mm at all of the poles.
• If the supply cord is damaged, it must be replaced by the manufacturer, its service agent or similarly qualified
persons in order to avoid hazard.
WARNING: Do not install oven over a hob or other heat-producing appliance. If installed near or over a heat
source, the oven could be damaged and the warranty would be void.
Electrical connecon
8
4

General microwave advice EN
Suitable microwaveable Materials
See the table below on “Materials you can use in microwave ovens”, or to be avoided in microwave oven.” There
may be certain non-metallic utensils that are not safe to use for microwaving. If in doubt, you can test the utensil in
question following the procedure below.
Material Test:
1. Fill a microwave-safe container with 1 cup of cold water (250ml) place in the oven next to the empty container to
be tested.
2. Cook on maximum power for 1 minute.
3. Carefully feel the material. If the empty container is warm, do not use it for microwave cooking.
4. Do not exceed 1 minute cooking time.
CAUTION Personal Injury Hazard. It is hazardous for anyone other than a competent person to carry out
any service or repair operation that involves the removal of a cover which gives protection against exposure
to microwave energy.
Materials Advice
Browning dish Follow the manufacturers instrucons. Incorrect use may damage the turntable.
Dinnerware Microwave safe only. Follow the manufacturer’s instrucons. Do not use
chipped or cracked cookware.
Glass jars Always remove the lid. Use only to heat the food unl warm. Most glass jars
are not heat resistant and may break.
Glassware Heat resistant oven glassware only. Make sure there is no metallic trim. do not
use if chipped or cracked.
Oven cooking bags Follow the manufacturer’s instrucons. Do not seal with a metal e, make
small slits to allow the steam to escape.
Paper plates and cups Use for short term cooking / warming only. Do not leave the oven unaended
while cooking.
Paper towels Use to cover food for reheang and absorbing fat. Use with supervision for
short term cooking only.
parchment paper Use as a cover to prevent splaering or a wrap for steaming.
Plasc Microwave safe only. Follow the manufacturer’s instrucons. Non microwave
plasc can become so when hot.
Plasc wrap / cling film Microwave safe only. Use to cover food during cooking to retain moisture. Do
not allow the wrap to touch the food.
Wax paper Use as a cover to prevent splaering and retain moisture.
Materials you can use in microwave ovens
9
5
General microwave advice EN
Materials to avoid in microwave ovens
Material Advice
Aluminium tray May cause arcing. transfer to a microwave safe dish.
Food carton with metal
handle
May cause arcing. transfer to a microwave safe dish.
Metal / metal trimmed
receptacles
Metal shields the food from microwave energy. Metal trim may cause arcing.
Metal twist es May cause arcing and could cause a fire in the oven.
Paper bags May cause fire in the oven.
Plasc foam Plasc foam may melt or contaminate the liquid inside when exposed to high
temperature.
Wood Wood will dry out when used in a microwave, it may split or crack.
Descripon of your appliance
1/ Door safety lock system
2/ Turntable ring support
3/ Wave guide (entry for
microwave energy)
4/ Door release
5/ Control panel
6/ Cavity lighting
7/ Turntable drive shaft
8/ Glass turntable
10
5

Using your appliance EN
Control panel features
Instrucons for use
Display screen Clock, cooking me, weight and funcon indicators
are displayed here.
Buon ( + )
Buon ( - )
1. Press to adjust me or weight of food.
2. Set the clock.
Funcon Buon Press to select one of the funcons including reheat,
high power, low power and defrost.
Start / Stop (quick start ) Buon
Sound On / Off
1. Press to start / stop the cooking
2. press to set quick start cooking program
3. During cooking press and hold for two seconds to cancel
the programmed funcon
Press and hold for 5 seconds to turn on / off the oven sound
11
6

Using your appliance EN
First start up
•When the oven is initially plugged in, you will hear a short melody.
•The oven dome needs to be opened and closed once prior to cooking.
•During cooking you will see red light around the turntable, if the program is paused this red light will flash until you
press the start / stop button again.
•After the program ends, a melody will play and the light below the turntable will light in blue.
Seng the clock
The appliance is fitted with a 24 hour clock, when the oven is initially plugged in “12:00” and the clock symbol are
displayed.
To set the clock to 9:30 for example:
• Press and hold the + and – buttons simultaneously for 3 seconds, the hour figures will then flash.
• Using the + or – buttons scroll to the correct hour “09”.
• Press the start Stop button once, the minutes will flash in the display.
• Using the + or – button scroll to the correct minute “30”
• Press the start / stop button to confirm.
Quick Start
The quick start function allows you to set high power cooking using the start stop button.
• Place the food in the oven
• Press the quick start ( start / stop )button once, the oven will start automatically for 30 seconds on full power.
• Using the + / - Buttons you can alter to the desired cooking time.
When cooking is completed the fan will connue to operate for a short while, this is perfectly
normal and is designed to cool the electrical and electronic components.
12
6

Using your appliance EN
Funcons Press
“Funct”
Pre-set Cooking me Power Weight
Min - Max
Reheat Once 03:00 00:00 - 60:00 500 W
full power Twice -00:00 - 60:00 700 W
Slow cooking 3 Times -00:00 - 60:00 500 W
Defrost 4 Times ---100g -1500g
Display menus
Reheat Seng
• Place the food in the oven and close the lid.
•Press “Funct” button once, the preset time figures will flash.
• If you need to alter the pre-set time, use the + / - buttons, adjust to the required time.
•Press the start stop button to confirm your settings. Reheating begins.
N.B.
• While cooking you can increase or decrease the cooking time.
• When reheating precooked meals, cover the food with cling film / a plastic lid to prevent splattering.
• Always let food stand for 1-2 minutes following cooking to allow the heat to penetrate the food fully.
13
6

Using your appliance EN
Cooking sengs
High power cooking
(700W)
•Place the food in the oven and close the lid.
•Press the “Funct” button twice, pre-set time “00:00” figures flash.
•Press the + / - buttons to adjust the desired cooking time.
•press the start / stop button to confirm. Cooking starts.
N.B. During cooking you can increase or decrease the cooking time by pressing + / -
Low Power cooking
(500W)
•Place the food in the oven and close the lid.
•Press the “Funct” button 3 times, pre-set time “00:00” figures flash.
•Press the + / - buttons to adjust the desired cooking time.
•press the start / stop button to confirm. Cooking starts.
N.B. During cooking you can increase or decrease the cooking time by pressing + / -
Cooking advice
Fish / meat
•Cover the food with cling film or a loose lid.
•To get even results , put the food on a large dish.
•Add some liquid (lemon juice, white wine) when cooking fish.
•All fish can be cooked in this oven, for best results the fish should be fresh.
•When cooking whole fish, make an incision into the skin to avoid splitting.
In a large bowl, add 1/2L
of salted water cover and
cook for 7 min. on high
power uncover cook for a
further 5 on slow cook.
14
6

Using your appliance EN
Vegetables and fruit
•Clean vegetables and fruits thoroughly prior to cooking.
•To ensure even cooking cut vegetables into even size pieces.
•Slice carrots, leeks, cabbages, celery, and fennel before cooking them.
•Cut into cubes: celeriac, turnips, courgettes and pumpkins.
•Cut cauliflower and broccoli into small clusters.
•Prick food that has a skin, such as; potatoes, chestnuts…
•Add 3-5 spoons of water in the bottom of the dish to improve cooking process.
•Cover the food with cling film or a loose fitting lid.
•Stir at least once during cooking, adding seasoning once the cooking is complete, if required.
15
6

Using your appliance EN
Defrost seng
•Place the food into the oven, close the lid.
•Press “Funct” button 4 times, until the preset weight “100 g” figures flash.
•If you want to reset the weight of food instead of preset weight, press +or – to adjust.
•Press the Start/Stop button to confirm. Defrost starts.
Defrost advice
Defrosting time depends on form, size, starting temperature and quality of the food.
Remove any loose ice from the surface of the food prior to defrosting. Ice will slow the defrost process.
In order to ensure even defrosting, separate poultry pieces or fish fillets as soon as possible.
Let the food stand after defrosting: standing times used are the same the defrosting time.
Defrost meats and fishes on an upside down saucer on top of another plate, in order to let the juice leak away and to
prevent the food cooking.
Turn over and stir the food half way through defrosting.
Remove all metal links / ties when defrosting food directly in their freezer bags.
Never re-freeze food once thawed.
For bread or pastry (flaky pastry…) defrost by putting foodstuffs on absorbing paper, turn over half way through
defrosting.
When removing food from the oven, please ensure the mer is returned to “00:00” Failure to do
so, and operang the microwave oven without food in it, can result in damage to the magnetron.
When cooking has ended it is normal for the fan to operate for several minutes in order to cool the
ovens components.
Sound on / off
The oven sounds and melodys can, if desired, be turned off.
press and hold the start / stop buon for 5 seconds “S OFF” will appear in the display. To turn the sound
back on press and hold the start / stop buon unl the shows “S ON”
16
6

Caring for and cleaning your appliance EN
It is recommended that you regularly clean your oven and remove any residue build up from both inside
and outside of your appliance. If the appliance is not cleaned regularly, its surfaces could become dam-
aged, permanently affecng the appliances lifespan and causing a potenal hazard.
If the dome hinge becomes damaged, do not use the appliance unl repaired.
Do not clean the appliance with a steam cleaner.
In the event of persistant odours or caked on dirt, boil water with lemon juice and vinegar in a cup for two
minutes, then clean with a damp cloth (washing up liquid can be used on the cloth if required).
The turntable can be removed for cleaning.
17
7

Troubleshooting EN
If you have any doubts about the correct funcon of your appliance, check the following table prior to con-
tacng our aer-sales service.
18
8

Aftersales service EN
Service calls
Any repairs that are made to your appliance must be carried out by a qualified professional authorised to
work on the brand. When you call you will need to have the appliance service model number and the serial
number. This informaon can be found on the rang plate which is on the base of the appliance.
Service telephone number 0845 218 2180
Customer support 0844 557 3750
For more informaon regarding Fagor products, please visit www.fagor.co.uk
We recommend that only original manufacturer spare parts are used during any service work.
19
9

Operating proficiency testing EN
Operang proficiency tesng according to CE/EN/NF EN 60705 standards.
The internaonal electrotechnical commission, SC.59K, has established a standard relave to comparave
performance tests conducted on various microwaves.
We recommend the following for this appliance:
Test Load Approx time Power Containers/
recommendations
Egg custard
(12.3.1.)
750g 10 min. 500W Pyrex 254B000
Cake
(12.3.2.)
475g 6 min 700W Pyrex 254B000
Defrosting
(13.3)
500g 14 min. Defrosting meat on an up-
turned saucer put
on a plate
Defrosting Rasp-
berries
(B.2.1)
250g 7 min Defrosting On a flat plate
20
10
Table of contents
Other Fagor Microwave Oven manuals

Fagor
Fagor MW-3245GEA - 01-05 User manual

Fagor
Fagor MWO-20DGW User manual

Fagor
Fagor MO-20B User manual

Fagor
Fagor 3MWB-25BTCGX User manual

Fagor
Fagor MW-ARG47GEX User manual

Fagor
Fagor MWB17X User manual

Fagor
Fagor MWB17AEX User manual

Fagor
Fagor MWB23AEGX Setup guide

Fagor
Fagor MW4-17EG X Setup guide

Fagor
Fagor MWB-245A User manual

Fagor
Fagor MW3 175 User manual

Fagor
Fagor 3MWB-25BEGX User manual

Fagor
Fagor MW3-245 Assembly instructions

Fagor
Fagor MO-25 M User manual

Fagor
Fagor MO-25 DGB User manual

Fagor
Fagor 6H-570A TCX User manual

Fagor
Fagor MWB-17EX Setup guide

Fagor
Fagor MW-3245GEA - 03-04 User manual

Fagor
Fagor MW-215 Operation manual

Fagor
Fagor MW4-17EG B Setup guide