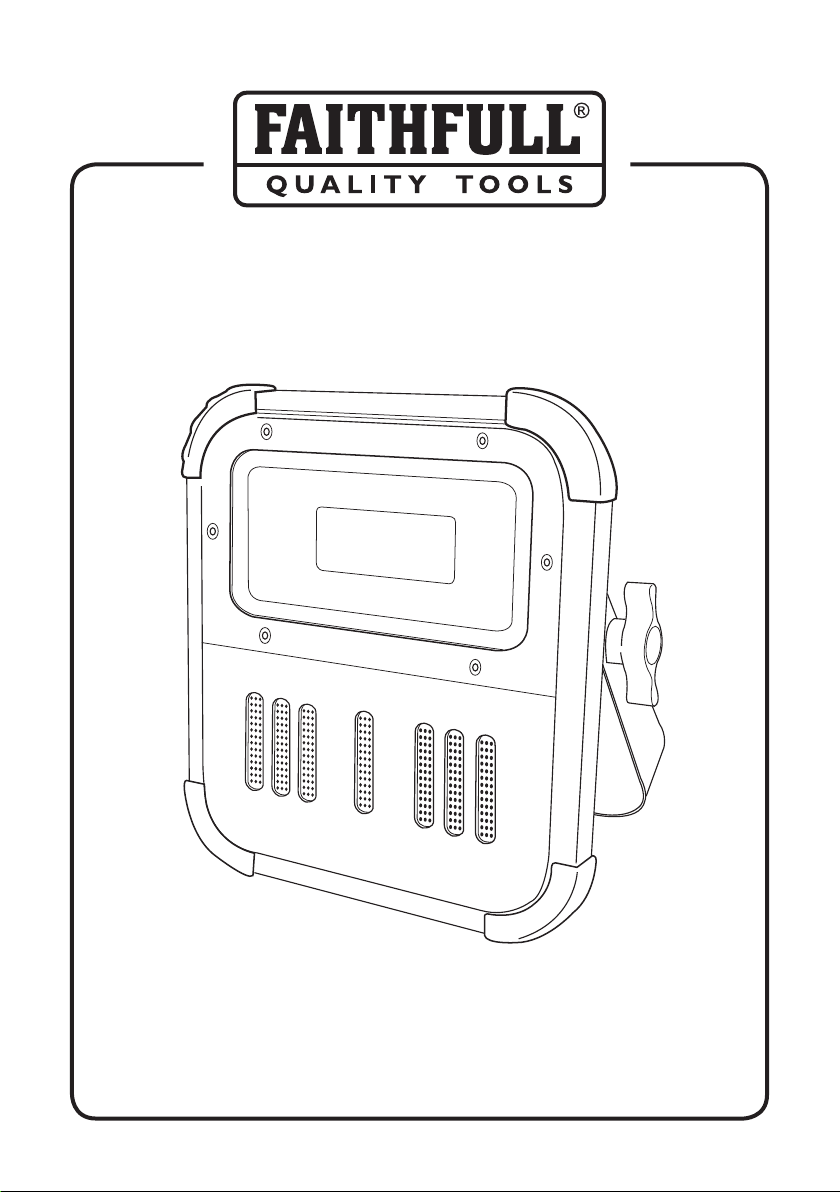
12V DC Charging
With the battery tted in the lamp
1) Plug the charging cables jack plug
into the recharging socket of the sitelight
Fig 1. (A) located under the clear plastic
cover.
2) Plug the adapter into the vehicles 12V
DC cigarette lighter or accessory power
socket.
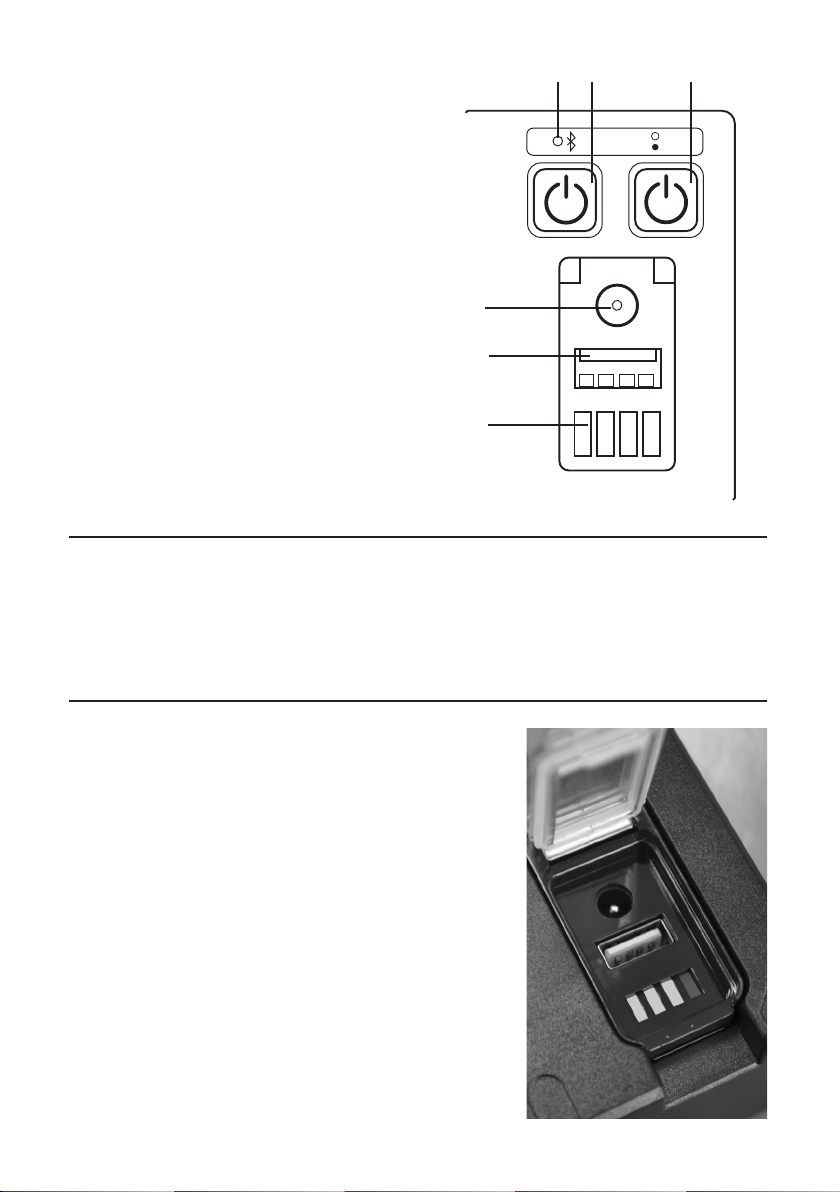
3) The charging indicator lamp Fig 1.
(C) can display up to four green bars,
which indicates the state of charge of
the battery. When charging the battery
the indicator will ash and the bars will
progress up until all four bars are green,
indicating that the battery is
fully charged.
4) The battery will be fully charged
after approximately 4 hours or when
four green bars are illuminated in the
charging indicator. Disconnect the jack
plug from the sitelight, remove the DC
adapter from the outlet socket.
NB: Under no circumstance should the lamp
be operated when a vehicle is in motion as the
driver’s sight could be seriously impaired.
Cycling Batteries
Removing batteries for charging
1) Unclip and remove the battery
from the lamp.
2) Plug the charging cables jack plug into
the recharging socket on the top of the
battery.
3) Plug the adaptor in to the vehicles 12V
DC cigarette lighter or accessory power
socket.
4) The battery will be fully charged after
approximately 4 hours. Disconnect the
jack plug from the battery, remove the
adapter from the wall socket or switch
off.
To prevent overheating do not charge for
more than 9 hours.
Safety Precautions
The DC charging adapter can be used in
most vehicles by plugging into the 12V DC
cigarette lighter or accessory power socket.
Consult your vehicle owner’s manual for
further information on operating 12V DC
accessories.
Do not drive the vehicle while charging, as an
unsecured light or battery may be a hazard
during certain driving manoeuvres.
Store in dry location and do not allow the
charging adapter to come in contact with
water.
Do not store charging adapter where
temperatures may exceed 122°F (50°C).
Use only the DC charging adapter supplied
with the light.
Do not attempt to charge the light with an
adapter that is not compatible as this could
result in a re, damage to the torch or
personal injury.
Use only the AC or DC charging adapters
supplied with the light. Do not attempt to
charge the light with an adapter that is not
compatible as this could result in a re,
damage to the light or personal injury.