HDD Formatting Guide
- New hard disks have to be formatted, before you can use them.
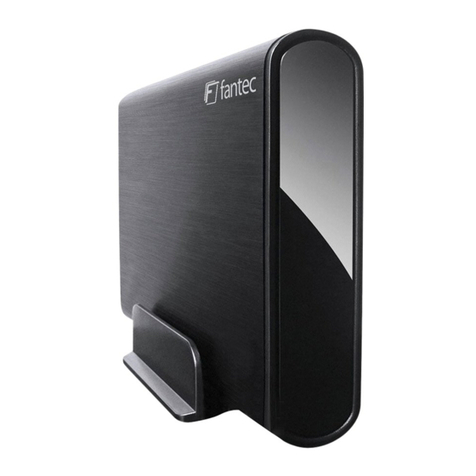
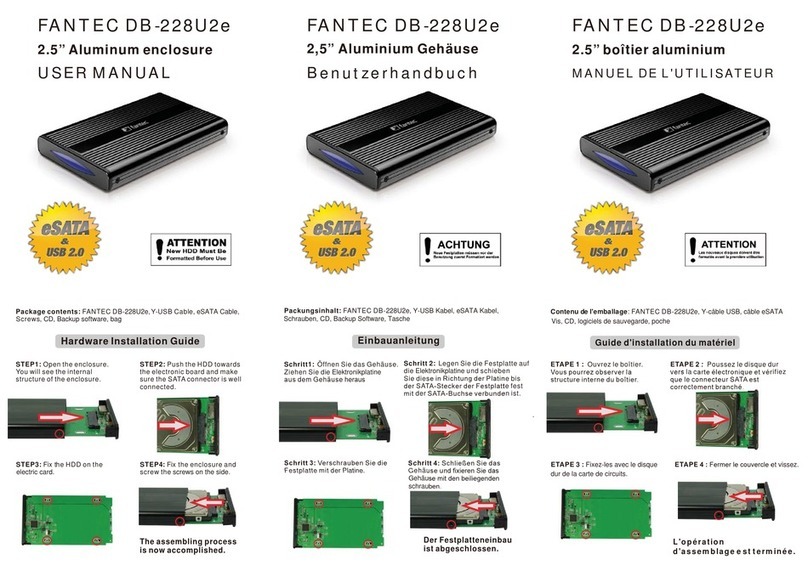
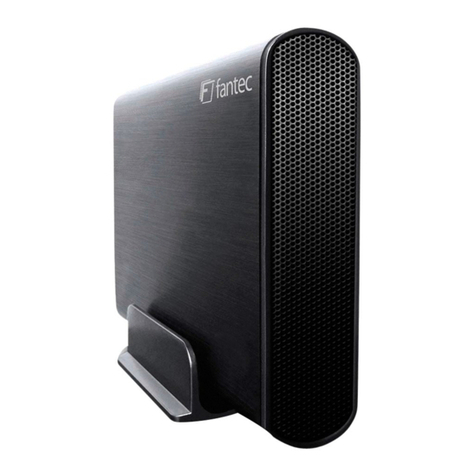
- Connect the FANTEC ALU-25U3 via USB 3.0 to your PC's with
USB 3.0, USB 2.0 or USB 1.1 interface.
STEP1: Right-click on
“My Computer” icon and select
the ”Manage” column.
STEP2: Select “Disk Management”
and you will see your External HDD
showed “Unallocated”.
E
l
Guide de formatage du disque dur
- Les nouveaux disques durs doivent être formatés avant qu'ils
ne puissent être utilisés.
- Branchez le FANTEC ALU-25U3 p ar USB ou eSATA sur votre
ordinateur. Mettez en marche.
TAPE 1 : Cliquez à droite sur l'icône
« Mon ordinateur » et sélectionnez
a colonne « Gestion ».
ETAPE 2 : Sélectionnez « Gestion
de disque » et vous verrez que votre
disque dur externe est indiqué
comme « Non affecté ».
HDD Formatierungsanleitung
- Neue Festplatten müssen formatiert werden, bevor Sie diese
benutzen können.
- Verbinden Sie das FANTEC ALU-25U3 mittels USB3.0 mit der
USB 3.0, USB 2.0 oder USB 1.1 Schnittstelle ihres Computers
Schritt 1: Rechtsklick auf das
Symbol “Arbeitsplatz”; und wählen
Sie “Verwalten” in dem Menü aus.
Schritt 2: Wählen Sie die
“Datenträgerverwaltung” aus. Ihre
Festplatte wird als “Nicht initialisiert”
angezeigt. Bitte initialisieren Sie die
Festplatte.
ETAPE 3 : Cliquez à droite sur le
bloc « Non affecté » et sélectionnez
« Nouvelle partition ».
ETAPE 4 : L'« assistant nouvelle
partition » apparaît. Veuillez suivre
les consignes de l'assistant pour
effectuer la partition.
ETAPE 5 : Une fois la partition
terminée, le disque dur externe
sera alors reconnu comme
« Nouveau volume ».
ETAPE 6 : Double-cliquez
Mon ordinateur ». Vous pourrez
voir le nouveau volume sur votre
ordinateur.
STEP3: Right-Click on the
“Unallocated” bock and select
“New Partition”.
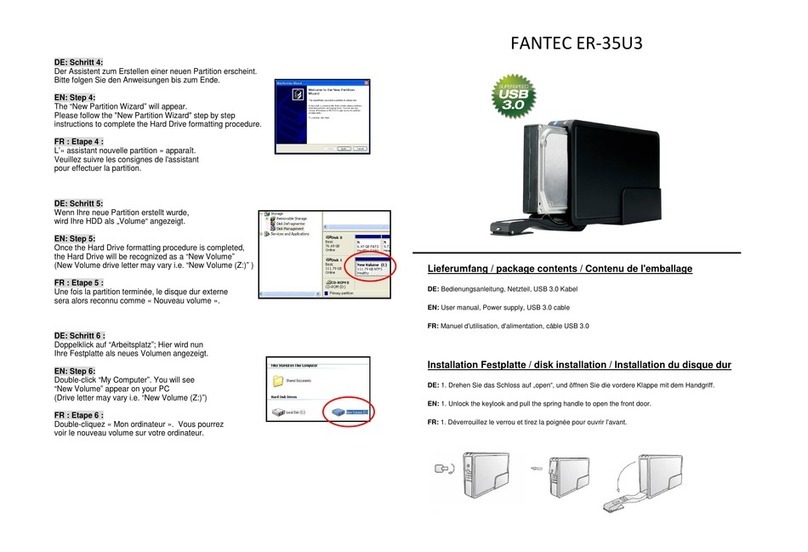
STEP5: When partitioning is
completed, the external HDD will be
recognized as a “New Volume”.
STEP4: The “New Partition Wizard”
will appear. Please follow the
instruction of the wizard to complete.
STEP6: Double-click “My Computer”
You will see the new volume appears
on your PC.
Schritt 3: Die externe HDD wird nun
als “Online” angezeigt. Rechtsklick auf
den “Nicht zugeordnet” Balken und
anschließend Linksklick auf “Neue
Partition erstellen”.
Schritt 4: Der Assistent zum erstellen
einer neuen Partition erscheint. Bitte
folgen Sie den Anweisungen bis zum
Ende.
Schritt 5: Wenn Ihre neue Partition
erstellt wurde, wird Ihre HDD als
“Volume“ dargestellt.
Schritt 6: Die Festplatte wird nun
im „ Arbeitsplatz“ angezeigt. «
STEP3: Fix the screws at the bottom side. The asembling process is done. Schritt 3: Befestigen Sie die Schrauben ann derUnterseite. Der Festplatteneinbau
ist nun abgeschlossen.
ETAPE 3: Fixez les vis sur la partie inférieure. L'installation du disque dur
est terminée.
