manuals.online logo
Brands
  1. Home
  2. •
  3. Brands
  4. •
  5. Fantec
  6. •
  7. Enclosure
  8. •
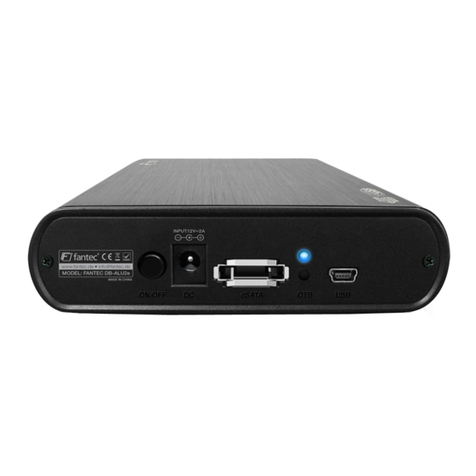
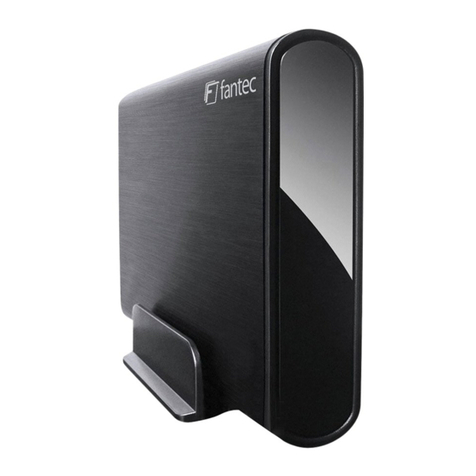
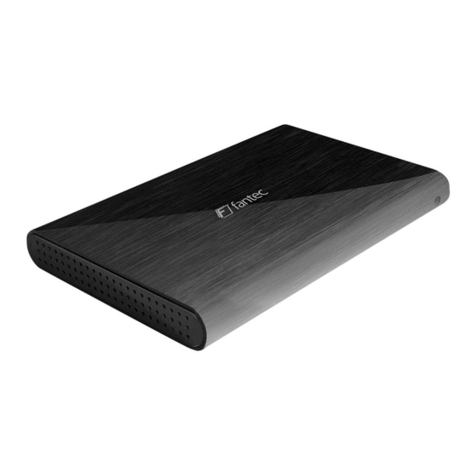
  9. Fantec DB-AluSky U3 User manual

Fantec DB-AluSky U3 User manual

Other Fantec Enclosure manuals

Fantec QB-35US3R User manual

Fantec

Fantec QB-35US3R User manual

Fantec QB-X8US3-6G User manual

Fantec

Fantec QB-X8US3-6G User manual

Fantec ER-35U3-6G User manual

Fantec

Fantec ER-35U3-6G User manual

Fantec DB-228U3e User manual

Fantec

Fantec DB-228U3e User manual

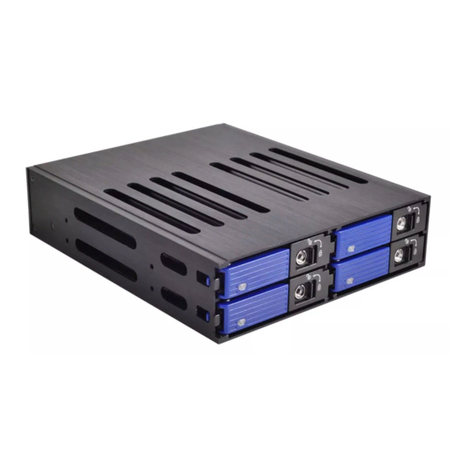
Fantec MR-SA1041 User manual

Fantec

Fantec MR-SA1041 User manual

Fantec SQ-35RU3e User manual

Fantec

Fantec SQ-35RU3e User manual

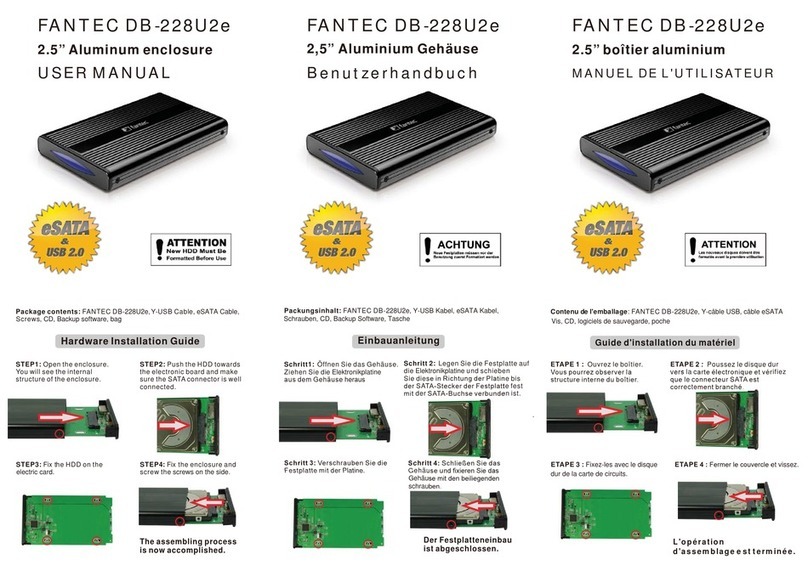
Fantec DB-228U2e User manual

Fantec

Fantec DB-228U2e User manual

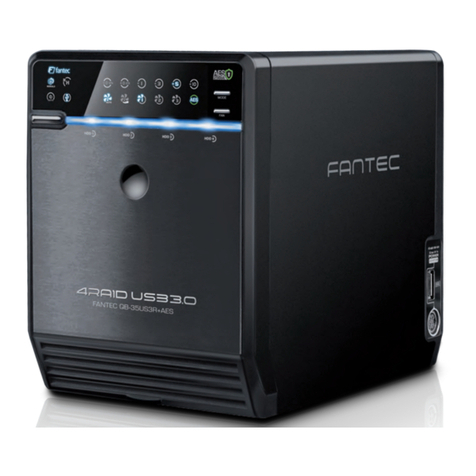
Fantec QB-35US3R+AES User manual

Fantec

Fantec QB-35US3R+AES User manual

Fantec QB-X8US3R User manual

Fantec

Fantec QB-X8US3R User manual

Fantec AluPro U3 User manual

Fantec

Fantec AluPro U3 User manual

Fantec US330 User manual

Fantec

Fantec US330 User manual

Fantec ALU-25C31 User manual

Fantec

Fantec ALU-25C31 User manual

Fantec QB-35U31R User manual

Fantec

Fantec QB-35U31R User manual

Fantec MB-X10U31 User manual

Fantec

Fantec MB-X10U31 User manual

Fantec NVMe31-FastLock User manual

Fantec

Fantec NVMe31-FastLock User manual

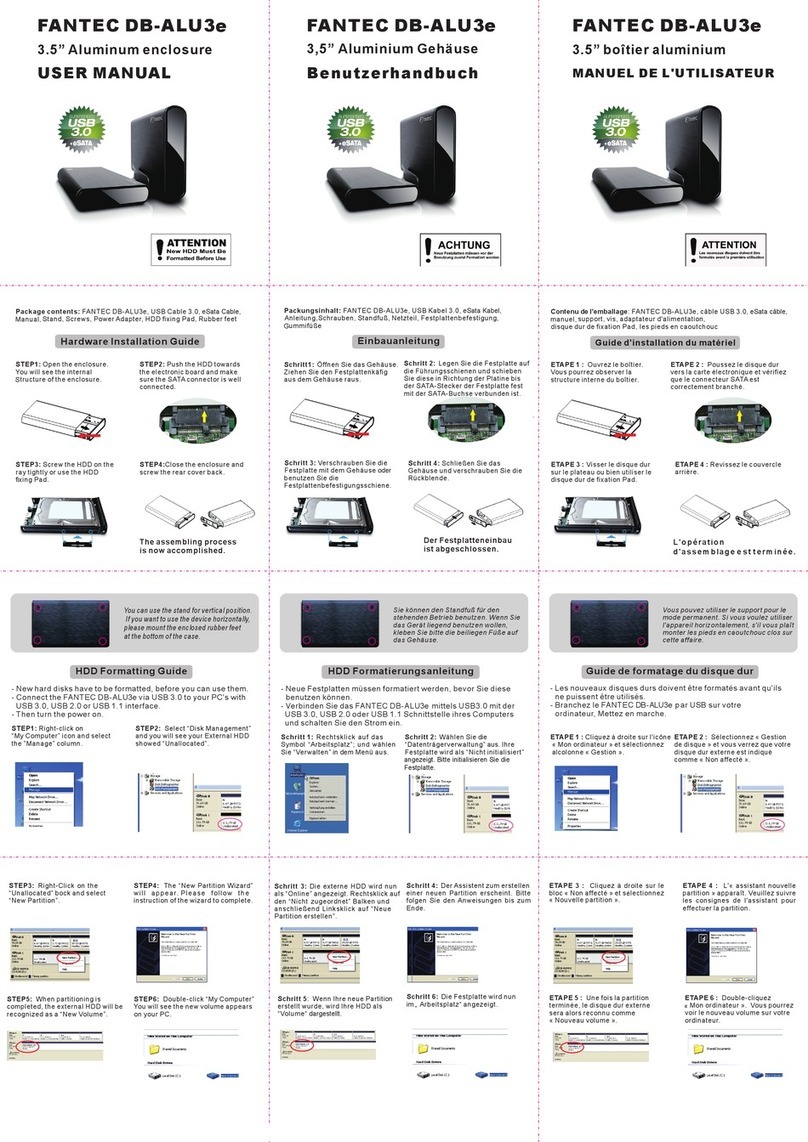
Fantec DB-ALU3e User manual

Fantec

Fantec DB-ALU3e User manual

Fantec QB-X8US3R User manual

Fantec

Fantec QB-X8US3R User manual

Fantec MR-35VU3R User manual

Fantec

Fantec MR-35VU3R User manual

Fantec DB-AluAir U2e User manual

Fantec

Fantec DB-AluAir U2e User manual

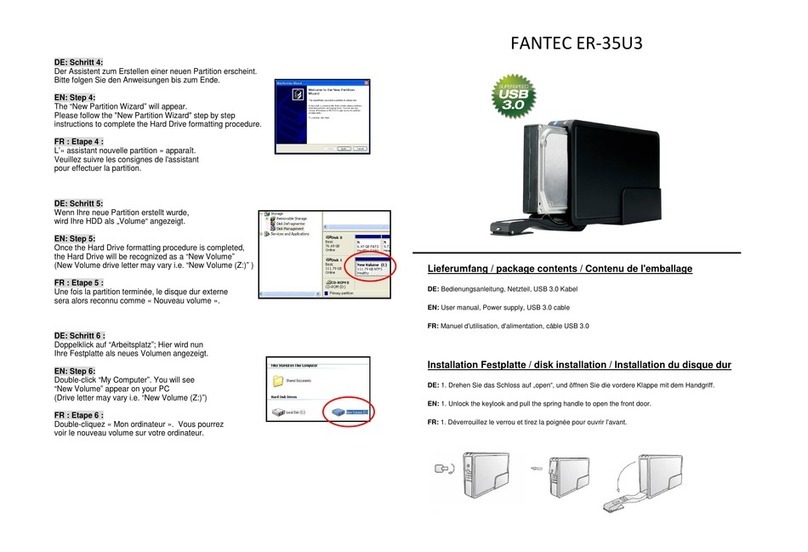
Fantec ER-35U3 User manual

Fantec

Fantec ER-35U3 User manual

Fantec DB-R35DUE User manual

Fantec

Fantec DB-R35DUE User manual

Fantec QB-35US3R User manual

Fantec

Fantec QB-35US3R User manual

Fantec MR-25D User manual

Fantec

Fantec MR-25D User manual

Fantec QB-X2U31R User manual

Fantec

Fantec QB-X2U31R User manual

Popular Enclosure manuals by other brands

Antec Veris Fusion Remote Max Specification sheet

Antec

Antec Veris Fusion Remote Max Specification sheet

ENERMAX iVektor.Q ECA 3371 Series user manual

ENERMAX

ENERMAX iVektor.Q ECA 3371 Series user manual

Lindy 43095 user manual

Lindy

Lindy 43095 user manual

SICK C4000 Select operating instructions

SICK

SICK C4000 Select operating instructions

Geeek A60 PLUS installation guide

Geeek

Geeek A60 PLUS installation guide

OVE SYDNEY 48 installation manual

OVE

OVE SYDNEY 48 installation manual

SilentiumPC Armis AR5 Hardware installation

SilentiumPC

SilentiumPC Armis AR5 Hardware installation

Pulsar 17/TRP80/DSPR Assembly instructions

Pulsar

Pulsar 17/TRP80/DSPR Assembly instructions

MSI MPG SEKIRA 500X quick start guide

MSI

MSI MPG SEKIRA 500X quick start guide

Antec Dark fleet DF-10 user manual

Antec

Antec Dark fleet DF-10 user manual

Peavey DS 1502 Specifications

Peavey

Peavey DS 1502 Specifications

D-Link ShareCenter Pro DNS-1550-04 user manual

D-Link

D-Link ShareCenter Pro DNS-1550-04 user manual

Rosewill RX82-U(JBOD) user manual

Rosewill

Rosewill RX82-U(JBOD) user manual

QNAP SAS JBOD CLI 1.0 user guide

QNAP

QNAP SAS JBOD CLI 1.0 user guide

GAMDIAS Talos P1 Quick installation guide

GAMDIAS

GAMDIAS Talos P1 Quick installation guide

Auvs KR615 user manual

Auvs

Auvs KR615 user manual

Antec AR300 user manual

Antec

Antec AR300 user manual

CommScope FDH 3000 user manual

CommScope

CommScope FDH 3000 user manual

manuals.online logo
manuals.online logoBrands
  • About & Mission
  • Contact us
  • Privacy Policy
  • Terms and Conditions

Copyright 2025 Manuals.Online. All Rights Reserved.

FANTEC DB-AluSky U3 FANTEC DB-AluSky U3 FANTEC DB-AluSky U3
3.5” Aluminum enclosure
USER MANUAL
.
3,5” Aluminium Gehäuse
Benutzerhandbuch
Packungsinhalt: FANTEC DB-AluSky U3, USB Kabel 3.0, Anleitung,
Schrauben, Standfuß, Netzteil, Festplattenbefestigung, Gummifüße
Einbauanleitung
Schritt1: Öffnen Sie das Gehäuse.
Ziehen Sie den Festplattenkäfig
aus dem Gehäuse raus.
Schritt 2: Legen Sie die Festplatte auf
die Führungsschienen und schieben
Sie diese in Richtung der Platine bis
der SATA-Stecker der Festplatte fest
mit der SATA-Buchse verbunden ist.
Schritt 3: Verschrauben Sie die
Festplatte mit dem Gehäuse oder
benutzen Sie die
Festplattenbefestigungsschiene.
Schritt 4: Schließen Sie das
Gehäuse und verschrauben Sie die
Rückblende.
Der Festplatteneinbau
ist abgeschlossen.
R
3.5” boîtier aluminium
MANUEL DE L'UTILISATEU
Contenu de l'emballage: FANTEC DB-AluSky U3, câble USB 3.0, manuel,
support, vis, adaptateur d'alimentation, disque dur de fixation Pad.
les pieds en caoutchouc
Guide d'installation du matériel
ETAPE 1 : Ouvrez le boîtier.
Vous pourrez observer la
structure interne du boîtier.
ETAPE 2 : Poussez le disque dur
vers la carte électronique et vérifiez
que le connecteur SATA est
correctement branché.
ETAPE 3 :
sur le plateau ou bien utiliser le
disque dur de fixation Pad.
Visser le disque dur ETAPE 4 : Revissez le c
ouvercle
arrière.
L 'o p é ra tio n
d 'a s s e m b l a g e e s t t e r m in é e .
Package contents: FANTEC DB-AluSky U3, USB Cable 3.0, Manual,
Stand, Screws, Power Adapter, HDD fixing Pad, Rubber feet
Hardware Installation Guide
STEP1: Open the enclosure.
You will see the internal
tructure of the enclosure.
STEP2: Push the HDD towards
the electronic board and make
sure the SATA connector is well
connected.
STEP3: Screw the HDD on the
ray tightly or use the HDD
xing Pad.
STEP4:Close the enclosure and
screw the rear cover back.
The assembling process
is now accomplished.
S
fi
You can use the stand for vertical position.
If you want to use the device horizontally,
please mount the enclosed rubber feet
at the bottom of the case.
HDD Formatting Guide
- New hard disks have to be formatted, before you can use them.
- Connect the FANTEC DB-AluSky U3 via USB 3.0 to your PC's with
USB 3.0, USB 2.0 or USB 1.1 interface.
- Then turn the power on.
STEP1: Right-click on
“My Computer” icon and select
the ”Manage” column.
STEP2: Select “Disk Management”
and you will see your External HDD
showed “Unallocated”. E
l
Vous pouvez utiliser le support pour le
mode permanent. Si vous voulez utiliser
l'appareil horizontalement, s'il vous plaît
monter les pieds en caoutchouc clos sur
cette affaire.
Guide de formatage du disque dur
- Les nouveaux disques durs doivent être formatés avant qu'ils
ne puissent être utilisés.
- Branchez le FANTEC DB-AluSky U3 par USB sur votre
ordinateur. Mettez en marche.
TAPE 1 : Cliquez à droite sur l'icône
« Mon ordinateur » et sélectionnez
a colonne « Gestion ».
ETAPE 2 : Sélectionnez « Gestion
de disque » et vous verrez que votre
disque dur externe est indiqué
comme « Non affecté ».
Sie können den Standfuß für den
stehenden Betrieb benutzen. Wenn Sie
das Gerät liegend benutzen wollen,
kleben Sie bitte die beiliegen Füße auf
das Gehäuse.
HDD Formatierungsanleitung
- Neue Festplatten müssen formatiert werden, bevor Sie diese
benutzen können.
- Verbinden Sie das FANTEC DB-AluSky U3 mittels USB3.0 mit der
USB 3.0, USB 2.0 oder USB 1.1 Schnittstelle ihres Computers
und schalten Sie den Strom ein.
Schritt 1: Rechtsklick auf das
Symbol “Arbeitsplatz”; und wählen
Sie “Verwalten” in dem Menü aus.
Schritt 2: Wählen Sie die
“Datenträgerverwaltung” aus. Ihre
Festplatte wird als “Nicht initialisiert”
angezeigt. Bitte initialisieren Sie die
Festplatte.
ETAPE 3 : Cliquez à droite sur le
bloc « Non affecté » et sélectionnez
« Nouvelle partition ».
ETAPE 4 : L'« assistant nouvelle
partition » apparaît. Veuillez suivre
les consignes de l'assistant pour
effectuer la partition.
ETAPE 5 : Une fois la partition
terminée, le disque dur externe
sera alors reconnu comme
« Nouveau volume ».
ETAPE 6 : Double-cliquez
Mon ordinateur ». Vous pourrez
voir le nouveau volume sur votre
ordinateur.
STEP3: Right-Click on the
“Unallocated” bock and select
“New Partition”.
STEP5: When partitioning is
completed, the external HDD will be
recognized as a “New Volume”.
STEP4: The “New Partition Wizard”
will appear. Please follow the
instruction of the wizard to complete.
STEP6: Double-click “My Computer”
You will see the new volume appears
on your PC.
Schritt 3: Die externe HDD wird nun
als “Online” angezeigt. Rechtsklick auf
den “Nicht zugeordnet” Balken und
anschließend Linksklick auf “Neue
Partition erstellen”.
Schritt 4: Der Assistent zum erstellen
einer neuen Partition erscheint. Bitte
folgen Sie den Anweisungen bis zum
Ende.
Schritt 5: Wenn Ihre neue Partition
erstellt wurde, wird Ihre HDD als
“Volume“ dargestellt.
Schritt 6: Die Festplatte wird nun
im „ Arbeitsplatz“ angezeigt. «