3
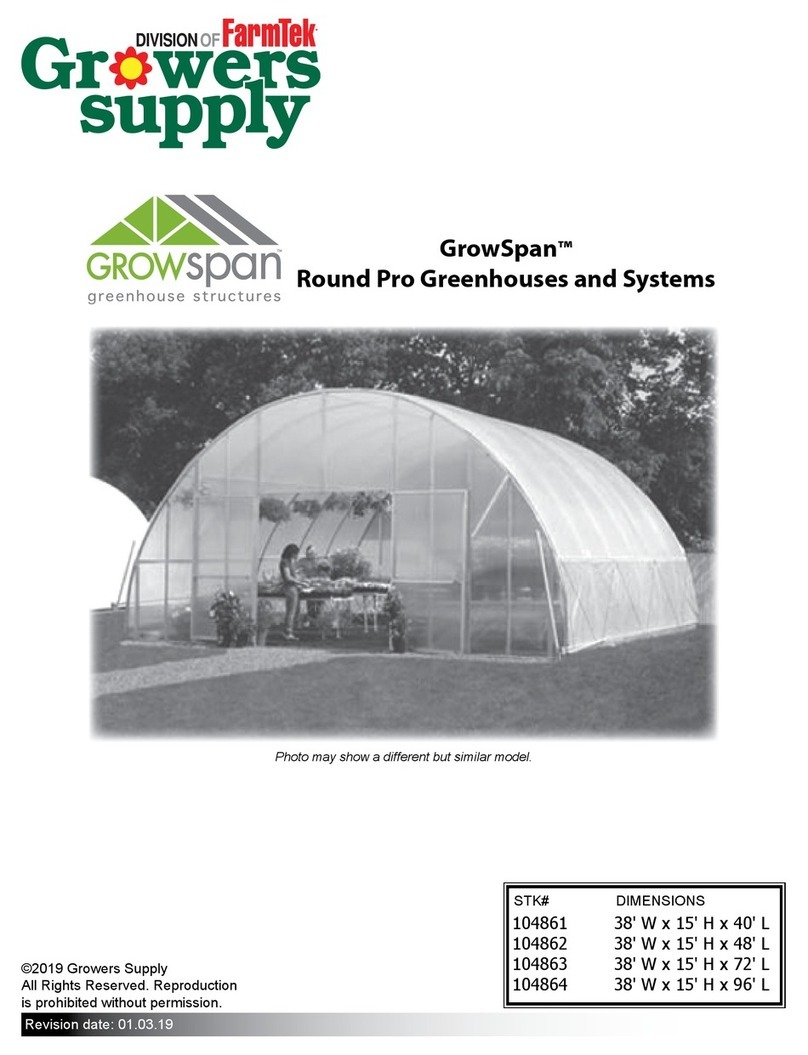
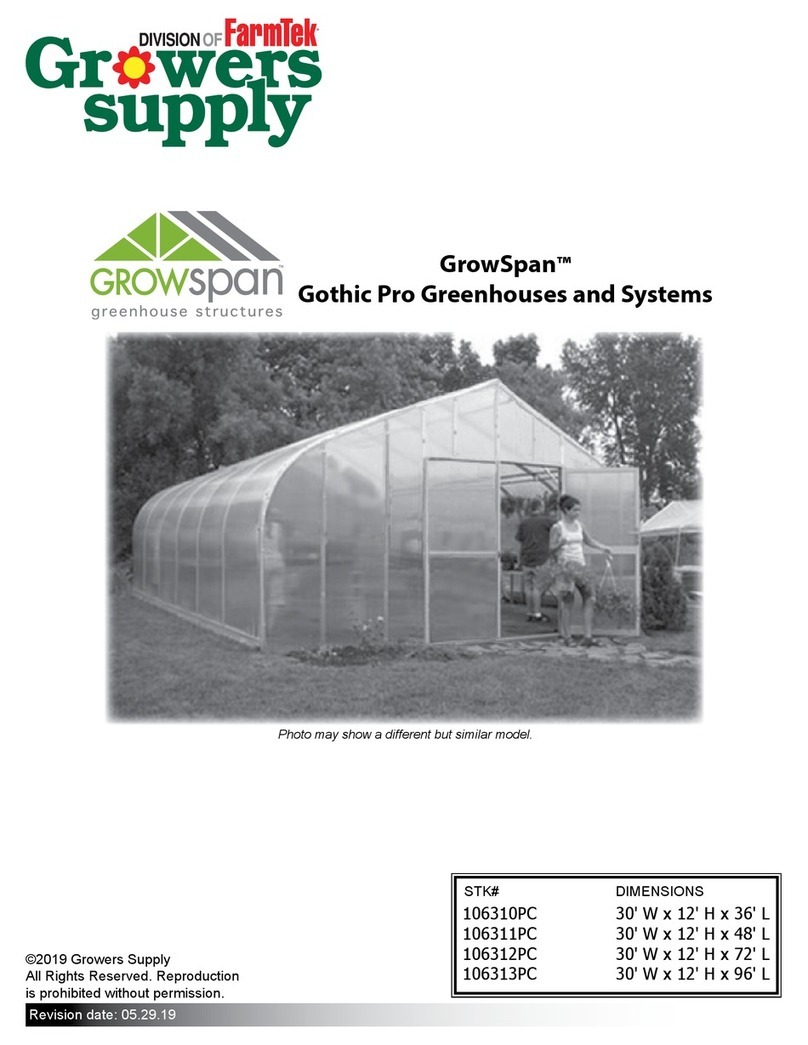
GROWSPAN™GOTHIC PRO GREENHOUSES AND SYSTEMS
Revision date: 06.20.18
LOCATION
Choosing the proper location is an important step before
you begin to assemble the structure.
The following suggestions and precautions will help you
determine whether your selected location is the best
location.
• Never erect the structure under power lines.
• Identify whether underground cables and pipes are
present before preparing the site or anchoring the
structure.
• Location should be away from structures that could
cause snow to drift on or around the building.
• Do not position the greenhouse where large loads
such as snow and ice, large tree branches, or other
overhead obstacles could fall.
• Always check local building codes before you begin.
SITE
After choosing a location, proper preparation of the site is
essential. The following site characteristics will help
ensure the integrity of the structure.
• A level site is required. The site must be level to
properly and safely erect and anchor the structure.
• If the site is not level, use footings to provide a secure
base to assemble the structure. Pre-cast concrete
blocks, pressure-treated wood posts, or poured
footings are all acceptable when properly used. (Some
shelters use ground posts or rafter feet.)
• Drainage: Water draining off the structure and from
areas surrounding the site should drain away from the
site to prevent damage to the site, the structure, and
contents of the structure.
WARNING: The individuals assembling this structure
are responsible for designing and furnishing all
temporary bracing, shoring and support needed during
the assembly process. For safety reasons, those who
are not familiar with recognized construction methods
and techniques must seek the help of a qualified
contractor.
QUICK START GUIDE
For a quick overview of this shelter and its components,
consult the Quick Start Guide near the back of these
instructions.
The pages of the Quick Start Guide show exploded views
of all critical connections. Use the diagrams in the Quick
Start section to assemble the frame of your building.
Consult the remainder of these instructions for important
details that will help during the construction.
ASSEMBLY PROCEDURE
Following the instructions as presented will help ensure
the proper assembly of your greenhouse. Failing to follow
these steps may result in an improperly assembled and
anchored greenhouse and will void all warranty and
protection the owner is entitled.
The steps outlining the assembly process are as follows:
1. Verify that all parts are included in the shipment. Notify
Customer Service for questions or concerns.
2. Read these instructions, the Must Read document, and
all additional documentation included with the shipment
before you begin assembling the greenhouse.
3. Gather the tools, bracing, ladders (and lifts), and
assistance needed to assemble the greenhouse.
4. Check the weather before you install the roof cover
and any panels (if equipped). Do not install covers or
panels on a windy or stormy day.
5. Re-evaluate the location and site based on the
information and precautions presented in the
documentation included with the shipment.
6. Prepare the site (if applicable).
7. Assemble the frame components in the order they are
presented in these instructions.
8. Assemble the frame including the struts (if equipped).
9. Consult the MUST READ document and properly
anchor the assembled frame.
10. Install the End Wall framing.
11. Install, tighten, and secure the End Wall end panels
and doors.
12. Install, tighten, and secure the main cover. This applies
to fabric and film covers that stretch over the frame
assembly.
13. Read the Care and Maintenance information at the end
of these instructions.
IMPORTANT: POLYCARBONATE PANELS
Do not allow polycarbonate panels to remain in direct
sunlight prior to installation. Doing so will cause the
protective film to become difficult if not impossible to
remove.
Prior to installation, cover panels using a light colored tarp
to reflect sunlight or store indoors or in the shade.
