A
B
C
3
Determining Comb Size
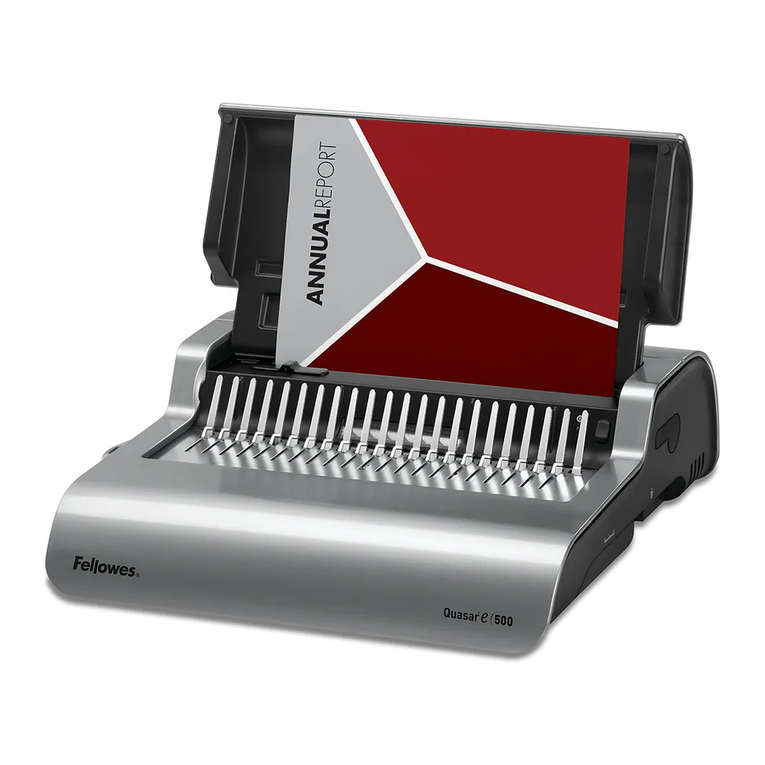
Determining the appropriate comb size just got easier with
Fellowes’ handy, built-in comb selector guide. Or, if you
happen to know the number of sheets being bound, simply
use the chart below.
1. To select the optimum comb for binding, insert complete
document behind the adjustable comb guide selector
located near the punching area.
NOTE: Entire document, including covers, should fit snug
against comb guide selector to determine true comb size.
2. Read the corresponding comb size located left of the
comb guide selector.
3. Remove document from comb guide selector.
No. of Sheets Comb Size
Up to 20 1\4” (6mm)
21-40 5\16” (8mm)
41-55 3\8” (9.5mm)
56-90 1\2” (12.5mm)
91-120 5\8” (15.5mm)
121-150 3\4” (20mm)
151-200 1” (25mm)
201-290 1-1\2” (38mm)
Up to 425 2” (51mm)
Binding the Document
1. Before binding, be sure the
binding lever is in a closed
position.
2. Insert the plastic comb
behind the binding rakes.
Be sure the open side of the
plastic comb’s teeth are
facing upward.
3. To open comb, pull binding
lever back toward self.
NOTE: the maximum a comb can be opened will vary by
the diameter of the comb.
4. Insert the punched sheets onto the open comb.
NOTE: for a correctly bound document, the first page of
your document should be the first page placed onto the
comb.
5. Close comb by returning the binding lever to its original
starting position.
6. Remove bound document by lifting upward.
Adding \ Removing Pages
from Bound Document
Adding and removing pages from your bound document is
easy with Plastic Comb Binding. To do so:
1. Follow steps 1 - 3 as outlined in Binding the Document,
above.
2. Add \ Remove selected pages.
3. Close comb by returning the binding lever to its original
starting position.
4. Remove bound document by lifting upward.
Emptying Paper Clippings
To empty, remove paper clippings tray located on backside of
machine. The convenient handle makes grasping and
removal easy. To prevent potential clogging and jamming of
unit, be sure to empty clippings frequently.
