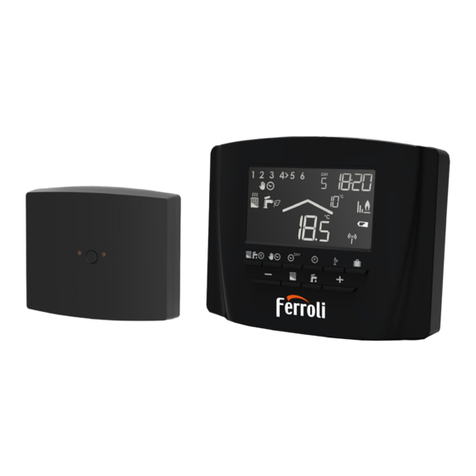
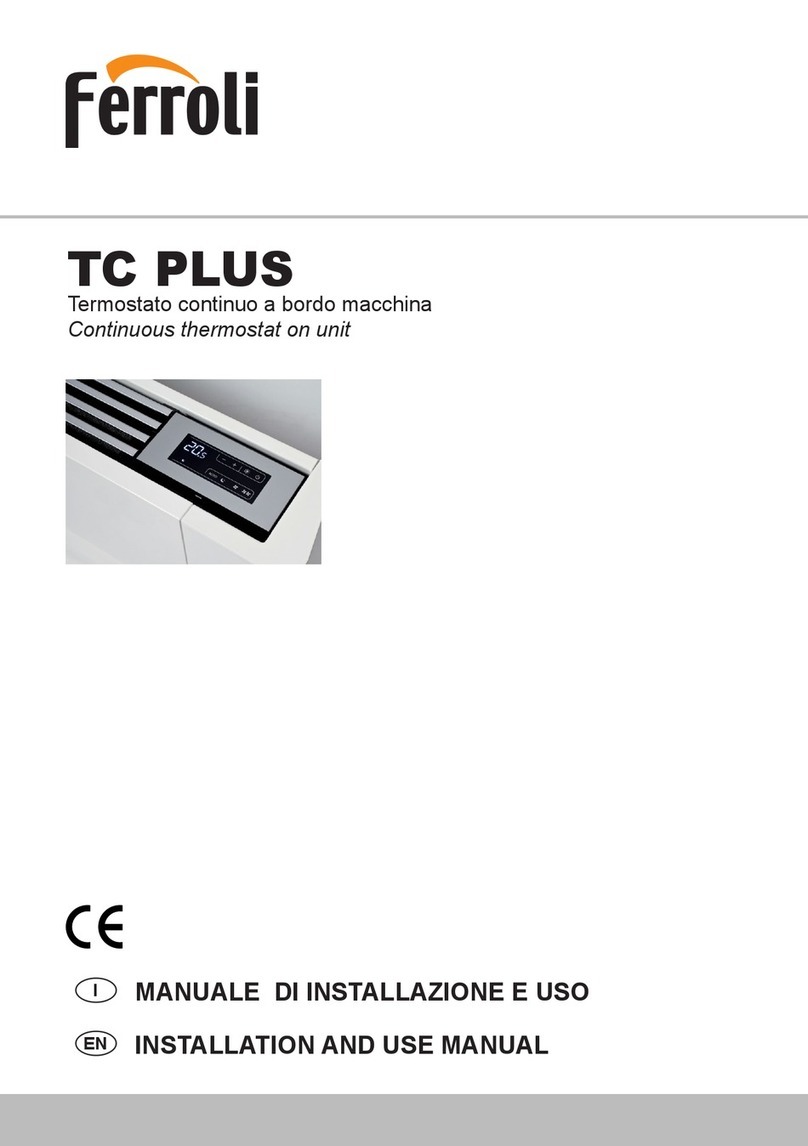
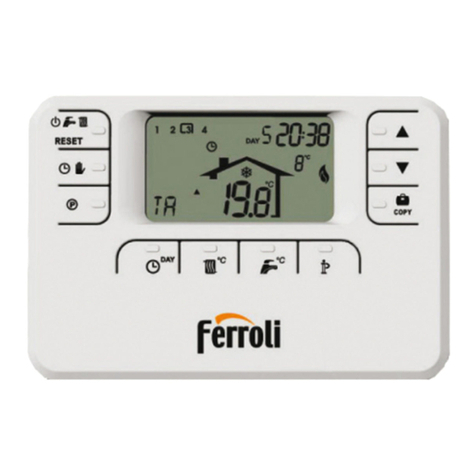
Ferroli 30800009 Assembly Instructions

Suitable for all Ferroli Combination Boilers
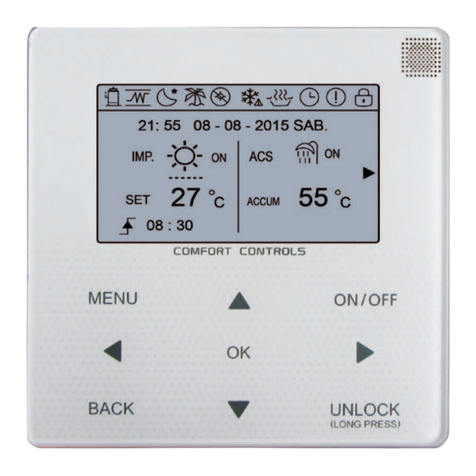
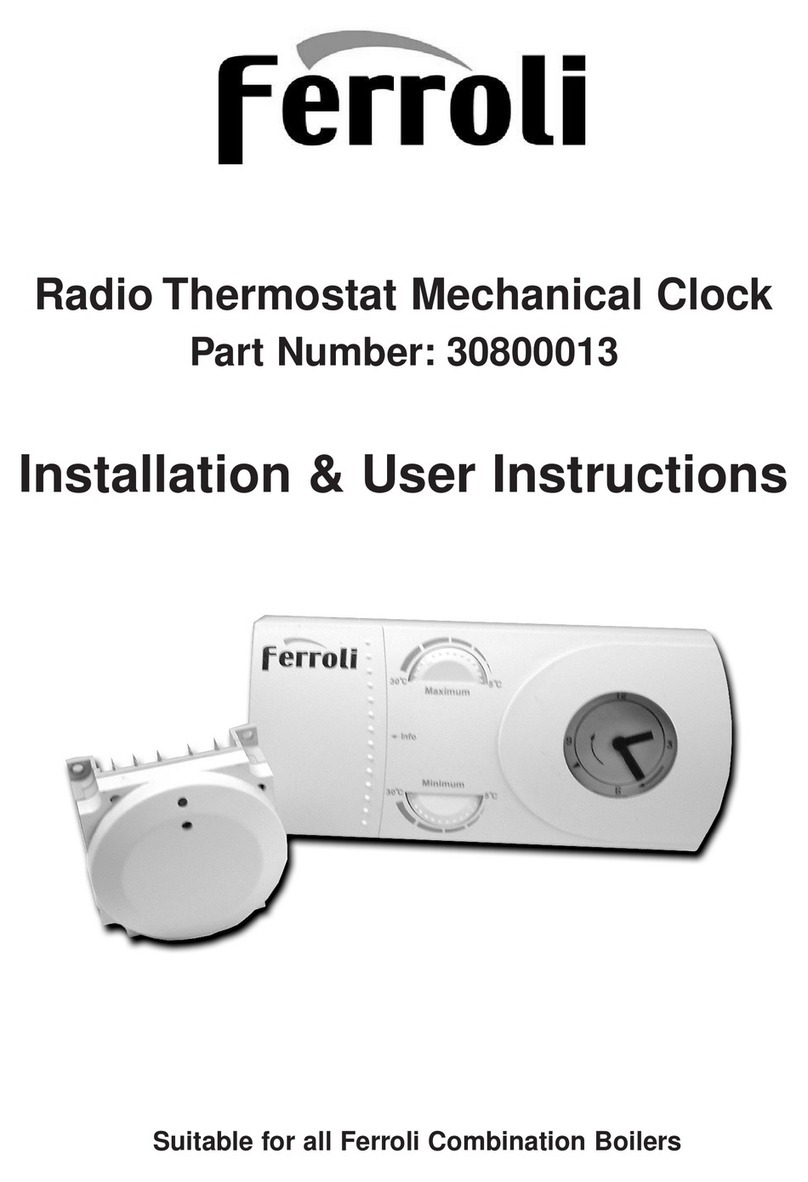
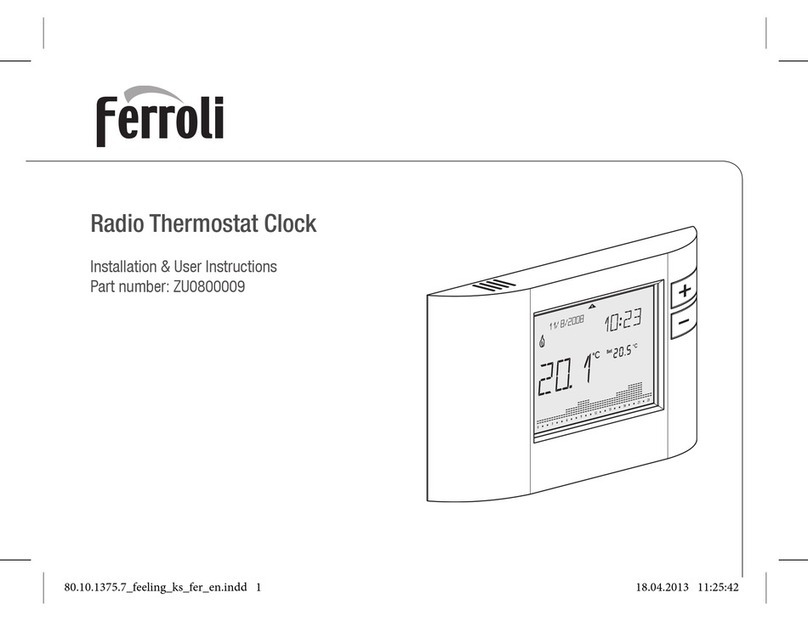
Radio Thermostat Clock
Part Number: 30800009
Installation & User Instructions

&RQWHQWV
'HVFLSWLRQ
6DIHW\
,QVWUXFWLRQV
,QVWDOODWLRQ
6HWWLQJWLPHDQG
ZHHNGD\
6HWWLQJQRPLQDO
GD\DQGQLJKW
YDOXH
6HOHFWLQJWKH
SURJUDP
,QGLYLGXDOGDLO\
SURJUDP
2SHUDWLQJPRGHV
2YHUULGH
6\VWHP0RGH
&RQWLQXRXV
UDGLRRSHUDWLRQ
5HVHWNH\
2

Short Description
Short description RadioThermostat Clock - Transmitter
The Radio Thermostat Clock is a 7 day radio frequency (RF) wireless
thermostat/ timer which communicates with a special receiver designed
to replace the universal digital timer fitted to most of Ferroli’s combination
boilers.
The Radio Thermostat Clock is battery powered and can be sited
wherever conventional room thermostats would normally be sited.
In combination with the Radio Thermostat Clock receiver, the Radio
Thermostat Clock transmitter creates a room thermostat clock of highly
advanced technology. The device is wireless and controls the heating
boiler via radio, providing comfortable room temperatures.
Safety Instructions
Safety Instructions
Both receiver and transmitter should be fitted by a competent person.
It is imperative to observe the generally applicable safety measures,
such as: Before starting any work on fitting the receiver, switch off power
supply and secure against switching on.
Do not use any metallic and sharp pointed objects for the operation of
the keys.
For technical data, see label on the unit or data sheet.
3

5HFHLYHU,QVWDOODWLRQ
5DGLR
7KHUPRVWDW
&ORFN5HFHLYHU
5HDUYLHZRIUHFHLYHU
/LYH%URZQ7HUPLQDO
1HXWUDO%OXH7HUPLQDO
6ZLWFKLQJZLUHV7HUPLQDOV
3OHDVHQRWH,IUHSODFLQJXQLYHUVDOGLJLWDOWLPHUSOHDVH
HQVXUH\RXQRZXVHWHUPLQDOVLQVWHDGRIDVSHU
XQLYHUVDOGLJLWDOWLPHU,IZLUHGLQFRUUHFWO\FRQWUROOHUZLOOZRUN
LQUHYHUVH
,I\RXUHTXLUHIXUWKHUZLULQJGHWDLOVSOHDVHVHHIROORZLQJ
SDJHVIRUPRUHGHWDLOHGLQVWUXFWLRQV
4

Optima 01 Range
Domina, Modena and Falcon (MF02)
Step 1 Remove clock from control panel.
Step 2 Swap wiring as shown. Make sure Live is connected to terminal 1 (wire
colour is not conclusive of polarity)
Step 3 Fit receiver into control panel.
Note. If the Radio thermostat clock is going to replace the existing room thermostat
this must be linked out on the room thermostat terminal block.
Radio
Thermostat
Clock Receiver
Universal
Digital
Clock
43 2 1
53 2 1
Step 1 Remove clock from control panel.
Step 2 Swap wiring as shown. Make sure Live is connected to terminal 1 (wire
colour is not conclusive of polarity)
Step 3 Fit receiver into control panel.
Note. If the Radio thermostat clock is going to replace the existing room thermostat
this must be linked out on the room thermostat terminal block located in the electrical
compartment on the underside of the boiler.
Radio
Thermostat
Clock Receiver
Universal
Digital
Clock
43 2 1
53 2 1
5

Domina, Modena and Falcon
Step 1 Remove clock from control panel.
Step 2 Swap wiring as shown. Make sure Live is connected to terminal 1 (wire
colour is not conclusive of polarity)
Step 3 Fit receiver into control panel.
Domicompact Range
Radio
Thermostat
Clock Receiver
Universal
Digital
Clock
43 2 1
53 2 1
Note. If the Radio thermostat clock is going to replace the existing room thermostat
this must be linked out on the room thermostat terminal block.
Radio
Thermostat
Clock Receiver
Universal
Digital
Clock
43 2 1
53 2 1
Step 1 Remove clock from control panel.
Step 2 Swap wiring as shown. Make sure Live is connected to
terminal 1 (wire colour is not conclusive of polarity)
Step 3 Fit receiver into control panel.
Note. If the Radio thermostat clock is going to replace the existing room thermostat
this must be linked out on the room thermostat terminal block.
6

Optimax 25C
Step 1 Remove clock from control panel.
Step 2 Swap wiring as shown.
Step 3 Fit receiver into control panel.
Maxima 35C
Step 1 Remove the boiler front cover and
lower the control box.
Step 2 Remove the terminal block cover.
Step 3 Cut off connect block bare back wires
approx. 7mm and connect brown to
terminal 1 and blue to terminal 3 on
the outlet side of the block.
Step 4 Connect brown and blue onto receiver
terminals 1 and 2. Make sure live is
connected to terminal 1.
Step 5 Connect the two grey wires to terminal
3 and 4 on the receiver. On the main
boiler terminal block remove link wire
from terminals 4 and 5 and connect
the two grey wires.
Radio
Thermostat
Clock Receiver
Universal
Digital
Clock
43 2 1
53 2 1
Note. If the Radio thermostat clock is going to replace the existing room thermostat
this must be linked out on the room thermostat terminal block.
7
Step 6 Place receiver on back of terminal block cover and mark two diagonally
opposed fixing holes, with the cover removed drill two 2.2mm holes.
Mount the receiver using the shortest two screws supplied with the radio
thermostat.
Optimax HE Range
Step 1 Remove boiler outer case and lower control box.
Step 2 Remove control box cover.
Step 3 Connect brown and blue JST plug onto PCB terminal block X2.
Step 4 Connect brown and blue onto receiver terminals 1 and 2. Make
sure live is connected to terminal 1. (the wire colour is not
conclusive of polarity).
Step 5 Connect the two grey wires to terminal 3 and 4 on the receiver. On
the main boiler terminal block remove link wire from terminals 5
and 6 and connect the two grey wires.
Step 6 Place receiver on back of terminal block cover and mark two
diagonally opposed fixing holes, with the cover removed drill two
2.2mm holes. Mount the receiver using the shortest two screws
supplied with the radio thermostat.
8

Installation
ATTENTION!
LED
Button
9
Location
Emergency running mode
If no valid radio signal is received from the receiver for more than 1 hour, emergency running
mode is activated. ED value 12.8 minutes, switch-on time 30%. See page 16.
Radio link installation
1. Install transmitter and select continuous radio operation
system mode. (See page 17)
2. Press receiver button and hold down for 2 seconds. The
LED flashes twice. Then release the button. The LED remains
on between 1 and 10 seconds. When a correct link between
the transmitter and receiver has been established the LED
goes off. Subsequent RF transmissions are indicated visually
by a momentary flash of the LED.
3. Move transmitter to required location and observe LED to
monitor reception. If no reception and appropriate location
must be found.
4. Stop continuous radio operation.
1
2
Note: If no reception is possible it has to be checked whether any metallic
cupboards or other metallic obstacles may interfere.

,QVWDOODWLRQ&RQW
%DWWHU\
,QVWDOODWLRQ
'HVFULSWLRQ
7LPH
1RPLQDOGD\YDOXH
1RPLQDOQLJKWYDOXH
3DUW\2SHUDWLRQ
+ROLGD\2SHUDWLRQ
2YHUULGH0RGH
%DWWHU\&KDQJH
+HDWLQJ2Q
&RQWLQXRXVUDGLRRSHUDWLRQ
10

6HWWLQJWLPHDQGZHHNGD\
6HWWLQJQRPLQDO'D\DQG1LJKWYDOXH
11

6HOHFWLQJWKH3URJUDP
$SURJUDP3 WR3GPXVWEHDOORFDWHGWRHDFKZHHNGD\ WR3WR3DUHSUHVHWWLPHV
IRUWKHGXUDWLRQRIQRPLQDOGD\WHPSHUDWXUHIRUH[DPSOH
3 DPSP2QFH
3DPDP SPSP7LPHGERLOHURQLQWKHPRUQLQJDQG
HYHQLQJ
3DPSP&RQWLQXRXV
32QO\QRPLQDOQLJKWWHPSHUDWXUH
3URJUDPV3 WR3FDQQRWEHFKDQJHGE\WKHXVHU
3GLQGLYLGXDOGDLO\SURJUDP
12

,QGLYLGXDOGDLO\SURJUDP
[DPSOH
%RLOHUµ2II
%RLOHUµ2Q
%RLOHUµ2II
%\SUHVVLQJWKHµPLQXV¶EXWWRQ
WKHERLOHURIISHULRGZLOOEHVHW
,QWKLVFDVHWKHPLQXVEXWWRQLV
SUHVVHG WLPHVWRVHWDP
%\SUHVVLQJWKHµSOXV¶EXWWRQ
WKHERLOHURQSHULRGZLOOEHVHW
,QWKLVFDVHWKHSOXVEXWWRQLV
SUHVVHGWLPHVWRVHW
SP
7KHQWKHQH[W2IISHULRGIURP
XQWLOZLOOEHVHWE\
SUHVVLQJWKHµPLQXV¶EXWWRQ
WLPHV
7KHLQGLYLGXDO212))SHULRGV
FDQEHVHWDVPDQ\WLPHVDV
RIWHQ7KHWLPHFDQEHVHWLQ
PLQXWHEORFNV
13

2SHUDWLQJ0RGHV1RPLQDOGD\WHPSHUDWXUH
$XWRPDWLFRSHUDWLRQ
$IWHUSURJUDPPLQJWKHXQLWLVLQDXWRPDWLF
PRGH)XUWKHUSURJUDPPLQJLVSRVVLEOHYLD
WKHPHQXNH\7KHYDULRXVRSHUDWLQJPRGHV
FDQEHVHOHFWHGE\PHDQVRIWKHRSHUDWLQJ
PRGHNH\7KHPHQXNH\DOORZVWRVZLWFK
EDFNWRDXWRPDWLFRSHUDWLRQ
2SHUDWLQJ0RGHV1RPLQDOQLJKWWHPSHUDWXUH
&RQWLQXRXVRSHUDWLRQ
QRPLQDOQLJKWYDOXH
7KHKHDWLQJLVUHJXODWHGWRWKH
QRPLQDOQLJKWYDOXH
2SHUDWLQJ0RGHV3DUW\)XQFWLRQ
3DUW\RSHUDWLRQ
7KHQH[WUHGXFWLRQRIWKH
WHPSHUDWXUHWRWKHQRPLQDO
QLJKWWHPSHUDWXUHLVQRWFDUULHG
RXW:LWKWKHQH[WSURJUDPPHG
QRPLQDOGD\WHPSHUDWXUH
VZLWFKLQJFRPPDQGWKH
UHJXODWRUVZLWFKHVEDFNWR
DXWRPDWLFRSHUDWLRQ
14

2SHUDWLQJPRGHV+ROLGD\IXQFWLRQ
+ROLGD\2SHUDWLRQ
,QWKLVPRGHDQRPLQDOWHPSHUDWXUH
FDQEHVHWIRUDFHUWDLQQXPEHURI
GD\V
15

2YHUULGH0RGH
2YHUULGHPRGH
,QWKLVPRGHWKHQRPLQDOYDOXHFDQEH
FKDQJHGTXLFNO\7KHRYHUULGHPRGH
LVRQO\YDOLGXQWLOWKHQH[WVZLWFKLQJ
FRPPDQGLVDFWLYH7KHQRPLQDOYDOXH
LVVKRZQ
6\VWHPPRGH
6HWWLQJWKH 'YDOXH
' 6FDQWLPHPLQUDSLGKHDWLQJ
V\VWHPIDFWRU\VHWWLQJ
' 6FDQWLPH PLQKHDWLQJ
V\VWHPDWPHGLXPVSHHG
' 6FDQWLPHPLQVORZ
KHDWLQJV\VWHP
7KH('YDOXHLVWKHVFDQWLPHEHWZHHQWKH
WUDQVPLWWHUDQGUHFHLYHU7KHKLJKHUWKH
VHOHFWHGVFDQWLPHWKHVORZHUWKH
SURJUDPPHUUHVSRQGVWRURRPWHPSHUDWXUH
FKDQJHV
16

&RQWLQXRXVUDGLRRSHUDWLRQ
5 6 7NH\
!,QLWLDOVWDWH
!3URJUDPLVUHWDLQHG
1RWH,I5(6(7EXWWRQLVSUHVVHGDOOLQGLYLGXDO
SURJUDPVKDYHWREHUHSURJUDPPHG
!6WDWXVXSRQ
GHOLYHU\
17

1RWHV
18

1RWHV
19

%HFDXVHRIRXUFRQVWDQWHQGHDYRXUIRULPSURYHPHQWGHWDLOV
PD\YDU\IURPWKRVHTRXWHGLQWKHVHLQVWUXFWLRQV
6KRXOG\RXUHTXLUHDQ\DVVLVWDQFHGXULQJWKH
LQVWDOODWLRQFDOORXU7HFKQLFDO6HUYLFH+HOSOLQHRQ
RSWLRQ
)HUUROL/LPLWHG
/LFKILHOG5RDG%UDQVWRQ,QGXVWULDO(VWDWH%XUWRQ8SRQ7UHQW
6WDIIRUGVKLUH'( +'
6HUYLFH7HFKQLFDO7HO )D[
6DOHV7HO )D[
80.10.1144.7/07/01
Table of contents
Other Ferroli Thermostat manuals

Ferroli
Ferroli TE FC 3V User manual

Ferroli
Ferroli ZU0800009 Assembly Instructions

Ferroli
Ferroli Rem W User manual

Ferroli
Ferroli TC PLUS Guide

Ferroli
Ferroli OMNIA M 3.2 User manual

Ferroli
Ferroli PEGASUS 67 2S Troubleshooting guide

Ferroli
Ferroli ROMEO W RF User manual

Ferroli
Ferroli ROMEO N RF User manual

Ferroli
Ferroli CONNECT Guide

Ferroli
Ferroli CONNECT Guide