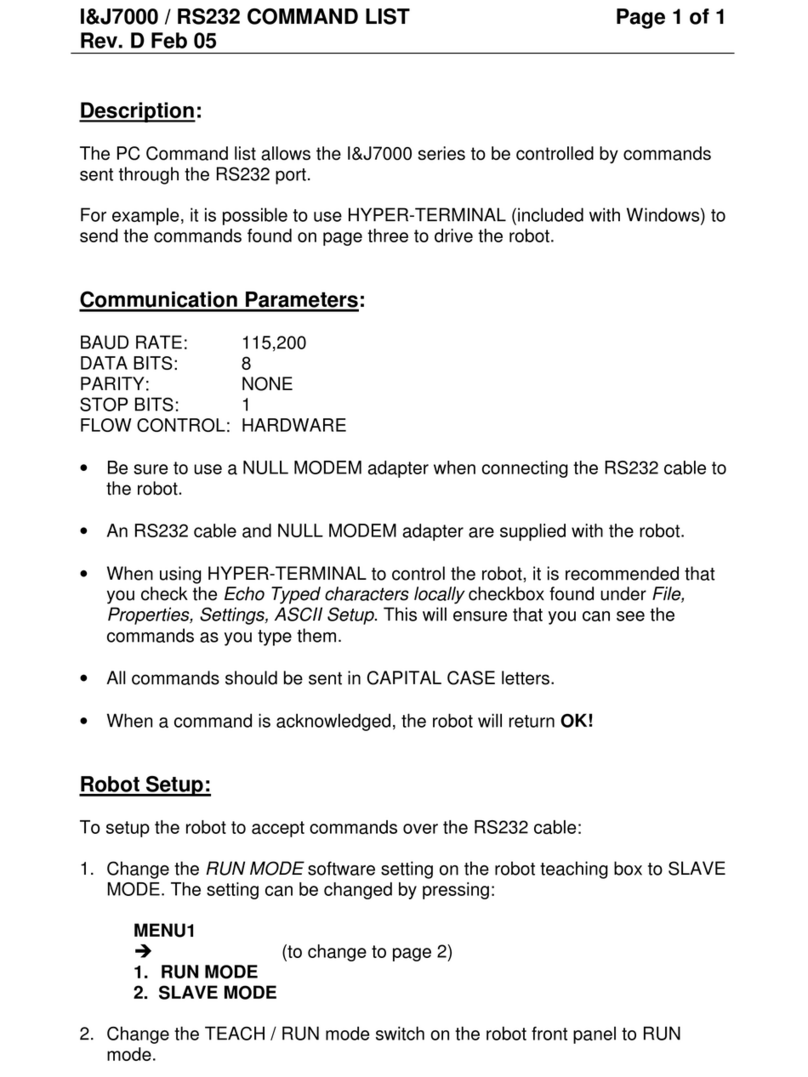
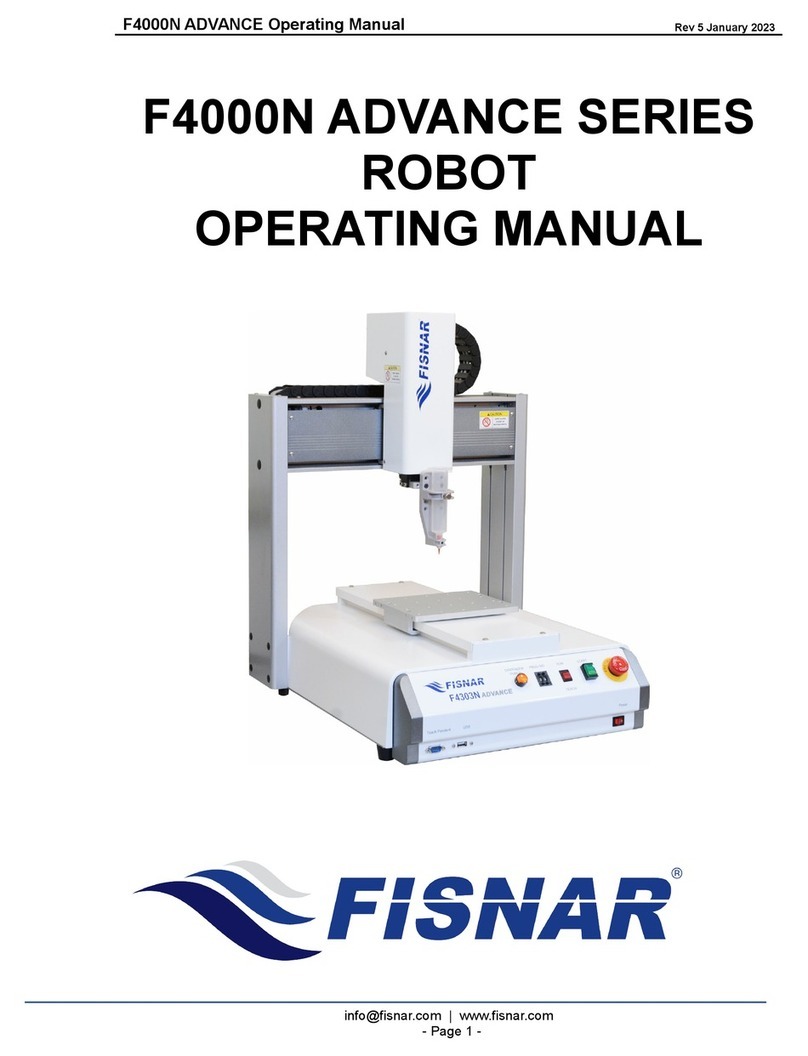
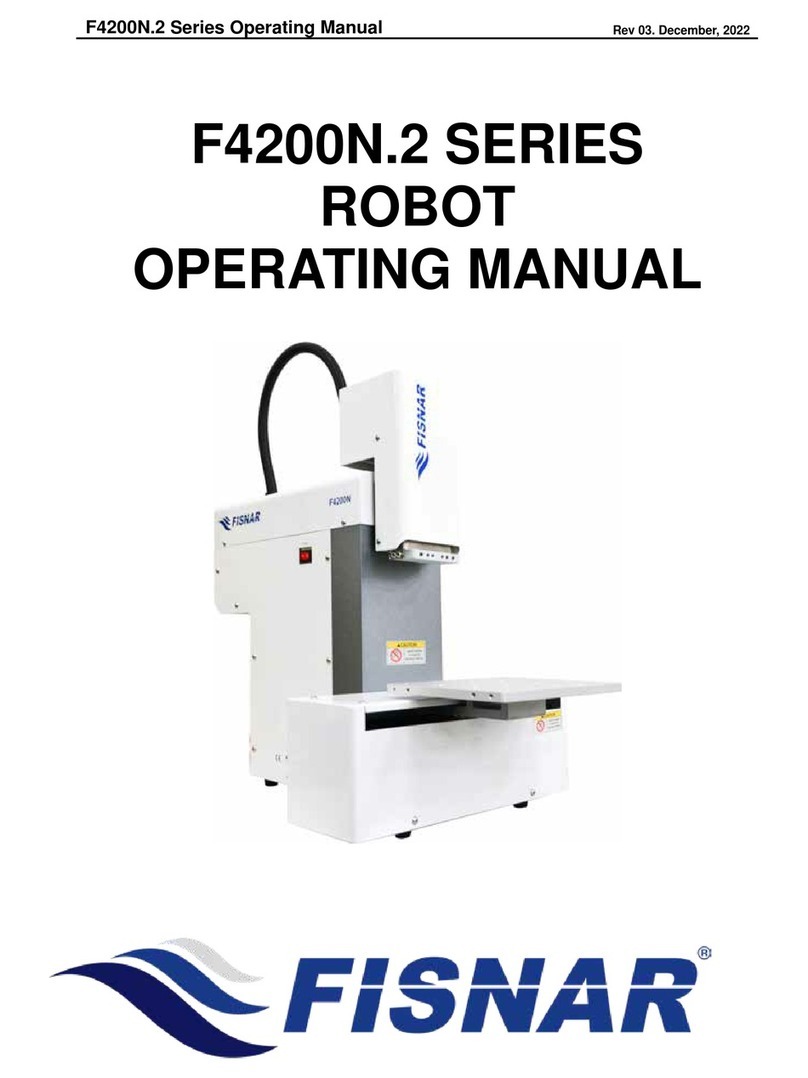
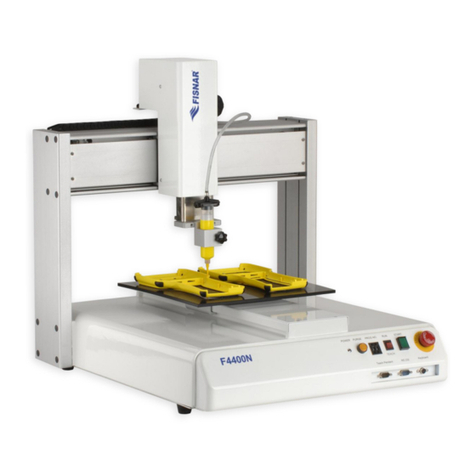
FISNAR I&J7000 Series User manual

I&J7000 Series Operating Manual
Part # 561978B
Rev. H May 04
- Page 1 -
© 2003 I&J Fisnar Inc.
I&J7000 SERIES
OPERATING MANUAL

I&J7000 Series Operating Manual
Part # 561978B
Rev. H May 04
- Page 2 -
© 2003 I&J Fisnar Inc.
CONTENTS:
SECTION 1: INTRODUCTION ...............................................................................................5
1. SAFETY PRECAUTIONS........................................................................................................6
2. PACKAGE CONTENTS ..........................................................................................................7
3. CONNECTOR AND SWITCH LOCATIONS................................................................................8
3.1. I&J7200 –Front View.........................................................................................................................8
3.2. I&J7200 –Rear View..........................................................................................................................8
3.3. I&J7300 / I&J7400 - Front View.......................................................................................................9
3.4. I&J7300 / I&J7400 - Rear View ........................................................................................................9
3.5. Control Panel......................................................................................................................................10
SECTION 2: SETUP ..................................................................................................................11
1. UNPACK THE ROBOT...........................................................................................................12
2. REMOVE SHIPPING BRACKET..............................................................................................12
3. SETUP .................................................................................................................................13
SECTION 3: TEACHING OVERVIEW..................................................................................15
1. TEACHING OVERVIEW.........................................................................................................16
2. USING THE TEACH PENDANT ..............................................................................................18
2.1. Key Selection.......................................................................................................................................18
2.2. Key Assignments..................................................................................................................................19
2.3. Menu Navigation.................................................................................................................................20
2.4. Jogging................................................................................................................................................20
2.5. Data Entry...........................................................................................................................................20
2.6. Running a Program.............................................................................................................................20
3. TEACH BOX KEYASSIGNMENTS .........................................................................................21
4. POINT TYPE &FUNCTION SUMMARY..................................................................................24
4.1. Point Menu..........................................................................................................................................24
4.2. Setup Menu..........................................................................................................................................26
4.3. Menu 1.................................................................................................................................................27
4.4. Utility Menu ........................................................................................................................................28
4.5. Menu 2.................................................................................................................................................29
SECTION 4: PROGRAMMING EXAMPLE..........................................................................30
1. PROGRAMMING EXAMPLE...................................................................................................31
2. EDITING A PROGRAM ..........................................................................................................34
2.1. Changing a Point XYZ location...........................................................................................................34
2.2. Insert / Delete an Instruction...............................................................................................................35
3. CHANGING THE PROGRAM NUMBER ...................................................................................35
4. CHANGING FROM TEACH MODE TO RUN MODE..................................................................35
SECTION 5: DISPENSING PARAMETERS..........................................................................36
1. DISPENSE END SETUP .........................................................................................................37
2. Z CLEARANCE.....................................................................................................................38
3. LINE DISPENSE SETUP.........................................................................................................39
4. RETRACT ............................................................................................................................40
5. ADJUST ORIGIN...................................................................................................................42

I&J7000 Series Operating Manual
Part # 561978B
Rev. H May 04
- Page 3 -
© 2003 I&J Fisnar Inc.
CONTENTS (CONT.):
SECTION 6: POINT TYPE & FUNCTION REFERENCE...................................................43
1. POINT MENU.......................................................................................................................44
1.1. Dispense Dot.......................................................................................................................................44
1.2. Line Start.............................................................................................................................................44
1.3. Line Passing........................................................................................................................................45
1.4. Circle...................................................................................................................................................45
1.5. Arc.......................................................................................................................................................45
1.6. Line End..............................................................................................................................................46
1.7. End Program.......................................................................................................................................46
1.8. Dispenser ON / OFF...........................................................................................................................46
1.9. Goto Address.......................................................................................................................................47
1.10. Step & Repeat X ..................................................................................................................................47
1.11. Step & Repeat Y ..................................................................................................................................51
1.12. Brush Area ..........................................................................................................................................52
1.13. Call Subroutine ...................................................................................................................................54
1.14. Call Program ......................................................................................................................................54
1.15. Call Job...............................................................................................................................................54
1.16. Set I/O .................................................................................................................................................54
1.17. Wait Point ...........................................................................................................................................55
1.18. Stop Point............................................................................................................................................55
1.19. Home Point..........................................................................................................................................55
1.20. Loop Address.......................................................................................................................................55
1.21. Dummy ................................................................................................................................................55
1.22. Initialize ..............................................................................................................................................56
2. SETUP MENU ......................................................................................................................57
2.1. Line Speed...........................................................................................................................................57
2.2. Line Dispense Setup............................................................................................................................57
2.3. Point Dispense Setup...........................................................................................................................57
2.4. Dispense End Setup.............................................................................................................................57
2.5. Z Clearance.........................................................................................................................................58
2.6. X/Y Move Speed...................................................................................................................................58
2.7. Z Move Speed......................................................................................................................................58
2.8. Set Home Position...............................................................................................................................58
2.9. Retract.................................................................................................................................................59
3. MENU 1...............................................................................................................................60
3.1. Group Edit...........................................................................................................................................60
3.1.1. Copy...............................................................................................................................................60
3.1.2. Delete .............................................................................................................................................61
3.1.3. Move...............................................................................................................................................62
3.1.4. Line SP (Line Speed)......................................................................................................................63
3.1.5. Dispen.TM (Dispense Time)..........................................................................................................64
3.1.6. Offset..............................................................................................................................................65
3.2. Expand Step & Repeat.........................................................................................................................66
3.3. Program Name....................................................................................................................................67
3.4. Z Axis Limit .........................................................................................................................................67
3.5. Initial Output Status............................................................................................................................68
3.6. Debug Speed........................................................................................................................................68
3.7. Jog Speed ............................................................................................................................................68
3.8. Utility Menu ........................................................................................................................................69
3.9. Run Mode............................................................................................................................................69
3.10. Vision ..................................................................................................................................................69
3.11. Resume ................................................................................................................................................69
4. UTILITY MENU ...................................................................................................................70
4.1. Program ..............................................................................................................................................70
4.2. Memory ...............................................................................................................................................70
4.3. Teach Pendant.....................................................................................................................................70
4.4. Relocate Data......................................................................................................................................71
4.5. Lock or Unlock Program.....................................................................................................................72
4.6. Password.............................................................................................................................................72
4.7. Cycle Counter......................................................................................................................................73

I&J7000 Series Operating Manual
Part # 561978B
Rev. H May 04
- Page 4 -
© 2003 I&J Fisnar Inc.
CONTENTS (CONT.):
5. MENU 2...............................................................................................................................74
5.1. Numerical Move..................................................................................................................................74
5.2. Save Temp Point..................................................................................................................................74
5.3. Retrieve Temp Point............................................................................................................................74
5.4. Undo Program ....................................................................................................................................74
5.5. Redo Program.....................................................................................................................................74
5.6. Debug Program...................................................................................................................................74
SECTION 7: SPECIFICATIONS .............................................................................................75
1. ERROR MESSAGES ..............................................................................................................76
1.1. Points Closed Error ............................................................................................................................76
1.2. Need Line Start Point..........................................................................................................................76
1.3. Need Step & Repeat.............................................................................................................................76
1.4. Unlock Program..................................................................................................................................76
1.5. Address Over Memory.........................................................................................................................77
1.6. Move Over Memory.............................................................................................................................77
1.7. System Error........................................................................................................................................77
2. I/O SPECIFICATIONS............................................................................................................78
2.1. Ext. Control Connector:......................................................................................................................78
2.2. Output Signals.....................................................................................................................................79
2.3. Input Signals........................................................................................................................................80
2.4. Input / Output Schematic.....................................................................................................................81
2.5. Input / Output Power Specifications ...................................................................................................82
3. SYSTEM SPECIFICATIONS ....................................................................................................83
4. MACHINE DIMENSIONS.......................................................................................................84
4.1. I&J7200A Dimensions ........................................................................................................................84
4.2. I&J7300B Dimensions ........................................................................................................................85
4.3. I&J7400B Dimensions ........................................................................................................................86
5. WORK TABLE DIMENSIONS.................................................................................................87
5.1. I&J7200A............................................................................................................................................87
5.2. I&J7300B & I&J7400B ......................................................................................................................87
SECTION 8: SCHEMATIC AND PARTS LIST.....................................................................88
1. MECHANICAL PARTS LIST –I&J7200A..............................................................................89
1.1. I&J7200A - Cover Drawing................................................................................................................89
1.2. I&J7200A Cover Parts List.................................................................................................................89
1.3. I&J7200A - X/Y Base Drawing ...........................................................................................................90
1.4. I&J7200A - X/Y Base Parts List..........................................................................................................91
1.5. I&J7200A - Z Axis Drawing................................................................................................................92
1.6. I&J7200A - Z Axis Parts List..............................................................................................................93
2. MECHANICAL PARTS LIST –I&J7300B..............................................................................94
2.1. I&J7300B –Cover Drawing ...............................................................................................................94
2.2. I&J7300B –Cover Parts List..............................................................................................................94
2.3. I&J7300B –X/Y Base Drawing...........................................................................................................95
2.4. I&J7300B –X/Y Base Parts List.........................................................................................................96
2.5. I&J7300B –Z Axis Drawing...............................................................................................................97
2.6. I&J7300B –Z Axis Parts List .............................................................................................................98
3. MECHANICAL PARTS LIST –I&J7400B..............................................................................99
3.1. I&J7400B - Cover Drawing................................................................................................................99
3.2. I&J7400B - Cover Parts List ..............................................................................................................99
3.3. I&J7400B - X/Y Base Drawing ...........................................................................................................100
3.4. I&J7400B - X/Y Base Parts List..........................................................................................................101
3.5. I&J7400B - Z Axis Drawing................................................................................................................102
3.6. I&J7400B - Z Axis Parts List..............................................................................................................103
4. ELECTRICAL PARTS LIST .....................................................................................................104
4.1. I&J7200A Electrical Diagram #1.......................................................................................................104
4.5. I&J7300B Electrical Drawing #1 .......................................................................................................109
4.9. I&J7400B Electrical Diagram #1.......................................................................................................117

I&J7000 Series Operating Manual
Section 1: Introduction
Part # 561978B
Rev. H May 04
- Page 5 -
© 2003 I&J Fisnar Inc.
Section 1: Introduction

I&J7000 Series Operating Manual
Section 1: Introduction
Part # 561978B
Rev. H May 04
- Page 6 -
© 2003 I&J Fisnar Inc.
1. Safety Precautions
1.1In order to meet the requirements of the European Community (CE) safety
directives, the robot must be placed in an enclosure supplied by I&J Fisnar Inc.
The enclosure will prevent the operator from entering the robot work area and will
generate an emergency stop signal if the enclosure door switch is opened while the
robot is running.
1.2Make sure the robot and accessories are connected to a properly grounded power
source.
1.3Do not drop or spill foreign objects or material such as screws or liquid into the robot.
1.4Do not touch any moving parts while the unit is running.
1.5Loading and unloading of parts and material must be done when the robot is not
running.
1.6Changing of fixtures or tooling must be done with the power source disconnected.
1.7The I&J7000 robot only be operated in an environmental of 0 to 40 degrees centigrade
and humidity of 20 to 95 percent with no condensation.
1.8Do not store or install the robot in an area where it is exposed to direct sunlight.
1.9Do not operate the robot where electrical noise is present.
1.10 Only use a neutral detergent for cleaning. Do not use alcohol, benzene or thinner.

I&J7000 Series Operating Manual
Section 1: Introduction
Part # 561978B
Rev. H May 04
- Page 7 -
© 2003 I&J Fisnar Inc.
2. Package Contents
In addition to this operating manual, the following items should be included with the robot:
Main Unit
(I&J7200A, I&J7300B or I&J7400B)
Enclosure
(CE Units Only)
Dispenser Mounting Bracket
(I&J7300 and I&J7400 only)
Barrel Holder or Valve Holder
Teach Pendant
Teach Pendant Cable
Start / Stop Box
(optional)
Dispenser Cable
RS232 Cable and Null Modem Adapter
I/O Port Connector
Power Cord
Spare Screws and Hex Key
Your system may also include other optional accessories.
If any of the above items are missing, please contact the supplier.

I&J7000 Series Operating Manual
Section 1: Introduction
Part # 561978B
Rev. H May 04
- Page 8 -
© 2003 I&J Fisnar Inc.
3. Connector and Switch Locations
3.1. I&J7200 –Front View
3.2. I&J7200 –Rear View
I/O Port
RS232 Port
VGA Monitor Port
Keyboard
Teach Pendant
Dispenser Purge
CF Card
Power Switch
Control Panel
Power Inlet
Power Outlets
Dispenser Cable Connector
Ext. Control Connector

I&J7000 Series Operating Manual
Section 1: Introduction
Part # 561978B
Rev. H May 04
- Page 9 -
© 2003 I&J Fisnar Inc.
3.3. I&J7300 / I&J7400 - Front View
3.4. I&J7300 / I&J7400 - Rear View
I/O Port
RS232 Port
Keyboard
Teach Pendant
Dispenser Purge
CF Card
Power Switch
Control Panel
VGA Monitor Port
Power Inlet
Power Outlets
Dispenser Cable Connector
Ext. Control Connector

I&J7000 Series Operating Manual
Section 1: Introduction
Part # 561978B
Rev. H May 04
- Page 10 -
© 2003 I&J Fisnar Inc.
3.5. Control Panel

I&J7000 Series Operating Manual
Section 2: Setup
Part # 561978B
Rev. H May 04
- Page 11 -
© 2003 I&J Fisnar Inc.
Section 2: Setup

I&J7000 Series Operating Manual
Section 2: Setup
Part # 561978B
Rev. H May 04
- Page 12 -
© 2003 I&J Fisnar Inc.
1. Unpack the Robot
Unpacking the robot will require a minimum of two or more people, depending on the
model. Do not attempt to lift the robot without assistance.
Never lift the robot from the cross member. Always lift the robot from the base.
Remove all accessories from the shipping package before attempting to remove the robot.
Place the machine in a secure location, on a stable work bench.
Do not discard the packing material or robot shipping bracket as these items may be
needed if the robot is shipped or moved in the future.
2. Remove Shipping Bracket
All units are shipped from the factory with a shipping bracket installed. The shipping
bracket secures the work table to the X/Z head to prevent movement and damage during
shipment.
Remove the shipping bracket by removing the four hex bolts which secure it.
Keep the shipping bracket and screws in a safe place for future use.
REMOVE

I&J7000 Series Operating Manual
Section 2: Setup
Part # 561978B
Rev. H May 04
- Page 13 -
© 2003 I&J Fisnar Inc.
3. Setup
The I&J7000 robots are available in many different configurations. The configuration of
each machine and the accessories used with each system will depend on the customer’s
application.
The steps required to setup a system using a 30 cc barrel and a DSP501A dispense
controller are described below.
3.1. If the system is being used in the European Community, the robot must be placed in
an enclosure supplied by I&J Fisnar Inc. The enclosure will prevent the operator from
entering the robot work area and will generate an emergency stop signal if the
enclosure door switch is opened while the robot is running. Connect the external start /
stop box and door switch or light curtain to the Ext. Control connector on the main unit.
For further information, see Section 7: 2.1 Ext. Control Connector.
For NON-CE robots, if an enclosure is NOT being used, the enclosure door
switch can be bypassed by connecting the plug labeled SHORTED to the Ext.
Control Connector.
3.2. Standard systems are shipped with a
Barrel holder which must be mounted on
the X/Z head of the robot. The Barrel
Holder will hold a 30 cc or 55 cc barrel to
the robot head. An optional Valve holder
may be used as a replacement for the
barrel holder if the application so requires.
3.3. Mount the barrel or valve holder to the X/Z axis head as shown, using two hex bolts.
The barrel holder has several sets of mounting holes to allow it to be mounted at four
different heights. Choose mounting holes which give maximum work piece clearance
but allow the tip to reach all areas on the work piece where dispensing is required.
Barrel Holder

I&J7000 Series Operating Manual
Section 2: Setup
Part # 561978B
Rev. H May 04
- Page 14 -
© 2003 I&J Fisnar Inc.
3.4. The dispense controller, such as the DSP501A, is connected to the robot via the
dispenser interface cable. Connect the three pin barrel connector of the dispenser
interface cable to the DISPENSER connector at the back of the robot.
Connect the small plastic connector at the other end of the dispenser interface cable to
the FOOT PEDAL connector at the back of the dispenser.
3.5. Connect the male end of the barrel adapter assembly provided with the DSP501A
dispenser to the air output connector on the front of the DSP501A.
Connect the barrel adapter end of the barrel adapter assembly to a 30 cc or 55 cc
barrel of material. Connect the appropriate luer lock dispensing tip to the end of the
barrel. Place the barrel in the barrel holder on the robot X/Z head.
Detailed instructions for setting up the DSP501A dispenser can be found in the manual
provided with the DSP501A.
3.6. For normal operation, the orange TIMER / NO TIMER switch on the DSP501A
dispenser should be in the NO TIMER position (a picture of a clock with an X through it
is shown).
3.7. Connect one end of the Teach Pendant Cable to the Teach Pendant and the other
end to the Teach Pad connection on the side of the robot.
3.8. Connect the power cord of the DSP501A to the back of the dispenser. Be sure to
use the correct power cord and power source for the dispenser model you are using
(110 Volt or 220 Volt).
3.9. Connect the power cord of the I&J7000 robot to the power input connector on the
back of the robot. Be sure to use the correct power cord and power source for the robot
model you are using (110 Volt or 220 Volt).
3.10. Tie back all cables and air lines so that they will not interfere with the robot motion
when the robot is operating. Be sure that the cables and air lines do not restrict the
motion of the robot X/Z head and make sure that they can not become jammed as the
robot moves through the work area.

I&J7000 Series Operating Manual
Section 3: Teaching Overview
Part # 561978B
Rev. H May 04
- Page 15 -
© 2003 I&J Fisnar Inc.
Section 3: Teaching Overview

I&J7000 Series Operating Manual
Section 3: Teaching Overview
Part # 561978B
Rev. H May 04
- Page 16 -
© 2003 I&J Fisnar Inc.
1. Teaching Overview
A program consists of a series of instructions stored in the main unit memory. Each
instruction is stored in a numbered memory address. A memory address may record a
point location, with an X, Y, and Z axis value and point type or it may store an instruction
which sets a parameter, such as a dispensing time or line speed.
When the program is run, the robot will step through each memory address in sequence
and execute the instruction found there. If the memory address contains a point location,
the robot will move the X, Y, and Z axes to that location. Depending on the type of point
registered at that location, the robot may also perform other functions, such as turn the
dispenser on or off.
The most commonly used point types are Dispense Point, Line Start, Line Passing, Arc
Point, and Line End Point.
To program the robot to dispense a ‘dot’ of material, the dispensing tip must be jogged to
the desired XYZ location, then that location is registered as a DISPENSE POINT point type
by pressing the appropriate key on the Teach Pendant.
To program the robot to dispense a bead of material along a linear path, the XYZ location
of the start of the line is registered as a LINE START point type. The locations where the
tip changes direction are registered as LINE PASSING points. The end of the line is
registered as a LINE END point:

I&J7000 Series Operating Manual
Section 3: Teaching Overview
Part # 561978B
Rev. H May 04
- Page 17 -
© 2003 I&J Fisnar Inc.
To dispense a bead of material in an arc, the XYZ location of the start of the line is
registered as a LINE START point type. The high point of the arc is registered as an ARC
point. The end of the arc is registered as a LINE END point:
Lines and arcs can also be combined to dispense a bead of material along a complex path:
Once the required point locations for your program have been taught, the teach pendant is
no longer required. The unit can be switched to RUN mode and operated using the buttons
and switches on the main unit control panel.

I&J7000 Series Operating Manual
Section 3: Teaching Overview
Part # 561978B
Rev. H May 04
- Page 18 -
© 2003 I&J Fisnar Inc.
2. Using the Teach Pendant
The teach pendant enables the user to jog robot to input program data.
2.1. Key Selection
There are several functions assigned to most keys on the teaching pendant. When a key is
pressed alone, the function shown in the white colored area on the key is executed. For
example, MENU 1, MENU 2, MENU 3, and Setup, and –1are all the default key functions
which are executed when that key is pressed alone.
To access the function shown in the blue area at the top of a key, press and release the
Shift key first, then press the desired key. For example, to select the Speed function,
press and release Shift, then press the Speed key.
When a number is required, the teach pendant will automatically switch to numeric entry
mode. The number represented by each key is shown in the lower right corner of the key.
If Shift is pressed,
released, then the Del
key is pressed, Speed
is executed.
If this key is pressed
alone, Del is executed.
When entering
numbers, this key
is 0.

I&J7000 Series Operating Manual
Section 3: Teaching Overview
Part # 561978B
Rev. H May 04
- Page 19 -
© 2003 I&J Fisnar Inc.
2.2. Key Assignments
Menu Keys
Opens the Point registration menu.
Opens the Setup menu.
Opens Menu # 1.
Opens Menu # 2.
Jog Keys
Jogs the X axis in the (-) direction.
Jogs the X axis in the (+) direction.
Jogs the Y axis in the (-) direction.
Jogs the Y axis in the (+) direction.
Jog the Z axis UP.
Jog the Z axis DOWN.
Accelerate jog speed –used with X+, X-. Y+, Y-, Z Up, Z Down
Display Navigation
Move forward (1) memory address.
Move back (1) memory address.
Move forward (10) memory addresses.
Move back (10) memory addresses.

I&J7000 Series Operating Manual
Section 3: Teaching Overview
Part # 561978B
Rev. H May 04
- Page 20 -
© 2003 I&J Fisnar Inc.
2.3. Menu Navigation
Pressing any of the keys shown on the right will open the
corresponding menu.
Once the menu is open, use the up and down arrows to
move through the items on the menu.
Use left and right arrows to change to the next page or
previous page.
Press ENTER to select the current item.
2.4. Jogging
The tip is jogged by pressing the jog buttons
If the Shift button is pressed first and held, then one of
the jog buttons is pressed, the axis will be jogged at the
maximum jog speed.
If the one of the jog buttons is pressed first, then Shift
button is pressed, the jog motion will accelerate.
If the Shift button is released, the axis will decelerate.
2.5. Data Entry
The teach pad can also be used to enter numeric data. If a numeric value is required, the
teaching pendant will automatically switch to numeric mode. Use the keys 1 –9, . , and -
to enter numbers.
2.6. Running a Program
Press the key to home the robot. Press the key to run the program.
Other manuals for I&J7000 Series
1
This manual suits for next models
3
Table of contents
Other FISNAR Robotics manuals
