manuals.online logo
Brands
  1. Home
  2. •
  3. Brands
  4. •
  5. Flair Furnishings
  6. •
  7. Indoor Furnishing
  8. •
  9. Flair Furnishings Stepaside User manual

Flair Furnishings Stepaside User manual

PRODUCT SIZE : 920mm x 1930mm
Thank you for purchasing this product. Before starting assembly we suggest you spend a short time reading
through this leaflet, then follow the simple step by step guide.
Two persons are needed to assemble this product.
ASSEMBLY INSTRUCTIONS
MODEL
1
21
* Approximately 1 Hours
* 2 People Required
UP
UP
IMPORTANT - READ CAREFULLY - RETAIN FOR FUTURE REFERENCE
Tools Required For Assembly
Philips Screw Driver
DO NOT USE POWER TOOLS
TO ASSEMBLE THIS PRODUCT.
USE OF POWER TOOLS WILL
INVALIDATE ANY CLAIM AND
MAY DAMAGE THIS PRODUCT
MAKING IT UNSAFE.
DO NOT USE HAMMER
Tools Not Use
a) WARNING “High beds and the upper bed of bunk beds are not suitable for children under six years due to the risk of injuryfrom falls”;
b) WARNING “Bunk beds and high beds can present a serious risk of injury from strangulation if not used correctly. Never attach or
hang items to any part of the bunk bed that are not designed to be used with the bed,for example, but not limited to ropes, strings,
cords, hooks, belts and bags”
c) WARNING “Children can become trapped between the bed and the wall, a roof pitch, the ceiling, adjoining pieces of furniture
(e.g. cupboards) and the like. To avoid risk of serious injury the distance between the top safety barrier and the adjoining structure
shall not exceed 75 mm or shall be more than 230 mm”;
d) WARNING “Do not use the bunk bed/high bed if any structural part is broken or missing;
e) always follow the manufacturer’s instructions;
f)
g) Ventilation of the room is necessary in order to keep the humidity low and to prevent mauld in and around the bed;
h) all bunk beds and high beds intended to be assembled by other than the manufacturer or his/her representative shall include
assembly instructions including a list of the parts supplied and details of any tools required to assemble the bed;
i)
j)
k) This bunk bed conforms to BS EN 747-1 : 2012 + A1 : 2015
This bunk bed is suitable for a single mattress or foam bed 920mm x 1870mm.Thickness of mattress should not exceed 200mm.
Use ladder for entering and leaving upper bunk.
The bunk bed should be checked periodically by the owner to ensure that the guardrail, ladder and other components are
maintained in the correct position and state of repair and that all connectors are tight.
Stepaside
PARTS LIST 2
21
Model:
Stepaside
Pcs
Part Name
No.
Carton 1 of 4
10 SIDE PANEL LOWER (TOP FRONT) 1
11 1
SIDE PANEL UPPER (TOP FRONT)
39 16
LVL SLAT BASE
FITTING LIST
Carton 2 of 4
RIGHT PANEL (BACK)
02 1
SUPPORT PANEL UPPER (OPEN SHELF)
04 1
BOTTOM PANEL (OPEN SHELF)
05
06
07
25
26 2
LEFT PANEL BACK
36 1
Carton 3 of 4
CENTER PANEL (UPPER)
01 1
LEFT PANEL
08 1
09
1
LADDER LEFT PANEL
20 2
34 2
35 1
Carton 4 of 4
14 1
15 1
16 1
17 1
18 1
19 LEFT PANEL (2ND LADDER STEP) 1
28 TOP PANEL (LADDER) 1
29 1
30 1
31 1
32 1
BACK PANEL (LADDER)
33 1
TOP PANEL (LADDER)
40 LADDER BACK PANEL 1
37 LADDER LEFT PANEL 1
SUPPORT PANEL SMALL LEFT (OPEN SHELF)
BACK PANEL (OPEN SHELF)
CENTER PANEL (OPEN SHELF)
TOP PANEL (LADDER)
LEFT PANEL (3RD LADDER STEP)
SUPPORT PANEL SMALL RIGHT(OPEN SHELF)
BACK SUPPORT PANEL
DOOR
DOOR
BACK PANEL (LADDER)
LEFT PANEL (1ST LADDER STEP)
RIGHT PANEL (3RD LADDER STEP)
RIGHT PANEL (2ND LADDER STEP)
RIGHT PANEL (1ST LADDER STEP)
LADDER BOTTOM PANEL
38 BASE SUPPORT RAIL
13 RIGHT PANEL (FRONT) 1
CENTER PANEL (LOWER)
03 1
1
1
2
1
1
PARTS LIST 21
3
Model: Stepaside
x16
38 x2
39
36
10
13
02
01
03
05
07
04
06
25 26
26
11
08
35
34
14
18
15
28
29
19
16
33
31 17
32
30
40
37
09
x2
20 x2
FITTING LIST 21
4
Model:
Stepaside
USEFUL HINTS & TIPS
Two people will be required
to assemble this unit
Please keep this assembly
instruction for future reference
CAUTION
There are many small components used
in the construction of this unit. These
loose items should be kept away from
young children whilst assembling your
unit. As an extra precaution, screw
cover caps should be permanently
fixed in position. (Where applicable)
Fitting List
A
61
Pcs
Part Name
No.
B
C
D
G
H
L
N
61
115
9
10
P
Q
Cam Stud (5137)
Cam
M8 x 25mm Wood Dowel
8
K
20
32
M6 x 12mm Allen Bolt
M6 x 13mm Baller
45mm Chipboard Screw
M6 x 60mm Allen Bolt
6
M6 x 35mm Allen Bolt
M6 x 25mm Allen Bolt
M6 x 40mm Wood Dowel
M6 x 50mm Allen Bolt
M6 JCN Nut
17
PVC L Bracket (White Colour)
R
Metal Support Plate (White)
2
S
M6 Allen Wrech
2
8
Hinges Arm (JASMINE)
6set
M
T
15mm Chipboard Screw
F
52
J
M6 x 30mm Allen Bolt
10
4
4
E
5
GUIDE TO ASSEMBLY 21
Model: Stepaside
STEP 1
WHEN FITTING CAMS
ENSURE STARTING POSITION IS CORRECT
BEFORE YOU INSERT CONNECTING BOLT
TURN CLOCKWISE UNTIL SECURE
CORRECT WRONG
01
03
13
36
02
A x 12
C x 18
B x 14
08
C
UP
UP
6
GUIDE TO ASSEMBLY 21
Model: Stepaside
STEP 2
04
05
07
26 x2
A x 13
C x 22 B x 3
WHEN FITTING CAMS
ENSURE STARTING POSITION IS CORRECT
BEFORE YOU INSERT CONNECTING BOLT
TURN CLOCKWISE UNTIL SECURE
CORRECT WRONG
20
R
R
x2
R x 8
R
7
GUIDE TO ASSEMBLY 21
Model: Stepaside
STEP 3
STEP 5
F x 4 F x 8
STEP 4
04
STEP 6
05
F
F
06
25
F
F
F
F
F
F
07
26
26
04
05
8
GUIDE TO ASSEMBLY 21
Model: Stepaside
STEP 8
STEP 9
04
02
36
04
02
36
STEP 7
E x 16J x 4
USE PRE- DRILLED
HOLES IN PART4
E
E
E
E
9
GUIDE TO ASSEMBLY 21
Model: Stepaside
STEP 10
B
B
B
B
STEP 11
B x 8
02
36
P x 4Q x 4
Q
Q
P
P
20
20
10
GUIDE TO ASSEMBLY 21
Model: Stepaside
STEP 12
STEP 13
13
01
03
02
UP
UP
08
36
11
GUIDE TO ASSEMBLY 21
Model: Stepaside
STEP 14
STEP 15
10
11
H x 2 K x 8
H
KK
R x 8
D x 6
10
11
10 11
R
R
R
R
D
D
12
GUIDE TO ASSEMBLY 21
Model: Stepaside
STEP 16
STEP 17
09
37
B x 7A x 2
C x 3
P x 4Q x 4
P
Q
10
13
GUIDE TO ASSEMBLY 21
Model: Stepaside
STEP 18
18 14
30
15
28
19
32
16
29
31
17
33
40
B x 16 A x 34
G x 6
R x 1
C x 72
E x 24
R
E
E
E
E
EE
G
G
G
14
GUIDE TO ASSEMBLY 21
Model: Stepaside
STEP 19
STEP 23
STEP 21
STEP 20
STEP 24
STEP 22
18
14
30
14
18
15
14
18
28
15
18
14
30
B x 4
28
B
B
B
B
19 32
16
15
GUIDE TO ASSEMBLY 21
Model: Stepaside
STEP 25
STEP 27
STEP 26
STEP 28
19 32
16
28
29
19
16
B x 4
29
B
B
B
B
29
31
17
16
GUIDE TO ASSEMBLY 21
Model: Stepaside
STEP 29
STEP 31
STEP 30
F x 8
40
33
29
28
F
F
F
F
F
F
29
31
17
33
B x 5
B
36
B
B
UP
UP
17
GUIDE TO ASSEMBLY 21
Model: Stepaside
STEP 32
STEP 33
40
08
40
37
UP
UP
UP
UP
18
GUIDE TO ASSEMBLY 21
Model: Stepaside
STEP 34
STEP 35
09
37
L x 2
S x 2
L
L
S
S
UP
UP
UP
UP
19
GUIDE TO ASSEMBLY 21
Model: Stepaside
STEP 36
P x 1
L x 2
S x 2
P
09
L
L
S
S
STEP 37
E x 12
G x 6
E
E
G
34 x2
35
09
UP
UP
STEP 38
34
35
34
STEP 38
20
GUIDE TO ASSEMBLY 21
Model: Stepaside
STEP 39
STEP 40
N x 10
S x 6
38 x2
N
N
S
S
S
S
S
UP
UP
N
S

Other Flair Furnishings Indoor Furnishing manuals
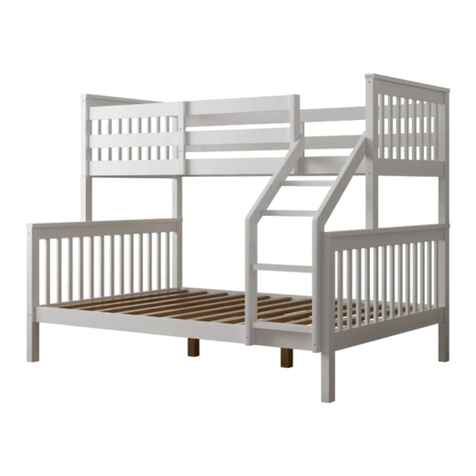
Flair Furnishings CK 6119 User manual
Flair Furnishings

Flair Furnishings CK 6119 User manual

Flair Furnishings Zoom User manual

Flair Furnishings

Flair Furnishings Zoom User manual

Flair Furnishings Woodland Trundle House User manual

Flair Furnishings

Flair Furnishings Woodland Trundle House User manual

Flair Furnishings TZRB212B3 User manual
Flair Furnishings

Flair Furnishings TZRB212B3 User manual

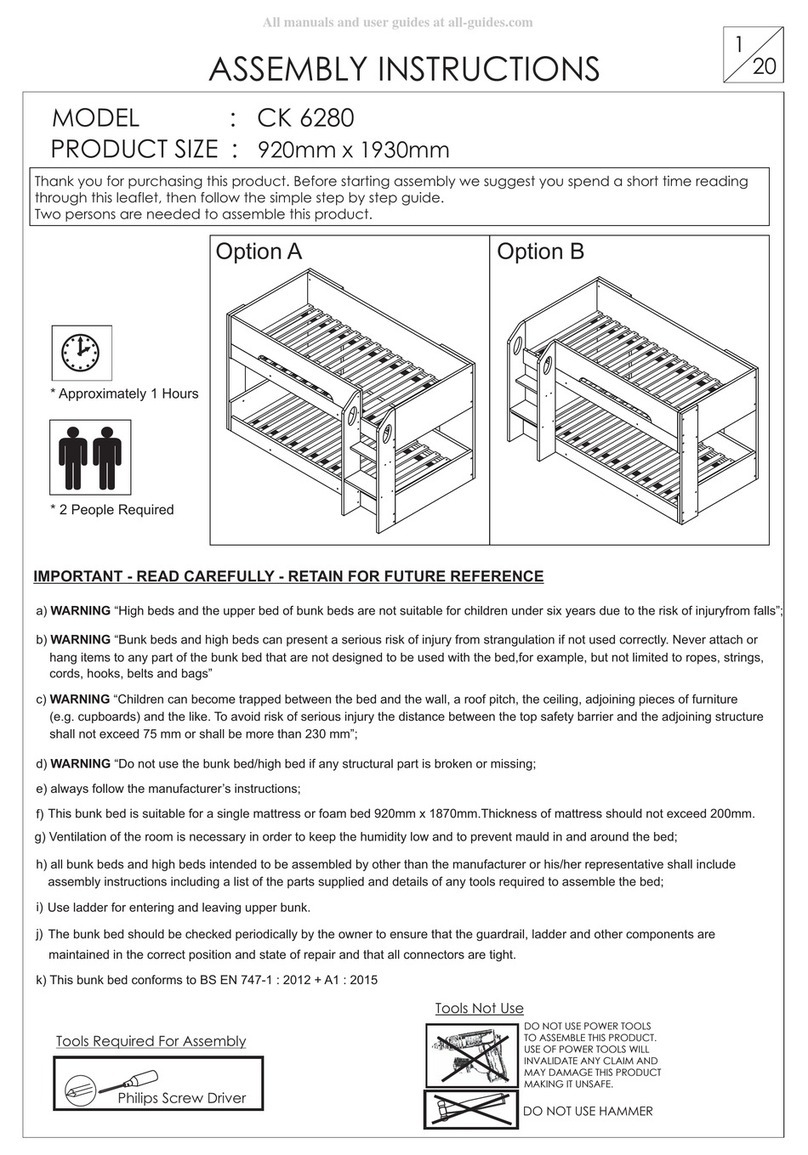
Flair Furnishings CK 6280 User manual

Flair Furnishings

Flair Furnishings CK 6280 User manual

Flair Furnishings CK 6280 User manual

Flair Furnishings

Flair Furnishings CK 6280 User manual
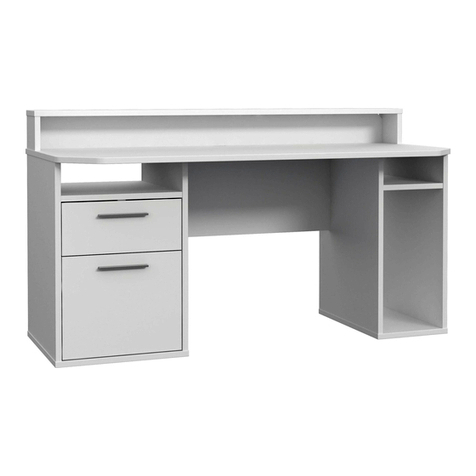
Flair Furnishings TZRB213B3 User manual
Flair Furnishings

Flair Furnishings TZRB213B3 User manual

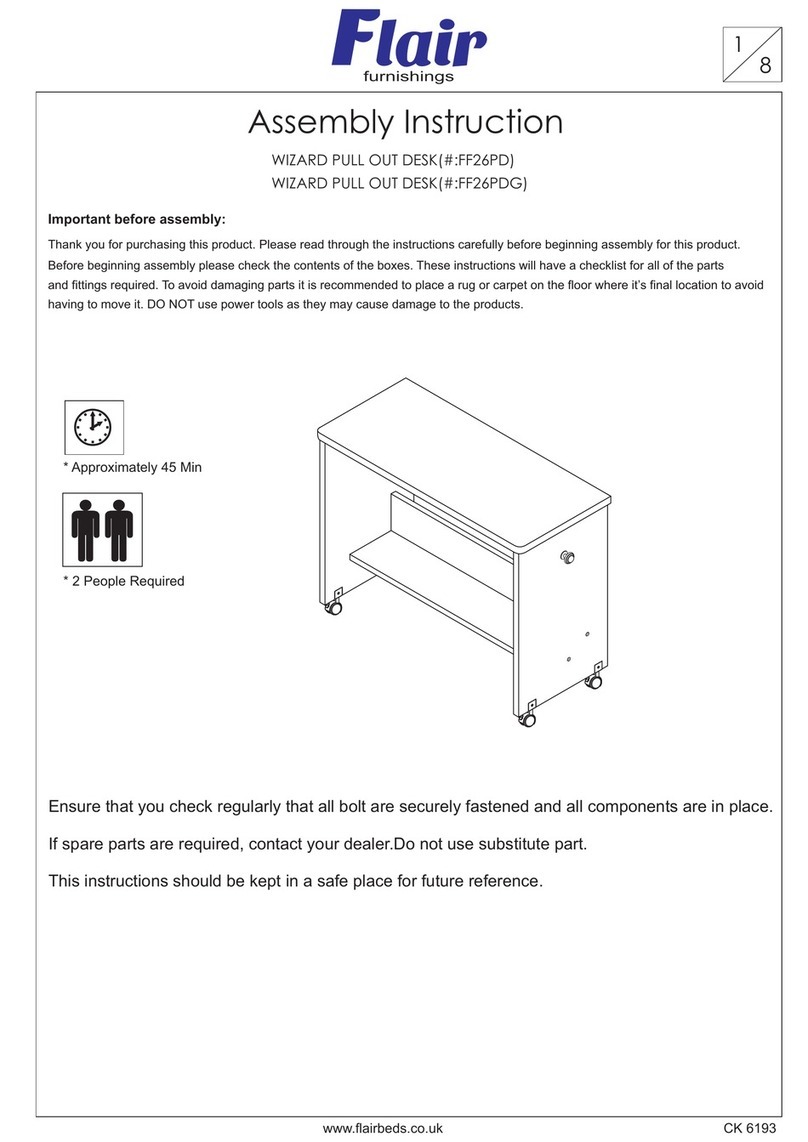
Flair Furnishings WIZARD FF26PD User manual
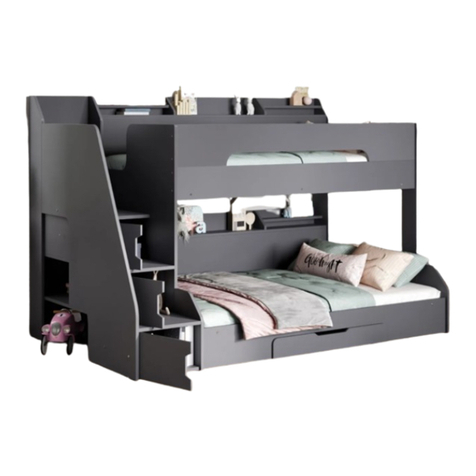
Flair Furnishings

Flair Furnishings WIZARD FF26PD User manual

Flair Furnishings Slick Triple Bunk User manual

Flair Furnishings

Flair Furnishings Slick Triple Bunk User manual

Popular Indoor Furnishing manuals by other brands
SMITH SYSTEM NUMBERS 02130 Assembly instructions

SMITH SYSTEM

SMITH SYSTEM NUMBERS 02130 Assembly instructions

American Signature B00191-5H Assembly instructions
American Signature

American Signature B00191-5H Assembly instructions

Yaasa Desk Pro 2 troubleshooting guide

Yaasa

Yaasa Desk Pro 2 troubleshooting guide

Project Source V36631-PS quick start guide
Project Source

Project Source V36631-PS quick start guide

Unfinished Furniture of Wilmington S-343 Assembly instructions

Unfinished Furniture of Wilmington

Unfinished Furniture of Wilmington S-343 Assembly instructions
Insignia NS-HWD1848 user guide

Insignia

Insignia NS-HWD1848 user guide
Article LENIA Assembly instructions

Article

Article LENIA Assembly instructions

Amart Furniture 58135 Assembly instruction

Amart Furniture

Amart Furniture 58135 Assembly instruction

Winsome 92452 R1 manual

Winsome

Winsome 92452 R1 manual

ENOCHS POWER 4000 Service manual

ENOCHS

ENOCHS POWER 4000 Service manual

Populas VOX L-SHAPE DESK Assembly instructions

Populas

Populas VOX L-SHAPE DESK Assembly instructions

deVRIES PURE COMFORT XL Care & assembly instructions

deVRIES

deVRIES PURE COMFORT XL Care & assembly instructions

Englefield SAPPHIRE Series installation instructions

Englefield

Englefield SAPPHIRE Series installation instructions

LocknCharge FUYL Cell operating instructions
LocknCharge

LocknCharge FUYL Cell operating instructions

THB Predilecta CP120 manual

THB

THB Predilecta CP120 manual

Abble 300571 quick start guide

Abble

Abble 300571 quick start guide

Safavieh Furniture Alejandro SFV5015A quick start guide
Safavieh Furniture

Safavieh Furniture Alejandro SFV5015A quick start guide

hygena Bergen SHELF PACK Assembly instructions

hygena

hygena Bergen SHELF PACK Assembly instructions

manuals.online logo
manuals.online logoBrands
  • About & Mission
  • Contact us
  • Privacy Policy
  • Terms and Conditions

Copyright 2025 Manuals.Online. All Rights Reserved.